Veggie Scrap Focaccia
5.0
(2)
Your folders
Your folders
Author : Misfits Market

Ingredients
Export 5 ingredients for grocery delivery
Instructions
Step 1
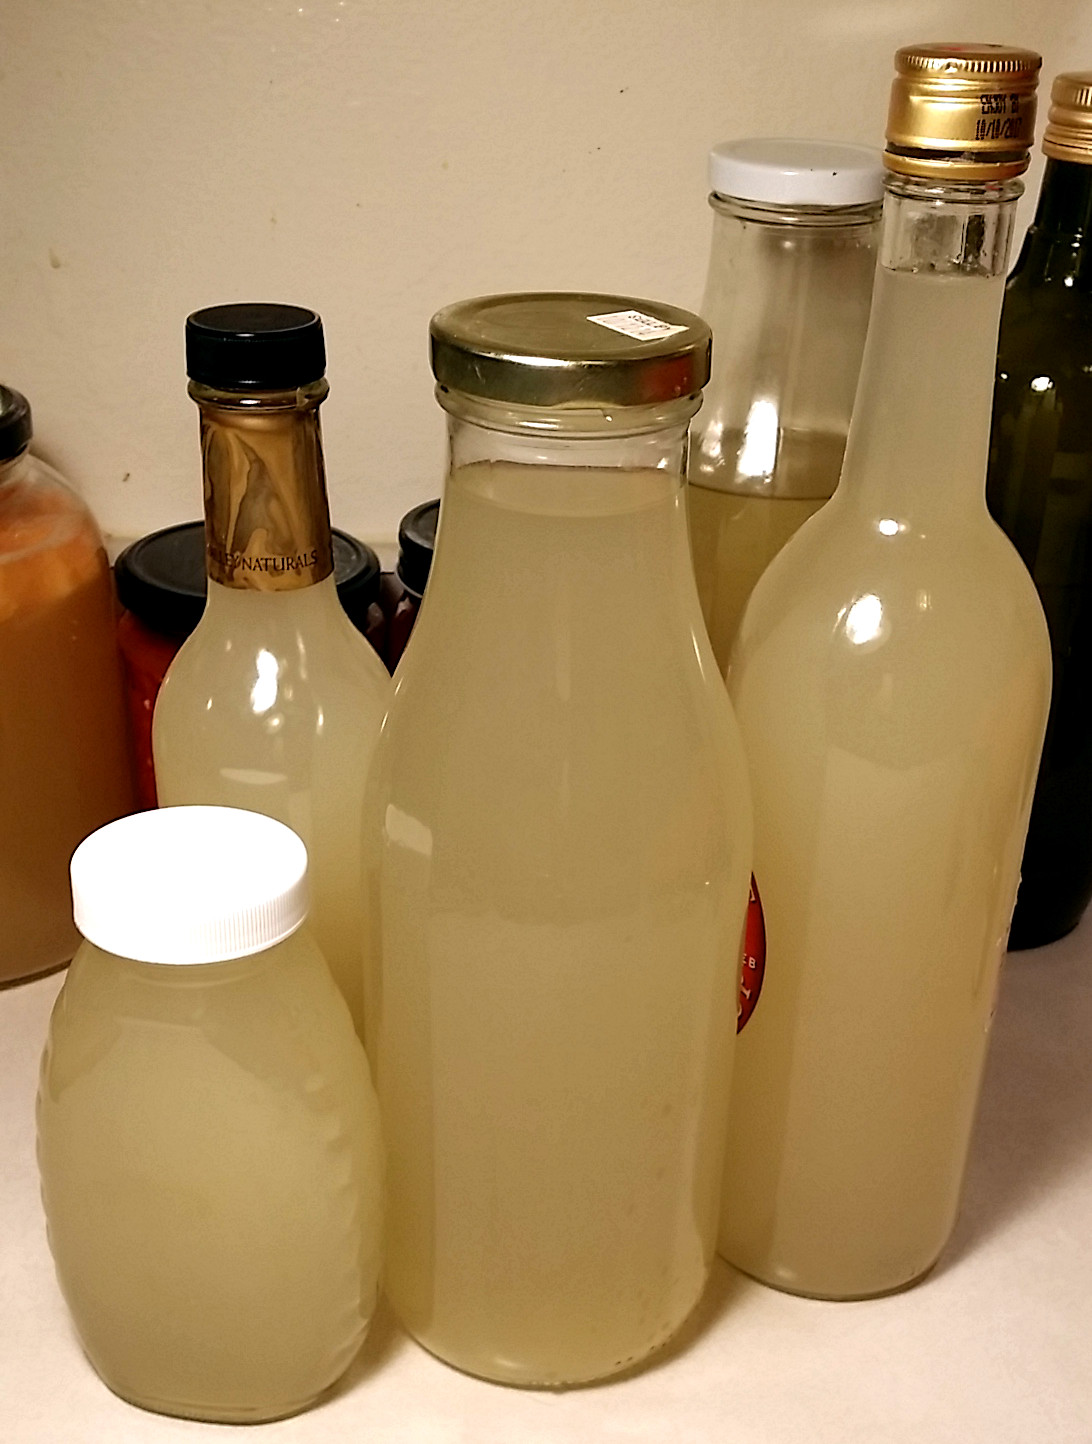
In a small bowl, combine active dry yeast, honey, and water. Mix and allow to sit for at least 5 minutes or until it begins to froth and become cloudy—blooming.
Step 2
In a separate large mixing bowl, combine bread flour with salt. When the yeast blooms, give it another stir and then pour into the bowl. Stir until it forms a dough.
Step 3
Transfer to a large, floured surface, and use extra flour as you go to knead the dough together. Knead for about 9-12 minutes or until the dough becomes elastic and does not break easily when stretching it. (You will feel the difference and transformation as you go.) Alternatively, you can use a standing mixer with a dough hook.
Step 4
Pour 1/4 cup of olive oil into a separate, large mixing bowl—it should be big enough to account for the dough doubling in size. Brush the oil to coat the inside of the bowl, which will prevent the dough from sticking too much.
Step 5
Place the dough into the bowl, gently flipping and rolling to coat in oil. Cover the bowl tightly with plastic wrap and set in the fridge for 12-24 hours or until it has doubled in size. You can also store at room temperature for 3-4 hours or until doubled.
Step 6
When ready to bake, place a rack in the middle oven the oven, and preheat the oven to 425 degrees.
Step 7
Take a large sheet pan that is at least 12”x17” and 1-inch deep and coat the inside of the pan with olive oil.
Step 8
Remove the dough from the fridge and bowl and transfer it to the pan. Gently spread the dough to fill the pan, leaving a little space between the edges. Then, use your fingertips to dimple the dough by pressing into it.
Step 9
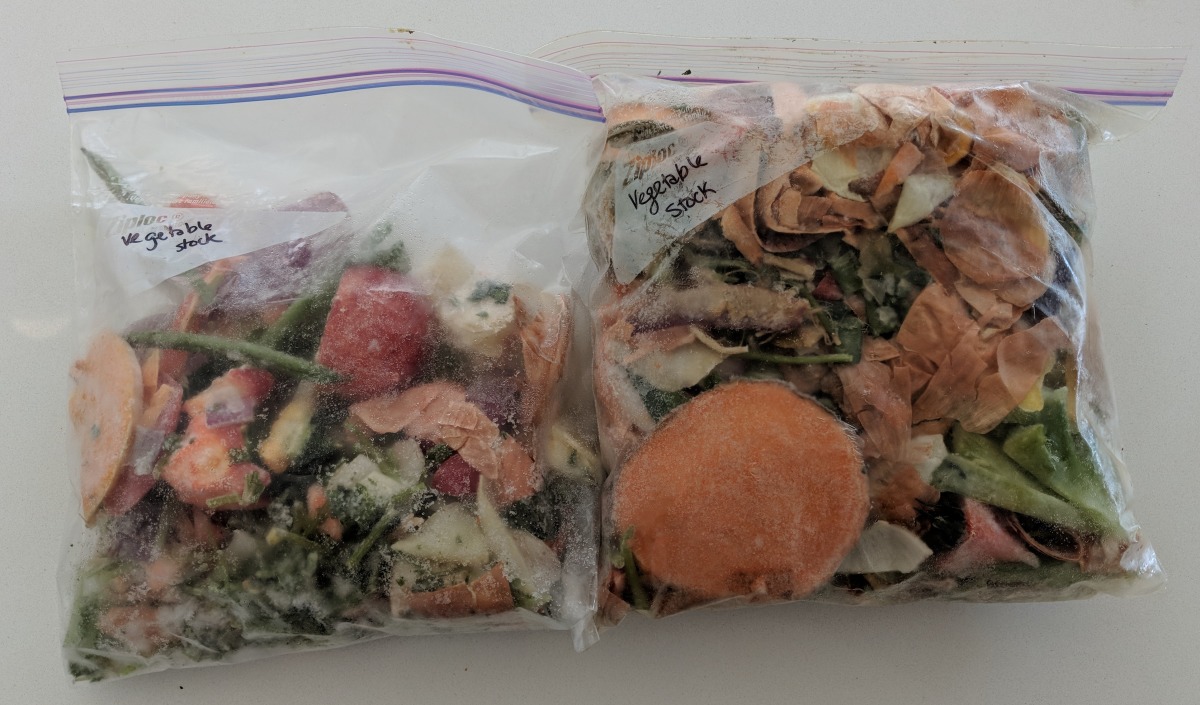
Pour the 3 tablespoons of olive oil over the dough to fill in the pockets. Top with vegetable scraps, then finish with salt.
Step 10
Transfer to the oven and bake for 30-40 minutes or until golden brown.
Step 11
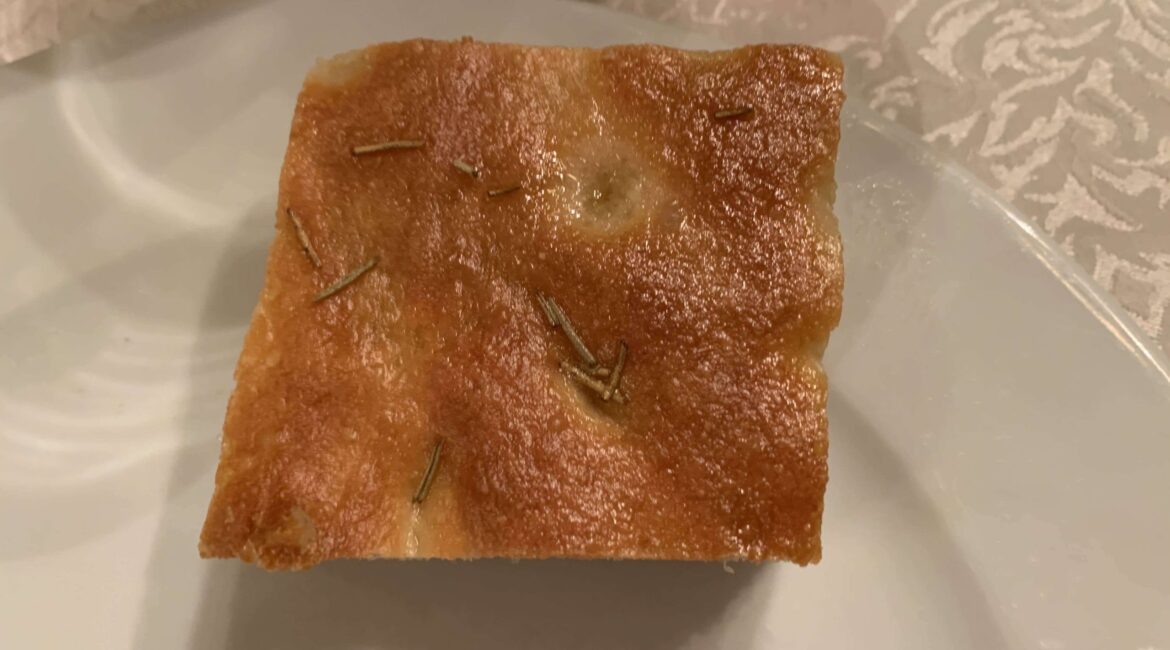
When the bread is cooked all the way through, remove from the oven and transfer the focaccia to a cooling rack. The steam from the bread will finish the cooking process and help soften the texture as it rests.
Step 12
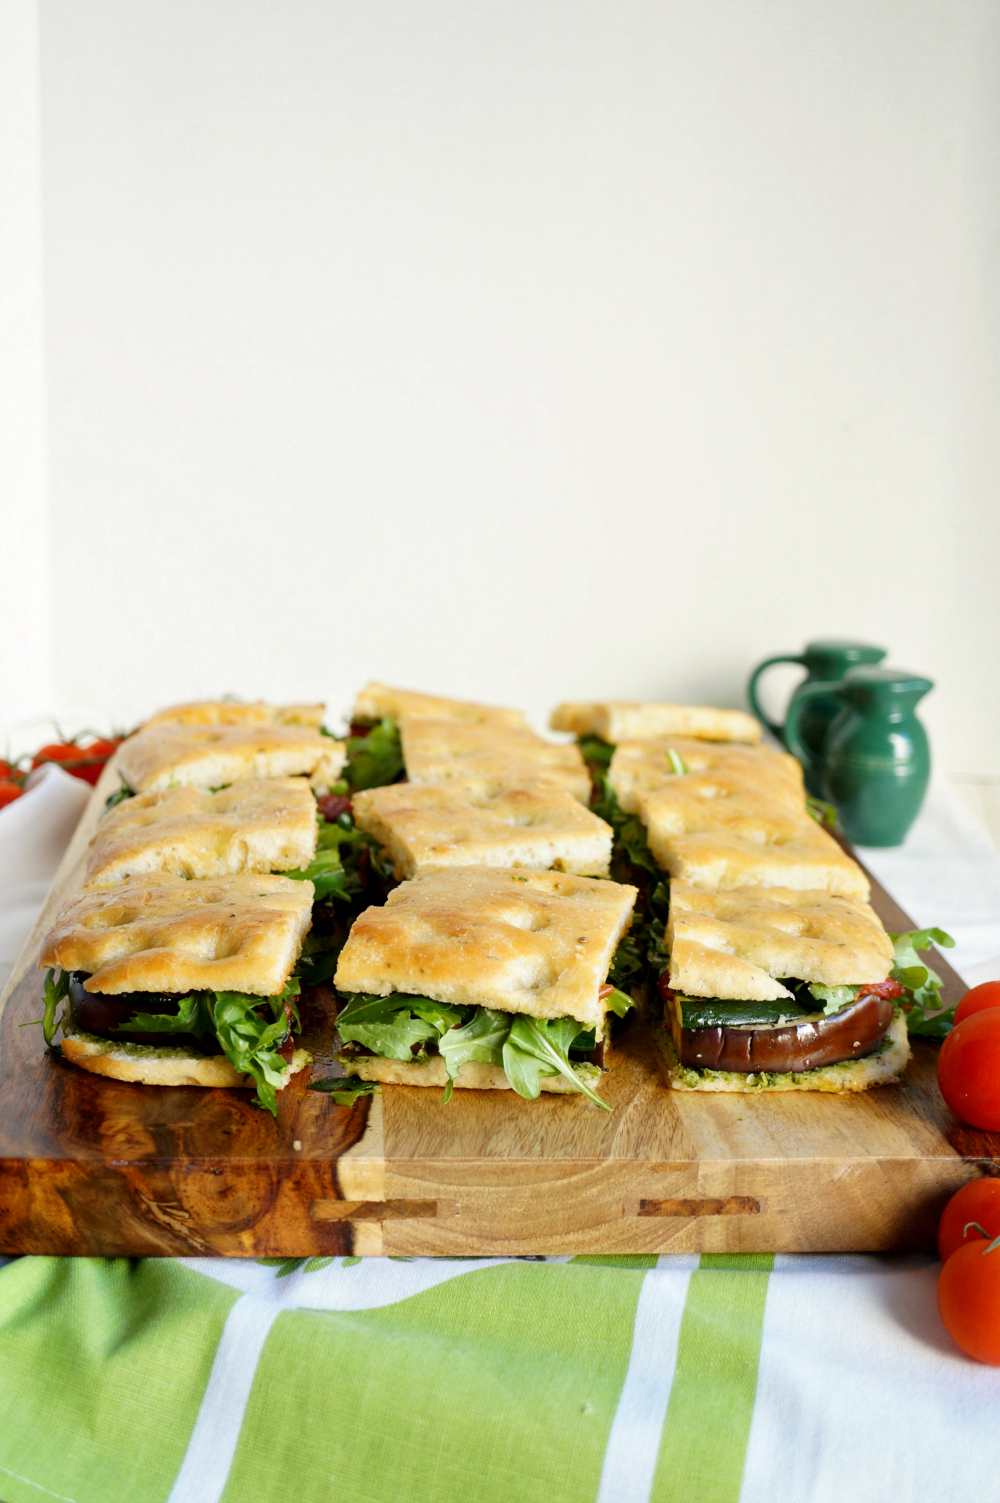
When ready to eat, slice, share, and enjoy!
Top similar recipes
Curated for youYour folders
 115 views
Veggie Scrap Focaccia
blog.misfitsmarket.com
5.0
(2)
Your folders
 168 views
Apple Scrap Vinegar
zerowastechef.com
Your folders
 186 views
Kitchen Scrap Mushroom Stock
ohmyveggies.com
1 hours, 15 minutes
Your folders
 224 views
Roasted Vegetable Scrap Stock
food.com
1 hours, 20 minutes
Your folders
 164 views
Colored Denim Scrap Wreath
craftsbyamanda.com
Your folders
 116 views
vegan grilled veggie focaccia sheet...
thebakingfairy.net
5.0
(1)
30 minutes
Your folders
 295 views
Focaccia
foodnetwork.com
30 minutes
Your folders
 607 views
Focaccia
bbcgoodfood.com
20 minutes
Your folders
 350 views
Focaccia
kingarthurbaking.com
3.4
(14)
25 minutes
Your folders
 227 views
Focaccia
greatbritishchefs.com
Your folders
 553 views
Focaccia
bbc.co.uk
3.2
(123)
1 hours
Your folders
 380 views
Focaccia
rasamalaysia.com
4.5
(312)
30 minutes
Your folders
 308 views
Focaccia
amopaocaseiro.com.br
Your folders
 421 views
Focaccia
foodnetwork.com
4.9
(289)
30 minutes
Your folders
 246 views
FOCACCIA
bigoven.com
Your folders
 228 views
Focaccia
blogs.dickinson.edu
30 minutes
Your folders
 244 views
Focaccia
ricette.giallozafferano.it
4.3
(429)
30 minutes
Your folders
 161 views
Focaccia
coop.se
3.0
(61)
90 minutes
Your folders
 227 views
Focaccia
tasteofhome.com
5.0
(6)
20 minutes