Smoked BBQ Pork Picnic Shoulder
4.6
(5)
Your folders
Your folders
Prep Time: 10 minutes
Cook Time: 300 minutes
Total: 600 minutes
Servings: 8
Cost: $5.72 /serving
Author : David & Debbie Spivey
Ingredients
Export 6 ingredients for grocery delivery
Instructions
Step 1
Pork shoulder is a hunk of meat that is laced with flavorful fat and connective tissue. Start with a pork shoulder in the 5 pound range, which is just the right size to fit on any smoker or grill. Trim the pork shoulder so as to leave at least a ¼-inch cap of fat. (Any less and the pork will dry out; any more, and the fat will prevent the rub from seasoning the meat.)
Step 2
Rinse the meat under cold running water and blot dry with paper towels. Combine all the ingredients for the rub in a small bowl (make sure to work out any clumps from the brown sugar for even distribution) and stir to mix. Rub onto the picnic shoulder on all sides. If you have time, wrap the picnic shoulder in plastic wrap and let it cure in the refrigerator for at least 4 hours or as long as overnight. Smoking the picnic shoulder right away is ok, but sitting in the refrigerator for several hours allows the rub to penetrate the meat.
Step 3
Smoking is a form of indirect cooking and usually takes place over a period of hours over low temperatures. Set up your smoker for what is called the burn-down method. To do this, fill the charcoal bed with unlit coals and add only a few lit coals to the very top. The coals on top slowly light the ones underneath and burn down slowly over time. If using a charcoal grill, set it up for an indirect heat technique with a drip pan with water directly underneath the meat to stabilize the temperature.
Step 4
Soak a few handfuls hickory wood chunks for about 30 minutes in warm water before placing atop the coals.
Step 5
Preheat the grill from 225 to 250 degrees F. To maintain this low temperature, use only half as much charcoal as usual. (A half chimney-full.)
Step 6
When the smoker or grill is the ideal temperature range, you are ready to smoke, place the picnic shoulder on the hot grate over the drip pan, fat side up, toss a hand full of the soaked wood chunks and some dry wood chunks onto the coals and cover the grill.
Step 7
David likes to use a combination of dry and wet wood chunks, alternating between the two. The dry gives a quick intense smoke and brings the heat up. The wet wood chunks provide a lower, slower smoke and brings the heat down. Heat adjustments can be made using this technique.
Step 8
Bring the temperature up to 225 degrees F, using the vents to regulate the temperature. Knowing the temp in your grill is crucial, so if your grill doesn’t have a temperature gauge, purchase a probe or instant-read thermometer.
Step 9
You will need to add fresh coals and more wood chunks to each side of the grill every hour for at least the first 4 hours.
Step 10
Check the temperature of the grill every hour, staying as close to 225 degrees F as possible. Resist the temptation to open the lid. Only open the charcoal door or the lid if you need to add more charcoal or soaked wood chips to maintain temperature and smoke. After at least 4 hours, check the temperature of the meat to see where it is and get an idea of how much more time it will need to smoke.
Step 11
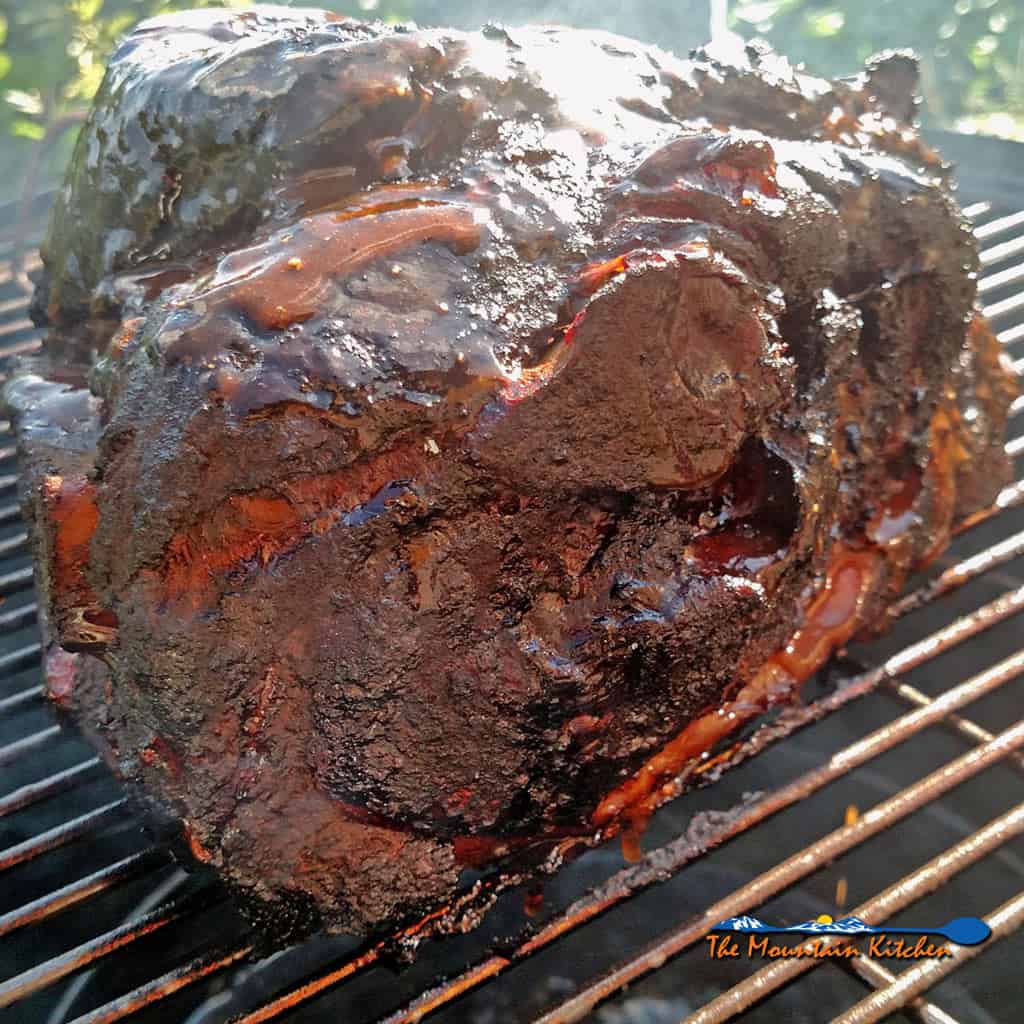
Smoke the picnic shoulder until a dark “bark” (outside crust) forms and the internal temperature of the meat is about 190 degrees F, about 6 to 10 hours, depending on weight; use a meat thermometer to test for doneness.
Step 12
When the pork's internal temperature reaches about 165 degrees F, the surface evaporation causes the meat’s internal temperature to plateau. Pit Masters call this “the stall.” Don’t panic. It will pass. Just wait out the stall. The ideal temperature of a properly smoked pork shoulder is 190 to 195 degrees F. The internal temperature of the pork can increase by 10 degrees even after it’s been removed from the grill, so keep that in mind. If the internal temperature is 190 degrees F when you take it off the grill, it may rise to an optimal 200 degrees F, perfect! Any hotter than that and could overcook your pork, which results in dry, chewy meat, no thank you!
Step 13
Start basting the meat with a sauce using a brush or mop for the last 1 ½ hours. Then mop it every 30 minutes after that. It's okay to be messy with it. Just slather it down and cover it back up.
Step 14
David prefers injecting his meat with sauce during the last hour of smoking. Rubs and sauce sit on the meat’s surface and penetrate only a few millimeters into the meat. Injecting gets the flavor to the center of the food in seconds with the push of a plunger. Basically, injectors look like oversize hypodermic needles. Don't waste your time with plastic injectors they don't last. Instead, find a stainless steel injector. They typically comes with a 2 to 4-ounce capacity—which is enough for most anything you slap on your smoker or grill.
Step 15
To inject the meat, you may need to pour your sauce into a narrow container so you can suck the sauce up inside the needle. Once the injector is full of sauce, that is where all the fun begins! Insert the needle and go all the way to the center. Press the plunger slowly and ease the needle out. Insert the needle again about every 1 ½-inches apart and leave behind about 1-ounce of sauce per pound. Some sauce will almost always follow the needle out of the hole, but if it comes spurting out like it hit an artery, use less pressure. You want to avoid pockets of liquid and have the sauce evenly distributed inside the meat. He usually injects it when he sauces the outside, but only once or twice.
Step 16
After the pork is literally about to fall apart and it is dripping with sauce, remove the picnic shoulder from the smoker or grill and allow it to rest as you would with grilled or roasted meats. Allowing the pork to rest before chopping or serving it lets the meat fibers relax, moisture that was driven out is redistributed and reabsorbed by some of the dissolved proteins. Rested meat holds on to more of its natural juices. This also keeps your cutting board from flooding with meat juices when you slice it into the pork. A good 15 to 20 minutes rest should do under loosely tented foil.
Step 17
While holding the picnic shoulder firmly with the carving fork, repeat the diagonal downward cut (using wide, sweeping strokes) to create thick slices, leaving them attached at the bottom.
Step 18
Perfectly cooked meat should be moist and juicy. If you wish, drizzle some sauce and serve slices of flat fanned out like a deck of cards surrounded by chunks of burnt ends from the point. You can serve it simply sliced on a plate or you could pull it to serve on a pulled pork sandwich.