Spring Roll Sheets | Spring Roll Wrappers Recipe
4.9
(55)
Your folders
Your folders
Prep Time: 5 minutes
Cook Time: 45 minutes
Total: 50 minutes
Servings: 26
Ingredients
Export 3 ingredients for grocery delivery
Instructions
Step 1
In a bowl, take the all-purpose flour (maida), cornstarch and salt.
Step 2
With a wired whisk or a spoon mix the dry ingredients.
Step 3
Add water.
Step 4
Whisk well to a get smooth and slightly thin consistency of the batter without any lumps.
Step 5
The batter should be of a flowing consistency. Depending on the quality of flour, you can add less or more water.
Step 6
Now on a low flame, heat a nonstick pan. The pan should just become slightly hot and not too hot. You can also use a cast iron or steel pan. But make sure they are well-seasoned.
Step 7
With a paper tissue or a small piece of kitchen towel dipped in oil, grease the pan. For the nonstick pan you can skip greasing with oil. But if you feel the wrappers are sticking then grease or brush the pan evenly with oil.
Step 8
Now lift the pan above the stovetop burner. Add 2 tablespoons of the batter at once in the pan. So use a spoon in which 2 tablespoons of the batter can fit in. You can also make larger sized wrappers using 3 to 4 tablespoons of the batter.
Step 9
Gently, spread the spoon clockwise to make a small thin crepe. Similar to the way we make dosa. Now keep the pan on the stovetop on a low heat. Add 1 to 2 tablespoons more water if the batter becomes thick while preparing the wrappers.
Step 10
Do remember that the crepes have to be thin. If they become thick, then they break while rolling and sealing.
Step 11
On a low heat cook the crepe (spring roll wrappers) till the sides start curling up and the crepe becomes kind of translucent.
Step 12
The crepe just need to be about cooked. No need to flip and cook the other side. Just cook one side.
Step 13
Lift the spring roll wrapper with a spatula.
Step 14
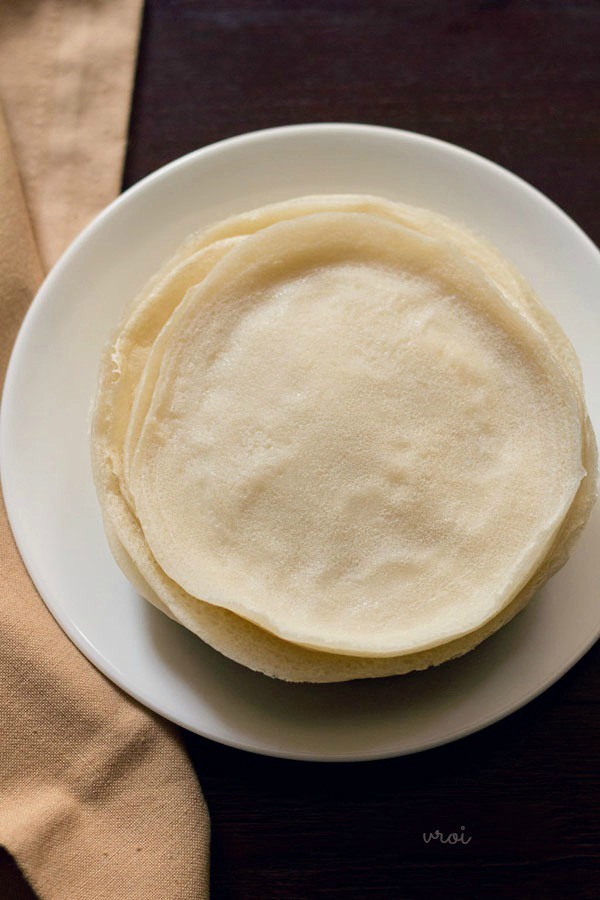
Place the spring roll wrapper in a tray or plate with the cooked side facing you.
Step 15
Make the spring roll sheets in batches this way.
Step 16
Allow the spring roll sheets to cool first and then stack them with the cooked side on top. Keep them covered in a small casserole or bowl, so that they do not dry out.Do not stack them when they are hot, as they will stick to each other.
Step 17
Once the spring roll wrappers come at room temperature, you can start making the spring rolls. Or else keep them covered in a container in the fridge.
Step 18
When keeping in the fridge, place parchment paper or butter paper between two sheets, so that they can be separated easily.
Step 19
You can also keep these spring roll sheets either in the fridge or in the freezer.
Step 20
In the fridge, these wrappers stay good for a week and in the freezer up to a month. After removing from the freezer, thaw them completely at room temperature before using.