Stained Glass Easter Eggs
Your folders
Your folders

Ingredients
Export 4 ingredients for grocery delivery
Instructions
Step 1
Gather your supplies and materials.
Step 2
Print a free Easter egg template of your choice. Find a link in the materials list above, with more details found below the tutorial.
Step 3
Place a sheet of transparency film over the template. (You can tape it in place if you don’t want it to move.)
Step 4
Shake the bottle of black puffy paint well. Use the paint to outline the egg shape and then make the details of the pattern.
Step 5
Repeat with a second egg pattern, if desired.Allow to dry, at least 4 hours or, ideally, overnight.
Step 6
Colour the different sections of the eggs with permanent marker. You can use all different colours or create a pattern.
Step 7
Cut around the egg shapes, about 1/4 inch outside the black line. No need to be super precise, since the outside is clear and can’t be seen.
Step 8
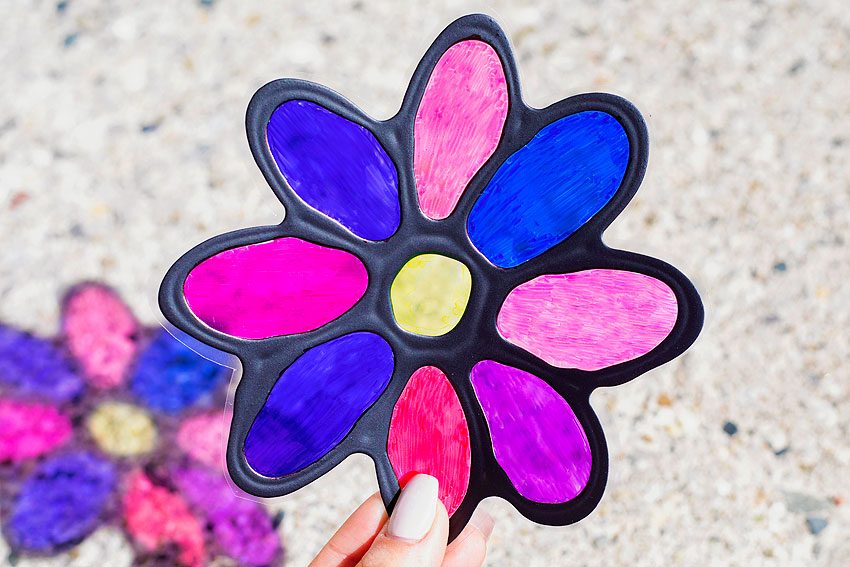
Your “stained glass” Easter eggs are complete!
Step 9
Now shine a light over your Easter egg craft to see a super cool reflection!
Step 10
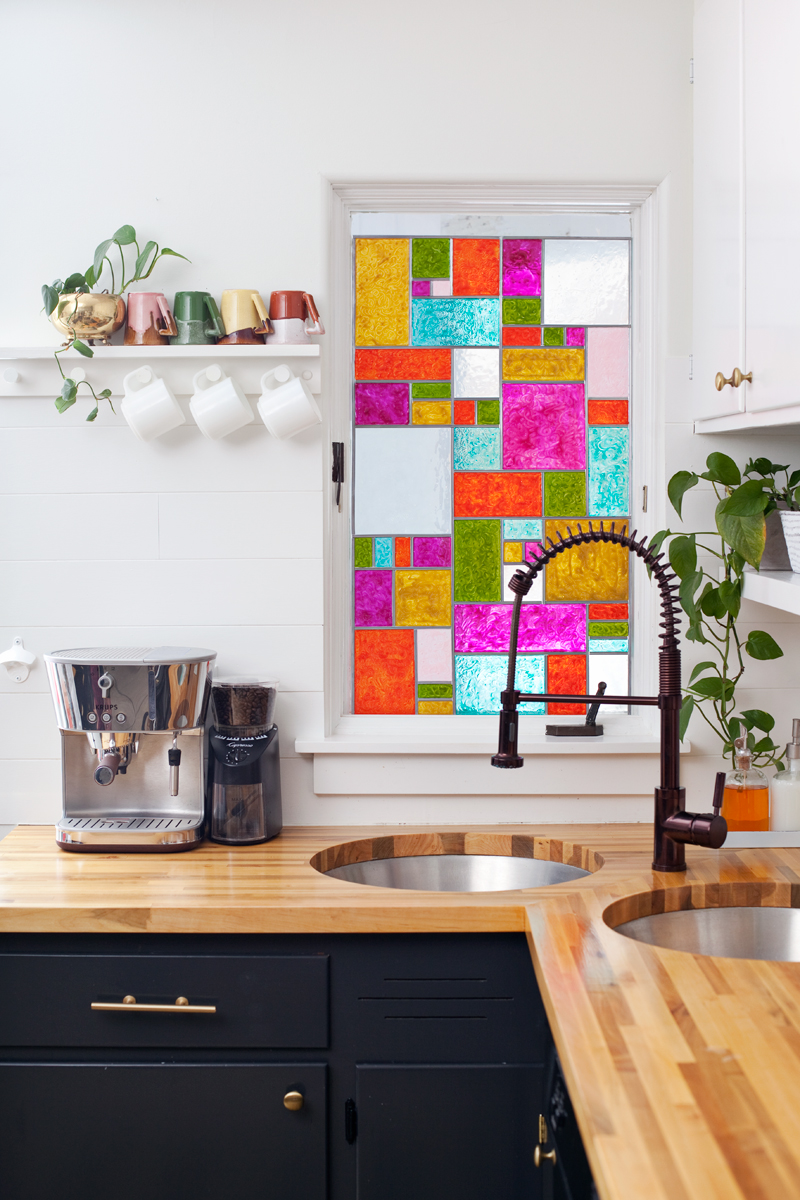
You can also tape the Easter eggs in the window as DIY suncatchers.You may spot a cool and colourful pattern on your wall or floor as the sunlight shines through!
Step 11
Gather your supplies and materials.
Step 12
Print a free Easter egg template of your choice. Find a link in the materials list above, with more details found below the tutorial.
Step 13
Place a sheet of transparency film over the template. (You can tape it in place if you don’t want it to move.)
Step 14
Shake the bottle of black puffy paint well. Use the paint to outline the egg shape and then make the details of the pattern.
Step 15
Repeat with a second egg pattern, if desired.Allow to dry, at least 4 hours or, ideally, overnight.
Step 16
Colour the different sections of the eggs with permanent marker. You can use all different colours or create a pattern.
Step 17
Cut around the egg shapes, about 1/4 inch outside the black line. No need to be super precise, since the outside is clear and can’t be seen.
Step 18
Your “stained glass” Easter eggs are complete!
Step 19
Now shine a light over your Easter egg craft to see a super cool reflection!
Step 20
You can also tape the Easter eggs in the window as DIY suncatchers.You may spot a cool and colourful pattern on your wall or floor as the sunlight shines through!
Top similar recipes
Curated for youYour folders

 337 views
Stained Glass Cookies
cookingclassy.com
5.0
(9)
30 minutes
Your folders
 223 views
Stained Glass Cookies
somewhatsimple.com
5.0
(5)
9 minutes
Your folders
 104 views
Stained Glass Cookies
preppykitchen.com
5.0
(70)
10 minutes
Your folders
 52 views
Stained Glass Cookies
preppykitchen.com
Your folders
 29 views
Stained Glass Suncatcher
onelittleproject.com
Your folders
 198 views
Chocolate Stained Glass Cookies
flourandspiceblog.com
5.0
(3)
Your folders
 136 views
Chocolate Stained Glass Candy
averiecooks.com
5.0
(3)
Your folders
 233 views
DIY Faux Stained Glass
abeautifulmess.com
Your folders
 275 views
Stained Glass Gelatin Cake
allrecipes.com
4.6
(5)
Your folders
 196 views
Stained-Glass Sugar Cookies
marthastewart.com
3.7
(122)
Your folders
 165 views
Stained glass Christmas biscuits
cookidoo.com.au
4 hours, 10 minutes
Your folders
 912 views
Stained Glass Window Sugar Cookies
sallysbakingaddiction.com
4.7
(38)
13 minutes
Your folders
 199 views
Shortcut Stained Glass Jello Salad
gritsandgouda.com
5.0
(8)
Your folders
 217 views
Stained Glass Window Sugar Cookies
sallysbakingaddiction.com
4.8
(164)
13 minutes
Your folders
 463 views
Easter Eggs
mccormick.com
15 minutes
Your folders
 170 views
Homemade Easter Eggs
justapinch.com
5.0
(3)
Your folders
 603 views
Homemade Easter eggs
bbcgoodfood.com
10 minutes
Your folders
 253 views
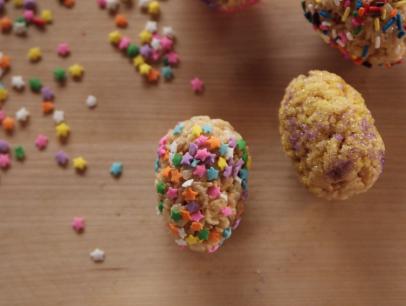
Crispy Easter Eggs
foodnetwork.com
4.3
(22)
20 minutes
Your folders
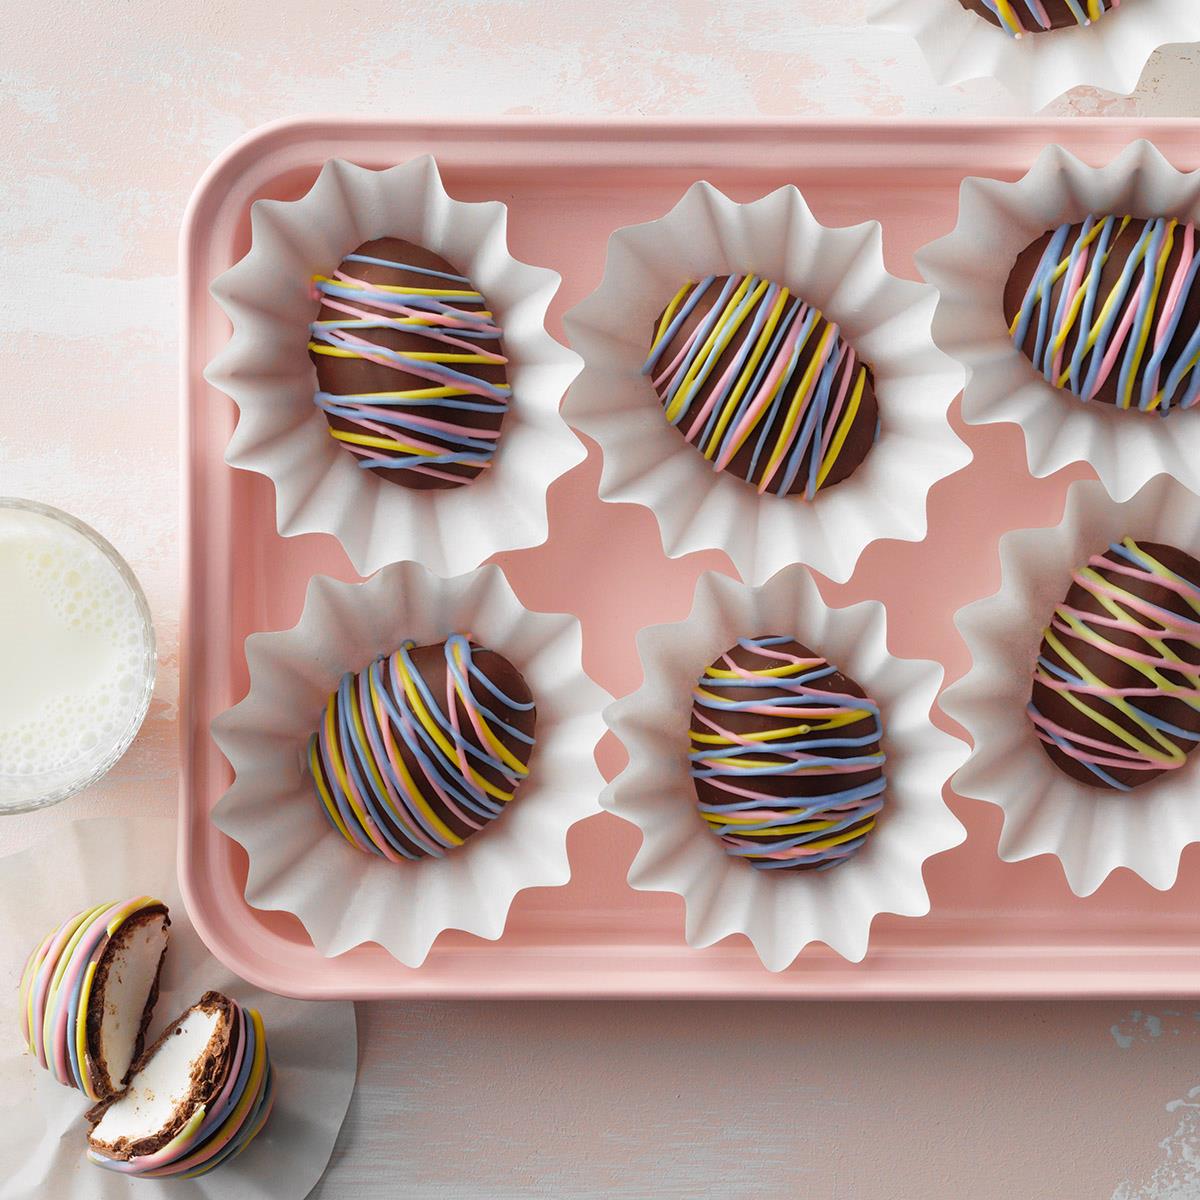 240 views
Marshmallow Easter Eggs
tasteofhome.com
4.7
(6)
15 minutes