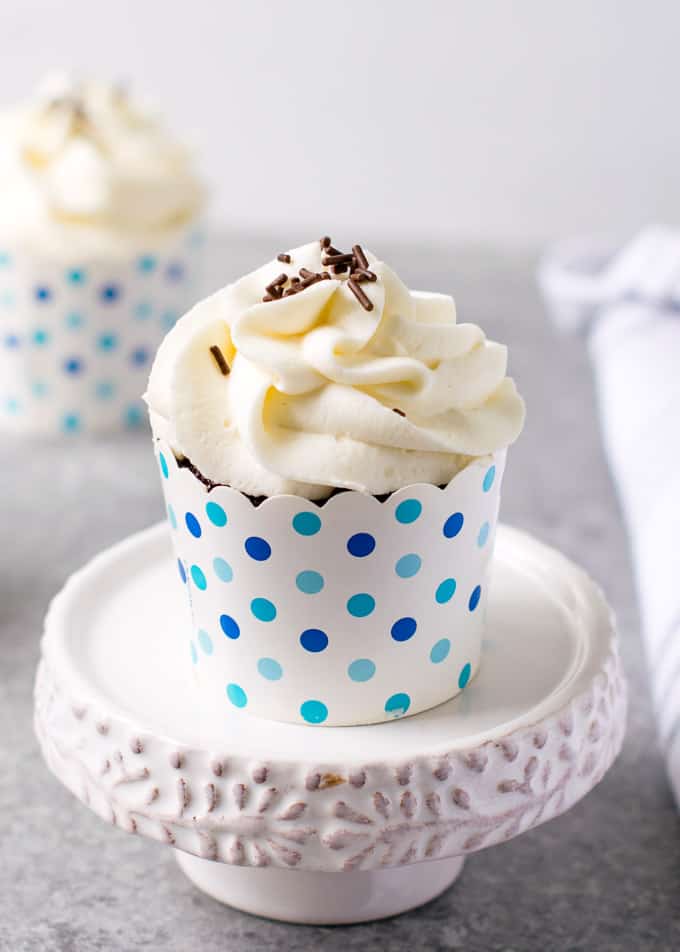
Sturdy Mascarpone frosting that holds shape.
4.2
(71)
Your folders
Your folders
Prep Time: 15 minutes
Total: 15 minutes
Servings: 36
Author : Khushboo

Ingredients
Export 3 ingredients for grocery delivery
Instructions
Step 1
You can use a stand mixer or handheld one to make this frosting.
Step 2
Use a beater attachment to loosen up the mascarpone cheese.
Step 3
Start by beating mascarpone cheese for a minute scraping the sides in between.
Step 4
Take it out with a spatula in a bowl and keep aside.
Step 5
Change the beater attachment to a balloon whisk.
Step 6
Now add chilled heavy whipping cream, confectioners’ sugar, vanilla and salt to the stand mixer bowl.
Step 7
Start whipping on a low speed.
Step 8
Gradually increase the speed to medium and whip until soft peaks form.
Step 9
It may take 3-4 minutes.
Step 10
Now add in the mascarpone cheese.
Step 11
Continue to whip on low speed until the cheese is incorporated and looks lump-free.
Step 12
Keep a close eye on the frosting after adding mascarpone.
Step 13
Whip on high speed until you just see deep streaks forming and the frosting is about to reach stiff peaks.
Step 14
Once you see the whipping streaks are getting more prominent in the bowl, stop the electric or the stand mixer.
Step 15
Whip remaining frosting by using the whisk attachment in your hand and going in circular motion i.e manually whipping the cream.
Step 16
This gives you more control and less likely to form a butter disaster.
Step 17
It’s really easy to get it wrong when using the electric whisk throughout.
Step 18
If you whip heavy whipping cream for a longer time then it will clump up separate and turn into butter.
Step 19
Your frosting is ready when the whisk attachment can hold the frosting well even when turning upside down.
Step 20
Refrigerate the frosting until ready to use.
Step 21
Decorate your bakes the same day for the best results.