Texas Sausage Recipe
3.5
(4)
Your folders
Your folders
Prep Time: 90 minutes
Cook Time: 20 minutes
Servings: 2
Cost: $13.20 /serving
Author : Maria Ermolenko

Ingredients
Export 4 ingredients for grocery delivery
Instructions
Step 1
Cut the brisket and pork shoulder into one-inch cubes.
Step 2
In a large metal or glass bowl, combine the meat cubes with the salt, cayenne pepper, black pepper, and cure #1.
Step 3
Mix thoroughly with gloved hands, making sure the seasoning is evenly distributed throughout the meat.
Step 4
Place on the bottom shelf of the refrigerator overnight to allow the flavors to develop.
Step 5
Grind the meat mixture according to the instructions included with your grinder.
Step 6
To replicate the uniquely tender texture of a Texas sausage, grind the meat twice.
Step 7
First, grind it through the coarsest plate and then through the medium plate.
Step 8
Place the ground meat in a mixer with a paddle attachment.
Step 9
You can also mix by hand.
Step 10
Avoid using a wooden or plastic spoon as these materials may absorb bacteria or other unwanted microorganisms from the meat.
Step 11
Slowly add the water and dried milk powder mixture.
Step 12
Mix until well combined and the mixture can hold together like clay.
Step 13
Add more water if necessary.
Step 14
Find one of the ends on the casing and carefully roll it onto the tube attached to the sausage stuffer.
Step 15
You will want most of the casing on the tube, leaving just a few inches at the end.
Step 16
Tie a knot in the protruding end to seal it
Step 17
It may be helpful to have someone help you with this step as it can take several tries to control the flow of meat into the casing on your own.
Step 18
As you push the meat into the casing, slowly allow the end of the casing to pull off the tube as it fills with sausage.
Step 19
Try to control this movement so that it is as smooth and even as possible.
Step 20
This will result in a consistently filled casing.
Step 21
If at any point the casing breaks, you can cut it off at the point of rupture and tie a knot to create a new end.
Step 22
Try to avoid air bubbles within the casing as this can heighten the risk for botulism.
Step 23
There are a few different ways to create individual sausage links depending on the look you desire for your final product.
Step 24
You can use butcher twine to tie square knots between the links.
Step 25
Another option is to simply twist the casing several times to create individual links.
Step 26
This method works especially well for natural casing.
Step 27
Place the sausage into the refrigerator on the bottom shelf to chill before smoking.
Step 28
Fill the heating element of your smoker with the appropriate amount of chips according to your manufacturer’s directions.
Step 29
Preheat the smoker to 160°F, the perfect temperature for a long, flavorful smoke.
Step 30
Pull the sausages out of the refrigerator an hour before smoking in order to allow the casings to dry at room temp.
Step 31
You can secure the sausages in the smoker by either placing them on a rack or hanging them from bars at the top of the smoker.
Step 32
Change out your wood chips every 90 minutes to allow for a deeper mesquite flavor.
Step 33
Your goal is for the sausages to reach an internal temperature of 154°F.
Step 34
This not only ensures that they have smoked long enough, but it also helps to kill bacteria that could be harmful down the road.
Step 35
In general, sausages will take about 3 hours to reach the desired temperature.
Step 36
Once the sausages are out of the smoker, it is important to cool them down as quickly as possible to avoid shriveled skins.
Step 37
Do this by placing the links in a cold water bath until they are room temperature or cooler.
Step 38
Blooming, or allowing the sausages to develop flavor at room temperature, is an important final step before enjoying your sausages.
Step 39
Hang them on a rack suspended between the backs of two chairs or any setup where they will have plenty of air exposure.
Step 40
The smoky flavor will continue to develop and spread throughout the sausage for a few hours.
Step 41
You should store your finished sausage in the fridge where it will keep for 3-4 days.
Step 42
While this may seem obvious, it is essential that you properly clean all of your equipment after each use.
Step 43
Working with raw meat can present bacterial hazards that will only be eliminated through proper hygiene.
Step 44
Sanitize tools and equipment parts by boiling them in hot water or using a commercial sanitizing chemical.
Top similar recipes
Curated for youYour folders

 78 views
Texas Sausage Kolache
joyousapron.com
4.9
(83)
15 minutes
Your folders

 357 views
Texas Sausage Kolaches (Klobasneks)
allrecipes.com
4.8
(14)
15 minutes
Your folders

 2017 views
Texas Sausage Kolaches (Klobasnek)
houseofyumm.com
5.0
(1)
18 minutes
Your folders
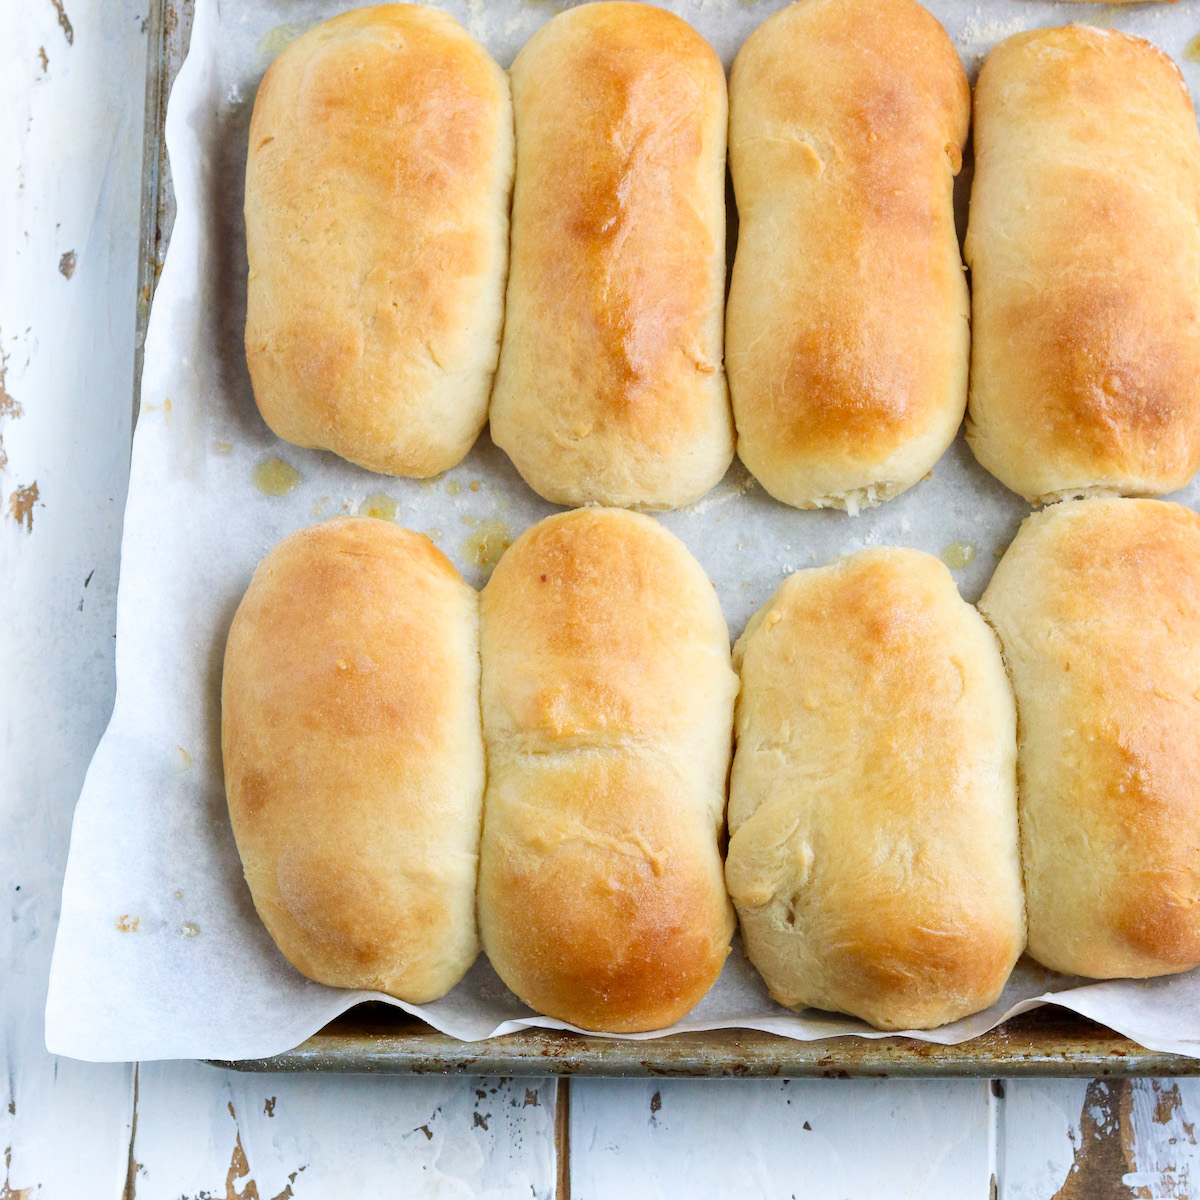
 66 views
Klobasnek aka Texas Sausage Kolache
mytxkitchen.com
5.0
(23)
35 minutes
Your folders

 81 views
Texas Jalapeno Sausage Kolaches/ Kl...
restlesschipotle.com
4.8
(88)
10 minutes
Your folders

 858 views
Texas Chili Recipe
gonnawantseconds.com
5.0
(12)
80 minutes
Your folders

 683 views
Texas Caviar Recipe
foolproofliving.com
5.0
(11)
10 minutes
Your folders
 258 views
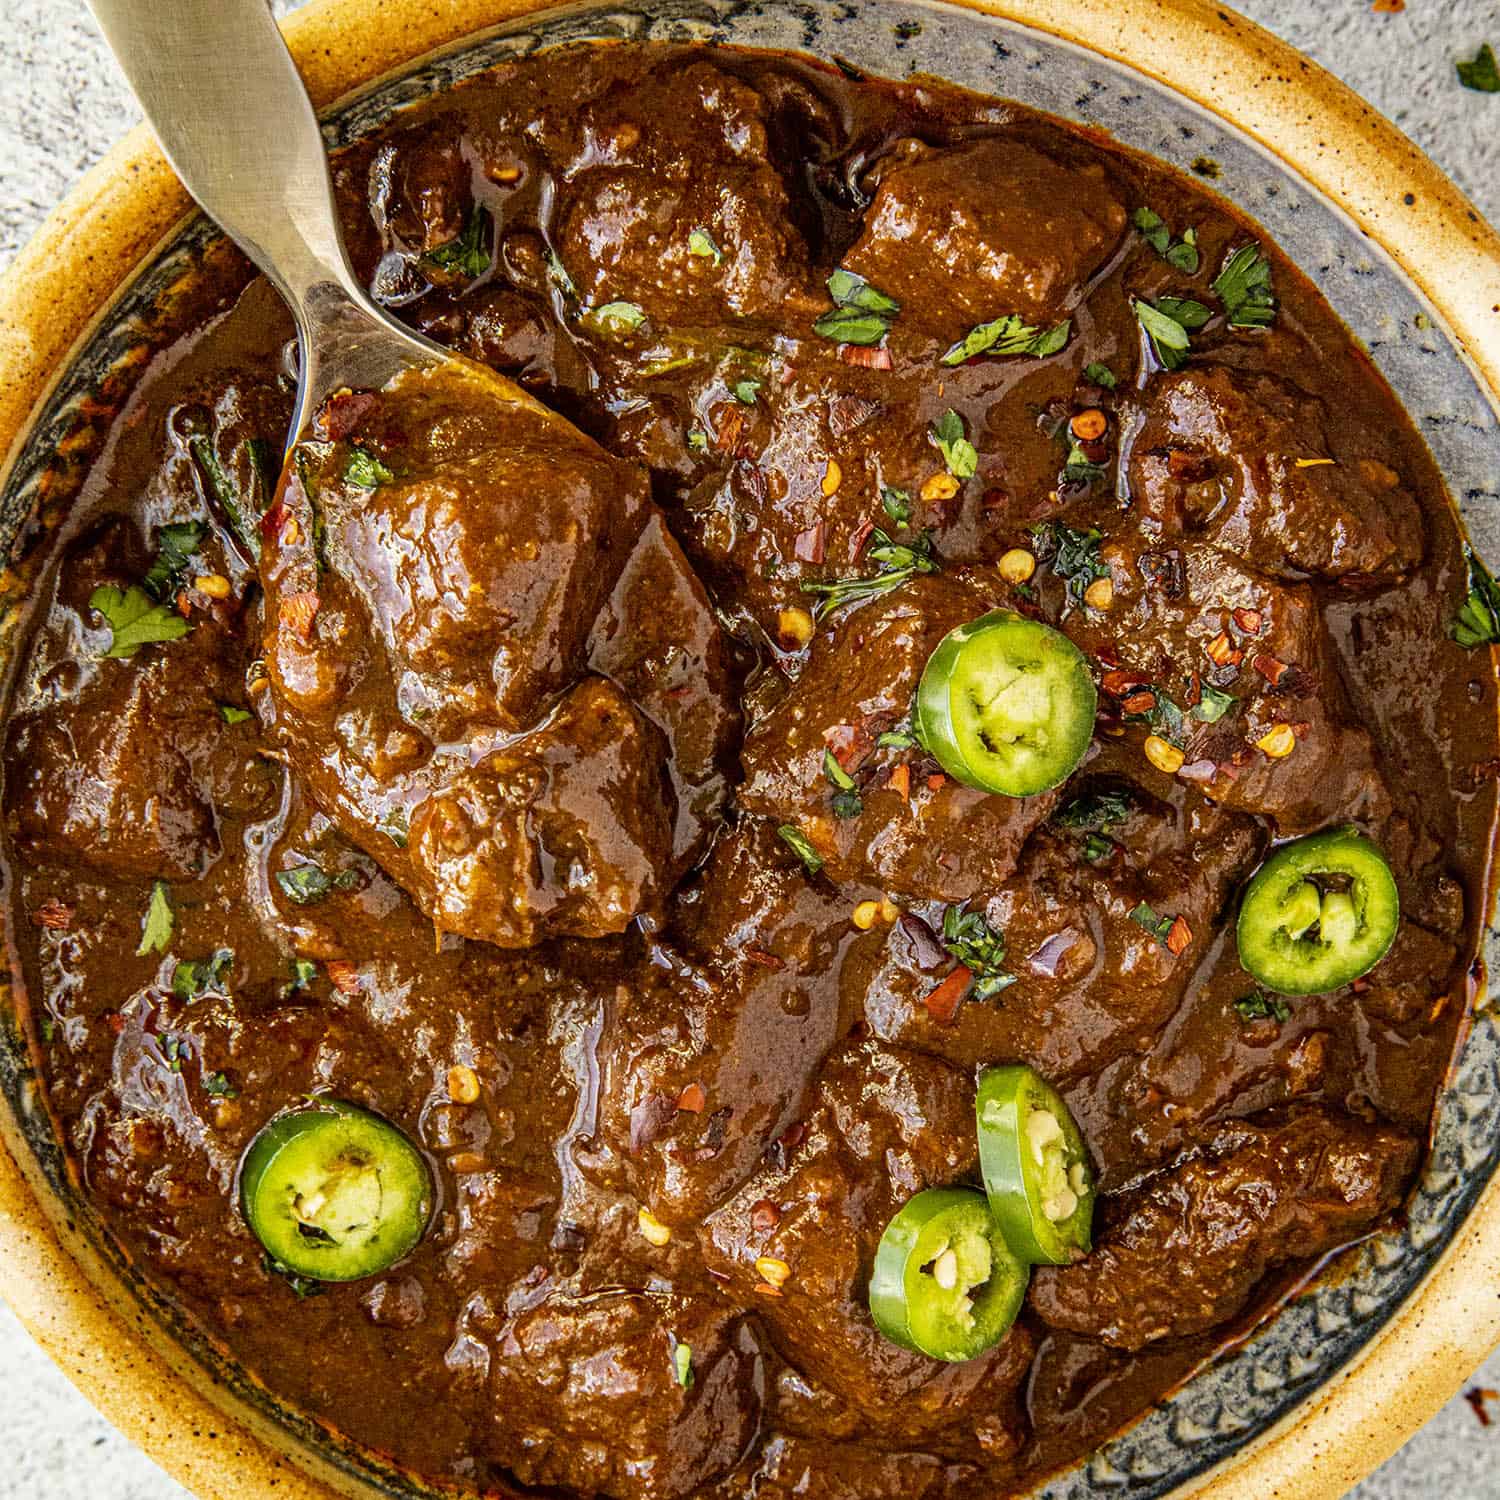
Texas Chili Recipe
chilipeppermadness.com
4.9
(50)
160 minutes
Your folders
 196 views
Texas Brisket Recipe
howtobbqright.com
3.1
(45)
Your folders

 440 views
Texas Roadhouse Recipe
foodlovinfamily.com
5.0
(6)
25 minutes
Your folders

 227 views
Texas Caviar Recipe
southernliving.com
Your folders

 458 views
Texas Hot Links (aka Texas Hot Guts...
amazingribs.com
3.9
120
Your folders

 752 views
Best Texas Chili Recipe
delish.com
3.7
(3)
2 hours, 20 minutes
Your folders
 224 views
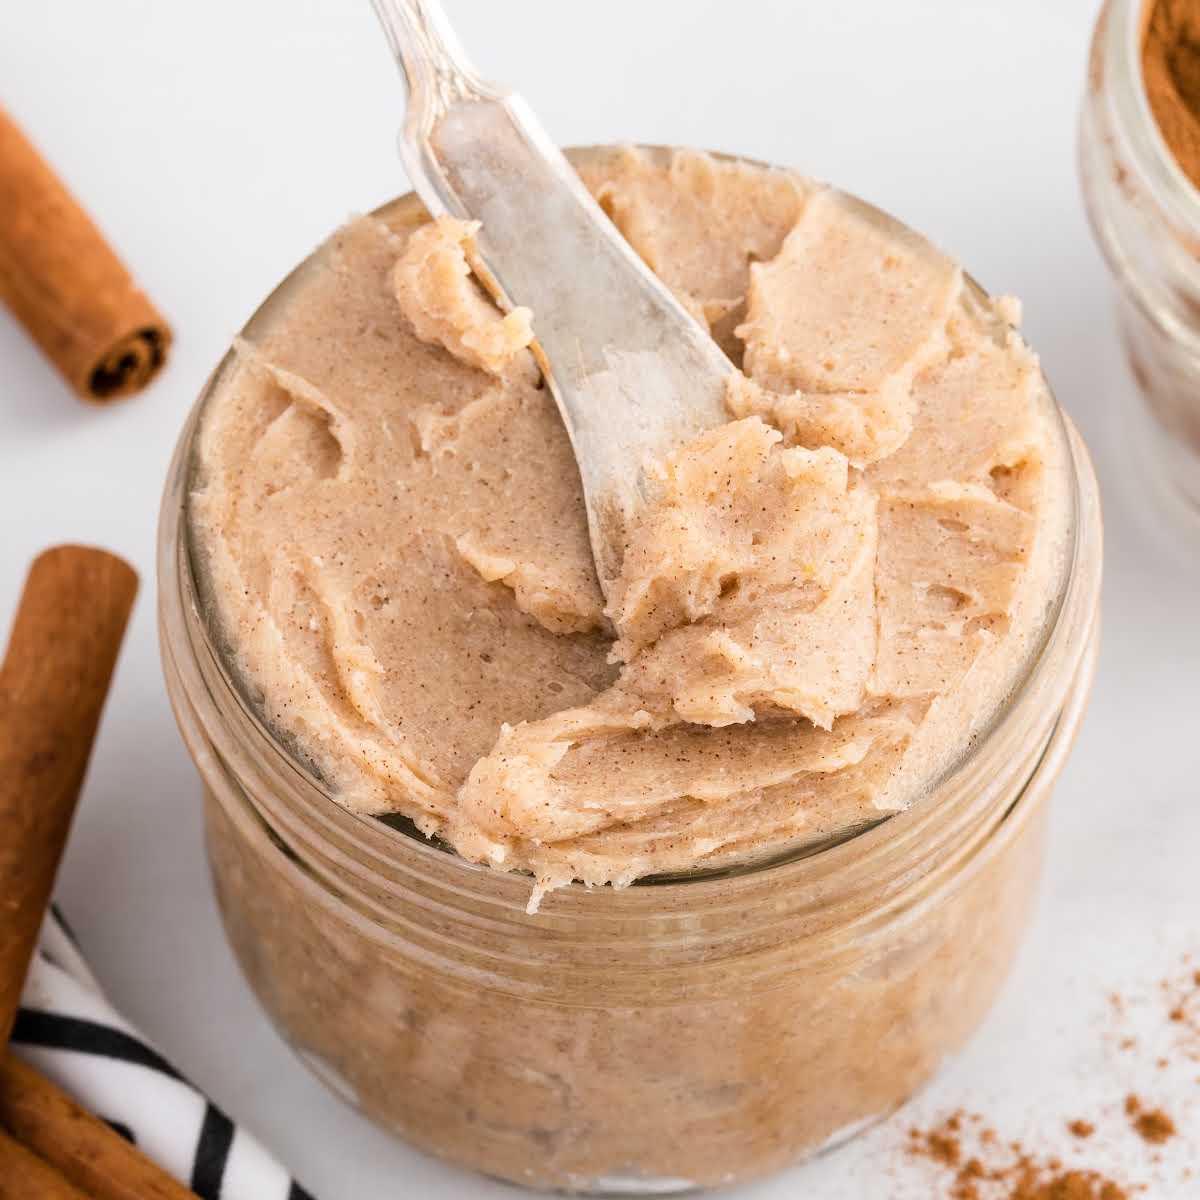
Texas Roadhouse Butter Recipe
spaceshipsandlaserbeams.com
5.0
(8)
Your folders
 238 views
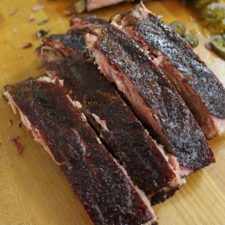
Texas Style Ribs Recipe
howtobbqright.com
3.2
(42)
Your folders
 157 views
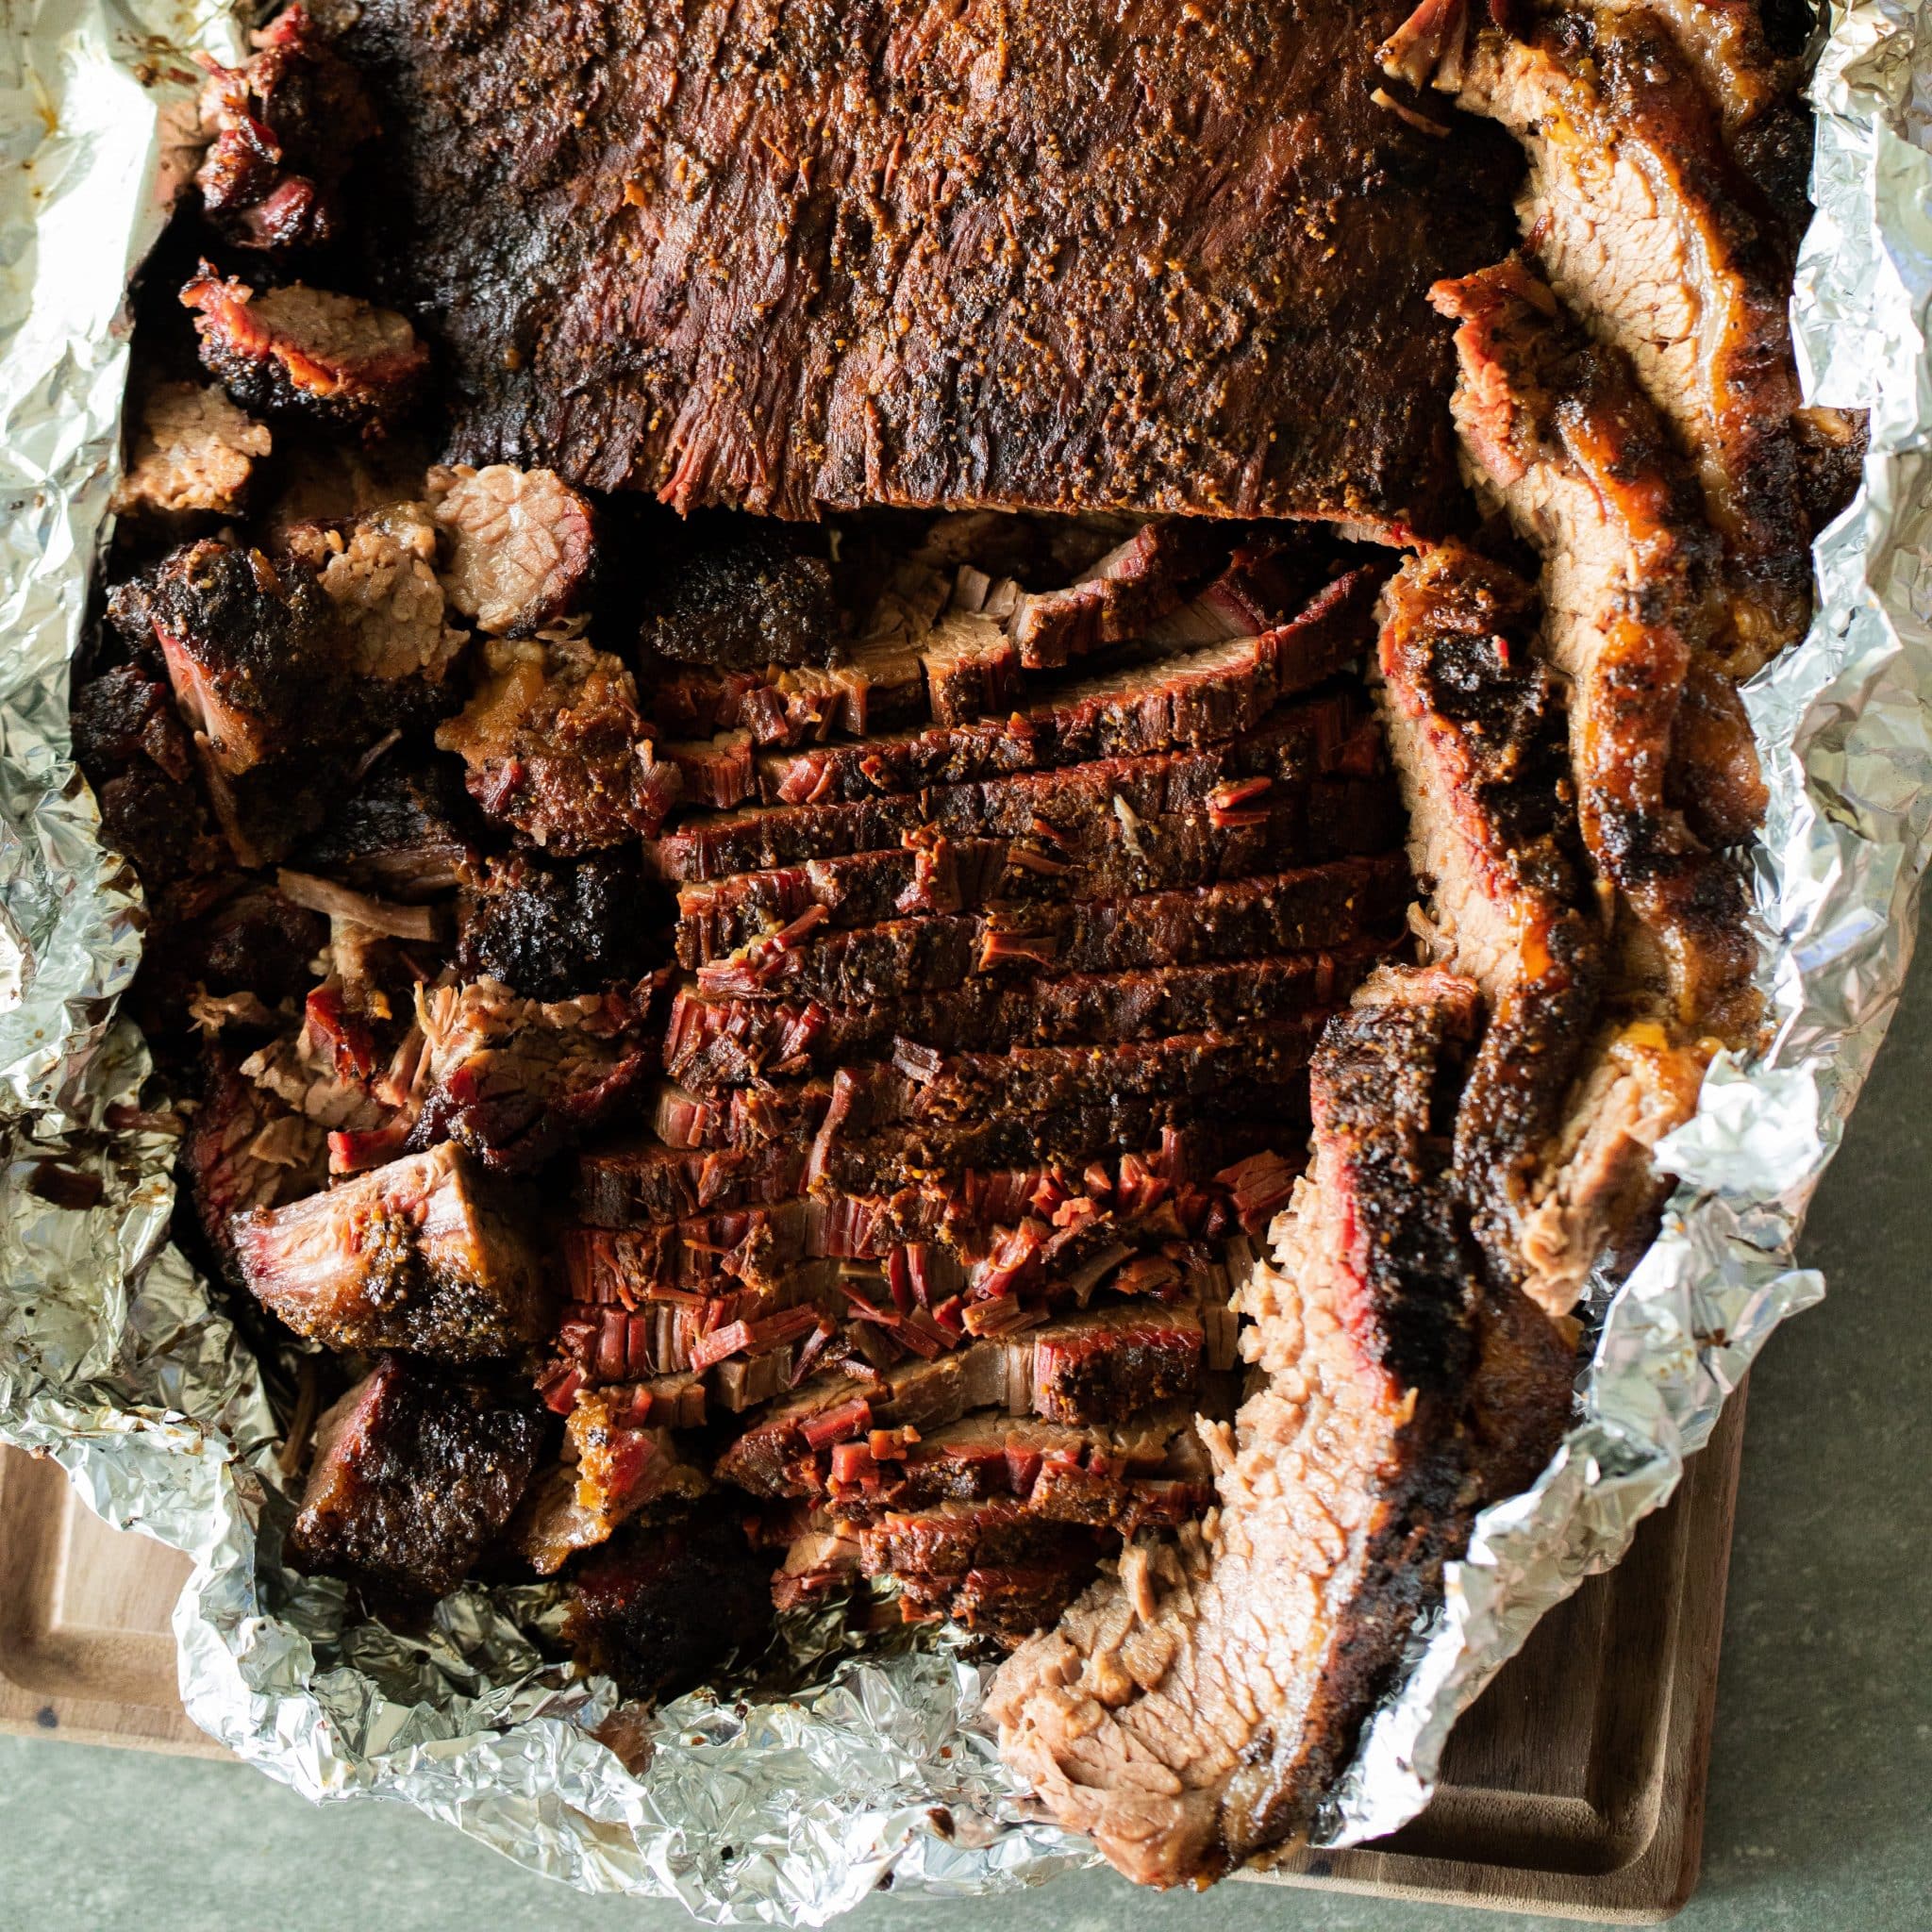
Texas Crutch Brisket Recipe
heygrillhey.com
4.8
(6)
900 minutes
Your folders

 187 views
Texas Sheet Cake Recipe
melissassouthernstylekitchen.com
5.0
(1)
30 minutes
Your folders
 200 views
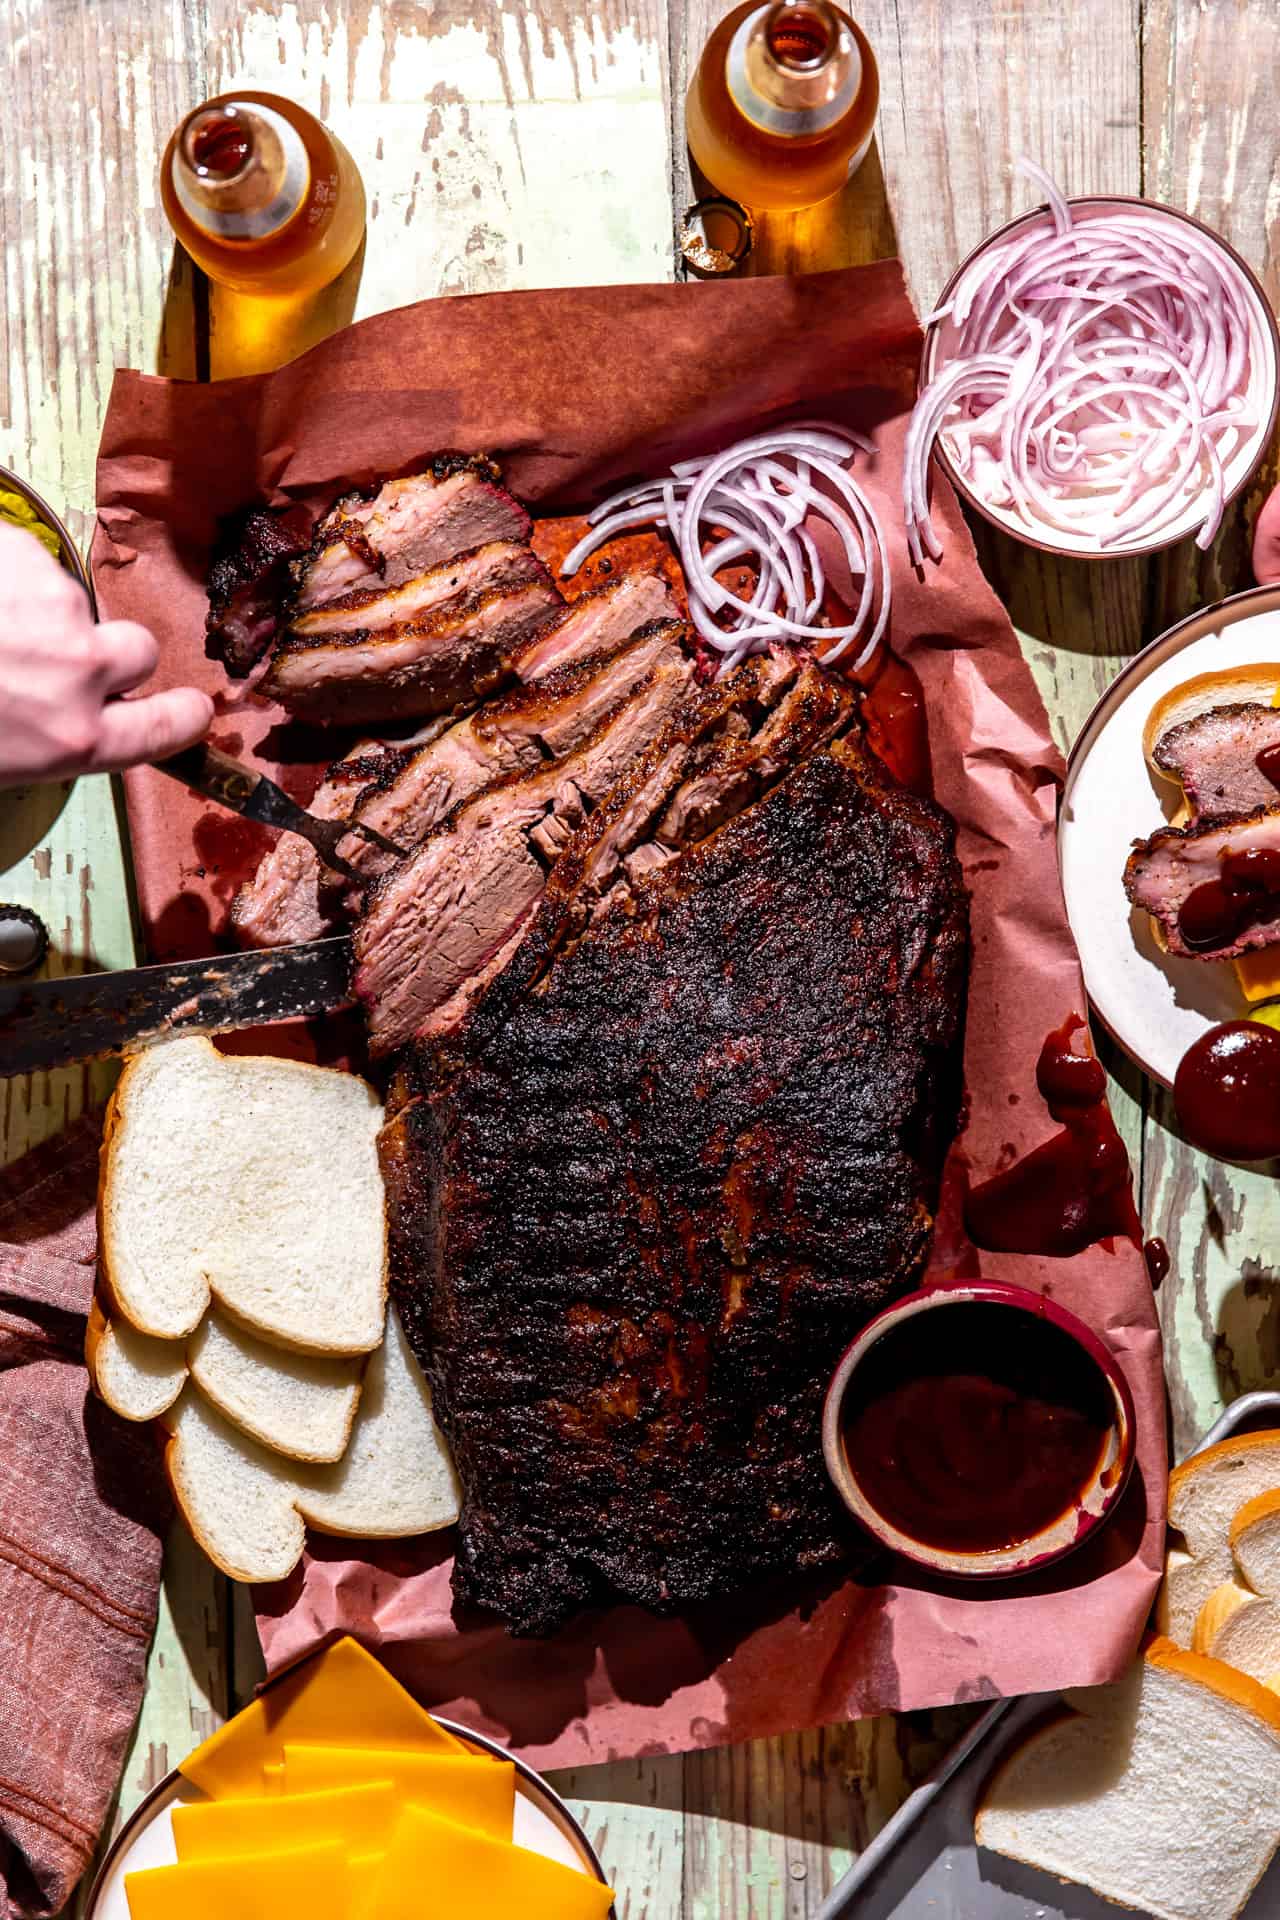
Texas Smoked Brisket Recipe
houseofyumm.com
5.0
(26)
1020 minutes
Your folders

 1101 views
Texas Roadhouse Chili Recipe
insanelygoodrecipes.com
4.4
(32)
25 minutes