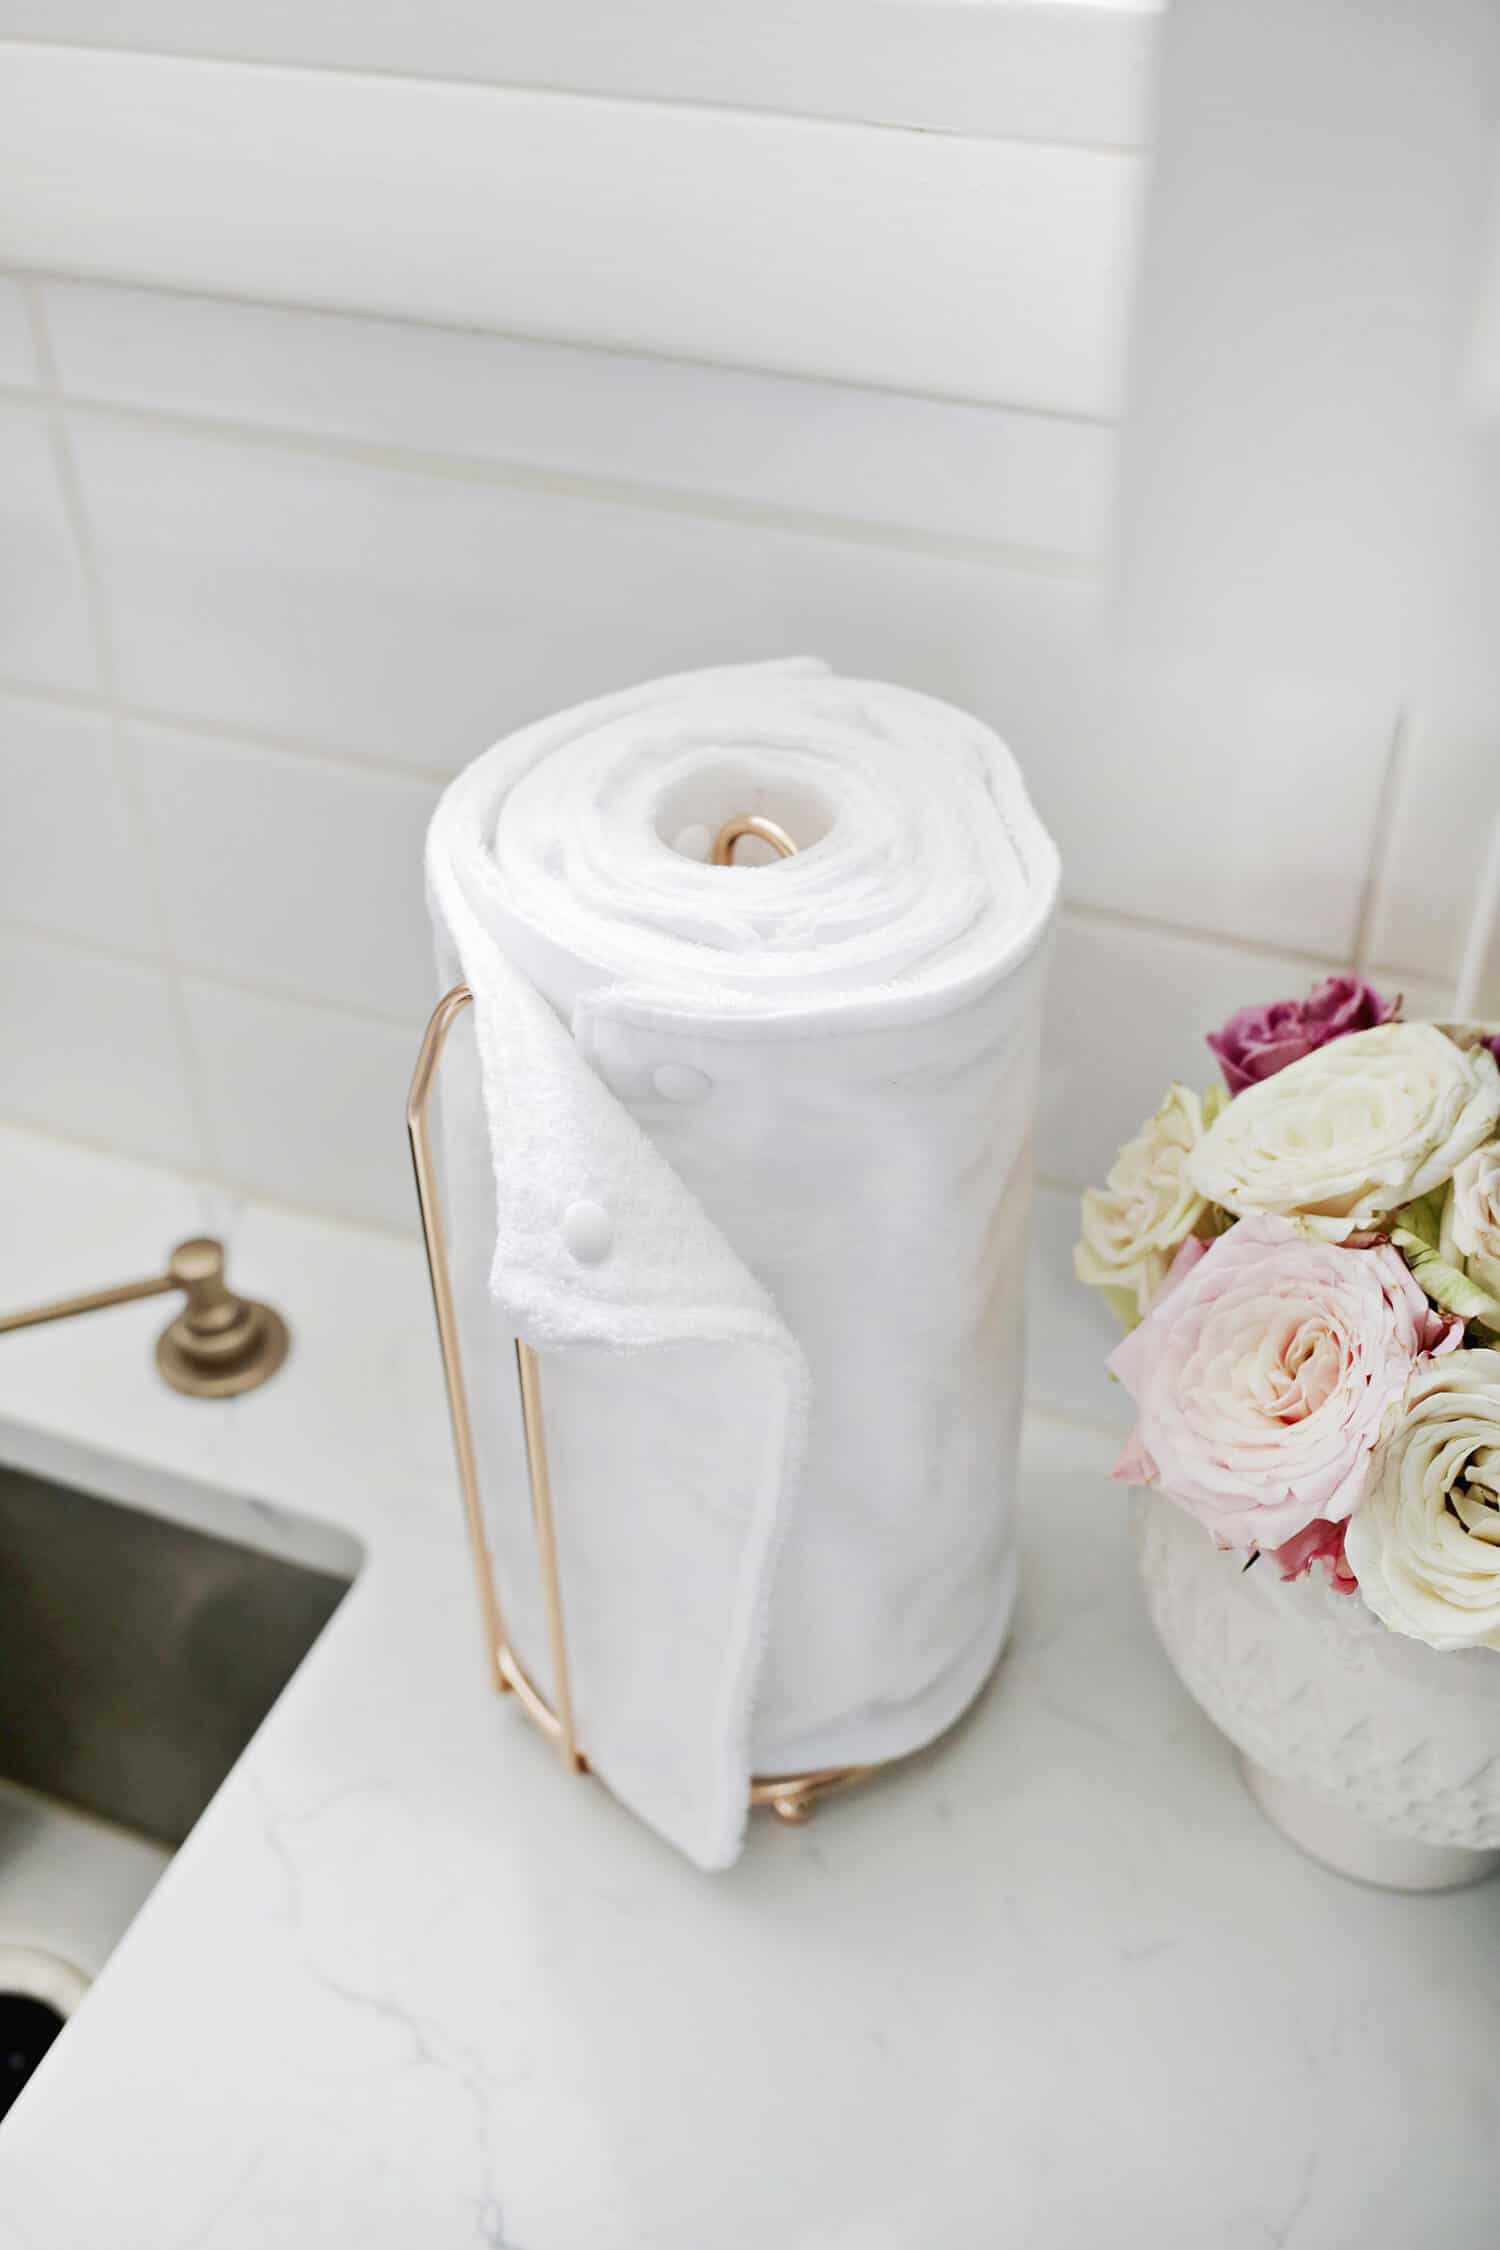
Unpaper Towel DIY (They Are Reuseable!)
Your folders
Your folders
Ingredients
Export 7 ingredients for grocery delivery
Instructions
Step 1
Wash your fabric pieces in hot water so that any shrinking will occur before you sew and dry them. Place your two fabrics on top of each other on top of your cutting mat and smooth out both layers so there are no wrinkles. You are going to cut 12″ x 12″ squares and it’s really helpful if you have a template that you can use to cut each one so you don’t have to measure out each square every time. I happened to have a smaller cutting mat that was the perfect size to use as my template, but you could also cut a piece of cardboard to be your template instead. Use your template and ruler to cut through both layers of fabric with your rotary cutter. Continue to move the fabric sections onto the cutting mat, smoothing the layers each time, and cutting with your template until you have 12 squares of two-layered fabric.
Step 2
Use your straight pins to pin each set of squares together.
Step 3
Sew around your squares with a 1/2″ seam allowance, leaving a 3″ opening so you can turn your fabric through the hole when you are done. Clip the corners of your square with scissors and then turn your fabric through the hole. You can press your seams flat by ironing each square if you like, but I found they flattened very well just by smoothing them with my hands, so I skipped that step.
Step 4
Once they are all turned right sides out, make sure your 3″ openings are folded in and even with the rest of the towel edge and sew all the way around each square again with a 1/4″ seam allowance this time. (This will close your opening for you and help keep the towels lying flat.)
Step 5
Once you have all your towels ready (yay!), get out your snaps and snap setter. Snaps have a stud side and a socket side (the stud part sticks out and the socket part goes in), so you’ll want to arrange all your towels with the flannel side up and set two socket side snaps facing downwards on the right side of the square and two stud snaps facing up on the left side of the square. I cut a piece of mesh canvas the height of my towel and marked two squares (the same height and depth from the edge) with a marker so I could just line that up with the edges and mark where to place the two snaps so I didn’t have to measure every time. Repeat by setting four snaps in this same manner on each towel.
Step 6
To make your unpaper towel roll, cut a piece of canvas 6 1/2″ wide and as tall as your towels (should be about 11″ tall). Attach stud and socket snaps (three on each side) with one set facing down and the others facing up as you see in the first photo above so that your grid will overlap about 3/4″ on each end when you snap it into a roll. It can be helpful to use clips of some sort to help keep your roll rolled up while you are marking the spots for your snap locations. Once your end snaps are attached, you’ll want to attach two stud snaps that face outward when the roll is snapped together in the middle of your canvas the same distance apart as the snaps on your towels. (You can use your grid template from the last step for this measurement, too.)
Step 7
NOTE: If your plastic canvas is too thick, your snaps won’t be very strong and may snap when you go to unsnap them from each other. If that happens, try a lighter weight canvas and that should solve the problem. You can also attach two snaps the right distance onto a cardboard roll leftover from a regular paper towel, so that’s always an option, too!
Step 8
Once your snaps are all set, you can snap your roll together and start assembling your unpaper towel roll until all your towels are added!
Top similar recipes
Curated for youYour folders

 332 views
These 4-Ingredient Doughnuts Are Ma...
popsugar.com
2.0
(40)
Your folders
 203 views
Quilt Block Tea Towel
polkadotchair.com
Your folders
 77 views
Hand Towel Travel Caddy
gluesticksblog.com
Your folders
 646 views
Zucchini They Will Eat!
food.com
5.0
(25)
Your folders
 117 views
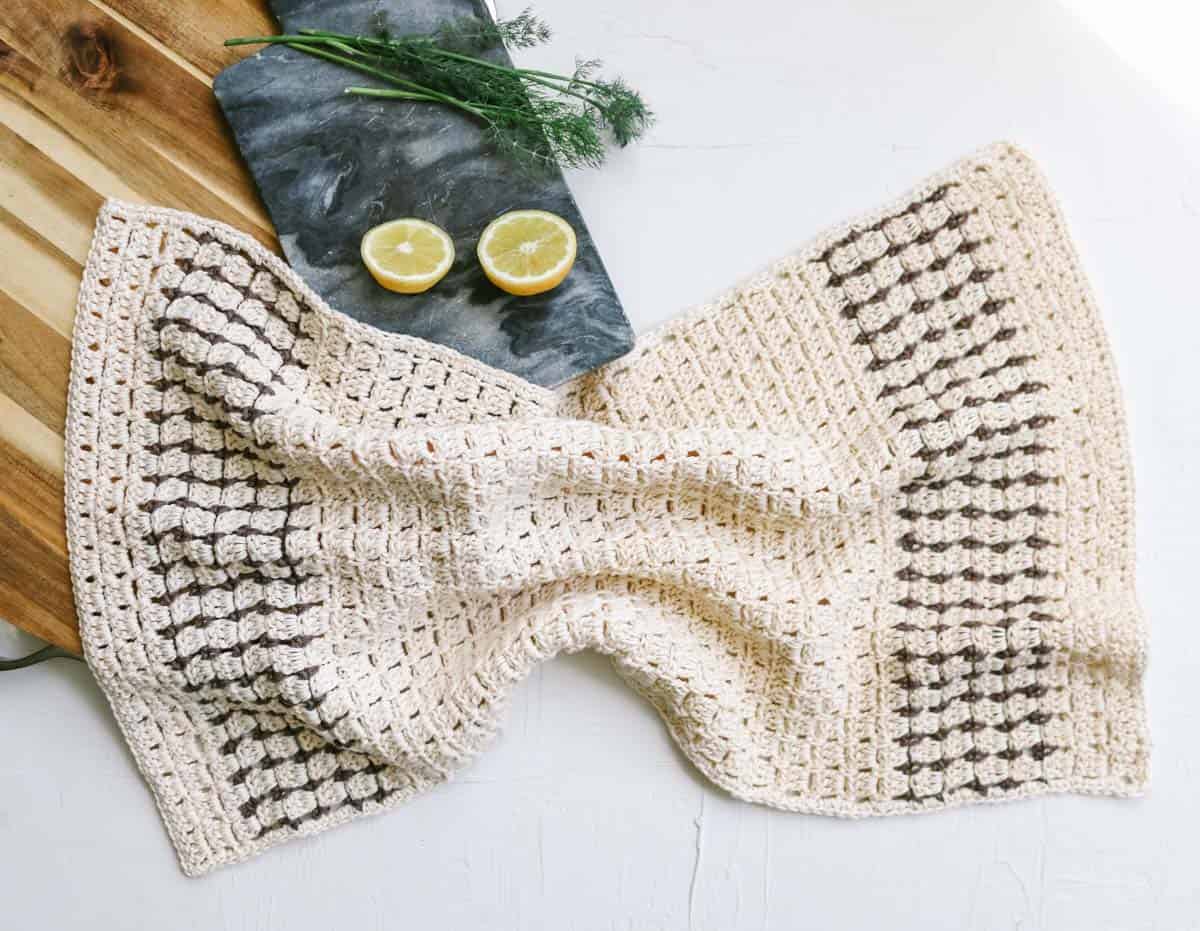
Easy Crochet Towel Pattern Video Ov...
makeanddocrew.com
Your folders
 225 views
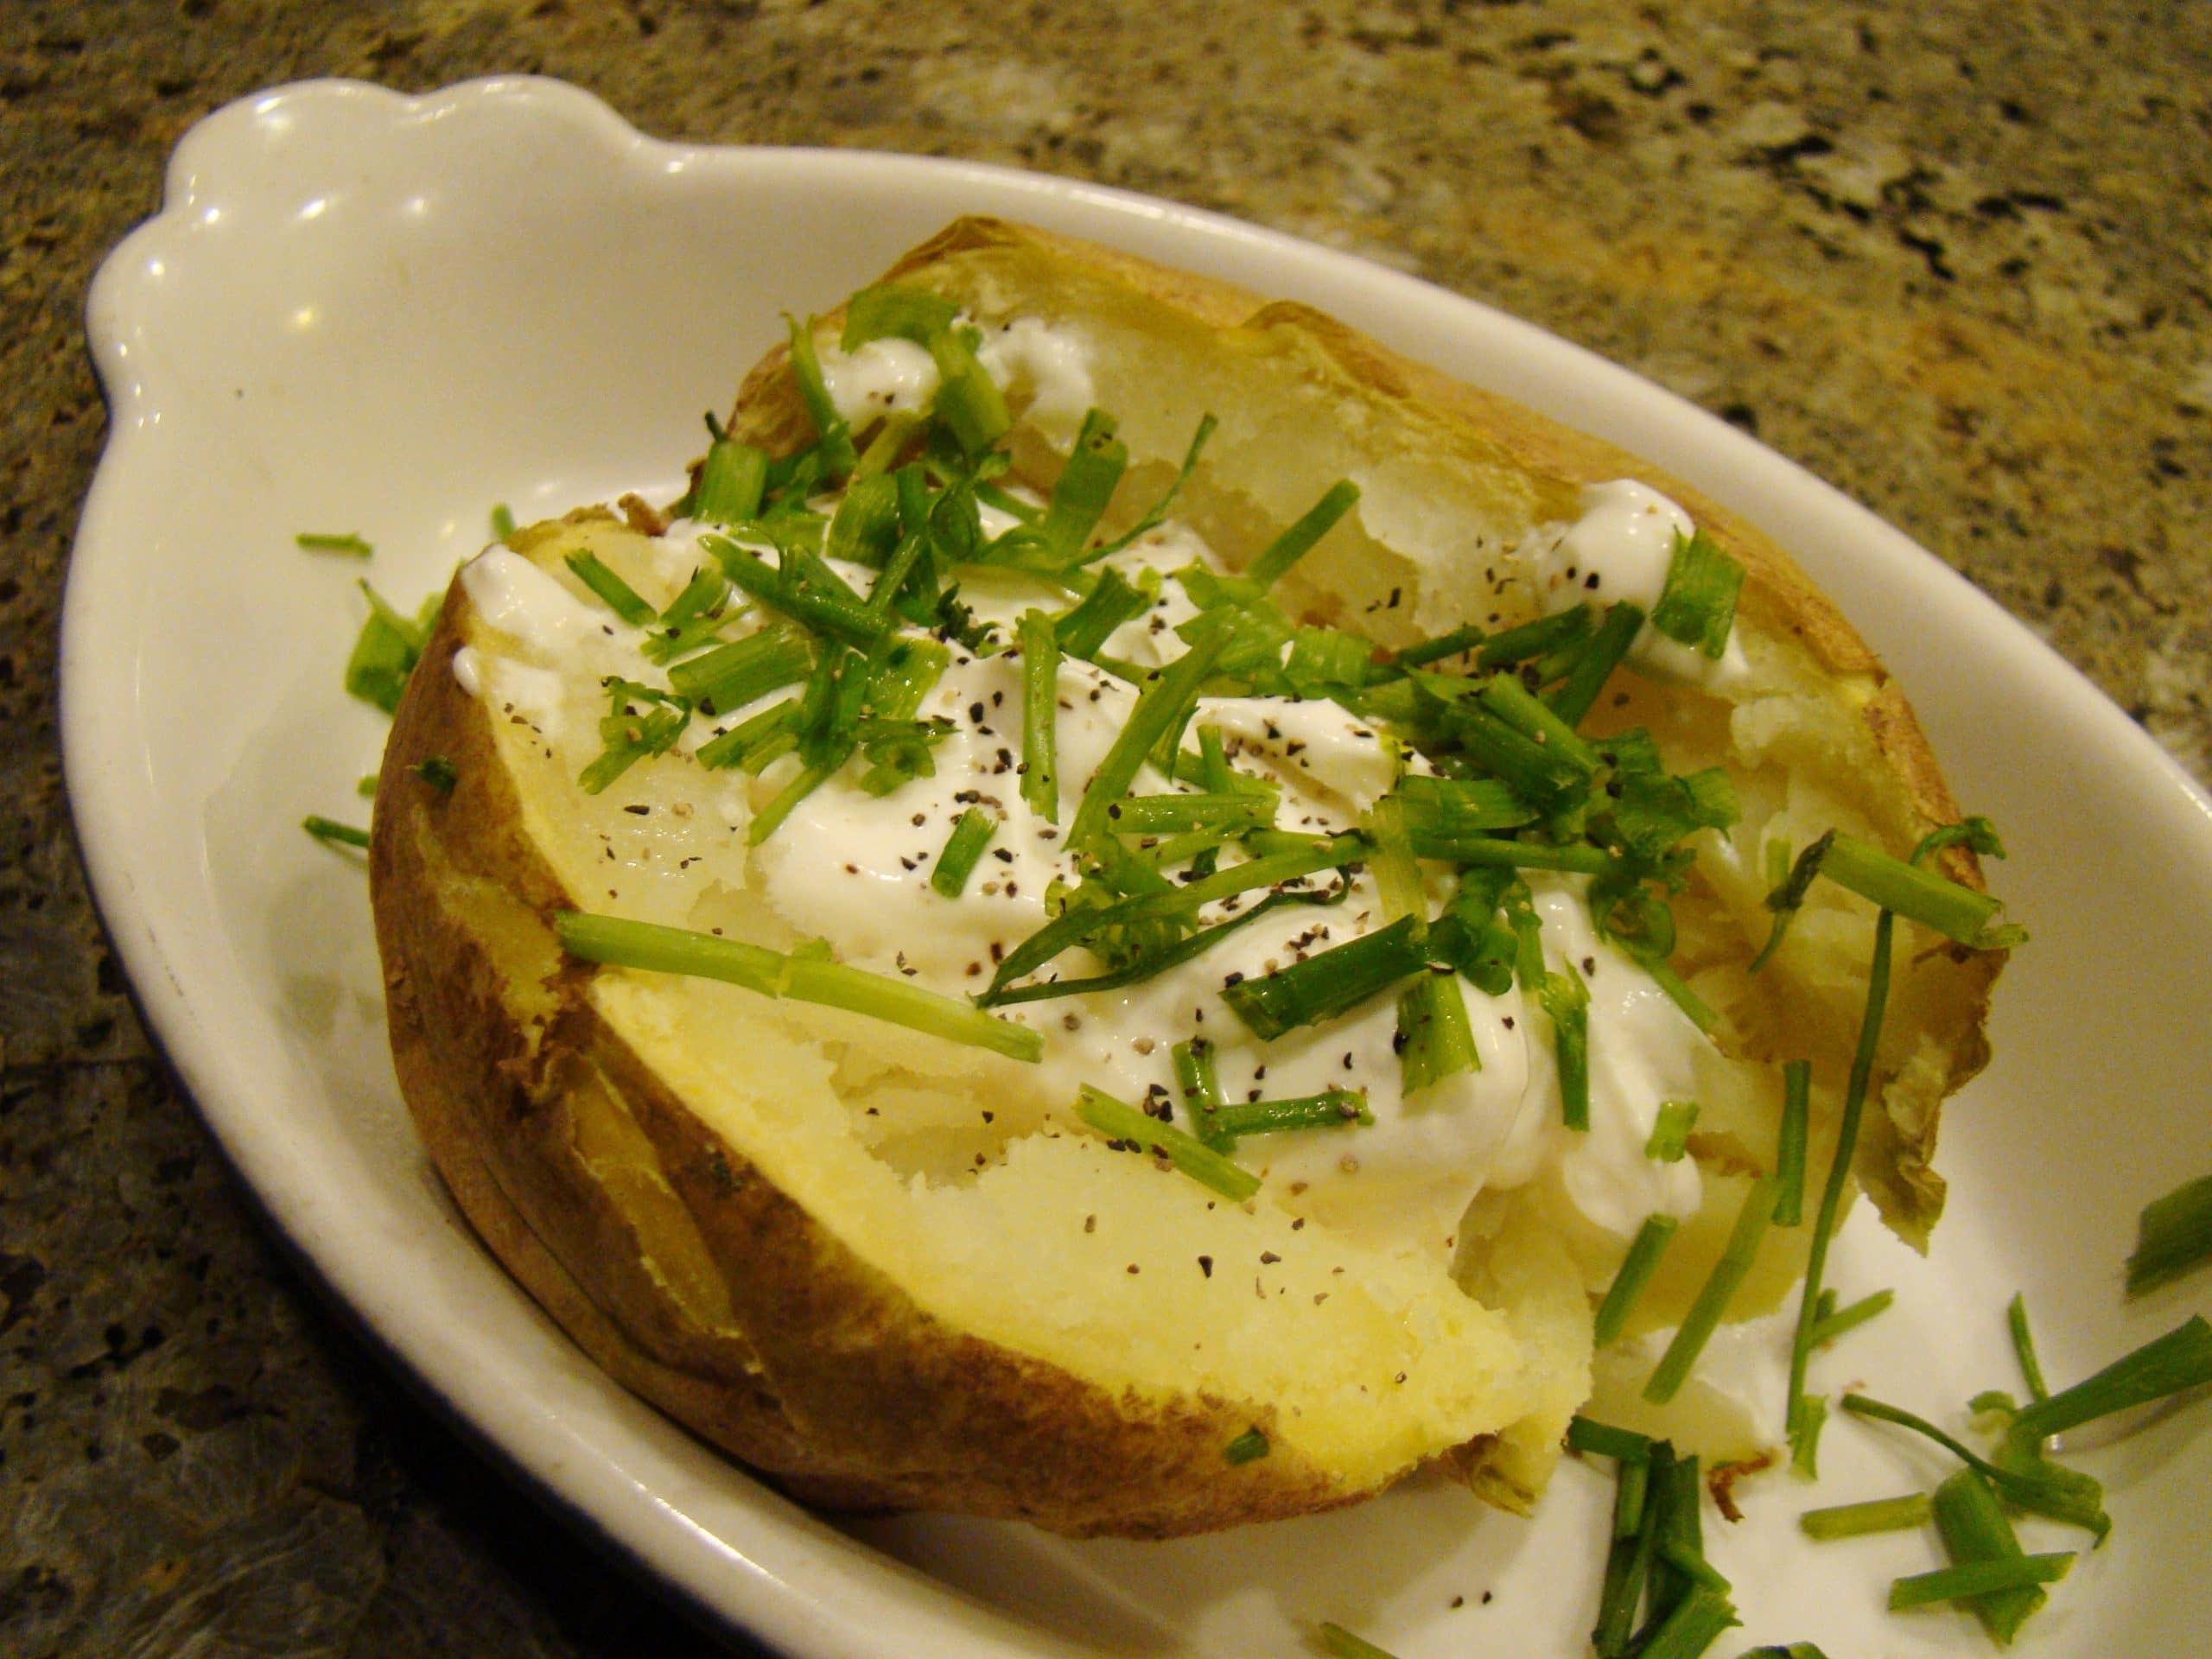
10 Minute baked potato in microwave...
thebrilliantkitchen.com
10 minutes
Your folders
 178 views
Yes, These 48-Hour Chocolate Chip C...
popsugar.co.uk
Your folders
 244 views
Are Pickles Low FODMAP?
casadesante.com
2.0
(11)
Your folders
 83 views
Crispy, Crunchy Gluten Free Gingers...
glutenfreeonashoestring.com
Your folders
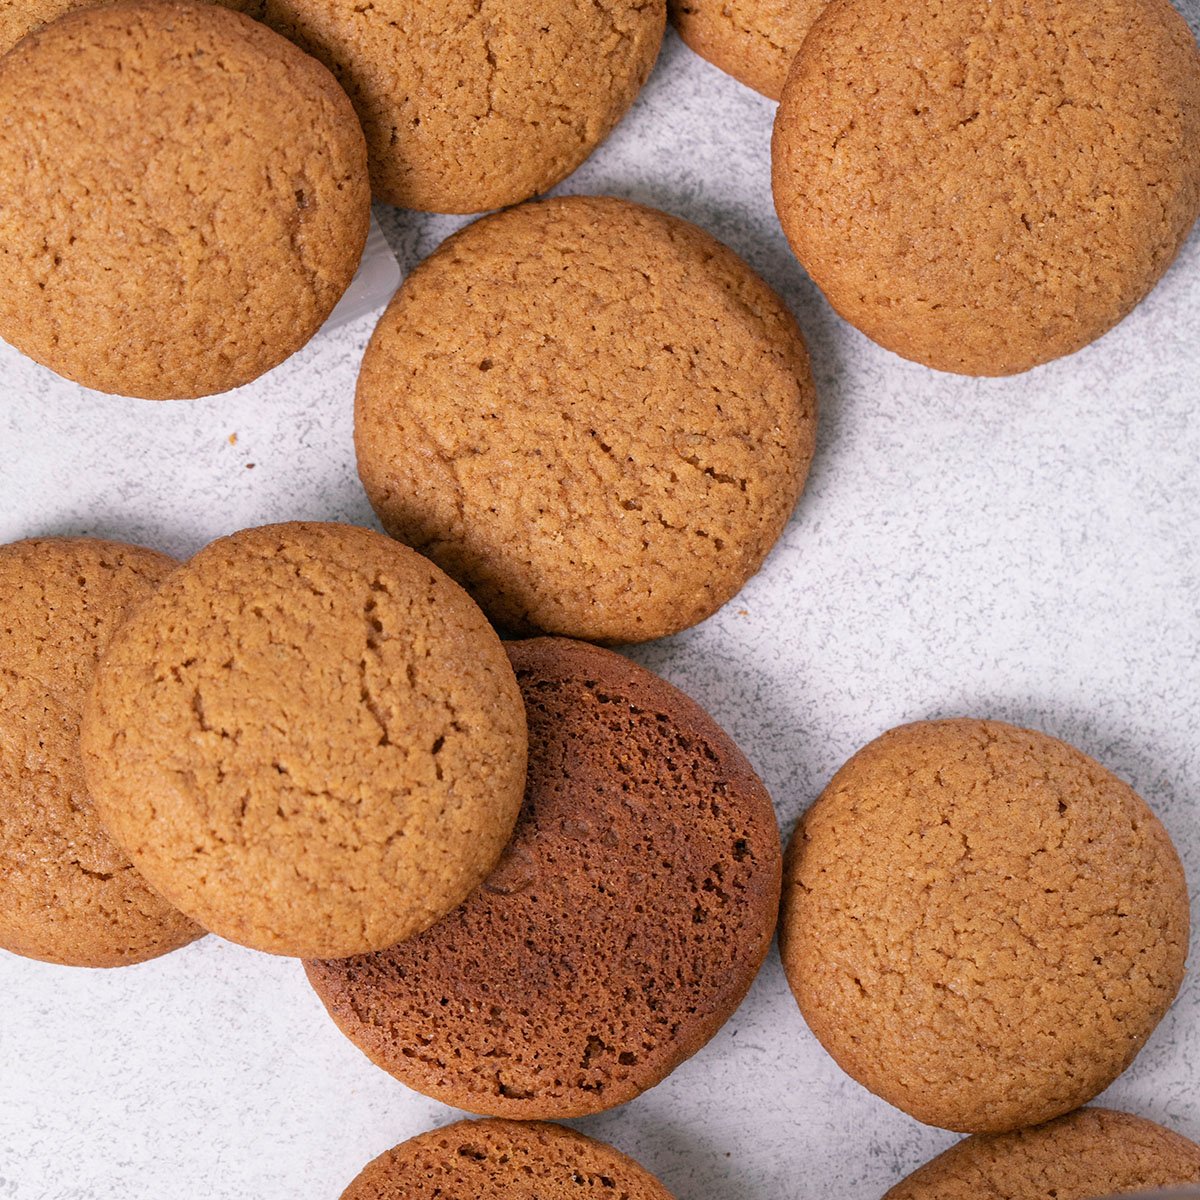 130 views
Crispy, Crunchy Gluten Free Gingers...
glutenfreeonashoestring.com
5.0
(70)
20 minutes
Your folders
 654 views
DIY Latte
amindfullmom.com
5.0
(36)
1 minutes
Your folders
 152 views
DIY pizza
taste.com.au
4.6
(3)
10 minutes
Your folders
 279 views
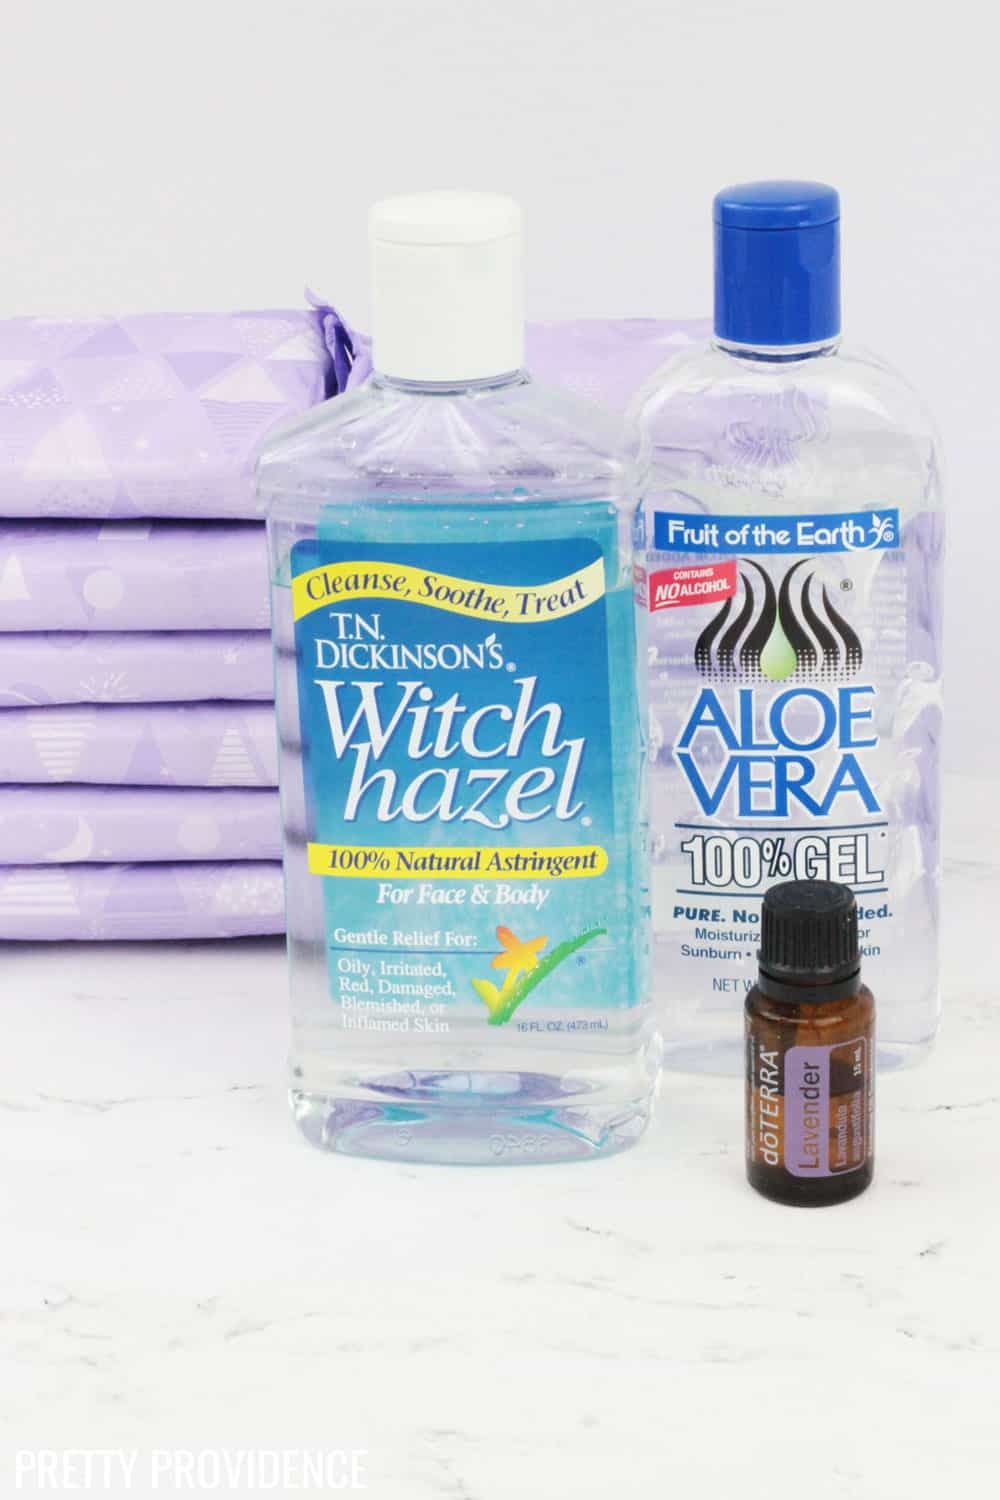
DIY Padiscles
prettyprovidence.com
Your folders
 379 views
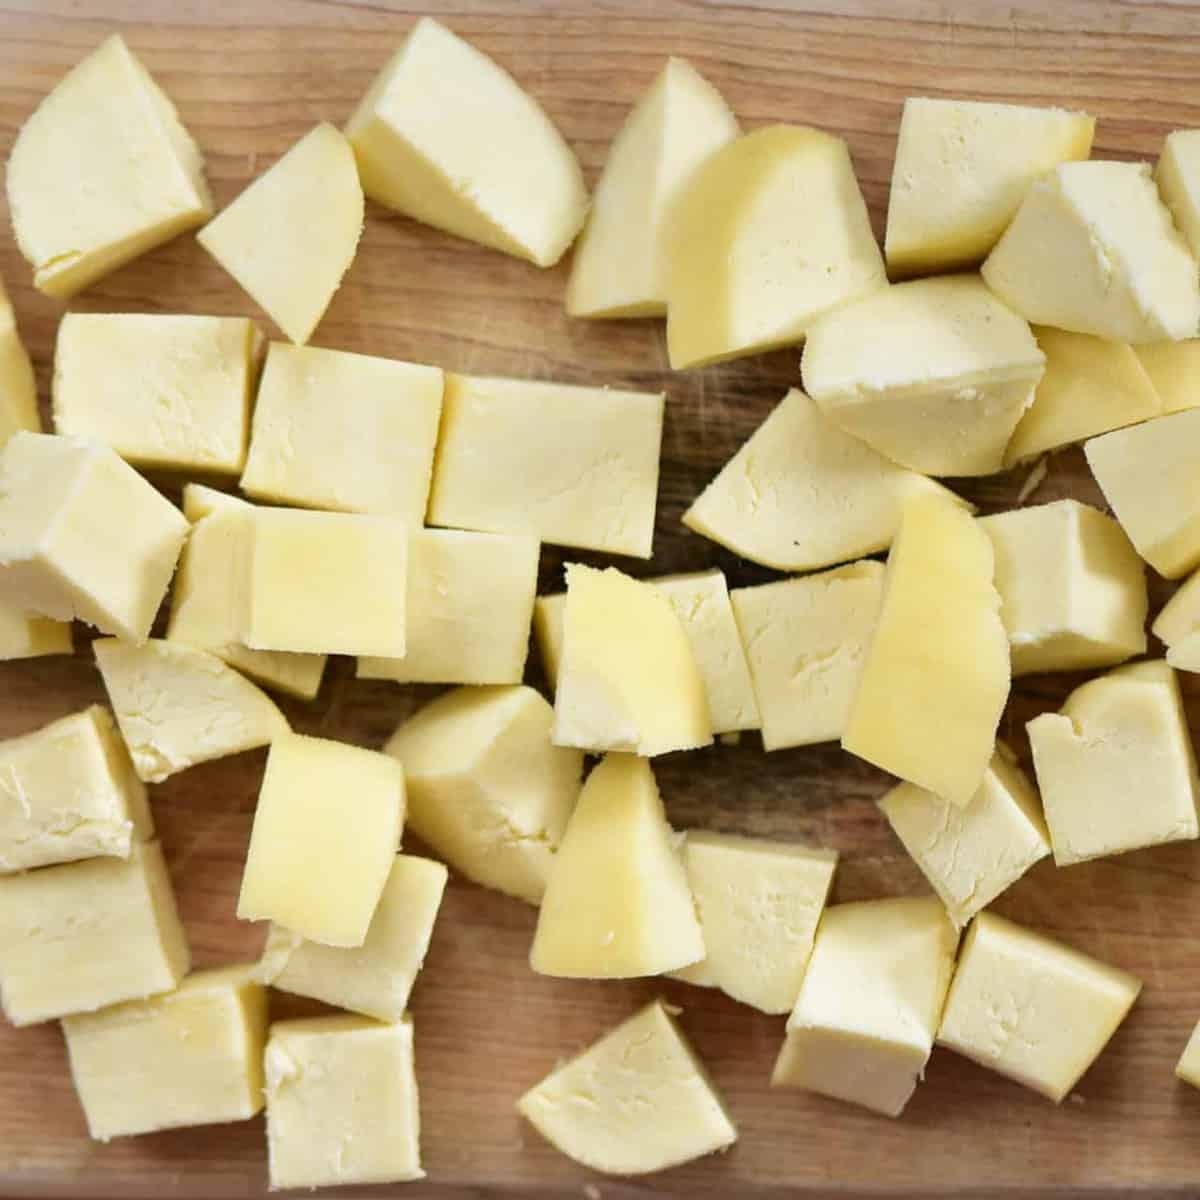
Paneer DIY
alphafoodie.com
4.9
(16)
20 minutes
Your folders
 313 views
DIY Notebooks
papernstitchblog.com
Your folders
 304 views
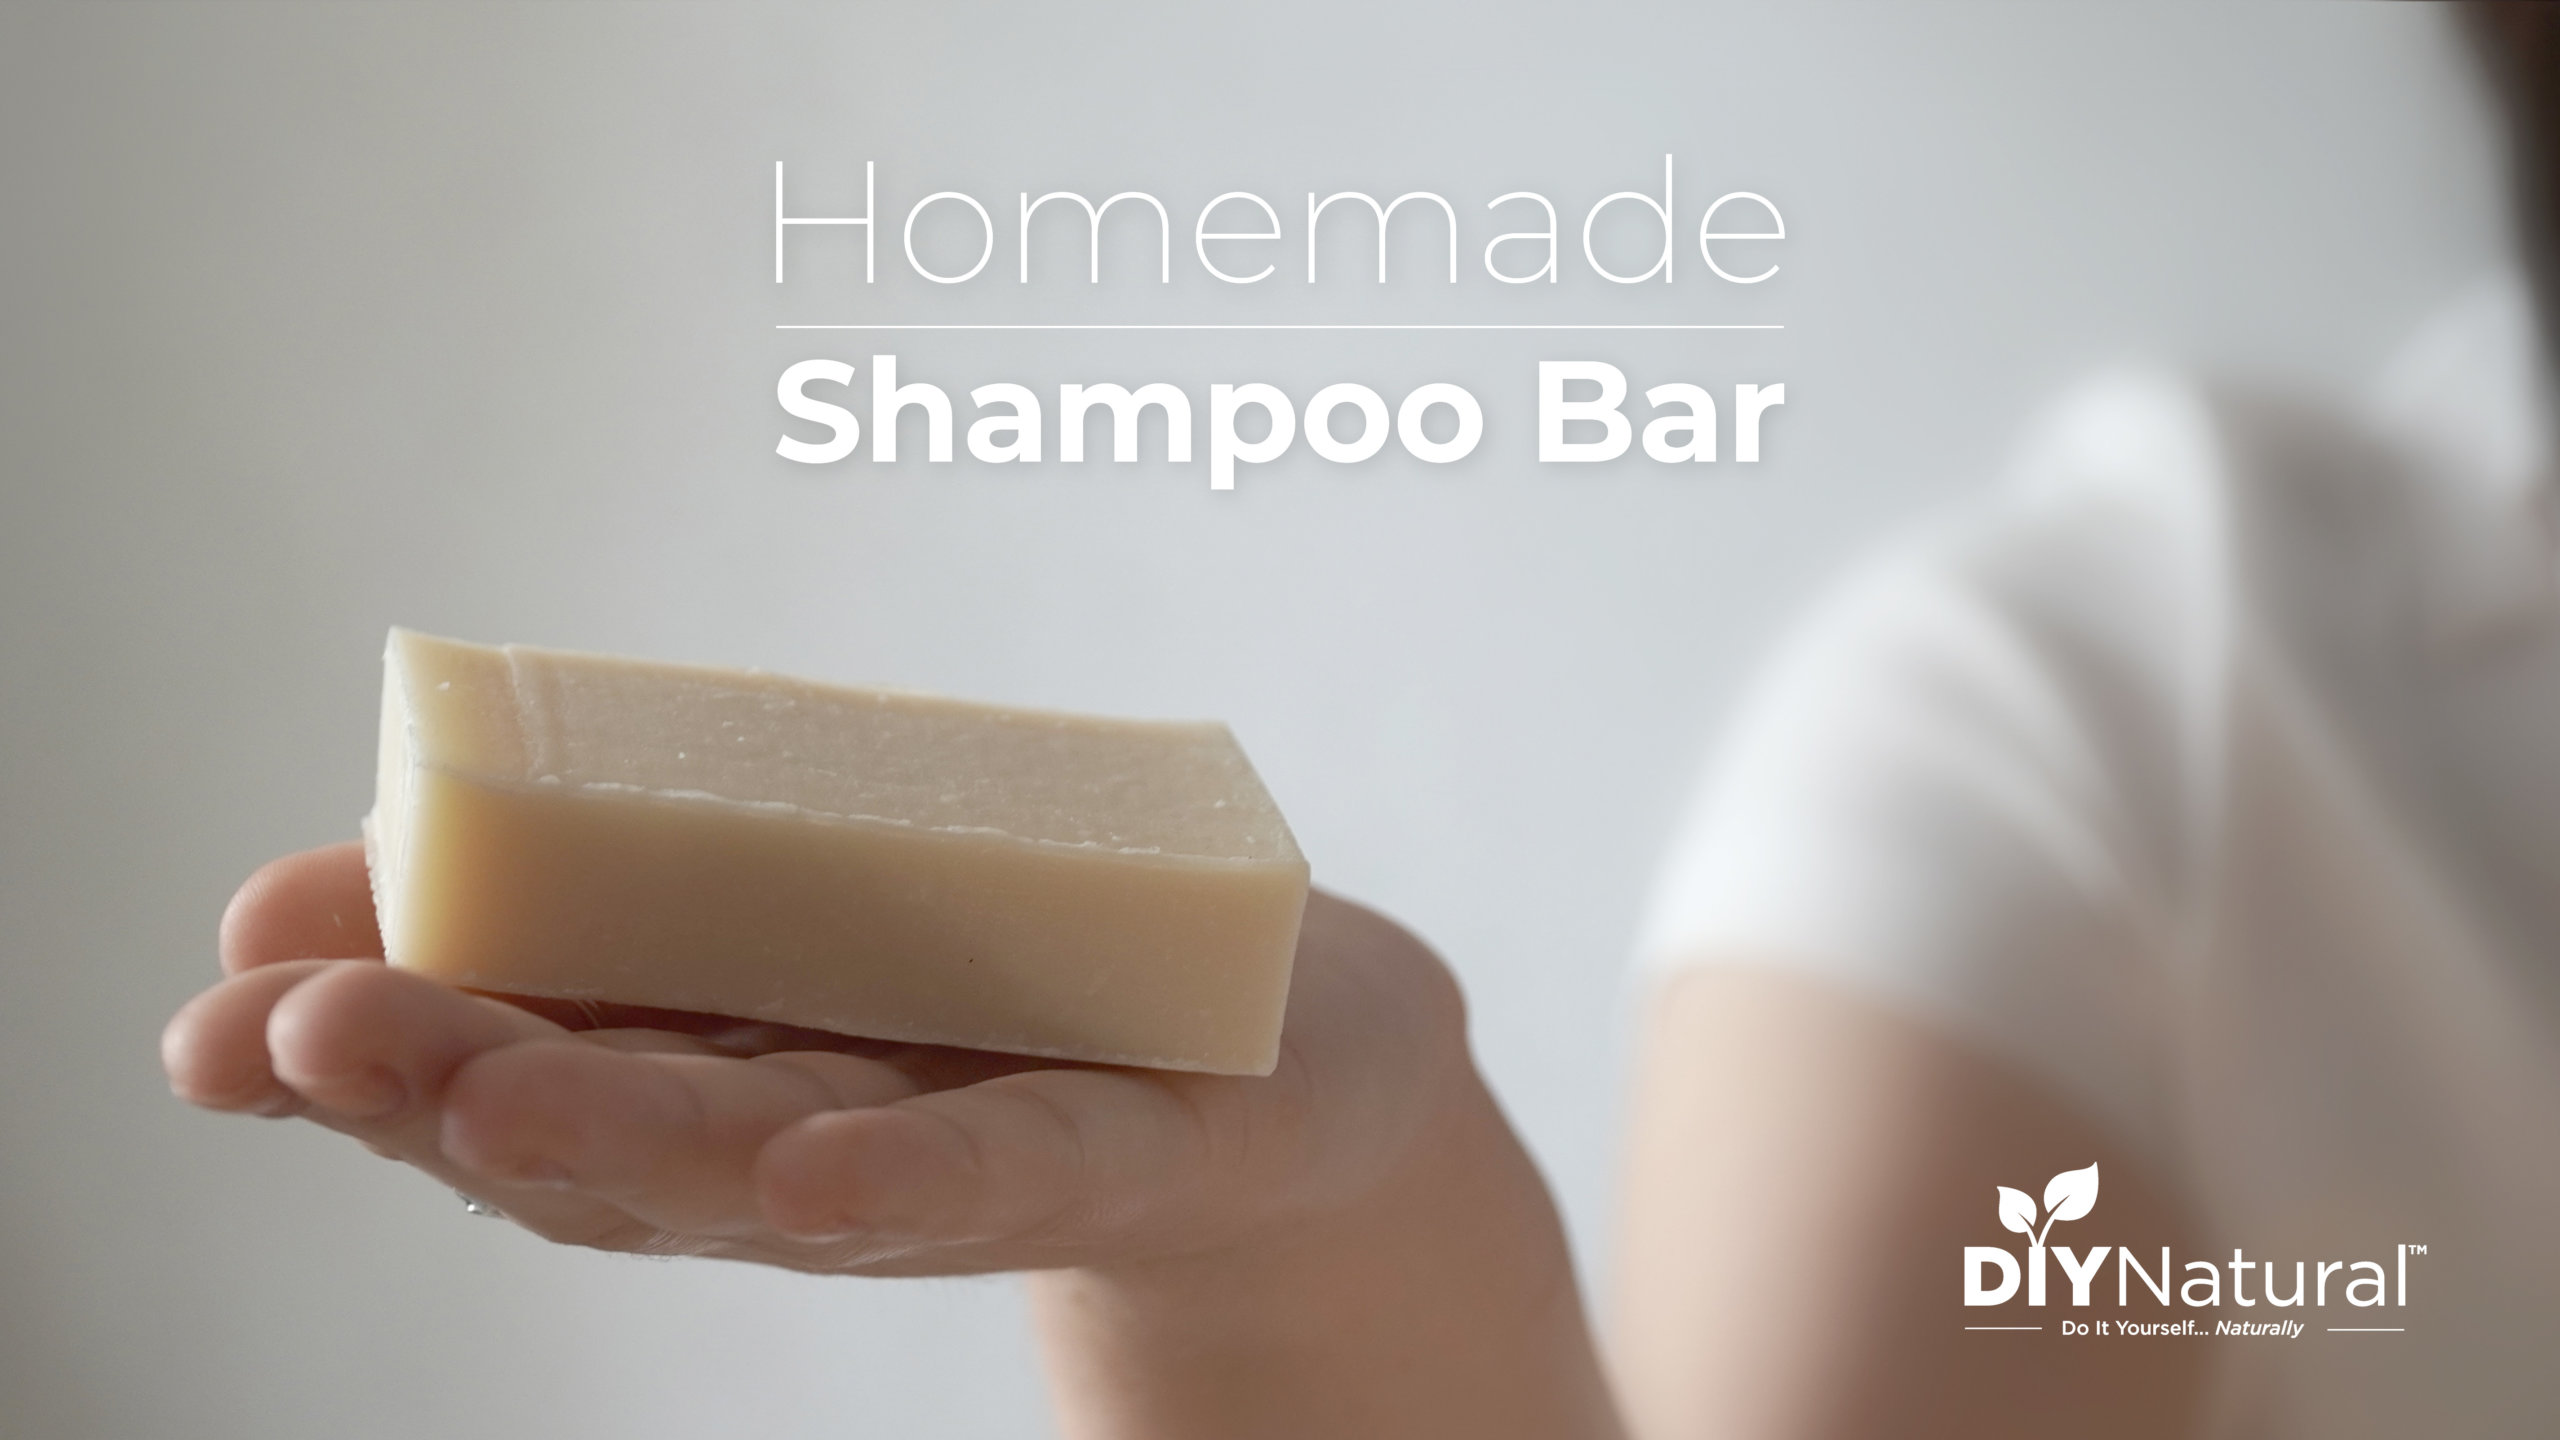
Homemade DIY Shampoo Bar | DIY Natu...
diynatural.com
Your folders
 139 views
Yakitori Like They Make It in Japan...
barbecuebible.com
Your folders
 194 views
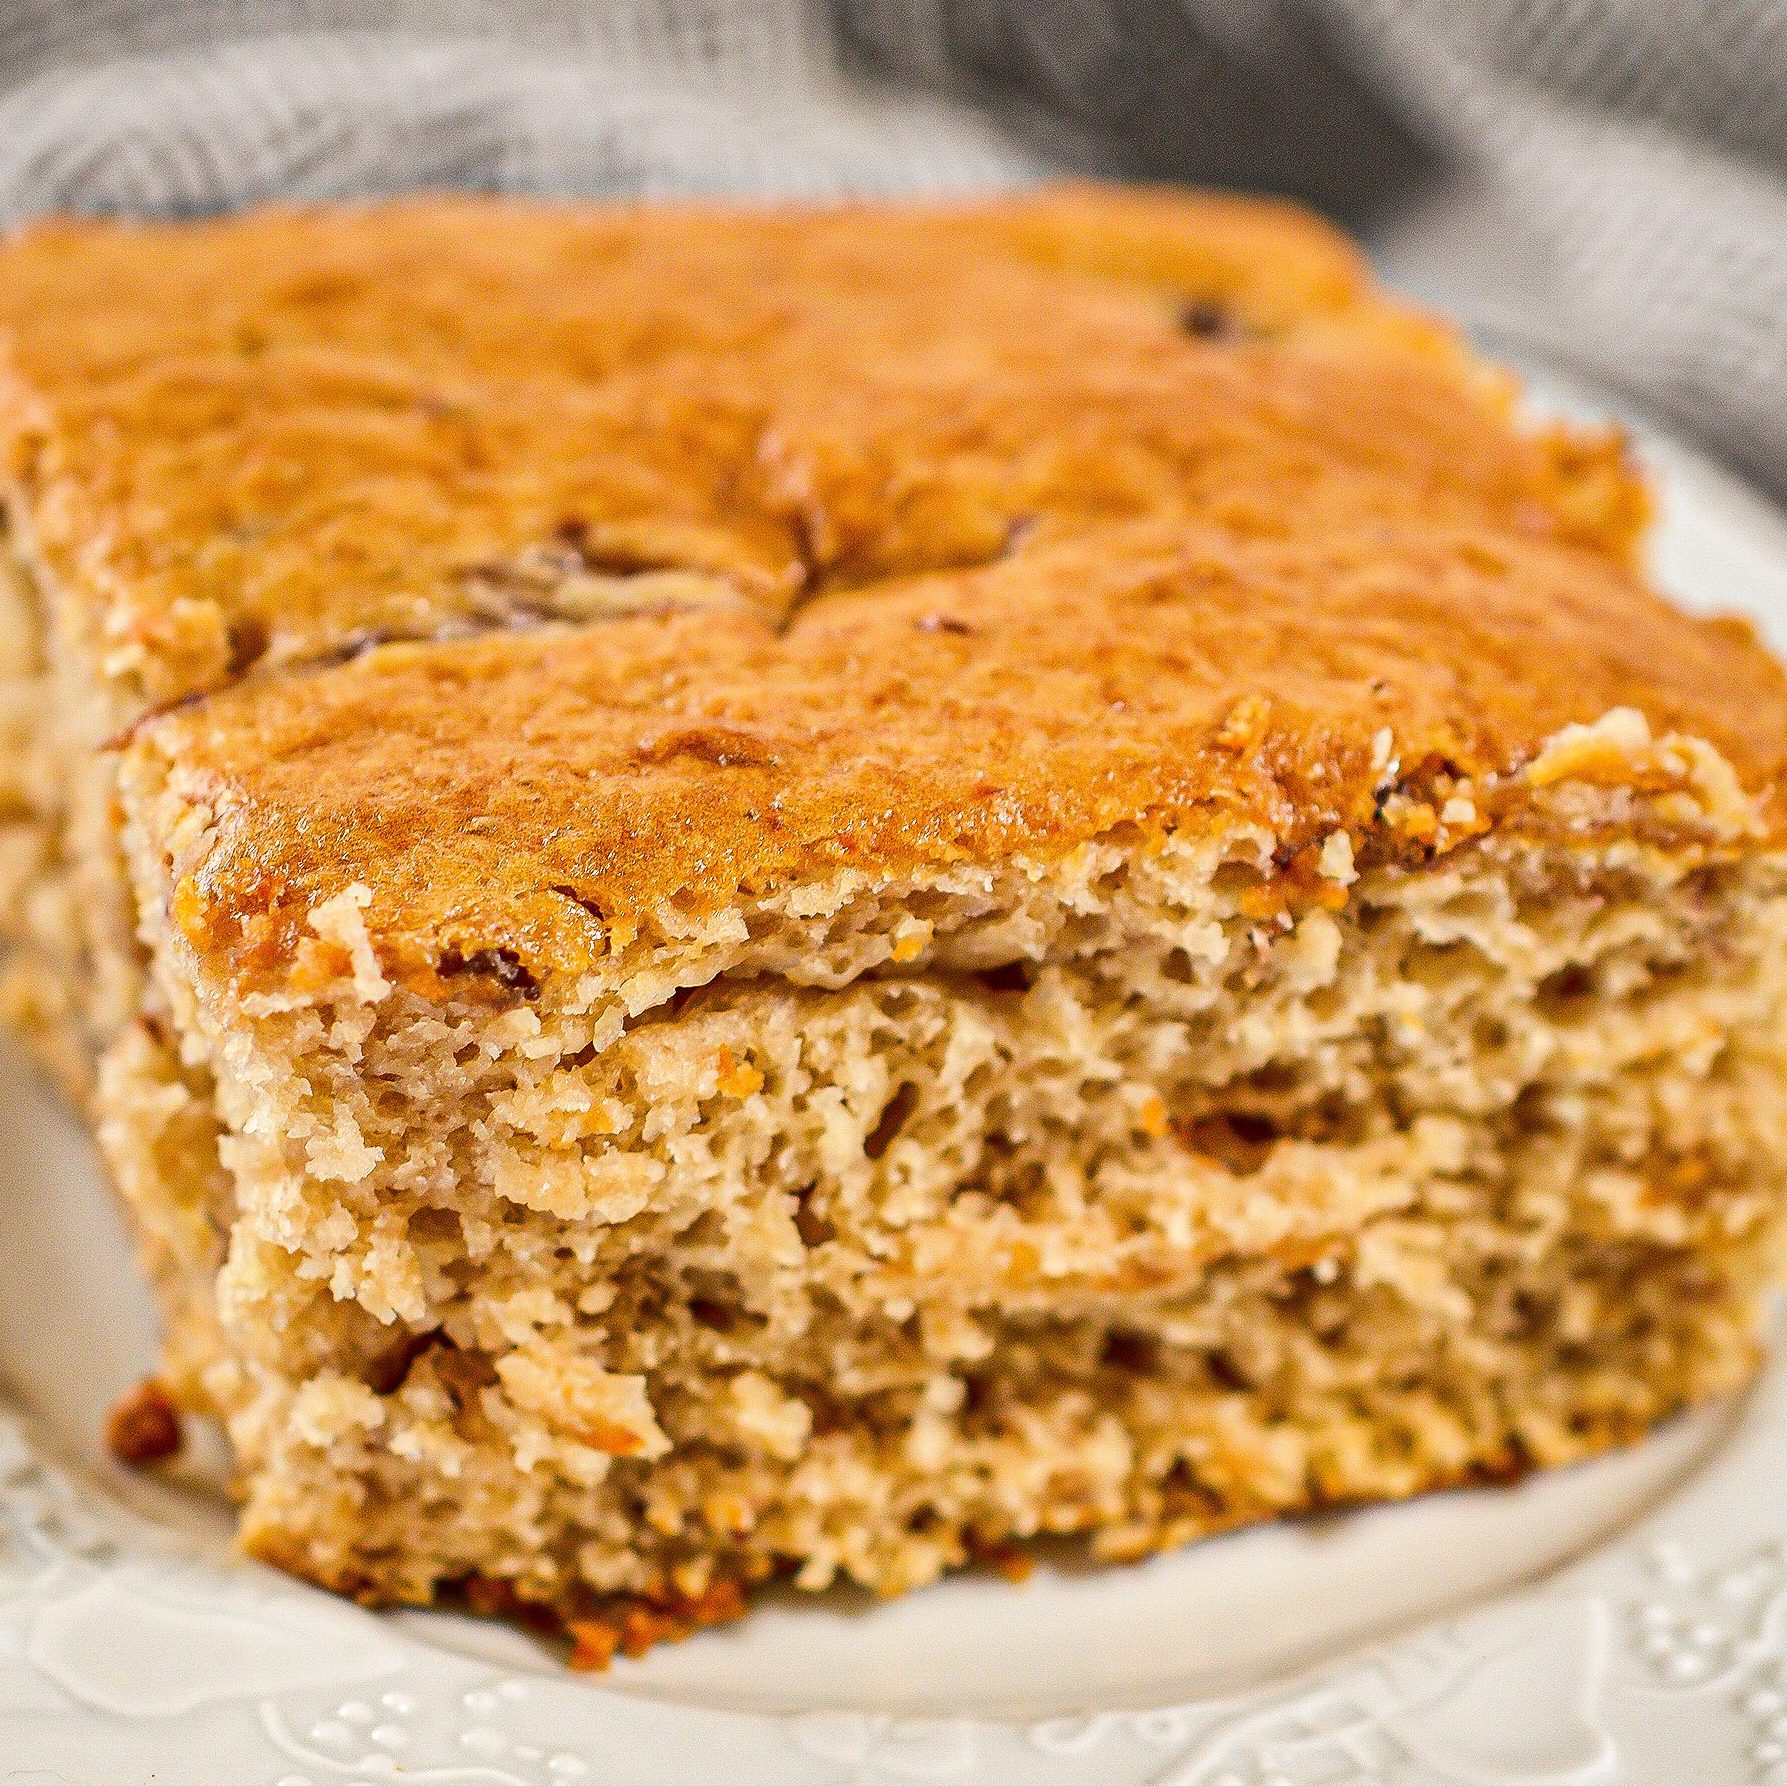
Are You Kidding Me Cake
happyhomeschoolnest.com
40 minutes
Your folders
 139 views
Are You Kidding Me Cake
sweetpeaskitchen.com
4.3
(65)
45 minutes