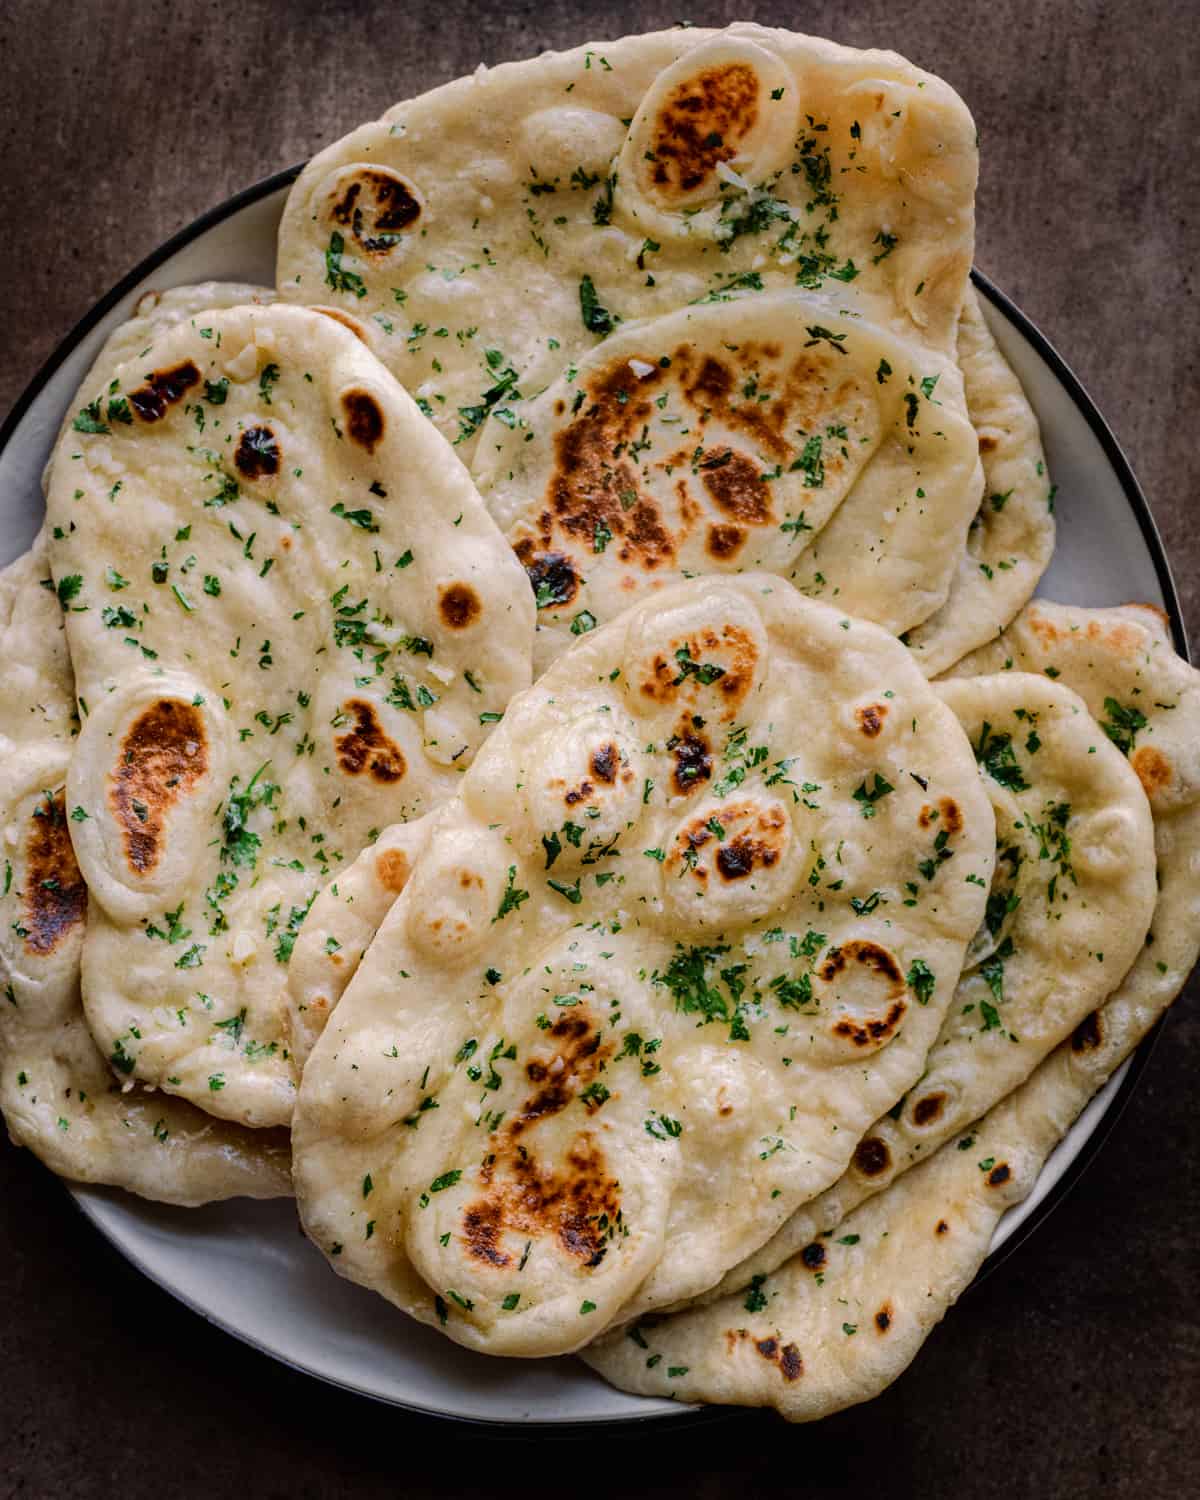
Vegan Naan
5.0
(80)
Your folders
Your folders
Prep Time: 25 minutes
Cook Time: 20 minutes
Total: 45 minutes
Servings: 8
Author : Nisha Vora

Ingredients
Export 7 ingredients for grocery delivery
Instructions
Step 1
Please read through the instructions and the Tips section in the blog post before starting!
Step 2
In a medium bowl, combine the lukewarm water and sugar and stir until dissolved. Add the yeast and whisk for about 15 seconds until well incorporated. Rest for 15 minutes to activate the yeast - it will turn a bit foamy and frothy.
Step 3
Meanwhile, sift the flour, salt, and baking powder in a large bowl.
Step 4
Knead the dough. Add the yeast mixture and 1 tablespoon of oil to the flour. Stir to combine with a fork. When the dough is shaggy and you can no longer stir it with a fork, transfer it to a clean work surface and oil your hands well. Start kneading the dough with your hands, oiling your hands several times as you go. The dough will be very sticky and stick to the surface and your hands during the first few minutes, but as you continue kneading, it will stop sticking and become soft, elastic, and pliable. The kneading process should take 4 to 6 minutes.
Step 5
Rest the dough. Oil a large bowl, add the dough ball to the bowl, and coat it with a bit of oil on all sides. Cover the dough with a clean dish towel. Rest in a warm, draft-free place for 90 minutes (up to 4 hours), until the dough rises and at least doubles. I place it in my oven with the pilot light on. If it’s summer or you live in a warm climate, the counter works great.
Step 6
Once the dough has risen, lightly punch the dough to release the air. Briefly knead the dough with your hands into a ball until smooth and tacky (it shouldn't stick to your hands).
Step 7
Divide the dough. Using a pastry cutter, divide the dough into 8 equal portions. Use your hands to roll the dough into 8 balls.*** Transfer the balls to a sheet of parchment paper and spread them apart to prevent sticking. Cover with a dish towel and rest for 10 minutes to “proof” the dough.
Step 8
Preheat the pan. Open nearby windows, as it may get smoky. Heat a large cast-iron skillet (or an iron tawa pan**) for which you have a large enough lid over medium-high heat until it's nearly smoking, at least 5 minutes.NOTE: my gas stove heat dial goes up to level I use level 5 but usually lower it to 4 after the first 3-4 naans.TIP: You can test if it’s hot enough by adding a drop of water - if it sizzles immediately, it’s ready.
Step 9
Prep before cooking the naan. Pour the vegan butter into a small bowl and add the grated garlic. Microwave on high for 20 seconds, stir, then microwave for another 20 seconds. Set the butter next to stove with a pastry brush. Put a small bowl of water next to your work space.
Step 10
Roll out the naan. Using a rolling pin, roll each piece of dough into a oval shape, about 8 inches long long and 5 inches wide at its widest point (20 cm x 13 cm). Roll the naan almost as thinly as you can. TIP: roll outward and off (instead of rolling back and forth on the same spot).
Step 11
Add the cilantro and water the back side. Sprinkle each naan with a bit of chopped cilantro. Roll the rolling pin once over the dough to get the cilantro to stick. Dampen your hands using the water bowl and flip the naan onto its back side. Pat a small amount of water all over the back side of the dough (this will help the naan stick to the pan). NOTE: Cover the remaining dough balls while you roll each nan.
Step 12
Cook the naan. Dampen your hands again and pick up the naan and carefully place it in the hot skillet, watered side facing down. Once you see bubbles all over and the edges start to dry out (45 to 60 seconds, depending on heat level), flip the naan. Now cover the skillet with the lid and cook for 30 to 40 seconds. When it’s done, parts of the dough should look almost raw and doughy, with some parts charred. NOTE: You may need to slightly lower the heat after the 3rd or 4th naan.
Step 13
Transfer naan to a plate and brush with the melted garlic butter and sprinkle with just a pinch of flaky sea salt. Repeat the process with the remaining naan. Serve and eat while still warm! NOTE: depending on the quality of your pan, you may need to wipe out the skillet and give it a quick wash before making the next one (I do not need to do this with my well-used enameled cast iron skillet).