Women’s Apron Sewing Pattern
Your folders
Your folders
Total: 420
Author : <img src="https://www.polkadotchair.com/wp-content/uploads/2021/05/melissa-mortenson-headshot2021.jpg" width="100" height="100" alt="" itemprop="image">Melissa MortensonMelissa Mortenson is a blogger, designer, and content creator. She is the Polka Dot Chair blog founder and has been sharing fresh and creative ideas with readers since 2008. She is the author of “Project Teen, Handmade Gifts your Teen will Actually Love.” Her work and designs have been featured on HuffPost, TODAY, Pioneer Woman, HGTV, BuzzFeed, Better Homes & Gardens, and many other established publications. Her first fabric line, “Derby Style,” debuted in January 2015 through Riley Blake Designs. Additional fabric collections have followed it in subsequent years. A mom of 3, she considers herself lucky to be living in Kentucky.
Ingredients
Export 4 ingredients for grocery delivery
Instructions
Step 1
From Apron Fabric: 1 piece 25″ x 27″ for Apron Skirt 2 pieces 11″ x 12″ for Apron Top
Step 2
From Apron Placket Fabric: 1 piece 3″ x 12″
Step 3
From Apron Tie Fabric: 2 pieces 4 ½″ x 26″ 2 pieces 2 ½″ x 24″
Step 4
From Waistband Fabric: 2 pieces 2 ¼″ x 20″
Step 5
From Pocket Fabric: 2 pieces 5 ½″ x 5 ½″ 2 pieces 1 ½″ x 5 ½″
Step 6
Before You Begin, create 2 pattern pieces
Step 7
On one of your apron top pieces, measure in 1″ from the top edge. The piece of fabric should be laid out so that it is 12″ tall and 11″ wide. Draw a line from the 1″ mark to the bottom corner and cut off the excess fabric.
Step 8
Repeat for the other side of the apron top piece and the other apron top piece.
Step 9
Using a plate or CD round the bottom two corners of the apron skirt piece. The skirt piece is 27″ wide by 25″ tall.
Step 10
Repeat this time rounding the two bottom corners of the 5 ½″ x 5 ½″ pocket pieces.
Step 11
Stitch 1 piece of rick rack to each of the long sides of your apron top placket piece (the 3″ x 12″ piece of fabric). You will sew the ric rack to the right side of the fabric, stitching down the center of the fabric.
Step 12
Fold the Ric Rack to the wrong side of the fabric and press.
Step 13
Pin to the center front of one of your apron top pieces.
Step 14
Topstitch along both sides of the ric rack to secure the placket to the apron top piece.
Step 15
Serge or zig-zag the sides and bottom of your apron skirt piece. Apply ric rack to the edge of the skirt piece using the same method that is shown in step 1.
Step 16
Fold your shoulder strap pieces in half lengthwise with right sides facing. On one end draw a line across the strap at a 45-degree angle. Stitch the apron strap piece with a ¼″ seam allowance along the long side. When you get to the end, pivot your stitch and stitch a 45-degree angle. Turn the strap right side out and press. Repeat for 2nd strap.
Step 17
Repeat the above step using the two waistband strap pieces.
Step 18
Pin one apron strap to the top corner of the apron top piece. The raw edge of the strap will be flush with the raw edge of the apron top. The strap will be ½″ in from the edge of the apron top piece. Repeat with 2nd apron strap. Baste in place.
Step 19
Pin the two apron top pieces together (the piece that you stitched the placket to, and the 2nd piece you cut out). Stitch using a ½″ seam allowance around the sides and top of the apron top piece. take care not to catch the apron straps as you sew. Turn right side out and press.
Step 20
Stitch the 1″ x 5 ½″ piece of fabric to the top of one of your 5 ½″ x 5 ½″ pieces of fabric. Repeat for the other 5 ½″ x 5 ½″ piece. Place the two sewn pieces right sides together and stitch with a ¼″ seam allowance leaving a 3″ opening in the bottom of the pocket piece. Clip seams, and turn the pocket right side out through the hole. Press turning the opening under as you go.
Step 21
Fold the sewn pocket piece down about 1 ½″ and press. Place the pocket where you would like it on the apron and stitch in place taking care to backstitch at the top and bottom of the pocket.
Step 22
Run two rows of gathering stitches along the top edge of the apron skirt piece. Pull up on the strings and pin to the waistband piece so that there is ½″ of waistband hanging over the edge of the gathered skirt piece. Stitch the skirt to the waistband with a ½″ seam allowance.
Step 23
Pin the apron top piece to the other side of the waistband piece, matching centers. The bottom of the apron top piece will be pinned to the top of the waistband piece, right sides facing. Stitch the apron top to the waistband with a ½″ seam allowance.
Step 24
Pin one of the sewn waistband straps to the edge of the waistband piece. You will want to “pleat” the sewn straps so that they fit inside of the waistband with ½″ left on each side of the strap. Baste in place. Repeat with the other strap.
Step 25
Pin the 2nd waistband piece (your waistband lining piece) to the sewn waistband piece along the top edge of the waistband right sides facing, pinning around to the sides of the waistband but not the bottom of the waistband.
Step 26
Stitch the waistband lining with a ½″ seam allowance beginning at one side and all the way around to the other side. Again, do not stitch the bottom.
Step 27
Turn the waistband lining to the back of the apron and press. Fold under the raw edge of the waistband lining and hand stitch in place to finish the apron.
Top similar recipes
Curated for youYour folders

 219 views
Half Apron Pattern
blog.treasurie.com
Your folders
 158 views
Childs Apron Pattern
polkadotchair.com
Your folders
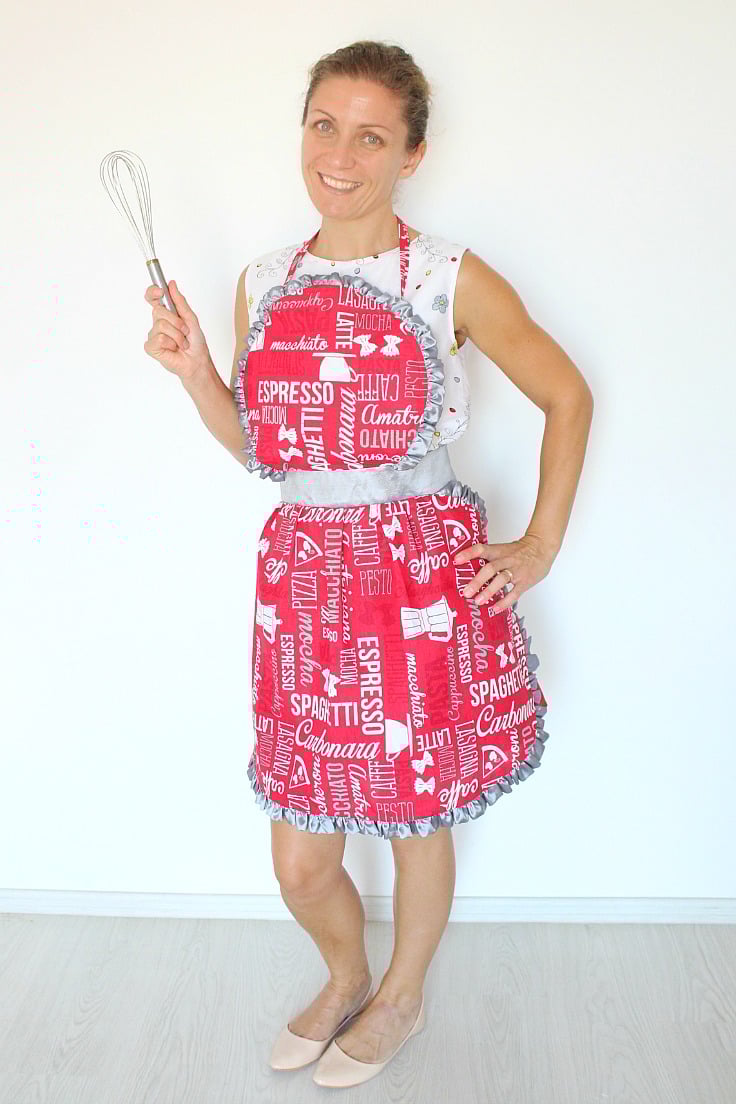
 187 views
Apron pattern with rufflesApron pat...
theseamanmom.com
Your folders
 200 views
Mini Fabric Envelope Sewing Pattern
polkadotchair.com
Your folders
 76 views
Simple Zip Bag Sewing Pattern
polkadotchair.com
Your folders
 64 views
Gusseted Zip Pouch Sewing Pattern
polkadotchair.com
Your folders
 147 views
Color-Blocked Zip Pouch Sewing Patt...
polkadotchair.com
Your folders
 138 views
Scrappy Denim BE KIND Sweatshirt Se...
polkadotchair.com
Your folders
 187 views
A Little Bit Extra Pincushion Sewin...
polkadotchair.com
Your folders
 118 views
DIY Knitting Needle Organizer with ...
sustainmycrafthabit.com
Your folders

 96 views
Women’s Weekly Vintage Editio...
womensweeklyfood.com.au
10 minutes
Your folders
 65 views
Women’s Weekly Vintage Editio...
womensweeklyfood.com.au
30 minutes
Your folders

 90 views
Sewing Scalloped Edges
blog.treasurie.com
Your folders
 109 views
DIY ART CADDY SEWING TUTORIALDIY AR...
gluesticksblog.com
Your folders

 67 views
DIY Apron in 10 Minutes
papernstitchblog.com
Your folders
 239 views
Bench Pillow Pattern
polkadotchair.com
Your folders
 220 views
Laptop Bag Pattern
crazylittleprojects.com
Your folders

 232 views
Tote Bag Pattern
crazylittleprojects.com
Your folders

 213 views
Crochet Tulip Pattern
hookok.com