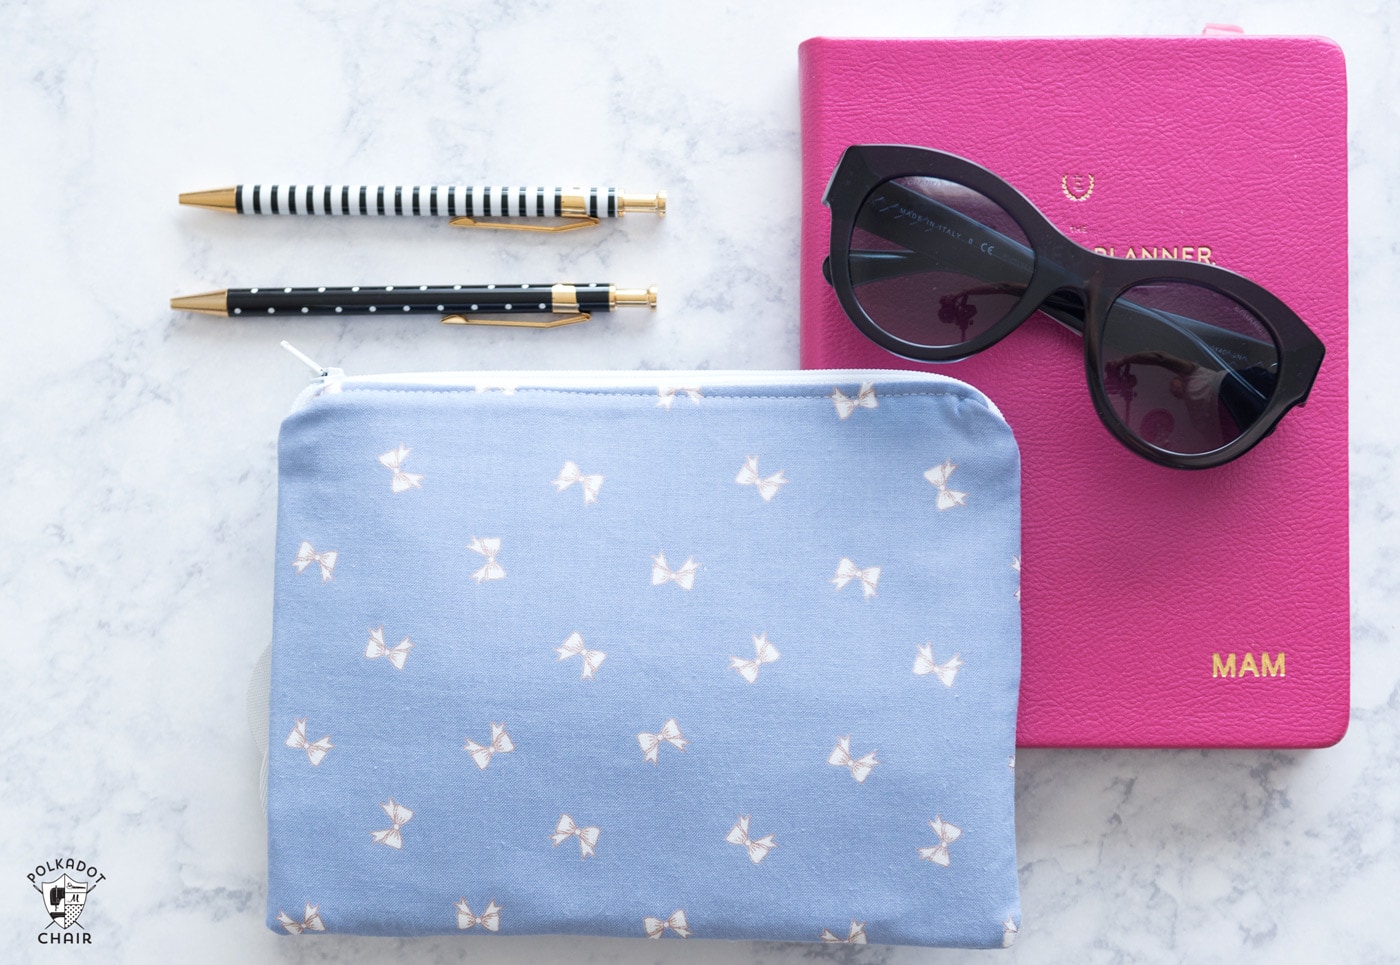
Color-Blocked Zip Pouch Sewing Pattern
Your folders
Your folders
Total: 300
Author : <img src="https://www.polkadotchair.com/wp-content/uploads/2021/05/melissa-mortenson-headshot2021.jpg" width="100" height="100" alt="bio photo of Melissa Mortenson" itemprop="image">Melissa MortensonMelissa Mortenson is a blogger, designer, and content creator. She is the Polka Dot Chair blog founder and has been sharing fresh and creative ideas with readers since 2008. She is the author of “Project Teen, Handmade Gifts your Teen will Actually Love.” Her work and designs have been featured on HuffPost, TODAY, Pioneer Woman, HGTV, BuzzFeed, Better Homes & Gardens, and many other established publications. Her first fabric line, “Derby Style,” debuted in January 2015 through Riley Blake Designs. Additional fabric collections have followed it in subsequent years. A mom of 3, she considers herself lucky to be living in Kentucky.

Ingredients
Export 6 ingredients for grocery delivery
Instructions
Step 1
For Left Stripe Cut: 1 piece 2 ¾” x 6” For Center Stripe Cut: 1 piece 2 ½” x 6” For Right Stripe Cut: 1 piece 4 ¾” x 6” For Bag Back Cut: 1 piece 6” x 9” For Bag Lining Cut: 2 pieces 6” x 9” From Fusible Fleece Cut: 2 pieces 6” x 9” From Lightweight Interfacing Cut: 4 pieces 6” x 9” From Accent Fabric Cut: 4 pieces 1” x 2” for zipper tabs 1 piece 2 ½” x 4” for D ring attachment
Step 2
Sew the Left, Center, and Right bag front strips together using a ¼” seam allowance.
Step 3
Press the seams and trim to 6” x 9” if necessary.
Step 4
Following the directions on the package, apply interfacing to the following pieces.
Step 5
Lightweight Interfacing: Apply to the bag front, bag back, and lining pieces.
Step 6
Fusible Fleece: Apply to the bag lining pieces on top of the lightweight interfacing.
Step 7
Using a round object (like a plate or an old CD), round the two bottom corners of the bag front piece.
Step 8
I used a Curved Corner ruler, but if you don't have one just use any round object.
Step 9
Repeat with the bag back and both lining pieces.
Step 10
Pin one of the 1” x 2” zipper tab pieces to the end of your zipper, right sides facing. Pin another piece to the back of the zipper. Sew in place.
Step 11
Flip the zipper tabs so that they are away from the zipper and the fabric is right side up, and press. Topstitch along the fold.
Step 12
Repeat for the other side of the zipper.
Step 13
Pin the zipper to the bag front piece, aligning the centers. The right side of the zipper will be facing the right side of the fabric.
Step 14
Pin one of the lining pieces to the top of this. You will pin it so that the right side of the lining faces the zipper’s wrong side.
Step 15
Stitch in place using a zipper foot on your sewing machine with a ¼” – ⅜” seam allowance.
Step 16
Repeat the steps with the bag’s back and the other lining pieces.
Step 17
Press the fabric away from the zipper and topstitch along both zipper ends. Be careful, as metal zippers can become very hot when ironed.
Step 18
Trim the excess fabric from the zipper tabs.
Step 19
Fold the 2 ½” x 4” piece of fabric in half lengthwise and sew with a ¼” seam allowance. Turn right side out.
Step 20
Press the piece so that the seam is centered. Topstitch down both sides of the piece.
Step 21
Feed the D ring through the fabric and pin to the bag front piece about 2” down from the top of the bag. Stitch in place. Pin the D ring so that it does not get in the way as you finish the bag assembly.
Step 22
Unzip the zipper.
Step 23
Pin the bag front and bag back pieces together, right sides facing. Pin the bag lining pieces together right sides facing.
Step 24
Stitch around the perimeter of the bag with a ⅜” seam allowance. Be VERY careful when you are stitching over the area with the zipper. Make sure that you do not sew over any of the metal parts of the zipper.
Step 25
Leave a 3” opening on the lining side of the bag.
Step 26
Trim the seam allowance of the lining down to ⅛”.
Step 27
Clip the curves on the bag.
Step 28
Turn the bag right side out through the opening you left in the lining.
Step 29
When you’re sure that the bag is sewn correctly, close the hole in the lining with a zig-zag stitch.
Step 30
Press the bag well. I recommend that you use steam for this step as it will help to smooth out any wrinkles that may have occurred during the construction process.
Top similar recipes
Curated for youYour folders

 64 views
Gusseted Zip Pouch Sewing Pattern
polkadotchair.com
Your folders
 76 views
Simple Zip Bag Sewing Pattern
polkadotchair.com
Your folders
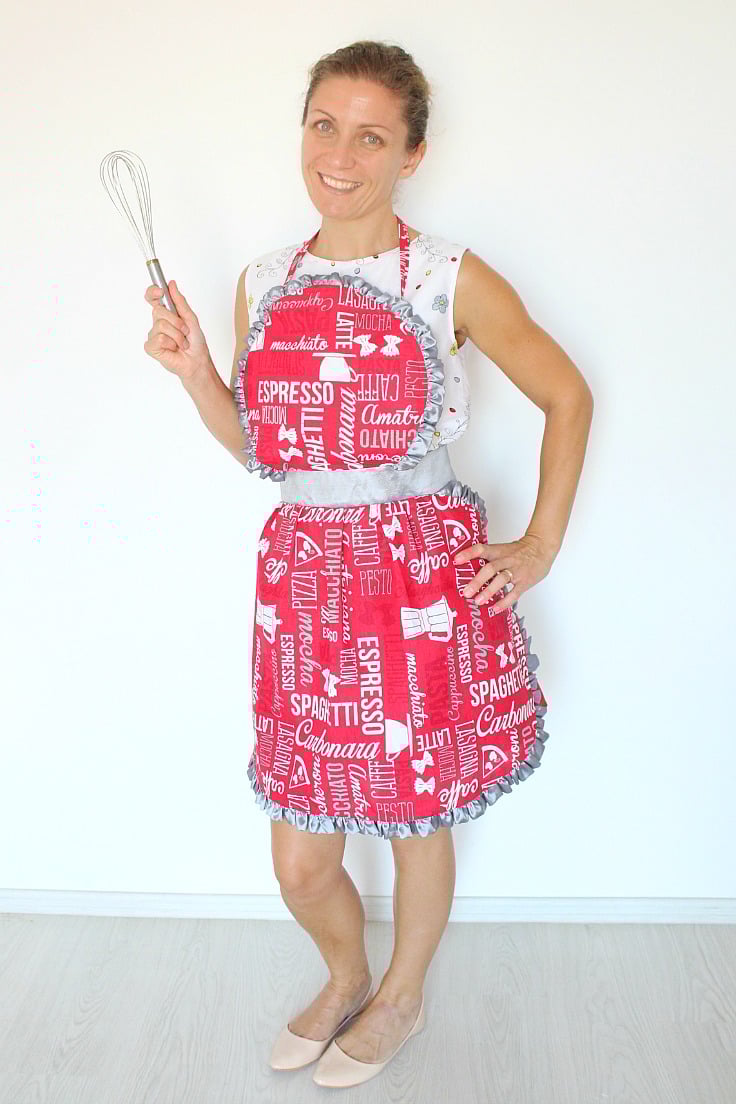
142 viewsWomen’s Apron Sewing Pattern
polkadotchair.com
Your folders
200 viewsMini Fabric Envelope Sewing Pattern
polkadotchair.com
Your folders
138 viewsScrappy Denim BE KIND Sweatshirt Se...
polkadotchair.com
Your folders
 188 views
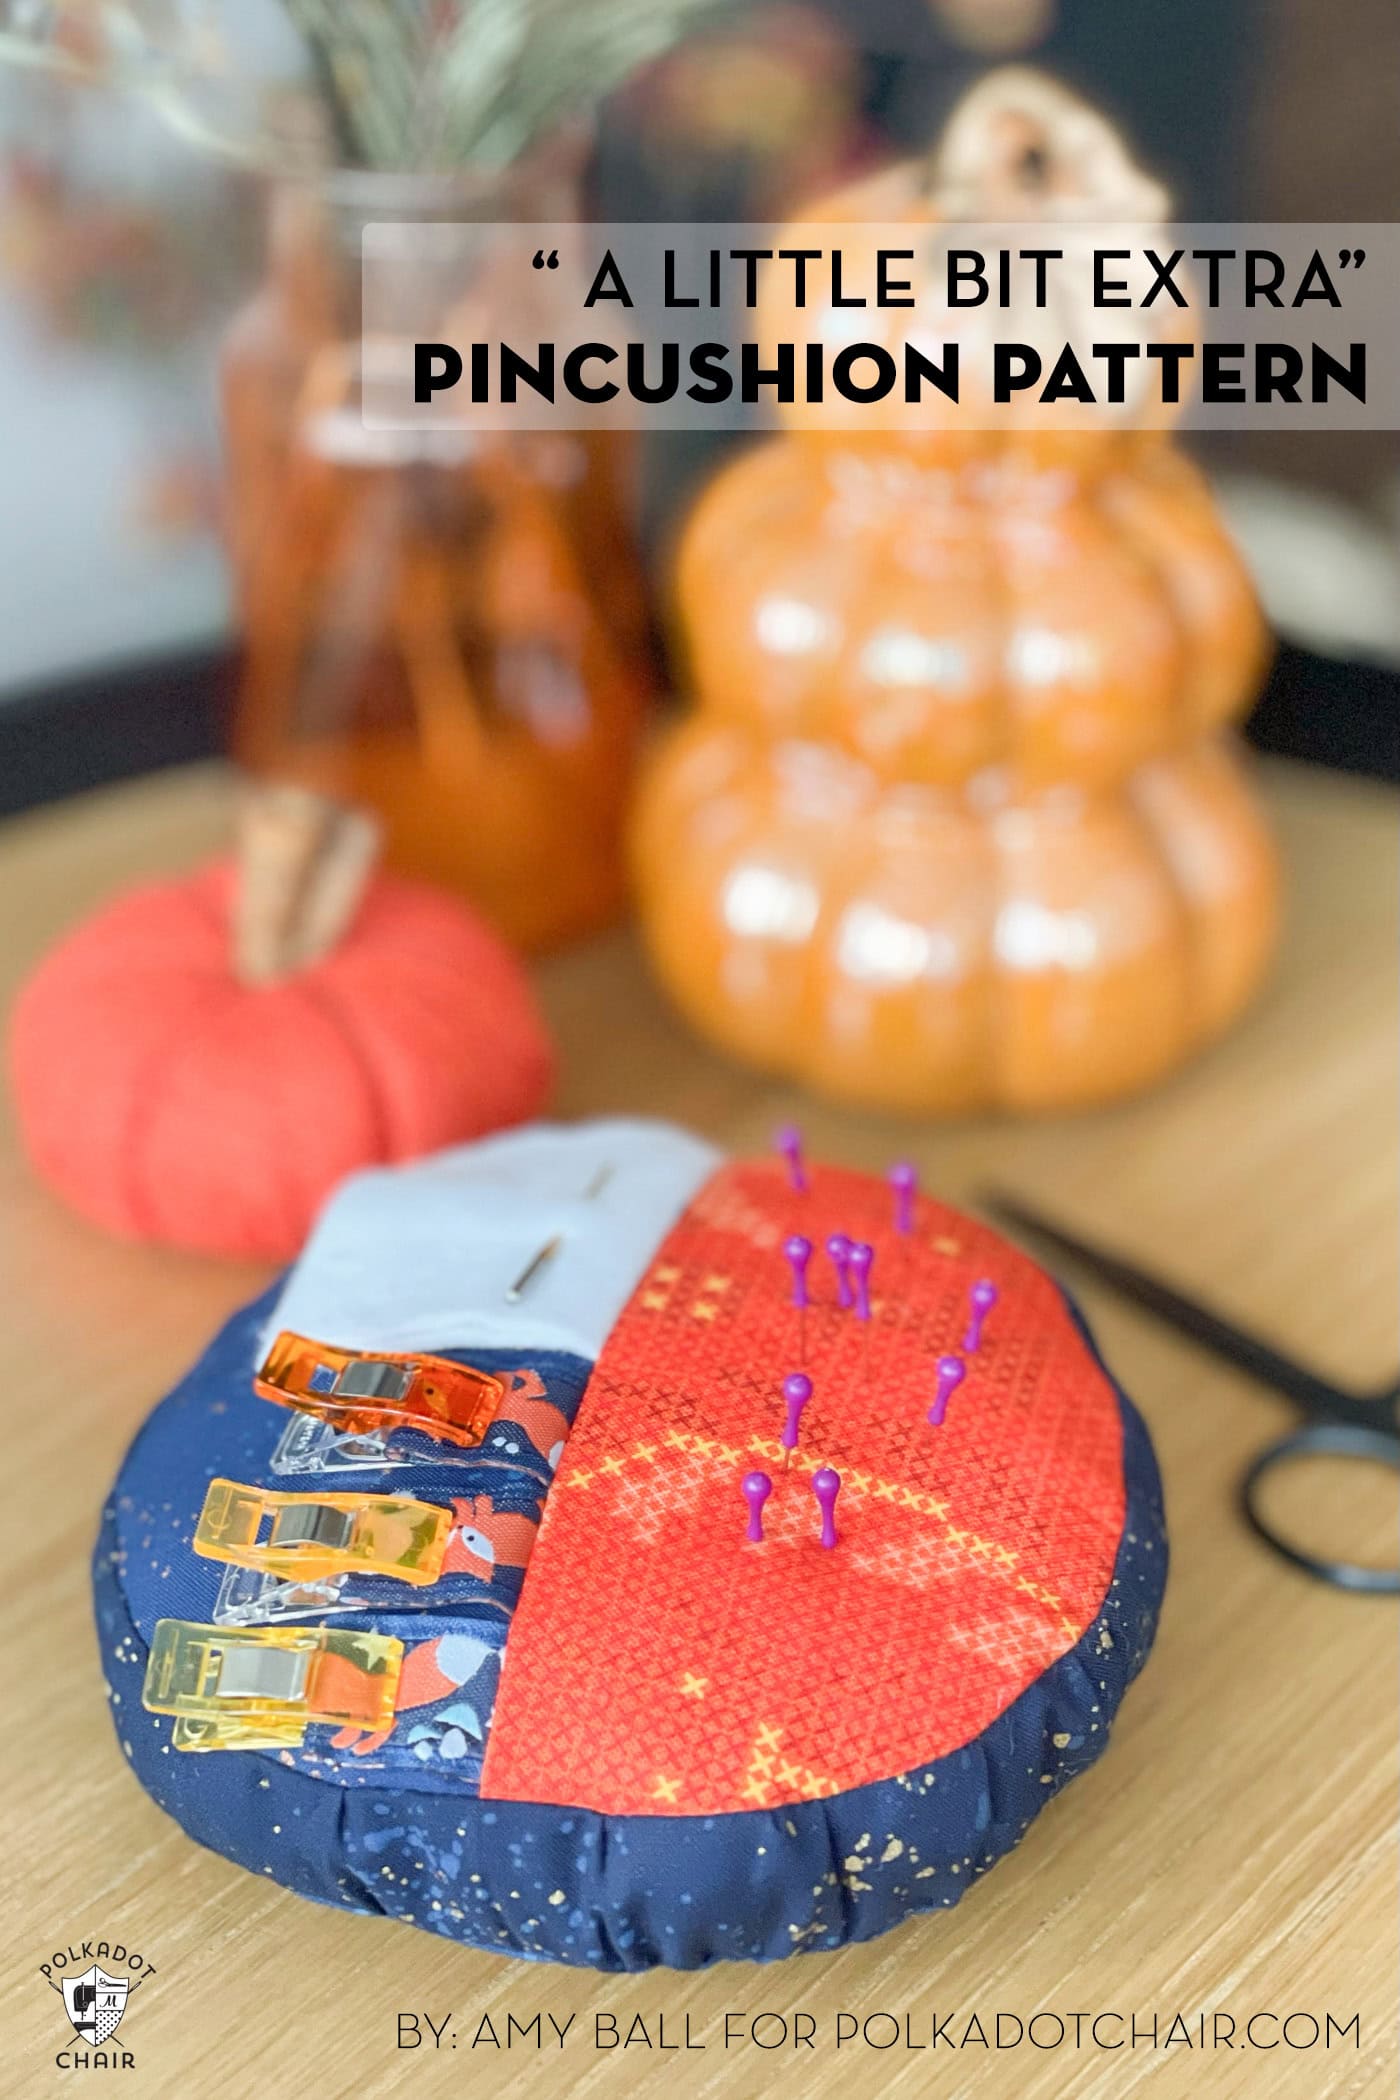
A Little Bit Extra Pincushion Sewin...
polkadotchair.com
Your folders
 118 views
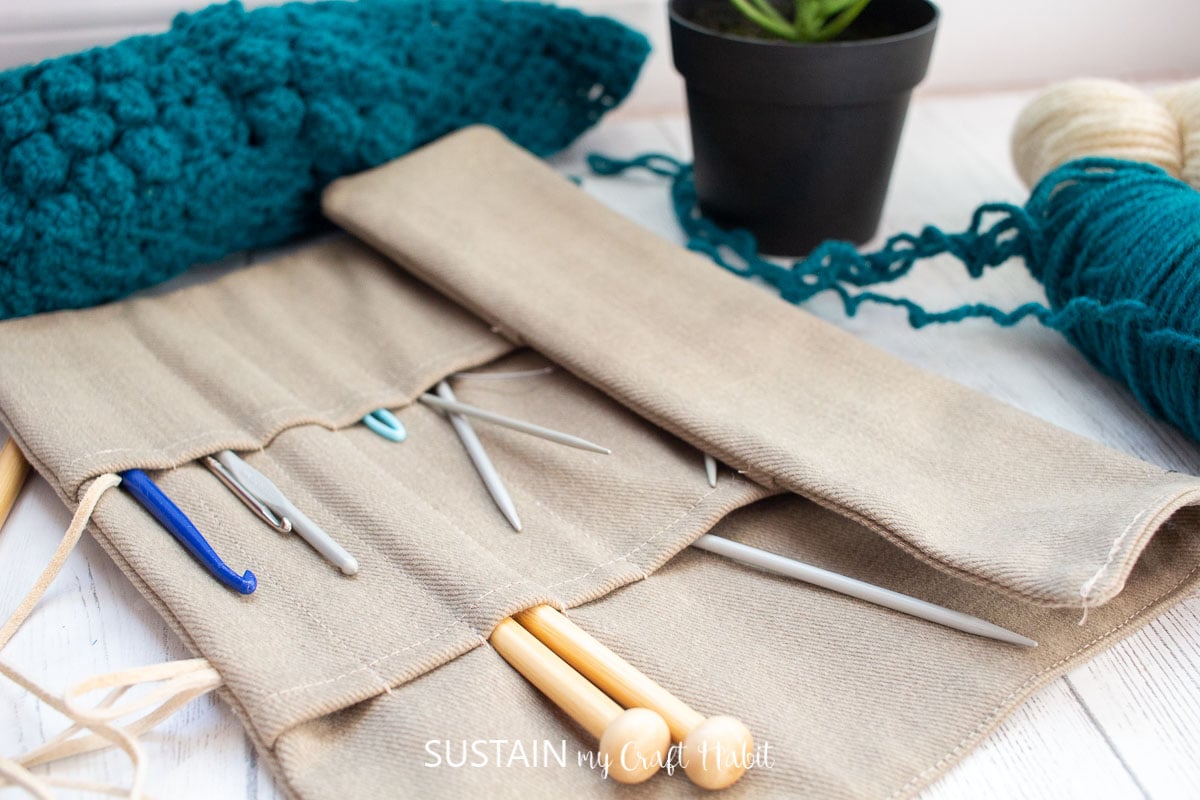
DIY Knitting Needle Organizer with ...
sustainmycrafthabit.com
Your folders
 91 views
Sewing Scalloped Edges
blog.treasurie.com
Your folders
 109 views
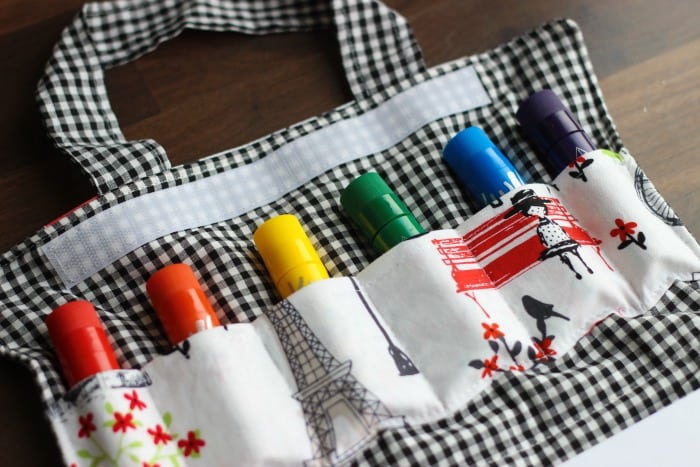
DIY ART CADDY SEWING TUTORIALDIY AR...
gluesticksblog.com
Your folders
 82 views
Keratin infused hair color – Natura...
keracolorhair.com
4.4
(1.9k)
Your folders
 283 views
Color Changing Playdough
123homeschool4me.com
Your folders
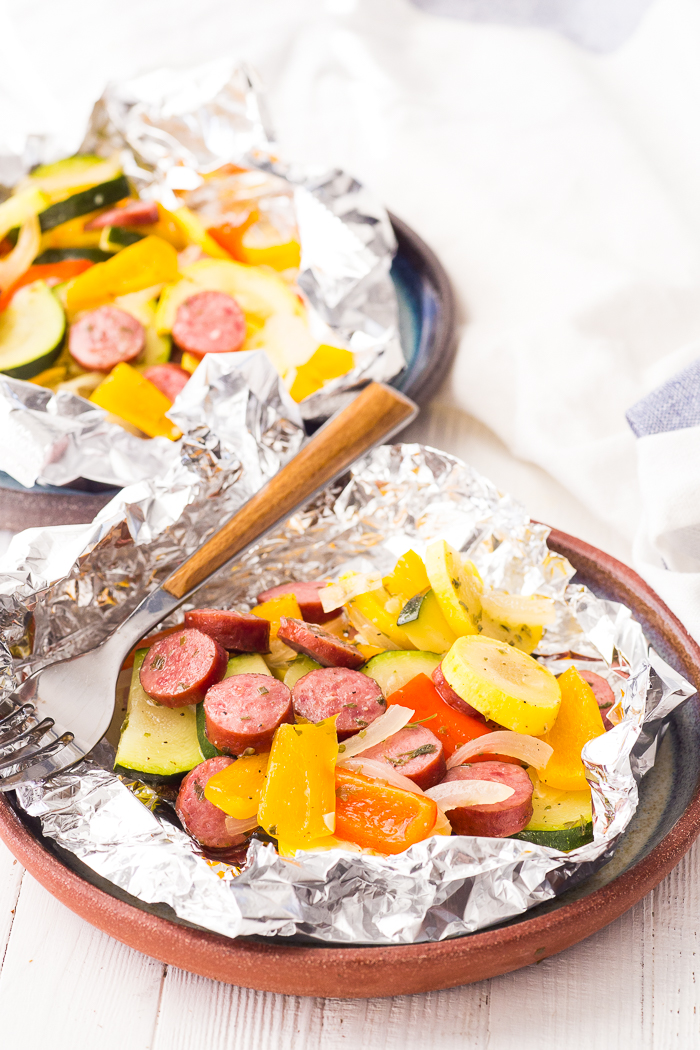
153 viewsFish in a Pouch
foodnetwork.com
5.0
(1)
Your folders
 242 views
Turkey Bratwurst Grill Pouch
eazypeazymealz.com
5.0
(1)
20 minutes
Your folders
 187 views
Apron pattern with rufflesApron pat...
theseamanmom.com
Your folders
 296 views
Smashed Tri-Color Potatoes
foodnetwork.com
3.5
(4)
20 minutes
Your folders
 293 views
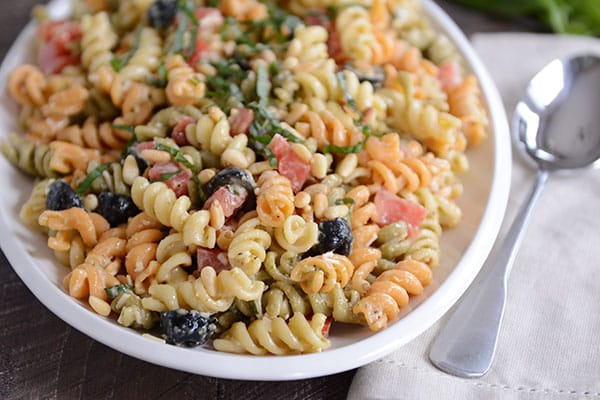
Tri-Color Pasta Salad
melskitchencafe.com
4.7
(158)
14 minutes
Your folders
 188 views
Tri-Color Herbed Potatoes
lacucinaitaliana.com
Your folders
 38 views
Tri Color Pasta Salad
cravingsomecreativity.com
5.0
(17)
8 minutes
Your folders
 146 views
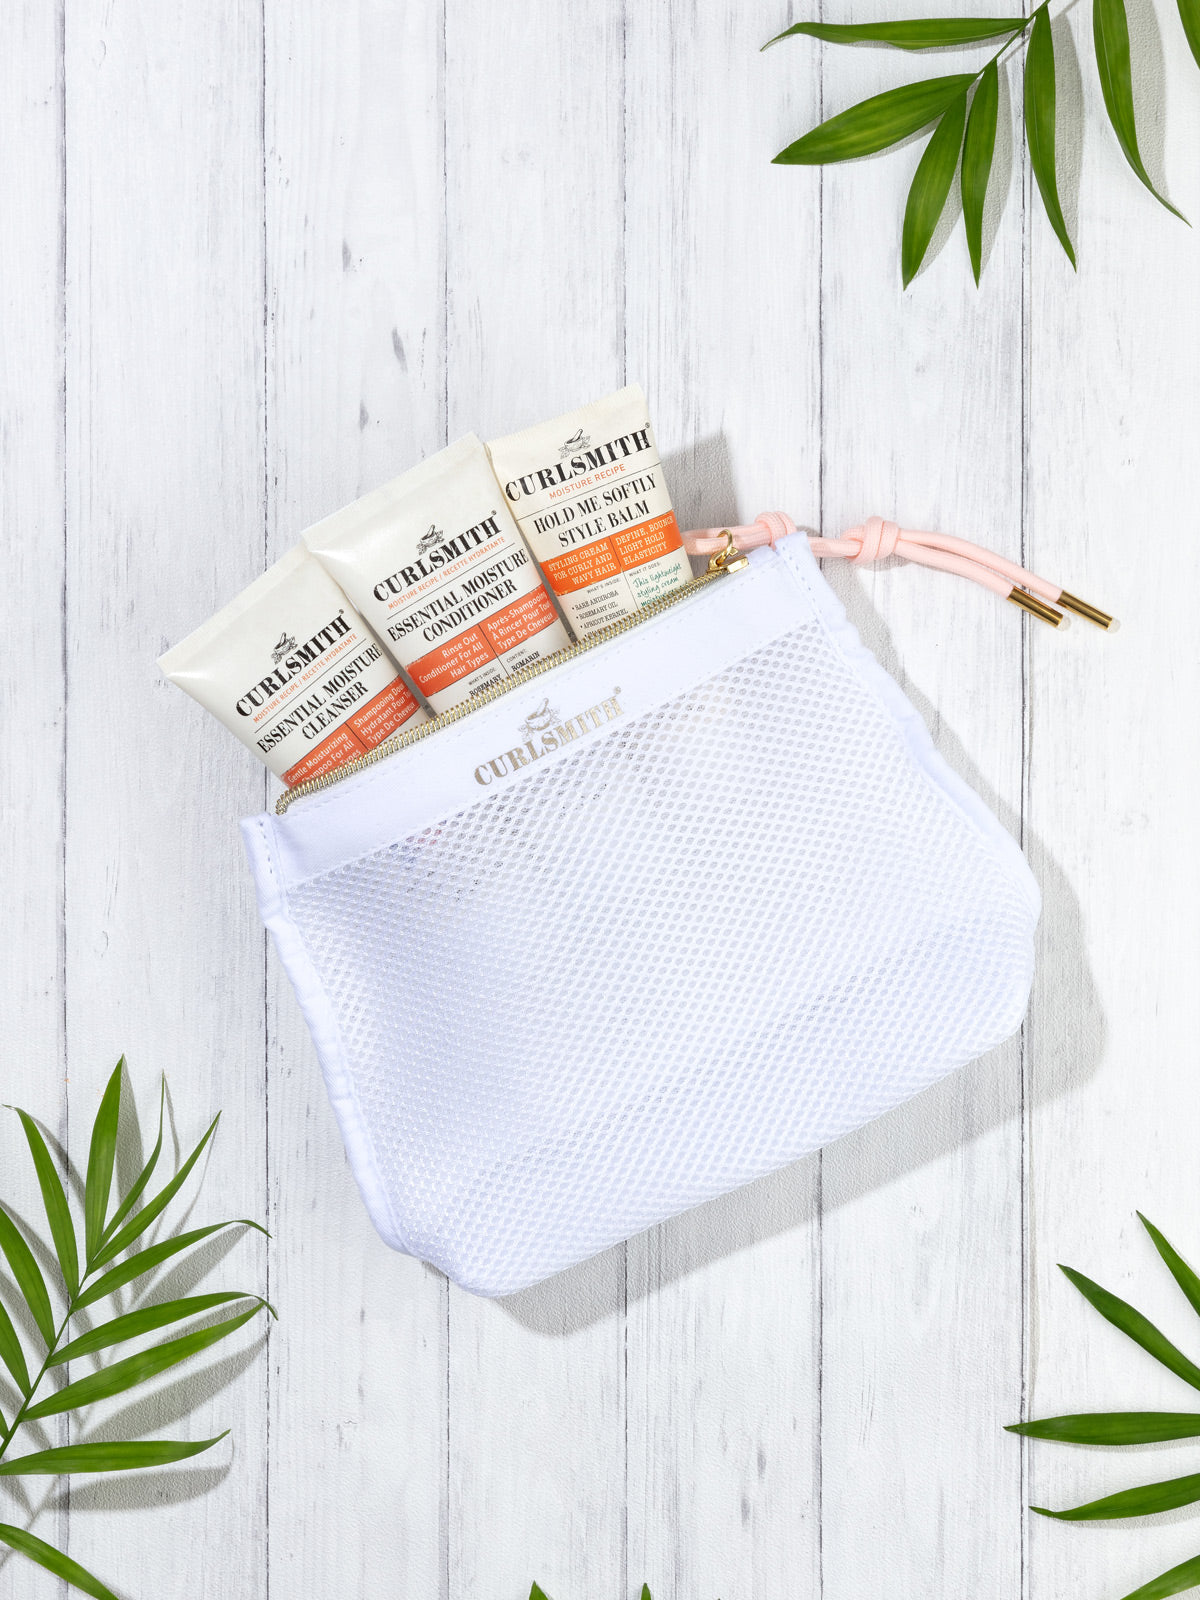
Travel Pouch | Curlsmith – Curlsmit...
curlsmith.com