Almond Coconut Granola Bars
4.8
(66)
Your folders
Your folders
Prep Time: 15 minutes
Total: 15 minutes
Servings: 16
Author : Cookie and Kate

Ingredients
Export 7 ingredients for grocery delivery
Instructions
Step 1
Line a 9-inch square baker with two strips of criss-crossed parchment paper, cut to fit neatly against the base and up the sides. The parchment paper will make it easy for you to slice the bars later.
Step 2
Toast the almonds for maximum flavor (you can skip this step, but your bars won’t be quite as awesome): In a medium skillet over medium heat, toast the almonds, stirring frequently, until they are fragrant and starting to turn lightly golden on the edges, about 5 minutes. Transfer them to a medium mixing bowl.
Step 3
To the mixing bowl, add the oats, coconut flakes, cinnamon and salt. Stir until blended.
Step 4
In a 2-cup liquid measuring cup, measure out 1 cup almond butter. Top with 1/2 cup honey, followed by the vanilla extract. Whisk until well blended. (If you must, you can gently warm the liquid mixture in the microwave or on the stovetop.)
Step 5
Pour the liquid ingredients into the dry ingredients. Use a big spoon to mix them together until the two are evenly combined and no dry oats remain. The drier the mixture, the more firm the bars will be, so stir in extra oats if the mixture seems wet. Conversely, if you used a super thick almond butter (cough, Justin’s), you might need to drizzle in another tablespoon of honey to help it all stick together.
Step 6
Transfer the mixture to the prepared square baker. Use your spoon to arrange the mixture fairly evenly in the baker, then use the bottom of a flat, round surface (like a short, sturdy drinking glass) to pack the mixture down as firmly and evenly as possible. (If the mixture keeps sticking to the glass, cover the base of the glass with a small square of parchment paper.)
Step 7
Cover the baker and refrigerate for at least one hour, or overnight. This gives the oats time to absorb moisture so the granola bars can set.
Step 8
When you’re ready to slice, lift the bars out of the baker by grabbing both pieces of parchment paper on opposite corners. Use a sharp chef’s knife to slice the mixture into 4 even rows and 4 even columns (these “bars” stick together better in a square shape).
Step 9
For portability, you can wrap individual bars in plastic wrap or parchment paper. Bars keep well for a couple of days at room temperature, but I recommend storing individually wrapped bars in a freezer-safe bag in the freezer for best flavor. They’ll keep for several months in the freezer.
Top similar recipes
Curated for youYour folders
 78 views
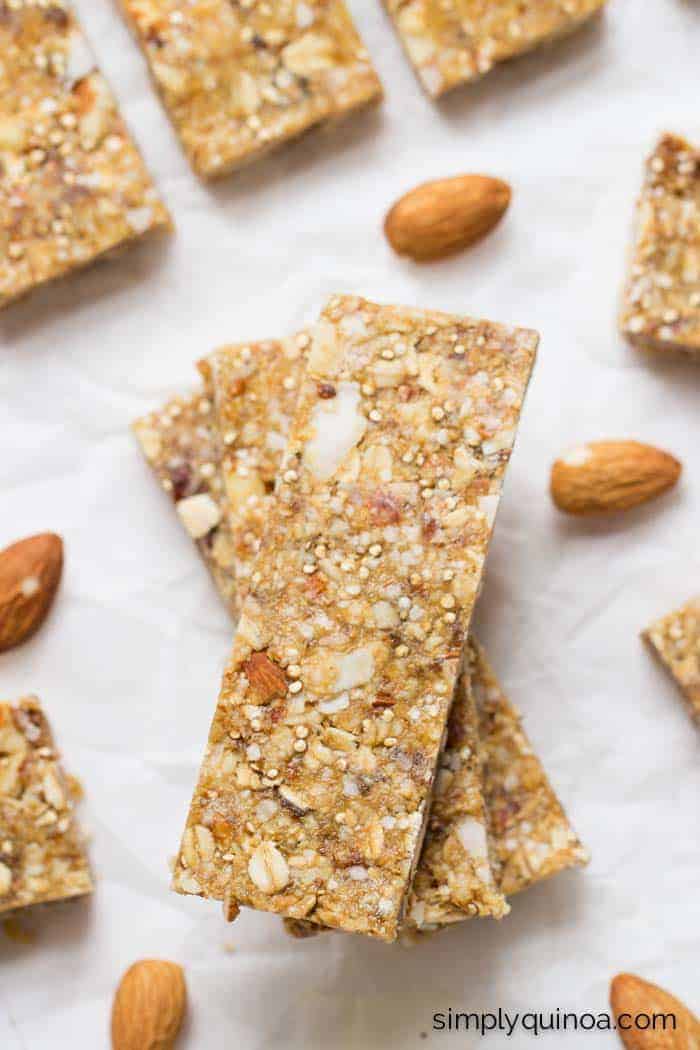
Almond & Coconut Quinoa Granola Bar...
simplyquinoa.com
Your folders
 107 views
Almond & Coconut Quinoa Granola...
simplyquinoa.com
4.2
(5)
Your folders

 265 views
Cranberry-Almond Granola Bars
eatingwell.com
Your folders

 248 views
Almond-Apricot Granola Bars
cooking.nytimes.com
5.0
(172)
Your folders
 225 views
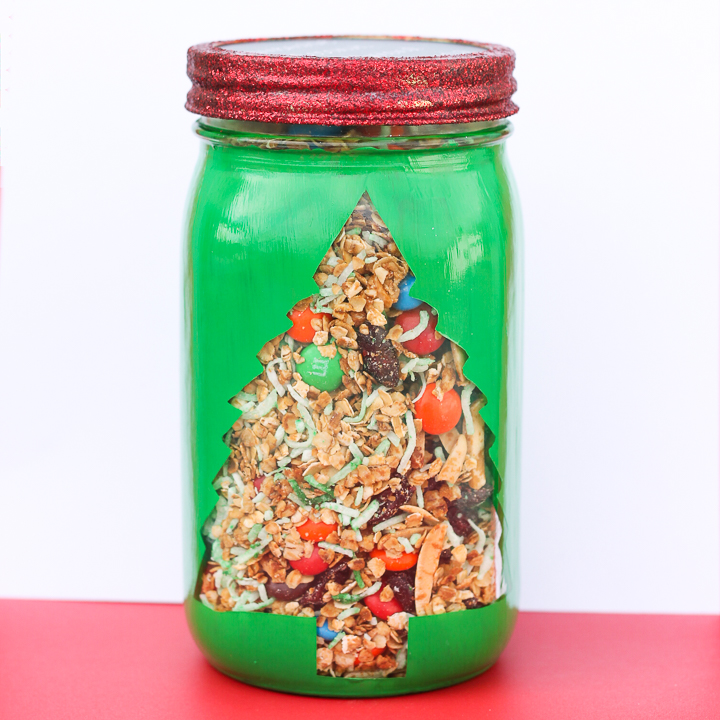
Coconut Almond Granola Recipe
thecountrychiccottage.net
18 minutes
Your folders

 243 views
Coconut Almond Cluster Granola
cooking.nytimes.com
5.0
(401)
Your folders

 153 views
Homemade Coconut Almond Granola
sharethespice.com
5.0
(3)
30 minutes
Your folders
 243 views
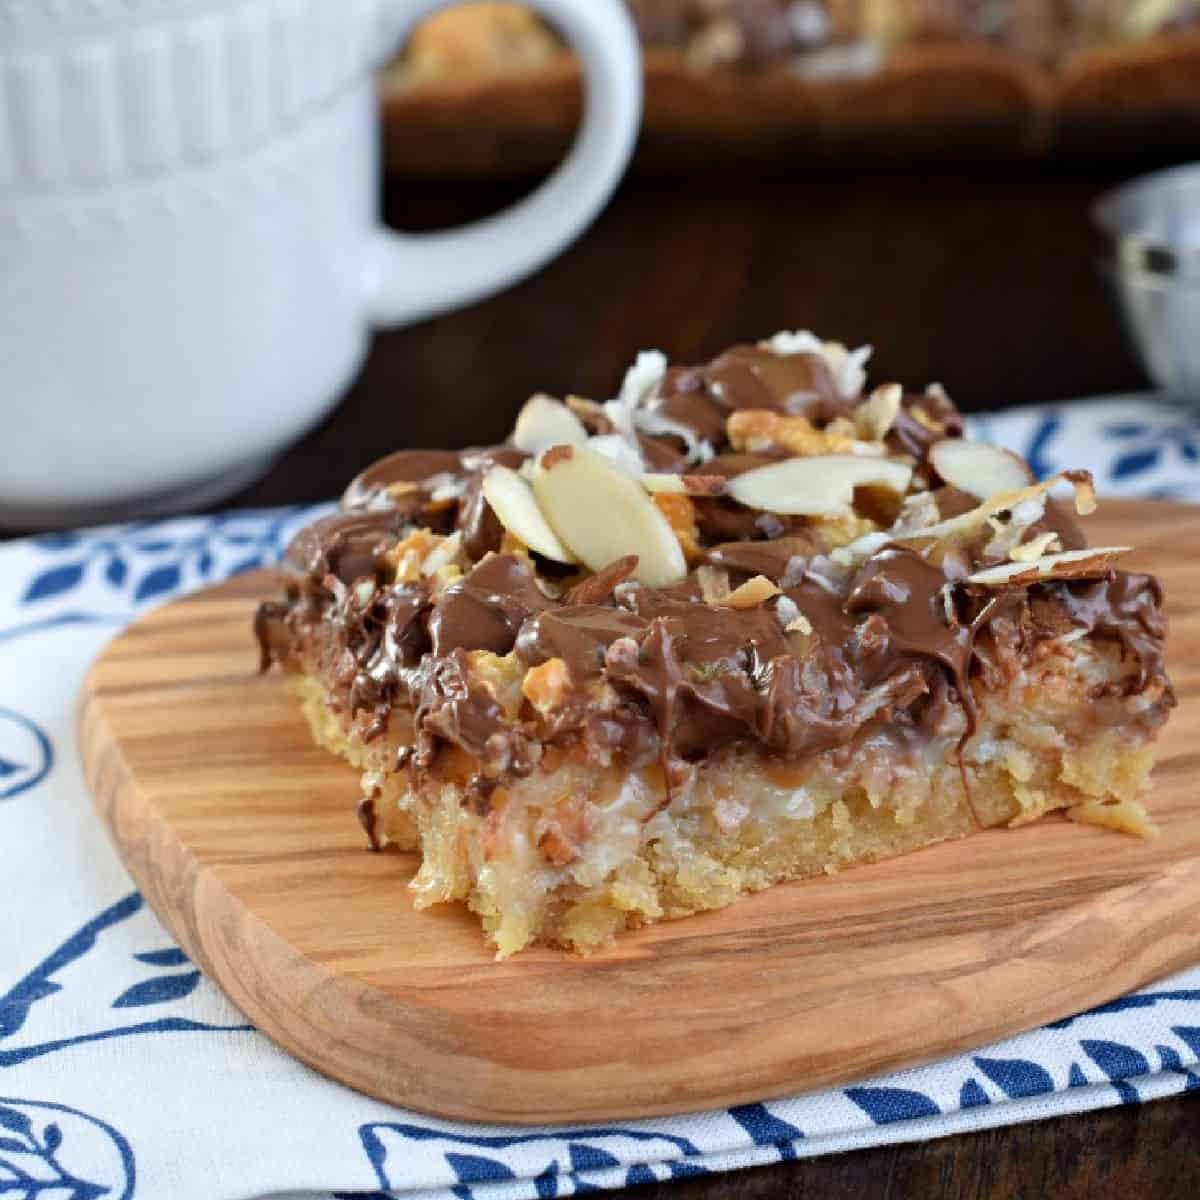
Coconut Almond Bars
shugarysweets.com
4.7
(16)
30 minutes
Your folders
 358 views
Almond Coconut Protein Bars
runningonrealfood.com
5.0
(3)
1 hours
Your folders

 274 views
Chocolate-Cherry-Coconut Granola Ba...
allrecipes.com
5 minutes
Your folders

 262 views
Chocolate Cherry Coconut Granola Ba...
aberdeenskitchen.com
5.0
(1)
20 minutes
Your folders

 236 views
Healthy Raspberry Coconut Granola B...
aberdeenskitchen.com
Your folders

 271 views
Chocolate-Cherry-Coconut Granola Ba...
redcipes.com
5 minutes
Your folders
 373 views
Chocolate Chip Almond Butter Granol...
minimalistbaker.com
4.8
(42)
Your folders

 118 views
Cherry Almond Red Lentil Granola Ba...
reciperunner.com
30 minutes
Your folders

 191 views
Homemade Coconut Oil Honey Almond G...
lovelylittlekitchen.com
5.0
(11)
10 minutes
Your folders

 209 views
Dark Chocolate, Almond and Coconut ...
makingthymeforhealth.com
5.0
(1)
20 minutes
Your folders
 221 views
Vanilla Almond Flax Granola with Co...
littlebroken.com
5.0
(1)
23 minutes
Your folders
 275 views
Granola Bars
foodnetwork.com
4.6
(76)
40 minutes