Baked Matcha White Chocolate Mooncakes
Your folders
Your folders
Prep Time: 60 minutes
Cook Time: 15 minutes
Total: 135 minutes
Servings: 10

Ingredients
Export 6 ingredients for grocery delivery
Instructions
Step 1
Mix honey and oil until combined. Sift in flour and matcha powder stir until combine. Cover and rest the dough for at least 1 hour or up to 3 hours
Step 2
Add matcha powder to the mung bean paste and mix to combine. Roll the mung bean paste into a round ball. Use your thumb to gently press into the mung bean paste ball. Put the white chocolate chips inside the cavity and roll it back into a round ball again. Repeat with the rest of the mung bean paste and white chocolate chips. Keep them covered to prevent them from drying out
Step 3
Preheat oven to 350 F (180 C) for conventional oven, 330 F (165 C) for convection oven. I use a 50-gram mooncake mould. So I do 18 grams of the dough. For the filling I do 25 grams mung bean paste and 7 grams white chocolate chips. Please make sure you weigh accurately as the mould can only fit in roughly about 50 grams (+/- within 5 grams should be okay). It can tolerate a bit bigger, but if you make it way bigger than that, the shape will be skewed
Step 4
This is my favorite way of wrapping. I can get thin skin without much difficulty. Take one dough and divide it into two. Flatten them with your palm. Put the filling on top of one. Then cover with another flattened dough (refer to the video for visual). Gently close the gap between the two doughs around the filling and roll into a round smooth ball without any cracks. The oil on the dough helps to smooth it out. Continue with the rest of the dough and filling
Step 5
Dust the mooncake mould with a thin layer of cake flour and shake off any excess. I also dusted the mooncake dough with thin layer of flour and shake off any excess. Put the dough inside the cavity of the mould and then face it down on a flat surface and gently push down the piston down to imprint the pattern on the dough. Gently push the mooncake out and voila, you have just shaped the dough into a mooncake with imprint on top. Repeat with the rest and dusting with some flour on the mould and the dough each time. Place the shaped dough on a baking sheet lined with a parchment paper
Step 6
Mist the top of the mooncake with some water from about 4-inch distance. You don't want to make the mooncake super wet, just mist it lightly to prevent it from cracking during baking. I did not apply an egg wash as I want to preserve the green color
Step 7
Put the baking sheet, in the middle of the oven, 3rd rack from the top for my oven. Bake for 14-15 minutes in a preheated oven
Step 8
Remove from the oven and let them cool down on the baking sheet for 5 minutes. Don't attempt to move them to cooling rack yet as they are very soft and you will break them trying to lift them up when they are fresh out from the oven like this
Step 9
After 5 minutes, very gently transfer them to a cooling rack to let them cool down completely. The color will darken too as they cool down
Step 10
Baked mooncakes are not made to be consumed on the same day. You will see that the mooncakes appear very dry when they just come out from the oven on day This is very normal. You might think these mooncakes are going to be super dry and not going to be nice, but on day 2 or 3 you will see the oil from the filling has sipped into the dough making it all moist
Step 11
After 3 days, you can consume the mooncakes. This is the best time to consume. Keep the rest in the fridge for up to 2 weeks. Homemade version will not last as long as the commercial one because we do not put any other preservative and additives
Top similar recipes
Curated for youYour folders

 24 views
Matcha White Chocolate Cookies
teakandthyme.com
5.0
(154)
12 minutes
Your folders
 230 views
Chocolate Hazelnut Mooncakes
foodnetwork.com
4.2
(5)
1 hours
Your folders
 260 views
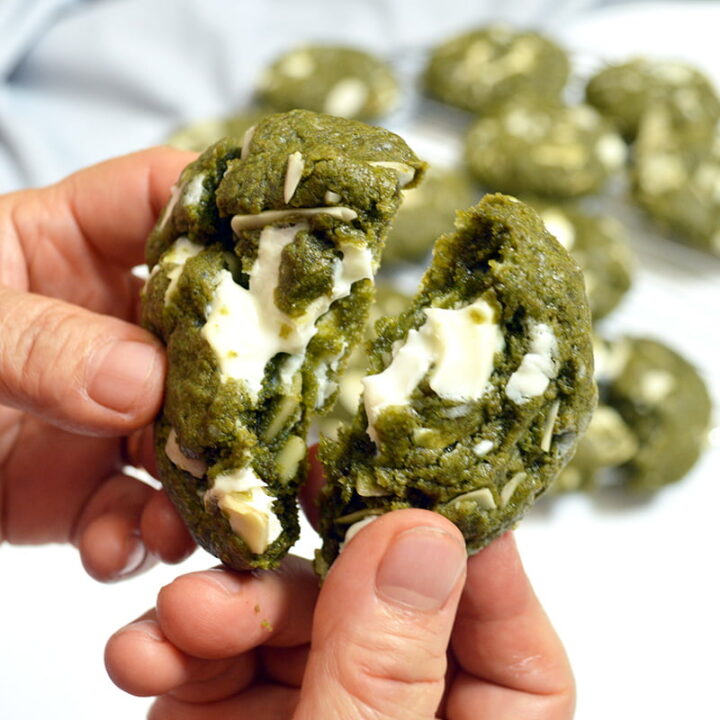
Almond White Chocolate Matcha Cooki...
jajabakes.com
4.5
(22)
12 minutes
Your folders
 270 views
Mooncakes
foodnetwork.com
4.8
(5)
1 hours, 20 minutes
Your folders
 220 views
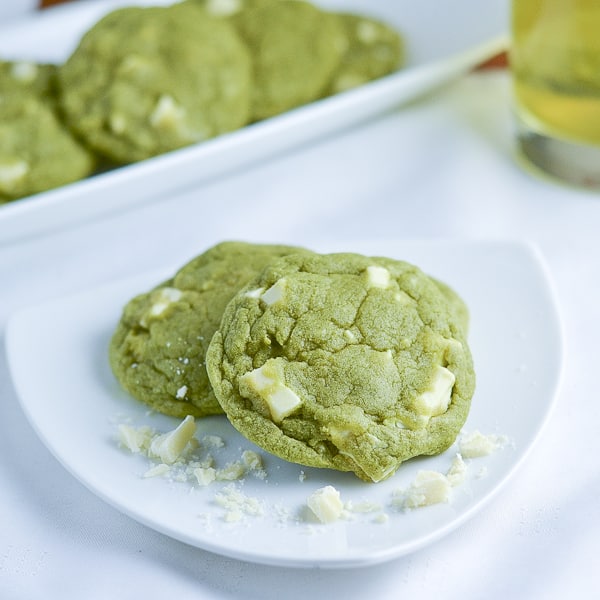
Matcha Green Tea White Chocolate Co...
salu-salo.com
4.5
(39)
20 minutes
Your folders
 233 views
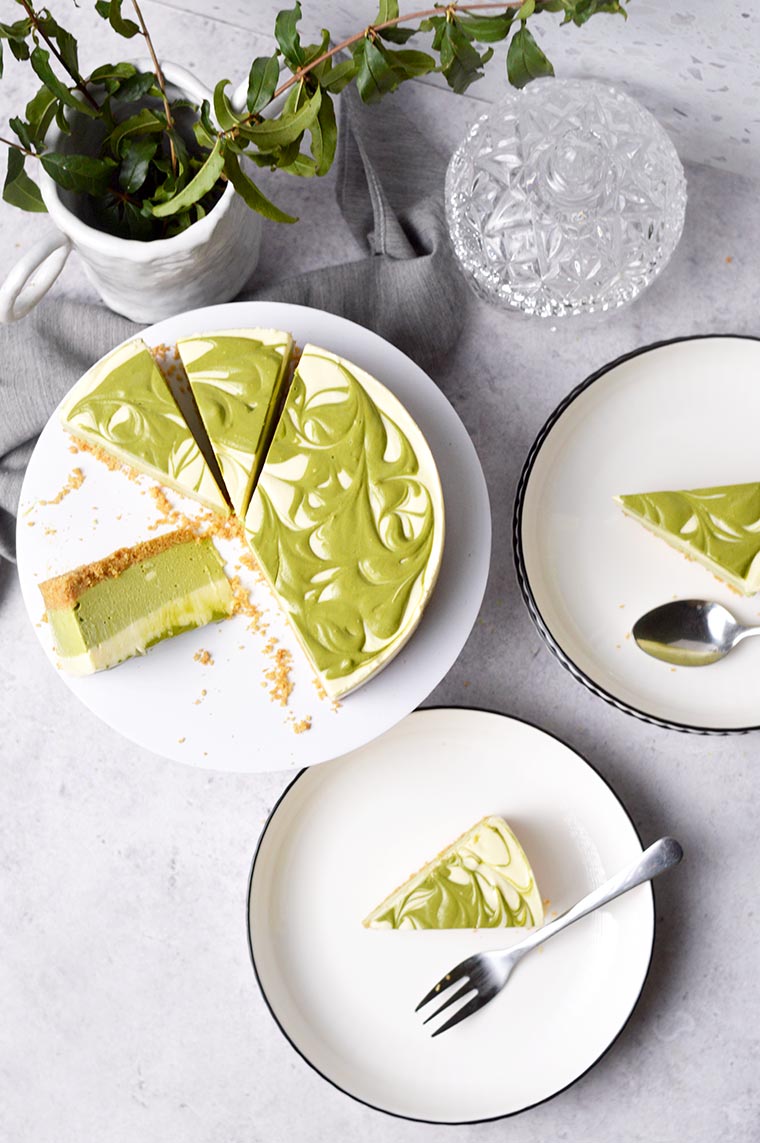
No-Bake Matcha White Chocolate Chee...
jajabakes.com
5.0
(1)
10 minutes
Your folders

 213 views
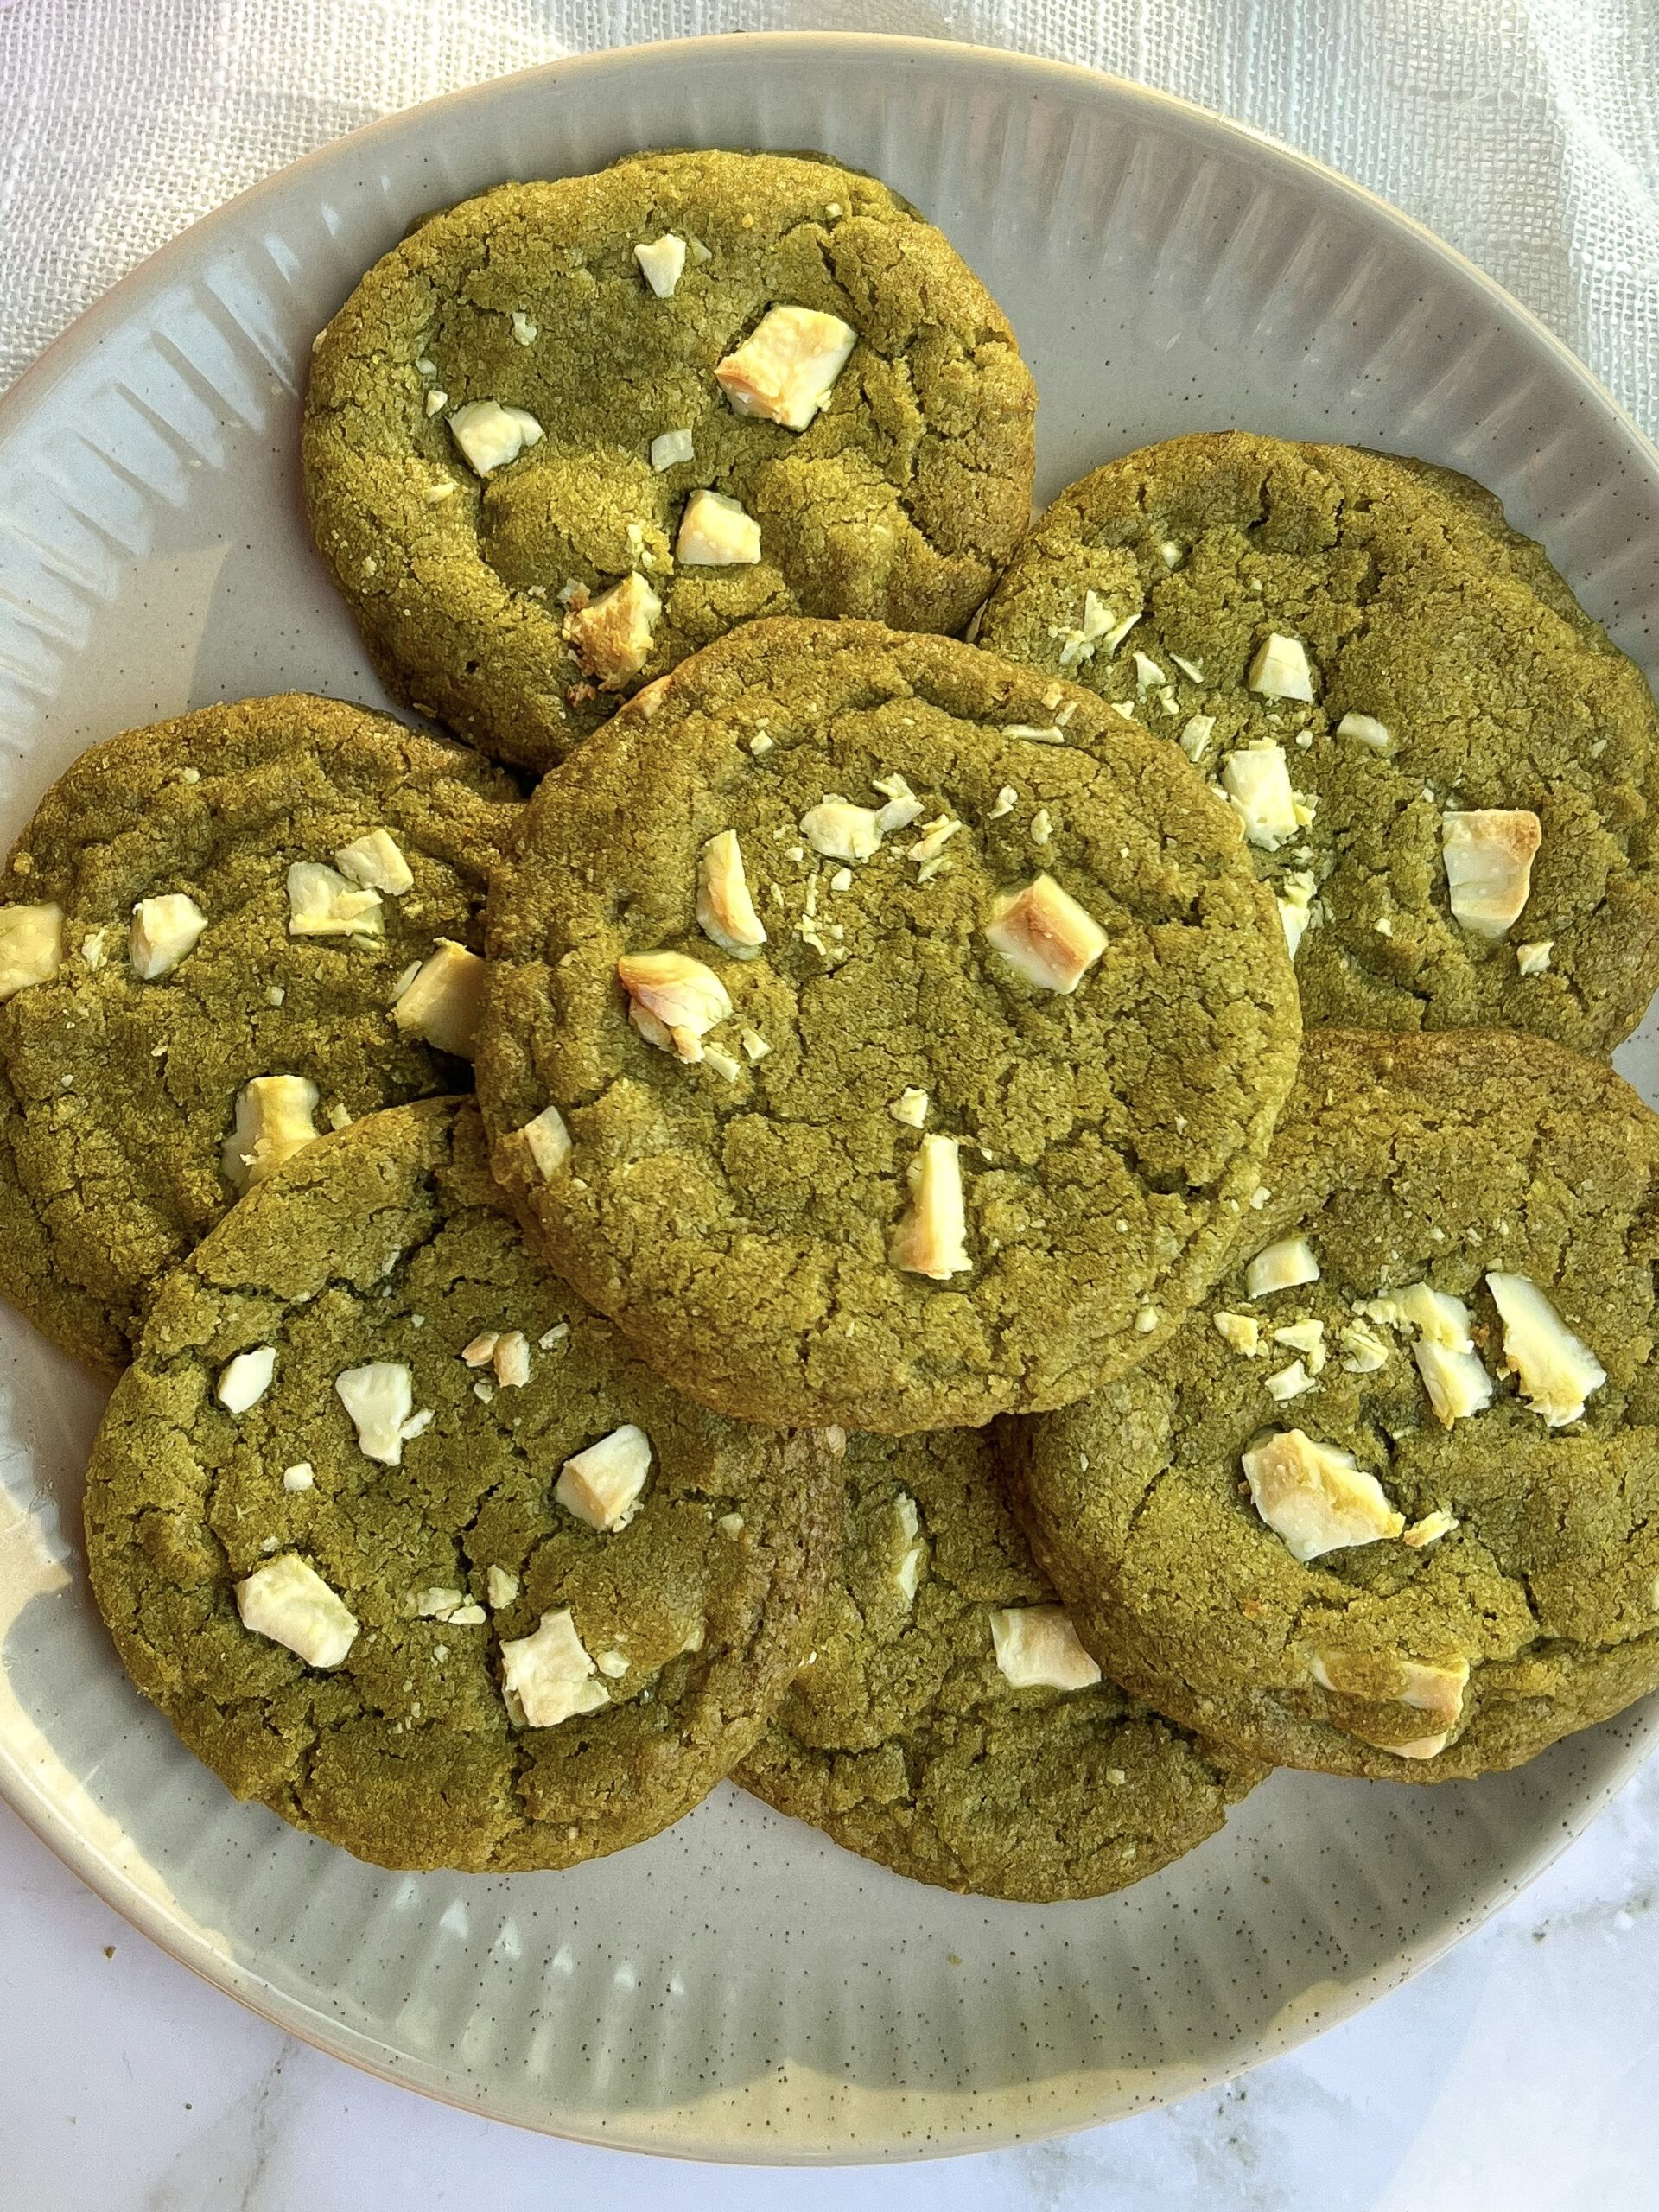
Brown Butter White Chocolate Matcha...
cooking-therapy.com
4.7
(367)
10 minutes
Your folders
 57 views
100 Calorie Matcha White Chocolate ...
eliyaeats.com
10 minutes
Your folders
 354 views
Matcha-White Chocolate Sugar Cookie...
epicurious.com
Your folders

 276 views
Baked white chocolate cheesecake
bbc.co.uk
3.0
(2)
1 hours
Your folders

 98 views
Matcha Chocolate Truffle
cookwithdana.com
5.0
(1)
20 minutes
Your folders

 231 views
Cranberry and Matcha Cookies (with ...
msshiandmrhe.com
20 minutes
Your folders

 188 views
Snow Skin Mooncakes
washingtonpost.com
1 hours, 30 minutes
Your folders
 174 views
Snow Skin Mooncakes
foodnetwork.com
55 minutes
Your folders

 266 views
Honeyed Pistachio Mooncakes
cooking.nytimes.com
4.0
(8)
Your folders

 175 views
Savory Suzhou Mooncakes
cooking.nytimes.com
4.0
(52)
Your folders
 341 views
Snow Skin Mooncakes
thewoksoflife.com
5.0
(4)
40 minutes
Your folders
 249 views
Honey Pistachio Mooncakes
epicurious.com
4.0
(2)
Your folders
 362 views
Thousand Layer Mooncakes with White...
thekitchn.com