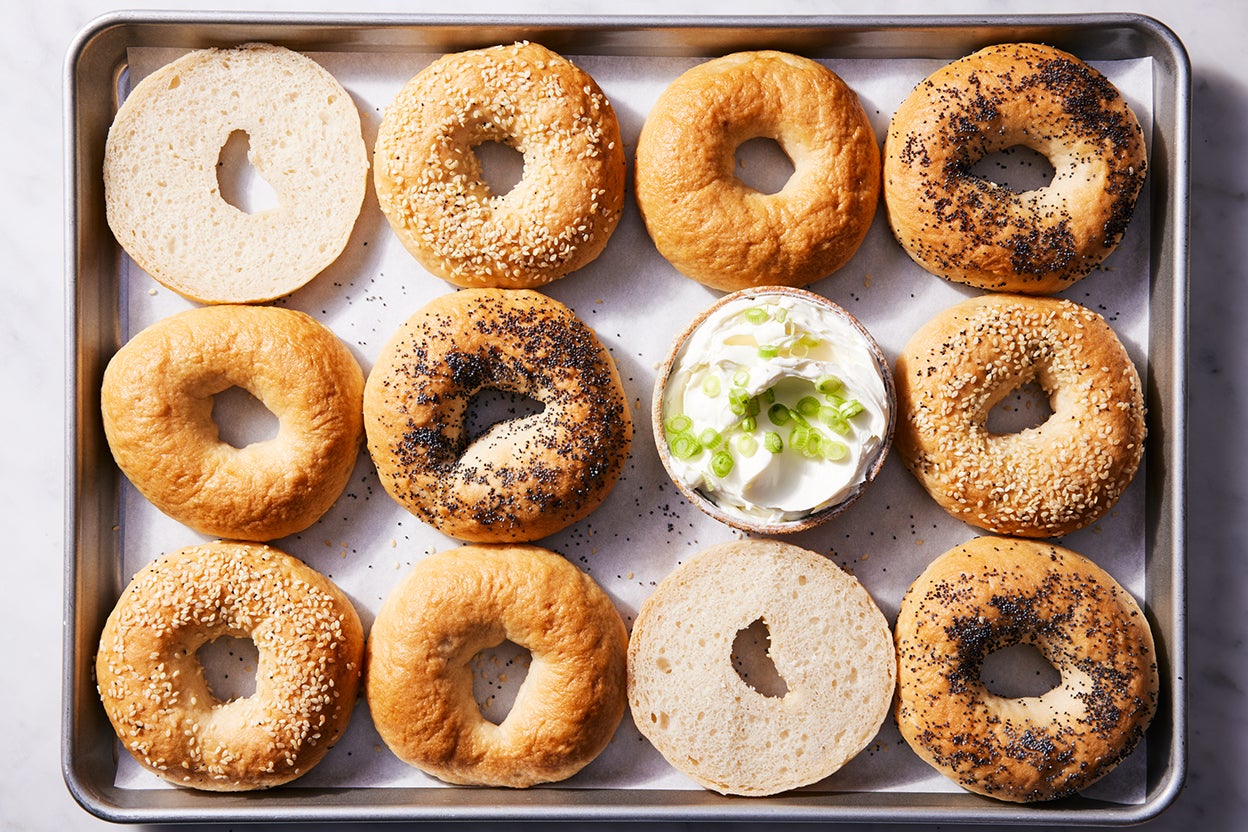
Chewy Gluten-Free Bagels
4.5
(8)
Your folders
Your folders
Prep Time: 20 minutes
Cook Time: 35 minutes
Total: 2 hours, 14 minutes
Servings: 8
Author : King Arthur Baking

Ingredients
Export 2 ingredients for grocery delivery
Instructions
Step 1
In a large bowl or the bowl of a stand mixer, combine all the dough ingredients. Mix using a spoon (if mixing by hand) or the flat beater attachment (if using a stand mixer) until a sticky, batter-like dough forms, about 1 minute on medium speed. If mixing by hand, there may be some lumps — that is OK.
Step 2
, Cover the dough and set it aside for 20 minutes. The mixture will firm up slightly during this time and begin to look more like dough.
Step 3
, Turn the dough onto a large greased or (gluten-free) floured work surface. Gently knead the dough — fold the dough in half towards you (use a bowl scraper for assistance, if needed), then pat it down, rotate the dough 90° (a quarter turn) and fold again — until it becomes firmer to the touch, smoother, and easier to handle, 6 to 7 times. As you work, dust your work surface and the dough lightly with gluten-free flour (or apply more grease), as needed, to prevent sticking.
Step 4
, Transfer the dough to a lightly greased bowl, cover, and allow it to rise for 35 to 40 minutes, or until puffy. About halfway through the rising time, line 2 baking sheets with parchment and preheat your oven to 425°F with racks in the upper and lower third.
Step 5
, On a greased or (gluten-free) floured surface, gently deflate the dough and knead 5 to 6 more times. Use additional gluten-free flour or grease on your hands and work surface as needed. By this time, the dough will be more pliable but still slightly sticky to the touch.
Step 6
, Divide the dough into 8 equal pieces (about 128g each) and loosely shape them into rounds by using your cupped fingers and palm to roll the pieces against your work surface in a circular motion.
Step 7
, Using a floured or greased index finger, poke a hole through the center of each ball, then rotate the dough around your index fingers to stretch the hole until it's about 1 1/2" to 2" in diameter.
Step 8
, Divide the bagels evenly between your lined baking sheets, cover, and let them rest for 10 to 15 minutes. After this rest, the bagels should be firmer and easier to handle.
Step 9
, While your dough is resting, prepare the water bath. Bring the water, brown sugar, and granulated sugar to a gentle boil in a large, wide-diameter pan.
Step 10
, Carefully pick up the bagels and gently transfer them to the simmering water. Boil about 4 bagels at a time if possible, ensuring the bagels have sufficient space to move around in the pot without overlapping. Increase the heat to bring the water bath back up to a gently simmering boil, if necessary. Cook the bagels for 30 seconds, flip them over using tongs, a dough whisk, or chop sticks, and cook 30 seconds more, until the bagels are puffy and matte on all sides.
Step 11
, Using a strainer or dough whisk, remove the bagels from the water, and place them back on the baking sheet. While the bagels are still hot, sprinkle generously with the topping of your choice.
Step 12
, Repeat the boiling process (steps 10 and
Step 13
with the remaining bagels.
Step 14
, Once all the bagels are boiled and topped, transfer them to the oven. Bake the bagels for 30 to 35 minutes, rotating top to bottom and back to front once partway through, or until they're as deep brown as you like. Remove the bagels from the oven, and cool completely on a rack.
Step 15
, Storage information: These gluten-free bagels are best enjoyed the day they're baked, but you can store leftovers, well-wrapped, at room temperature for up to 3 days. Freeze for longer storage.