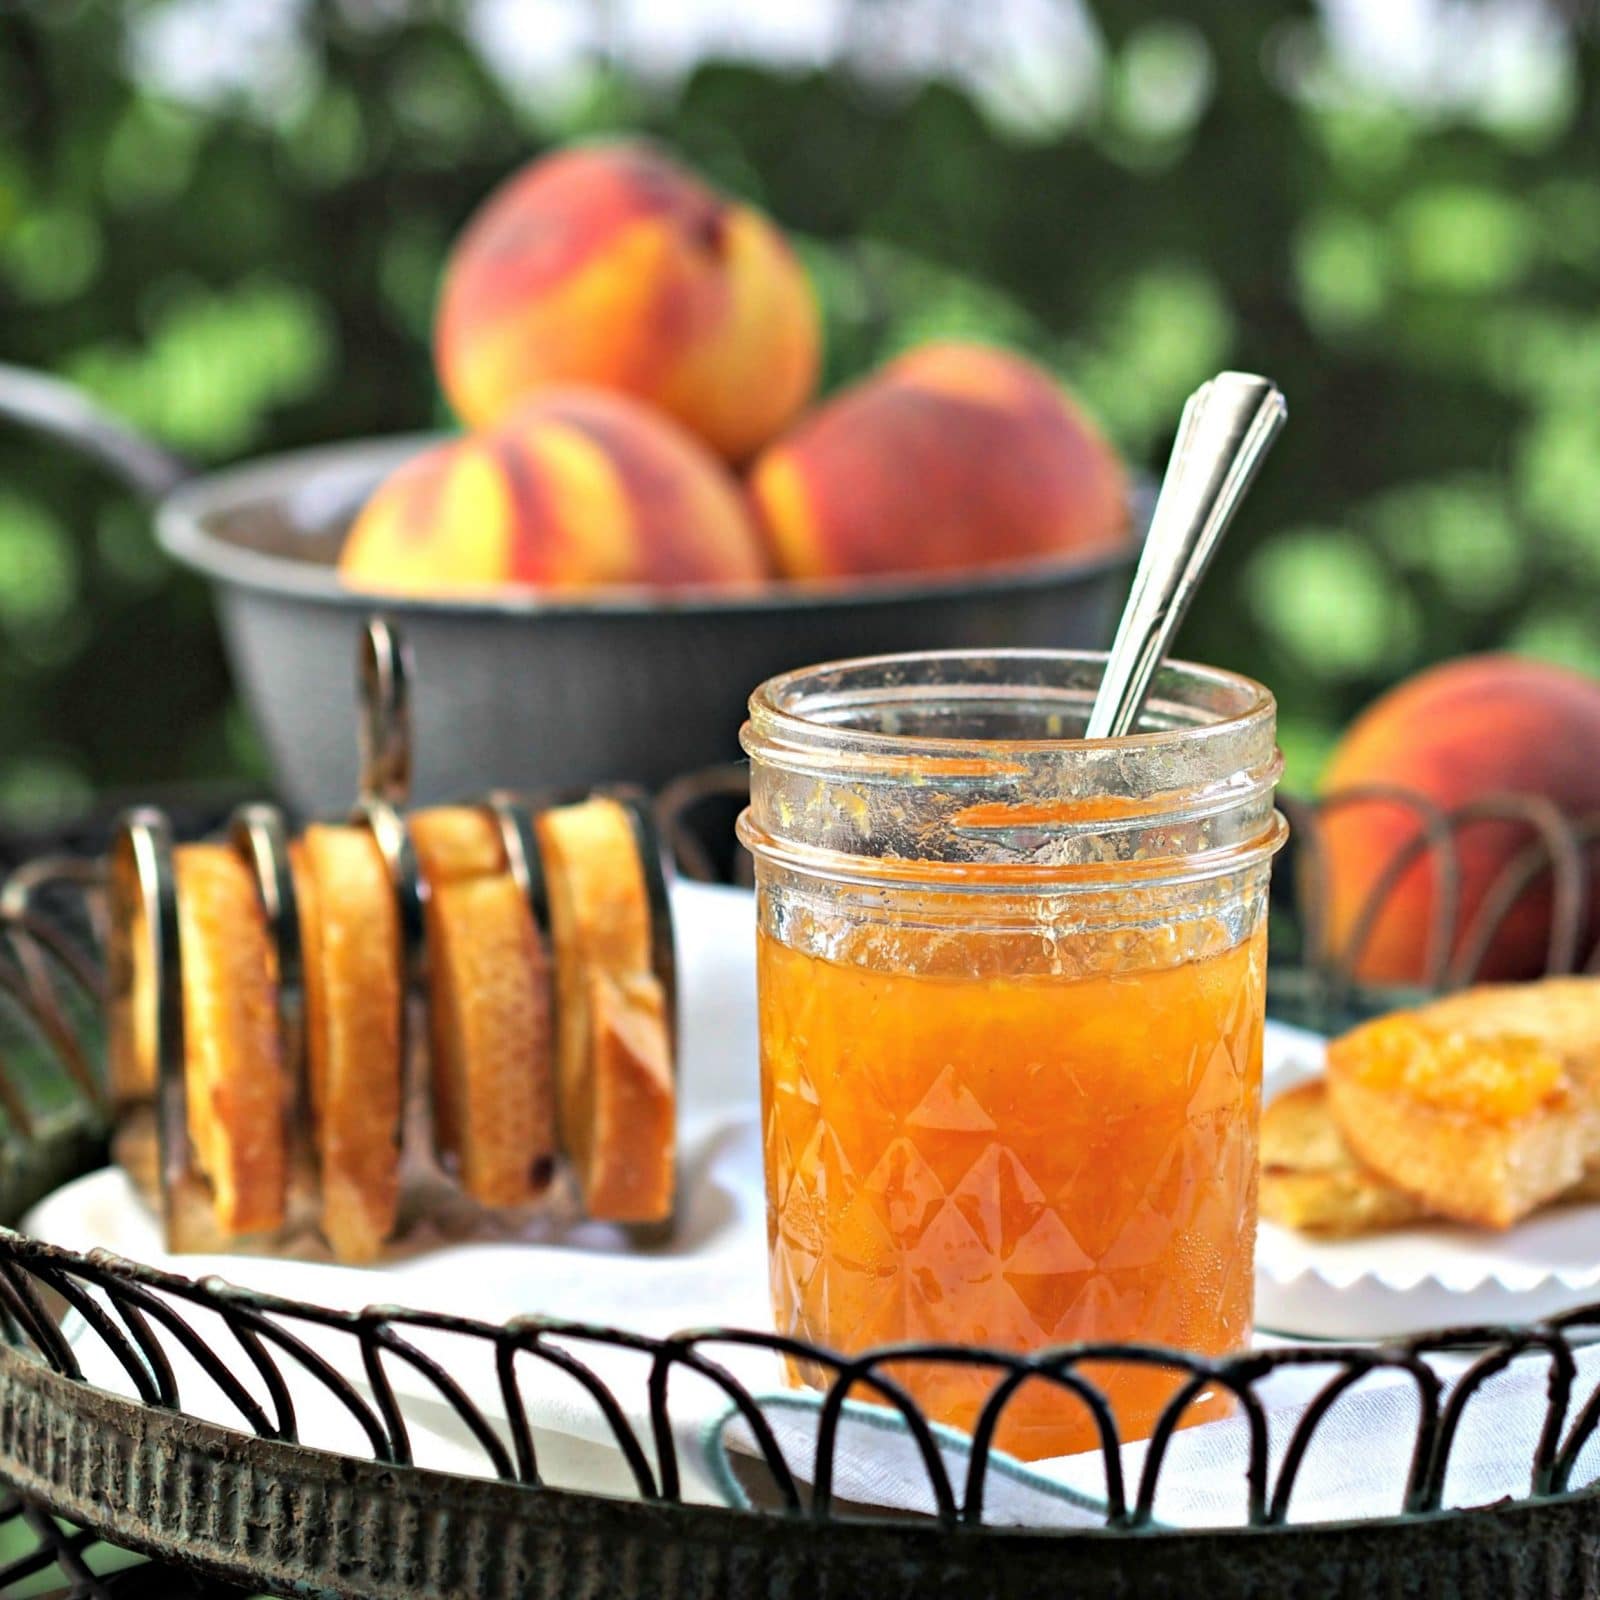
Fresh Peach Jam
3.7
(74)
Your folders
Your folders
Prep Time: 20 minutes
Cook Time: 10 minutes
Total: 25 minutes
Servings: 4
Author : Susie Gall

Ingredients
Export 3 ingredients for grocery delivery
Instructions
Step 1
Directions:
Step 2
Prepare jars and lids according to manufacturer’s directions.
Step 3
__________________________
Step 4
To peel & prepare the peaches:
Step 5
Fill a large mixing bowl with ice water and set aside.
Step 6
Bring water to boil in a large pot then turn the heat to simmer.
Step 7
Score the bottom or pointed end of each peach with an x-shape just deep enough to cut through the skin.
Step 8
Submerge the peaches in the simmering water for 1 minute or until the skin slightly pulls away from the scored end.
Step 9
Remove the peaches from the hot water and immediately plunge them in the iced water to cool. This cooling method will prevent the peaches from becoming mushy.
Step 10
Pull the peach skins off from the cut ends of the peaches. If the skins don’t easily remove, place the peaches back in the water and simmer a little longer.
Step 11
Cut peeled peaches in half, remove the pits and dice the peaches.
Step 12
____________________________
Step 13
For the jam:
Step 14
Combine peaches, salt, lemon juice, butter & pectin in a medium saucepan.
Step 15
Mash peaches with a potato masher (2-3 mashes) but leave almost all peaches diced.
Step 16
Bring the peach mixture to a rolling boil (ie: continuous full boil) while stirring.
Step 17
Add sugar, stir and bring the peach mixture back to a rolling boil - stir continuously.
Step 18
Continue boiling the mixture for 1 minute while stirring.
Step 19
Remove from the heat and skim off any foam from the top of the jam.
Step 20
____________________________
Step 21
To “can” the jam:
Step 22
*Note: The jam can be placed in sterilized jars at this point, cooled and refrigerated if eaten within 3 weeks. If not eating within 3 weeks, follow the water-bath, canning directions below.
Step 23
First, fill a large soup pot or canning pot with enough water to cover jars by 2-inches. Cover and bring to a boil over high heat.
Step 24
Ladle the peach jam into sterilized jars - leave ¼” space from the top of the jar.
Step 25
Wipe off jar rims with a clean cloth or paper towel.
Step 26
Cover jars with 2-part canning lids and screw the lids on tightly.
Step 27
Once the water comes to a boil, carefully place jars in the canner, place the lid back on pot and bring the water to a simmer.
Step 28
Simmer the jam-filled jars for 5 minutes or more depending on the altitude (check the altitude chart on the canning jar box.) In Missouri, the boil time is 5 minutes.
Step 29
Remove jars and allow to cool for 24 hours on a towel-lined countertop.
Step 30
At this point, leave them alone – do NOT retighten the metal bands on the lids.
Step 31
If using metal lids, you will hear a “ping” and the seal will be slightly indented when the lids are successfully sealed.
Step 32
After 24 hours, check the seals on each jar of jam and, if needed, tighten the bands. The seal should be slightly indented. To test for a good seal, slightly press on the seal, if it springs back, that jar of jam does not have a proper seal and refrigeration is needed.
Step 33
Enjoy!