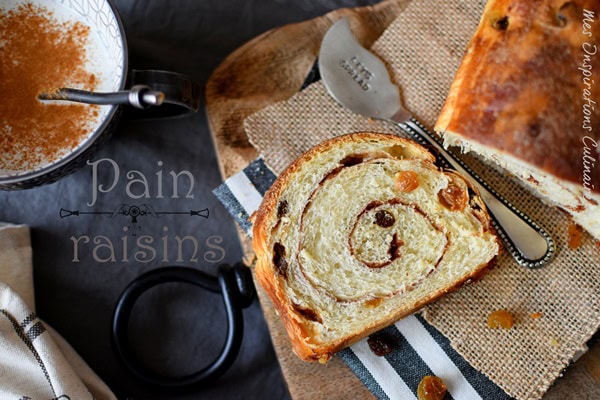
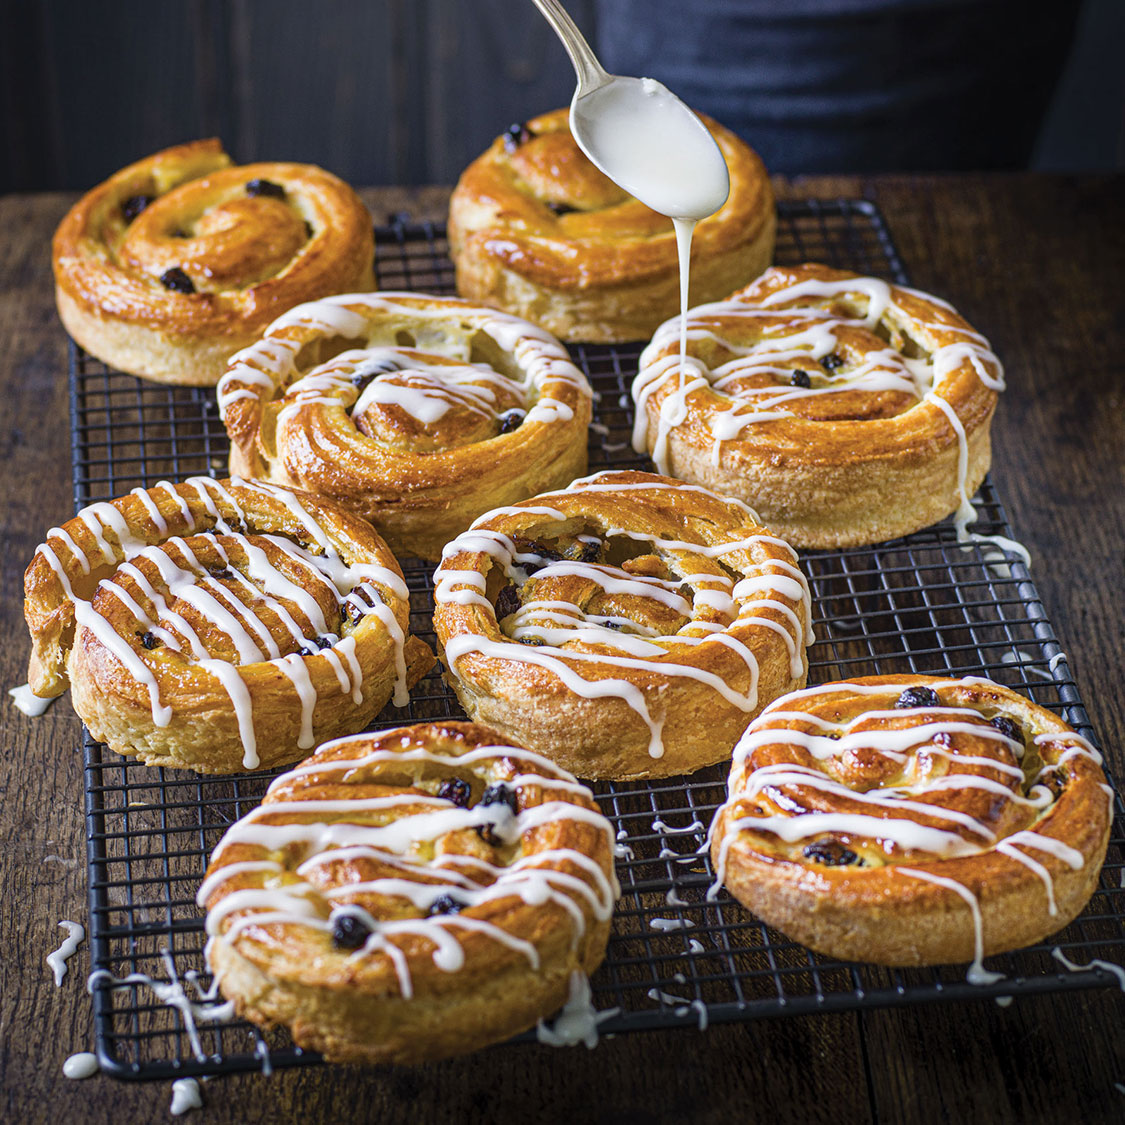
Gluten Free Danish Pastry (Pain aux Raisins)
Your folders
Your folders
Prep Time: 60 minutes
Cook Time: 50 minutes
Total: 290 minutes
Servings: 10
Author : Kat | The Loopy Whisk

Ingredients
Export 14 ingredients for grocery delivery
Instructions
Step 1
In a saucepan, cook the milk and vanilla bean paste over medium-high heat until boiling.
Step 2
In a bowl, whisk together the egg yolks and sugar until pale and the mixture forms a ribbon when you lift the whisk. Add the cornstarch and whisk well until combined.Tip: Whisking the egg yolks and sugar together until smooth is called “blanching”. The sugar essentially protects the egg proteins, preventing lump formation and "curdling" during cooking.
Step 3
Pour the hot milk in a slow stream into the egg yolks, whisking constantly. Return the mixture into the saucepan and cook over high heat with constant whisking until thickened, about 1-2 minutes.Tip: This process is called “tempering” and prevents the egg yolks from scrambling – as they would if you added the egg yolk mixture all at once into the hot milk. By tempering, you gradually increase the temperature of the egg yolks while simultaneously diluting them, ensuring a silky-smooth pastry cream.
Step 4
Remove from heat and add in the butter. Whisk well until the butter has melted and is completely incorporated.
Step 5
Allow to cool completely, stirring or whisking occasionally to prevent skin formation on top. Set aside until needed.
Step 6
In a small bowl, whisk together the psyllium husk and cold water. After about 20-30 seconds, a gel will form. Set aside until needed.
Step 7
In a large bowl (or the bowl of a stand mixer, if using), whisk together the potato starch, brown rice flour, sorghum flour, sugar, xanthan gum, salt and yeast.
Step 8
Make a well in the middle of the dry ingredients, and add the cold milk, egg yolks and psyllium gel into it.Tip: If using active dried yeast, see Note 2.
Step 9
Using a wooden spoon, mix well until the dough starts coming together. You can also use a stand mixer fitted with the dough hook, making sure that you scrape down the sides of the bowl to remove any dry, un-mixed patches of flour.
Step 10
Once it starts coming together, knead it by hand until you get a homogeneous dough with no dry patches of un-mixed flour. Just squeeze the dough through your fingers, going around the bowl until you’ve incorporated all the flour. The final dough will be fairly firm and should come away from the sides of the bowl. (Again, you can also use a stand mixer fitted with the dough hook).
Step 11
Set aside for a few minutes while you prepare the butter block. Tip: If your kitchen is very warm, you can place the dough into the fridge while you prepare the butter block.
Step 12
Cut the cold butter into slices and arrange it in the middle of a large piece of baking/greaseproof paper, in an approximately square shape.
Step 13
Fold all four sides of the baking paper over the butter, so that you get an approximately 8 inch (20cm) baking paper square that completely encloses the butter.
Step 14
Flip it over, so that the baking paper folds point downwards, and firmly hit the butter with a rolling pin. Make sure to hit it with the rolling pin all over and in all directions.Tip: The friction from being hit with the rolling pin will slightly soften the butter and make it more malleable/pliable, without melting it.
Step 15
Once slightly softened, roll the rolling pin firmly over the butter block, so that you get the butter into all the edges and corners of the baking paper square. Make sure that the butter is of an even thickness all over.
Step 16
You should be left with an 8 inch (20cm) butter block that’s fairly malleable/pliable (you should be able to gently bend it) without being too soft or squidgy.Tip: If your kitchen is very warm, you can chill it briefly in the fridge for about 5 minutes, but you don’t want it to firm up too much. (I didn’t need to chill it at all, and my kitchen was at a pleasant 70ºF (20ºC)).
Step 17
Lightly flour your work surface. Tip: I like to work on a large piece of baking/greaseproof paper, as this allows me to slide the dough onto a baking sheet and into the fridge at any point, if the dough or pastry feels too warm or too soft. I recommend you do the same, especially if this is your first time making gluten free Danish pastry (and also if your kitchen is on the warmer side).
Step 18
Place the dough onto the floured surface and sprinkle it with flour. Roll it out into an approximately 8x16 inch (20x40cm) rectangle, so that the shorter side is closest to you. At regular intervals, check whether the butter block fits comfortably onto the rolled-out dough. The dough should be a few millimetres wider than the butter block, but not by much.While you’re rolling, make sure that the dough isn’t stuck to the surface, by sliding your hands under it and gently lifting it up.
Step 19
Once you’re happy with the size of the dough, place the butter block on one half of the dough and peel away the baking paper. Fold the other half of the dough over the butter block, end to end, enclosing it completely.
Step 20
Turn the dough by 90 degrees, so that the two opposite “open ends” of the pastry point towards and away from you.
Step 21
Use the rolling pin to gently “tap” the pastry all over – that is, gently press down on the pastry with the rolling pin at regular intervals along the length of the dough. This will ensure that the butter block adheres well to the dough and that it rolls out evenly together with the dough, rather than in uneven patches.
Step 22
Roll out the dough into an approximately 8x22 inch (20x55cm) rectangle. This doesn’t have to be very precise, you just want to make sure that the rectangle is long enough to easily make the book fold in the next step.While you’re rolling, make sure that the dough isn’t stuck to the surface, by sliding your hands under it and gently lifting it up.
Step 23
Fold the two ends of the rectangle inwards towards the middle, so that they meet in the centre. At this point, use a pastry brush to remove any excess flour. Fold this new rectangle in half (along the centre line), as if closing a thick book. You’ve just made a book fold!
Step 24
Wrap the pastry in cling film and chill in the fridge for 20-30 minutes. Tip: Don’t chill it for any longer than that – if you do, the butter will firm up too much and will break when you roll out the pastry in the next step.
Step 25
The second book fold is essentially a repeat of the first one.
Step 26
On a lightly floured surface, position the pastry so that the two “open ends” point towards and away from you.
Step 27
Gently press down on the pastry with the rolling pin at regular intervals along the length of the dough. Then, roll it out into an approximately 8x22 inch (20x55cm) rectangle. Make sure that the pastry doesn’t stick to the surface. .
Step 28
Fold both ends of the pastry rectangle towards the middle, so that they meet in the centre. Then fold the resulting rectangle in half.
Step 29
Wrap the pastry in cling film and chill it in the fridge for 20-30 minutes.
Step 30
While the pastry is chilling, in a small bowl, pour boiling hot water over the sultanas or raisins until completely covered. Set aside for about 10 minutes, until the sultanas/raisins have plumped up and re-hydrated.Drain the water, making sure to squeeze out any excess water from the sultanas/raisins. Set aside until needed.
Step 31
Line two large baking sheets with baking/greaseproof paper.
Step 32
Roll out the chilled pastry until it’s slightly larger than 10x16 inch (25x40cm), then trim it down to a 10x16 inch (25x40cm) rectangle. It should be about ⅓ inch (8mm) thick.
Step 33
Briefly whisk the cooled vanilla pastry cream until it's smooth, then dollop it on top of the rolled-out pastry. Using a small offset spatula, smooth it out into an even layer all the way to the edges.
Step 34
Sprinkle evenly with the re-hydrated sultanas or raisins.
Step 35
With the pastry positioned so that that the shorter side is closest to you, roll the pastry towards you. You will end up with an approximately 10 inch (25cm) long log. You can use the baking paper to help you with rolling, if needed.Tip: If the pastry feels too warm or too soft at this point, chill it in the fridge for 20-30 minutes before proceeding with the next step.
Step 36
Use baker’s thread or unflavoured dental floss to slice the log into the individual pastries, each about 1 inch (2.5cm) thick. Fold the end of the swirl of each pastry underneath the pastry (see blog post for photos) – this prevents the end of the pastry from unfurling during baking.Tip: Much like with cinnamon rolls, using baker's thread or floss preserves the shape of the pastries and ensures that you’ll get the most beautiful swirl. (Using a knife, on the other hand, would likely squash the pastry.)
Step 37
Place the individual Danish pastries onto the lined baking sheets, spacing them out so as to allow for their expansion during proofing and baking. This recipe makes 10 pastries in total, I like to bake them 5 per baking sheet. Ideally, allow at least 2 inches (5cm) between the pastries.
Step 38
Cover them lightly with cling film and allow to proof in a warm spot for about 2 hours or until lightly puffed up. The pastries won't double in volume – see blog post for photos.
Step 39
While the pastries are proofing, adjust the oven rack to the middle position and pre-heat the oven to 430ºF (220ºC).
Step 40
Once proofed, brush the pastries lightly with egg wash all over – make sure to egg wash both the tops and the sides.
Step 41
Bake the first baking sheet with the Danish pastries at 430ºF (220ºC) for 5 minutes. Then, without opening the oven, reduce the oven temperature to 350ºF (180ºC) and bake them for a further 20 minutes or until deep golden brown.
Step 42
Remove the first baking sheet with the pastries from the oven, and immediately increase the oven temperature to 430ºF (220ºC). Once the oven reaches that temperature, bake the second baking sheet with the pastries as per the instructions above.
Step 43
Allow the pastries to cool on the baking sheet for about 5-10 minutes before transferring onto a wire cooling rack to cool until warm or completely cold, depending on how you'd like to serve them.
Step 44
Optional: You can brush the pastries (while they're still warm) with some apricot jam that you've heated up on the stovetop or in the microwave.
Step 45
These gluten free Danish pastries are definitely at their very best still slightly warm from the oven or on the day of baking.However, they keep well for 2-3 days in an airtight container at room temperature, you’ll just need to reheat them briefly in the microwave (for about 20-30 seconds) to soften them up again – once re-heated, they’re just as soft and delicious as they were on the first day, but they won't be quite as crisp.
Top similar recipes
Curated for youYour folders
 289 views
Pain aux raisins secs et cannelle
mesinspirationsculinaires.com
5.0
(15)
45 minutes
Your folders
 377 views
Pain aux raisins secs et cannelle
mesinspirationsculinaires.com
Your folders
 616 views
Danish Pastry
kingarthurbaking.com
4.5
(44)
18 minutes
Your folders
 594 views
Danish Pastry
allrecipes.com
4.4
(79)
8 minutes
Your folders
 292 views
Danish Pastry
nordicfoodliving.com
4.7
(3)
30 minutes
Your folders
 417 views
Danish Pastry
elavegan.com
17 minutes
Your folders
 1141 views
Danish Pastry
veenaazmanov.com
5.0
(16)
20 minutes
Your folders
 252 views
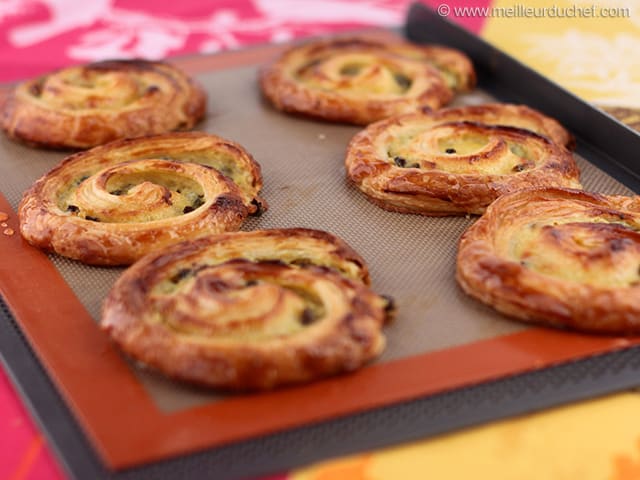
Recette Pain aux raisins - Meilleu...
meilleurduchef.com
Your folders
 79 views
Paul Hollywood’s Pain aux Rai...
thegreatbritishbakeoff.co.uk
Your folders
 296 views
Pains aux raisins
meilleurduchef.com
4.5
(36)
Your folders
 192 views
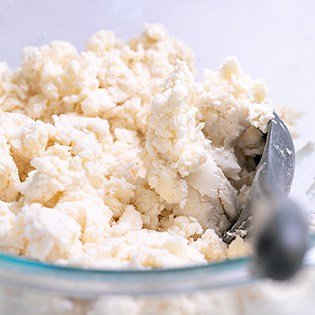
Gluten Free Pastry Flour
glutenfreeonashoestring.com
5.0
(10)
Your folders
99 viewsGluten Free Pastry Flour
glutenfreeonashoestring.com
Your folders
 331 views
Danish pastry - Wikipedia
en.wikipedia.org
Your folders
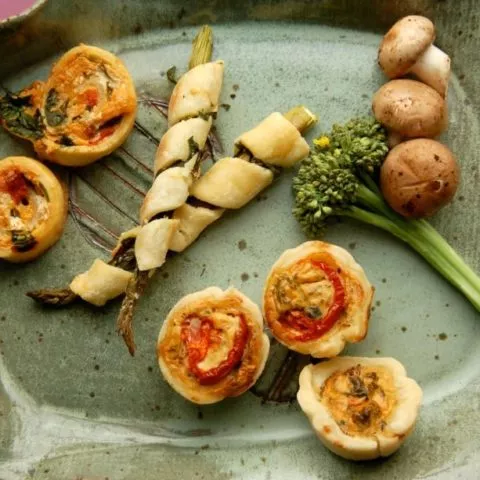
 647 views
Custard Danish Pastry
instabaking.com
15 minutes
Your folders
 400 views
Danish Puff Pastry
americastestkitchen.com
5.0
(1)
Your folders
 352 views
Gluten Free Choux Pastry + Gluten F...
glutenfreealchemist.com
4.7
(24)
30 minutes
Your folders
 193 views
Gluten Free Puff Pastry Recipe
gfjules.com
4.4
(109)
20 minutes
Your folders
 150 views
Clafoutis aux raisins noirs
cuisineaz.com
5.0
(7)
45 minutes
Your folders
 162 views
Clafoutis aux raisins noirs
atelierdeschefs.fr
3.4
(106)