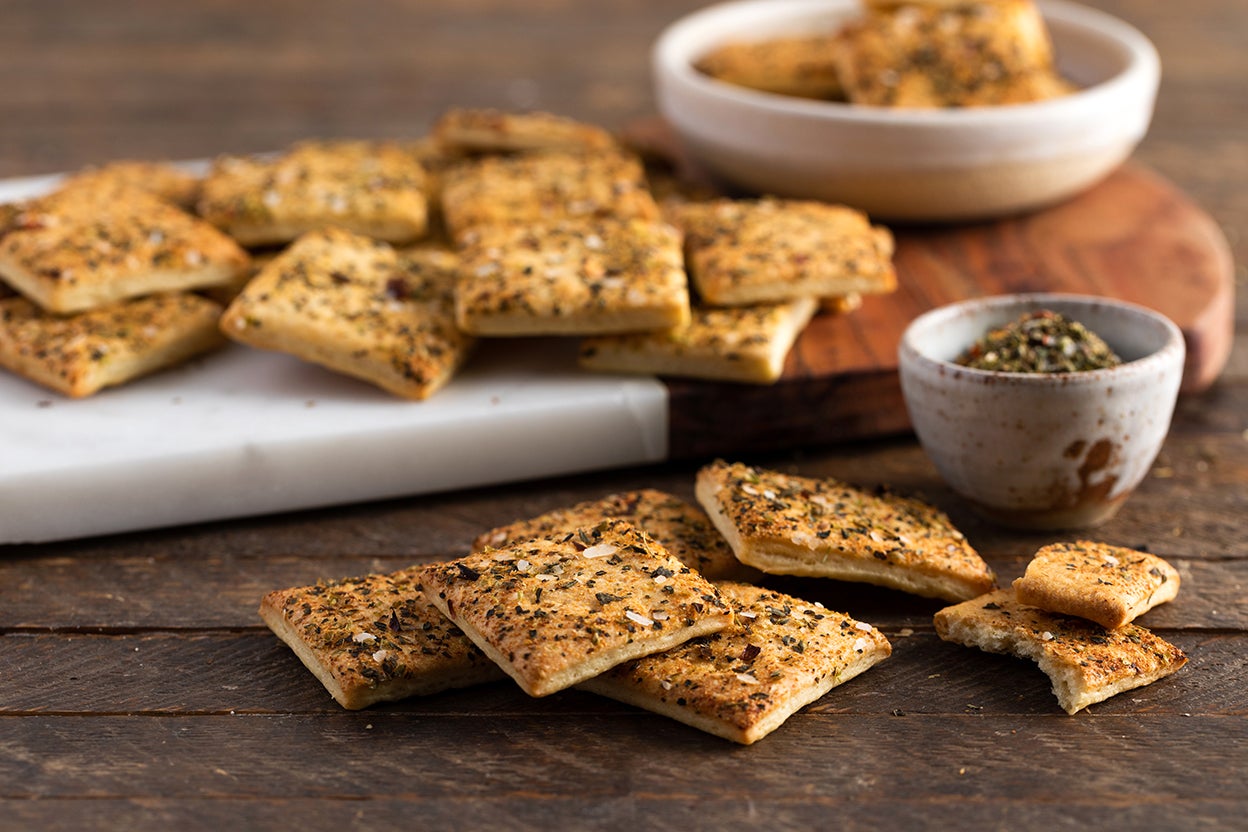
Gourmet Soda Crackers
4.6
(16)
Your folders
Your folders
Prep Time: 15 minutes
Cook Time: 10 minutes
Total: 12 hours, 25 minutes
Servings: 45
Author : PJ Hamel
Ingredients
Export 7 ingredients for grocery delivery
Instructions
Step 1
Whisk together the flour, yeast, salt, baking soda, cream of tartar, dough improver, and sugar. Set it aside.
Step 2
Put the water, butter, and oil in a microwave-safe cup, or in a saucepan. Heat gently just to melt the butter. Remove from the heat, and cool to 120°F to 130°F. If you don't have a thermometer, this will feel hotter than lukewarm, but not at all uncomfortably hot; it'll be cooler than your hottest tap water.
Step 3
Add the liquid ingredients to the dry ingredients. Beat at medium, then high speed for a total of about 90 seconds, to make a soft dough.
Step 4
Place the dough in a lightly greased bowl, cover it, and refrigerate overnight, or for up to 18 hours. It won't rise much; the bowl can be small.
Step 5
Remove the dough from the refrigerator, and allow it to rest for about 15 minutes. Preheat the oven to 425°F.
Step 6
Lightly flour a work surface (a silicone rolling mat works well here), and remove the dough from its rising bowl. It won't feel like normal yeast dough; it'll be more clay-like. Shape the dough into a 3" x 5" rectangular block; pre-shaping it like this will help you roll it out evenly. Roll it into a rough 13" x 15" rectangle; it'll be quite thin. Be sure to keep the rolling surface well-floured, to avoid sticking.
Step 7
Starting with a shorter side, fold the dough in three like a business letter.
Step 8
Roll it out again, this time to an 11" x 19" rectangle, or thereabouts. The dough will shrink when you stop rolling it; your goal is to end up with a rectangle that's about 10" x 18".
Step 9
Sprinkle the dough with your choice of seasoning or salt — we like pizza seasoning or an herbed or smoked salt — and gently press it in with the rolling pin.
Step 10
Using a rolling pizza wheel (easiest) or a baker's bench knife, cut the dough into 2" squares. Note: If you're using a silicone mat, cut very carefully - you don't want to damage the mat. We like to use an acrylic-blade pizza wheel.
Step 11
Transfer the crackers to two lightly greased or parchment-lined baking sheets; you can put them fairly close together, as they'll shrink as they bake, rather than spread. Prick each cracker once or twice with the tines of a fork.
Step 12
Bake the crackers for about 10 minutes, till they're a very light golden brown. Watch them carefully towards the end of the baking time; they can darken very quickly.
Step 13
Turn off the oven, and open the door completely. Leave the crackers on the oven rack; they're going to cool down right in the cooling oven, in order to preserve their crispness. Keep your eye on them for the first couple of minutes; if for some reason your oven isn't cooling off quickly, and the crackers are continuing to brown, pull the rack out partway.
Step 14
When the crackers are completely cool, remove them from the oven, and wrap airtight, to preserve their crispness.
Top similar recipes
Curated for youYour folders

 151 views
Homemade Gourmet Crackers
recipetineats.com
5.0
(160)
75 minutes
Your folders
 299 views
Traditional Soda Crackers
kingarthurbaking.com
4.9
(9)
20 minutes
Your folders
 202 views
Gourmet burgers
taste.com.au
5.0
(2)
10 minutes
Your folders
 254 views
Gourmet Magazin
gourmet-magazin.de
5.0
Your folders
 234 views
McCormick Gourmet™ Cajun Seasoning ...
mccormick.com
Your folders
 274 views
McCormick Gourmet™ Organic Shawarma...
mccormick.com
Your folders
 205 views
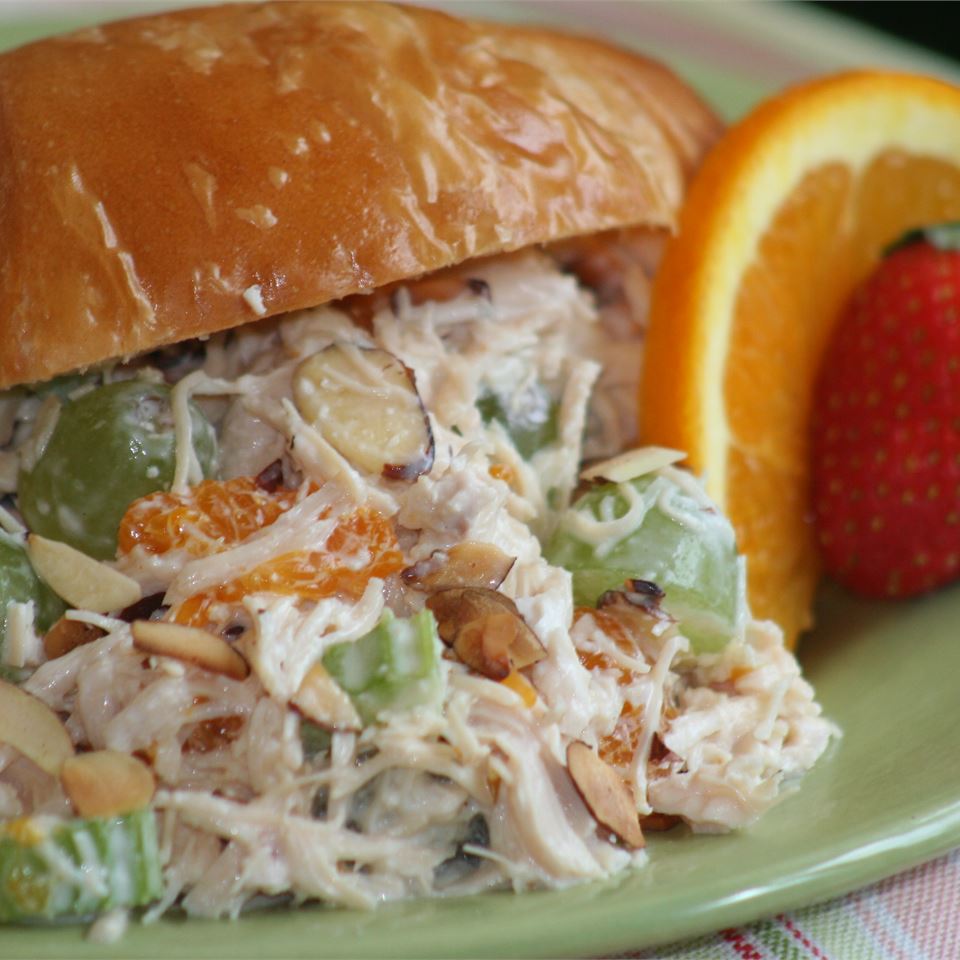
Gourmet Chicken Salad
allrecipes.com
4.5
(138)
Your folders
 529 views
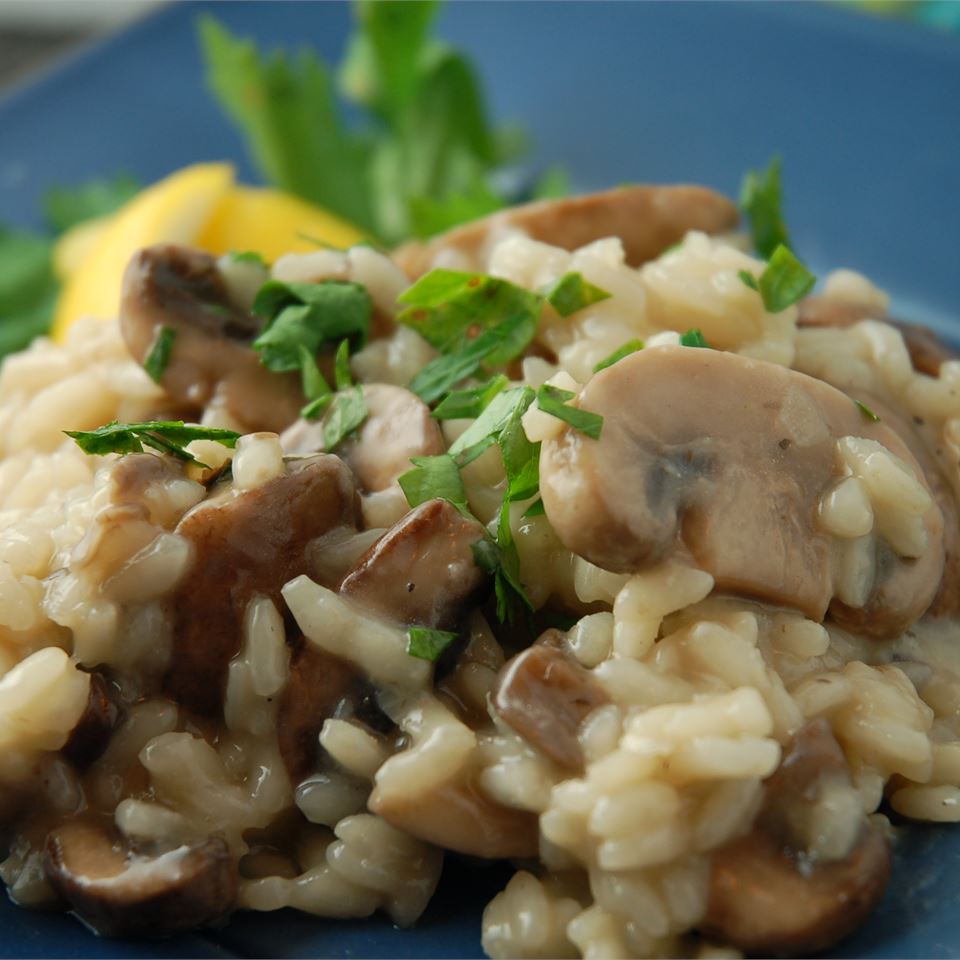
Gourmet Mushroom Risotto
allrecipes.com
4.8
(3.3k)
30 minutes
Your folders
 670 views
Gourmet Homemade Oreos
sugarhero.com
4.8
(11)
10 minutes
Your folders
 1039 views
Gourmet Scrambled Eggs
tasteofhome.com
4.7
(10)
15 minutes
Your folders
 253 views
Gourmet Grilled Cheese
loveandlemons.com
5.0
(3)
10 minutes
Your folders
 291 views
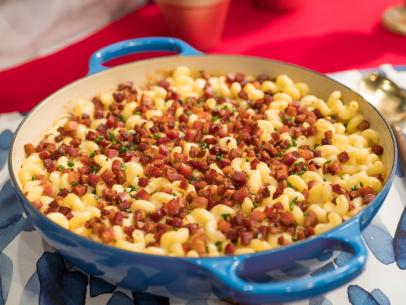
Gourmet Mac & Cheese
foodnetwork.com
4.1
(17)
35 minutes
Your folders
 241 views
Gourmet Sausage Roll
sortedfood.com
Your folders
 392 views
Gourmet Baked Beans
nadialim.com
10 minutes
Your folders
 151 views
Gourmet Avocado Toast
twospoons.ca
Your folders
 282 views
Gourmet Hot Dogs
modernhoney.com
5.0
(3)
15 minutes
Your folders
 228 views
Gourmet Grilled Cheese
theslowroasteditalian.com
5.0
(2)
15 minutes
Your folders
 73 views
$5 Gourmet Pizza
biggerbolderbaking.com
5.0
(2)
20 minutes
Your folders
 55 views
Gourmet Seafood Cassolette
recipestasteful.com
20 minutes