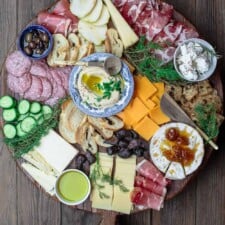
How To Make a Cheese Board – Standard Cheese Platter
Your folders
Your folders
Total: 30
Ingredients
Export 6 ingredients for grocery delivery
Instructions
Step 1
The unofficial first step of preparing any board/platter is to choose the board. The options for this are plentiful, with slate and wooden boards being my favorite options for any simple cheese platter. You can use square, round, rectangular boards, etc. If you plan to transport the fruit and cheese platter or have lots of tiny elements, I recommend using a "tray" – that way, the elements won"t risk rolling off the board and can easily be covered for transportation.There's no need to buy a specific "cheese board" if you have a good cutting board or serving tray at home. Even a sheet pan can work in a pinch!
Step 2
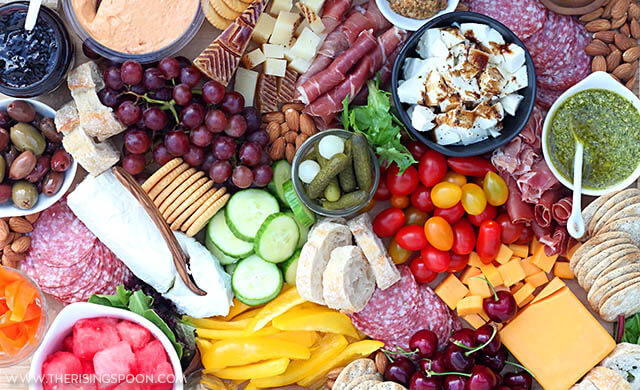
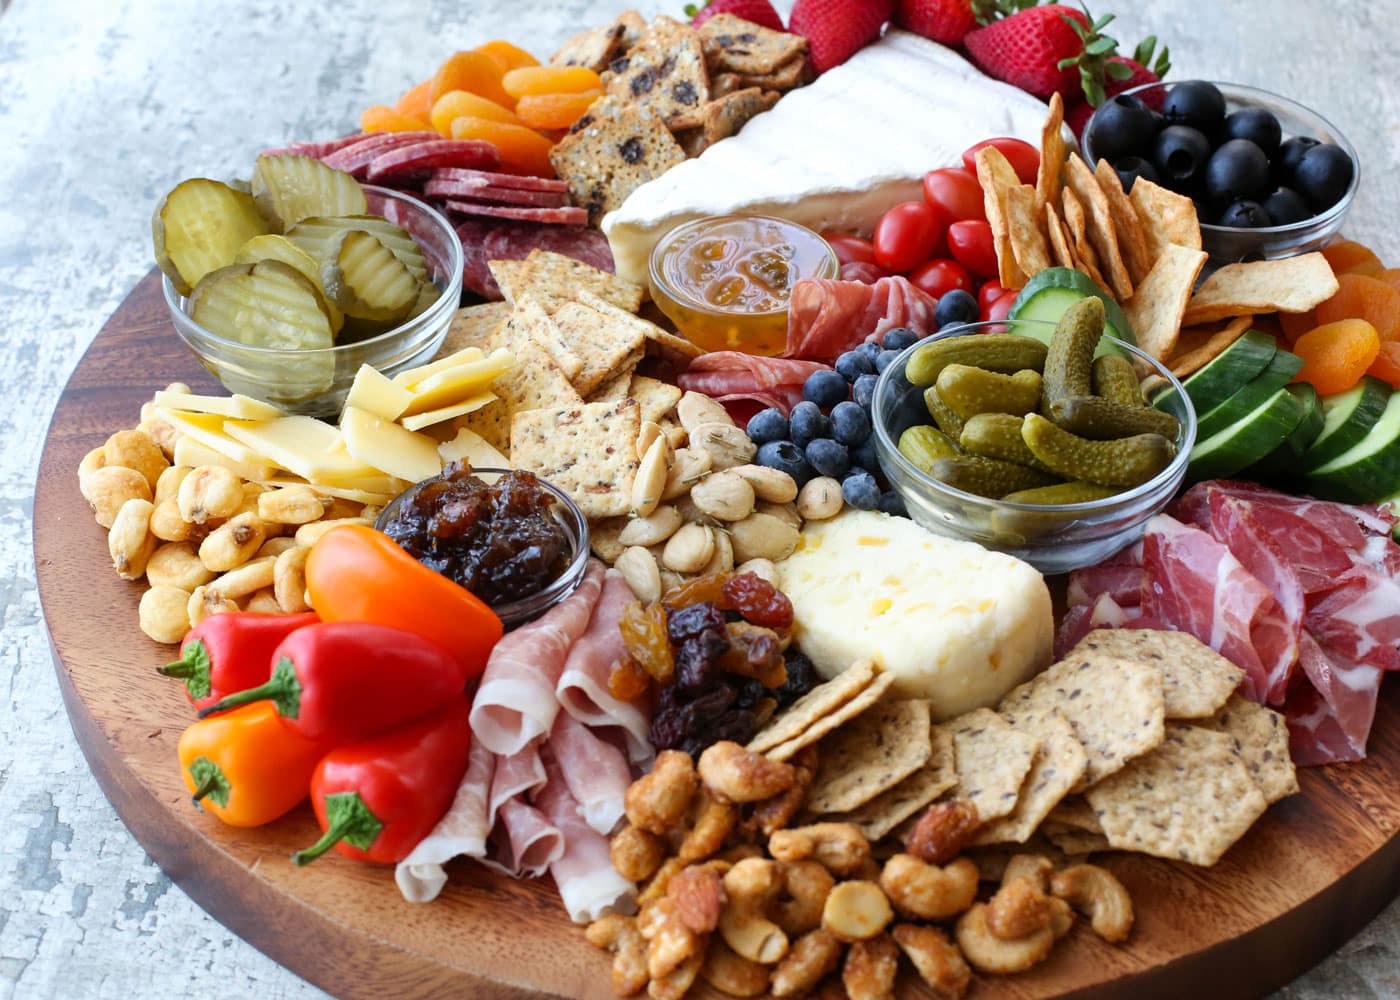
Then it's time to assemble the cheeseboard. There are two main styles for doing this, the first is in the style of a charcuterie board – with items varied across the board. The second is a cheese-centric cheese platter.
Step 3
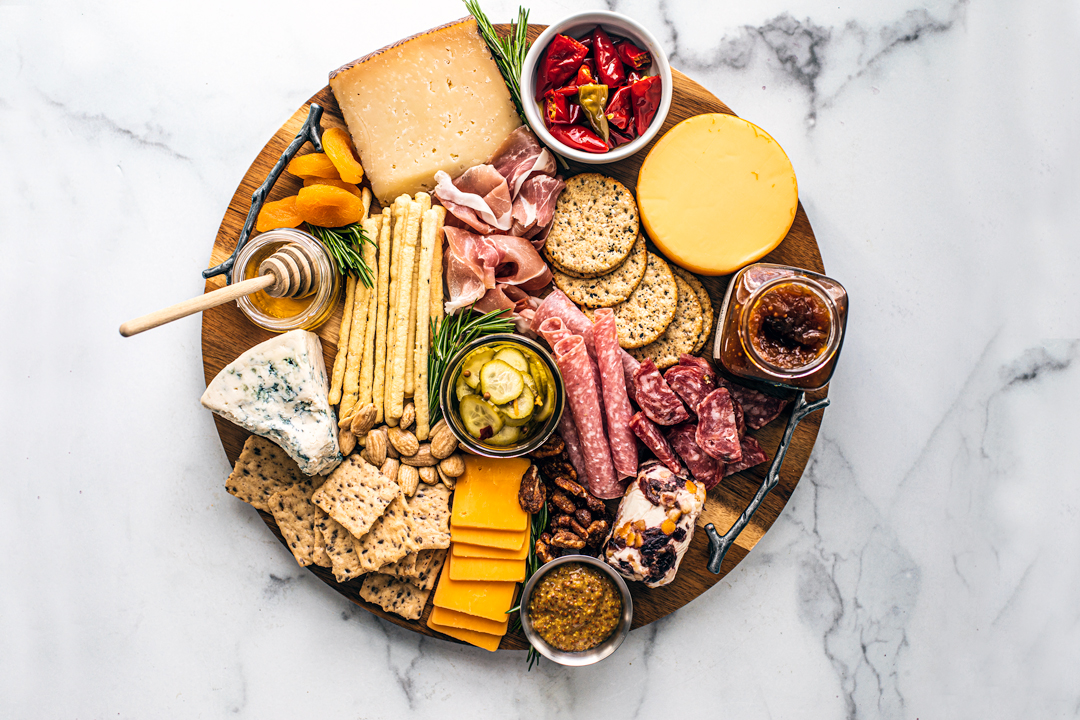
I like to place these first to get an idea of a layout for my remaining ingredients. I make sure to place bowls and jars of different shapes/heights in areas around the board (place the tallest items towards the center of the board so they don't get in the way of grabbing other items). These will be filled with pickled items, sauces, spreads, olives, etc.You can fill them immediately and cover them with plastic wrap until you're ready to serve or add the items just before serving.
Step 4
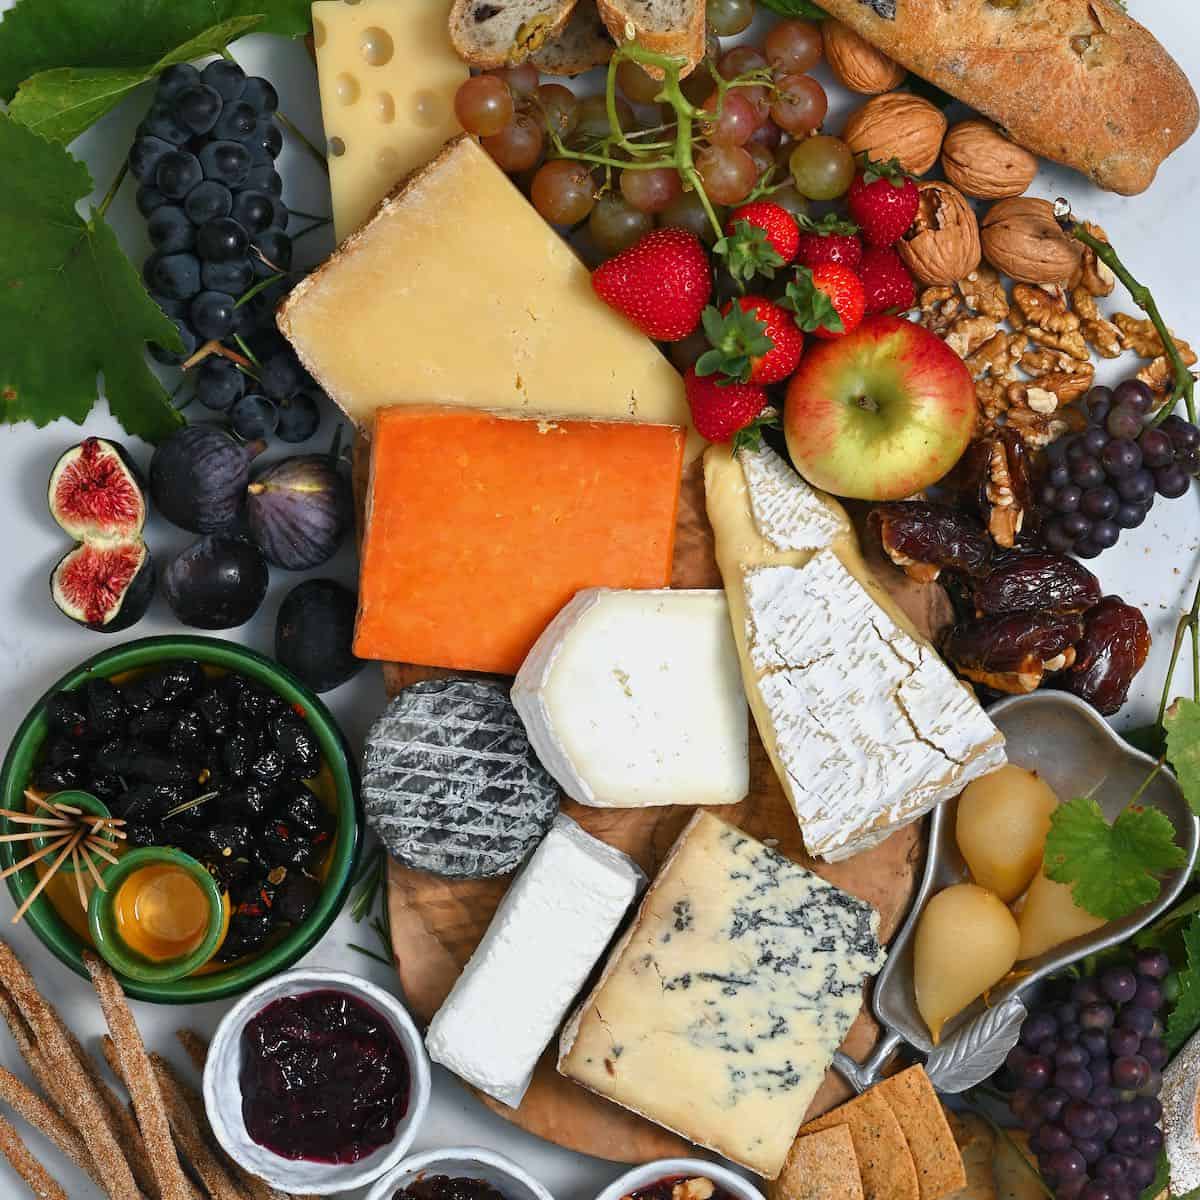
Place the cheeses. Make sure to spread them across the board and separate them in terms of shape and size, too. You can keep the cheeses as whole wedges/wheels or slice some or all of the cheese.You might also want to add certain cheeses besides certain complimentary spreads. For example, brie can go beside honey. Aged cheddar would work next to most jam/jellies, etc.
Step 5
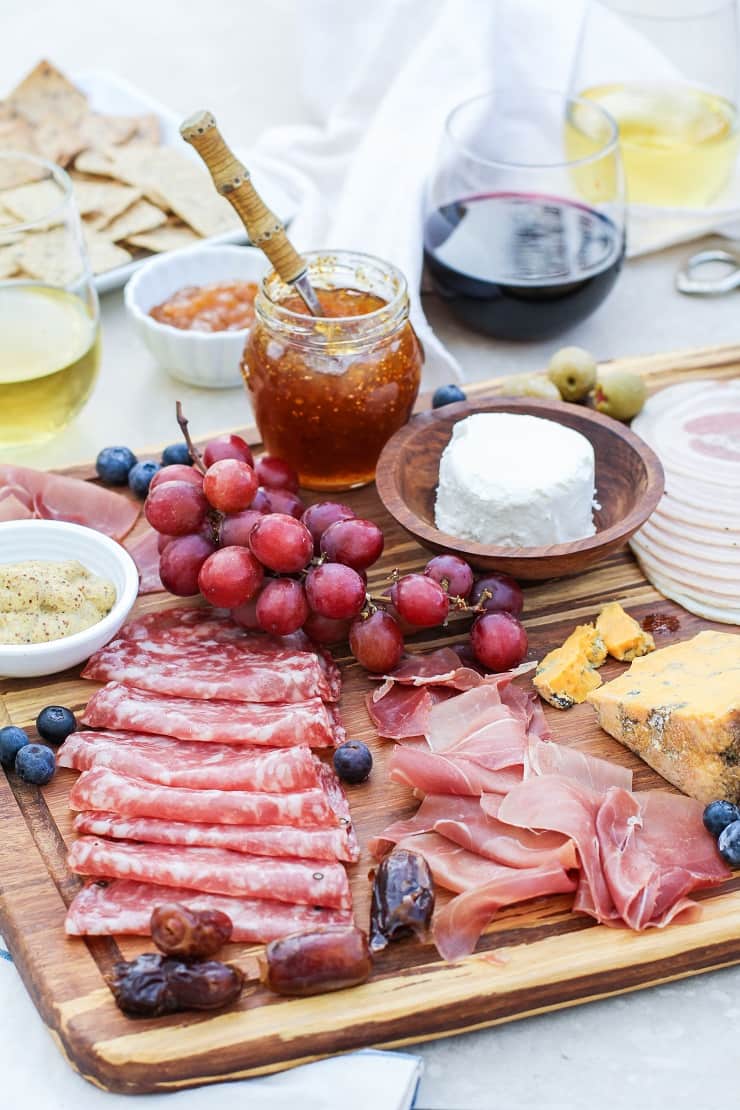
Note: if you're adding and charcuterie meats, then add them now too. I like to experiment with different shapes for better visual appeal by rolling and folding the meats. You can also prop them up against bowls/plates to prop them up for extra height.
Step 6
Place the fruit. I like to add the largest items first, like grapes still attached to the stems, etc. If you're using any sliced fruits like apple/pear that will brown, then make sure to "treat" them first (check the method in recipe notes). Next, spread out the fruit, so no fruit is directly next to another, spread out the colors, sizes, etc.
Step 7
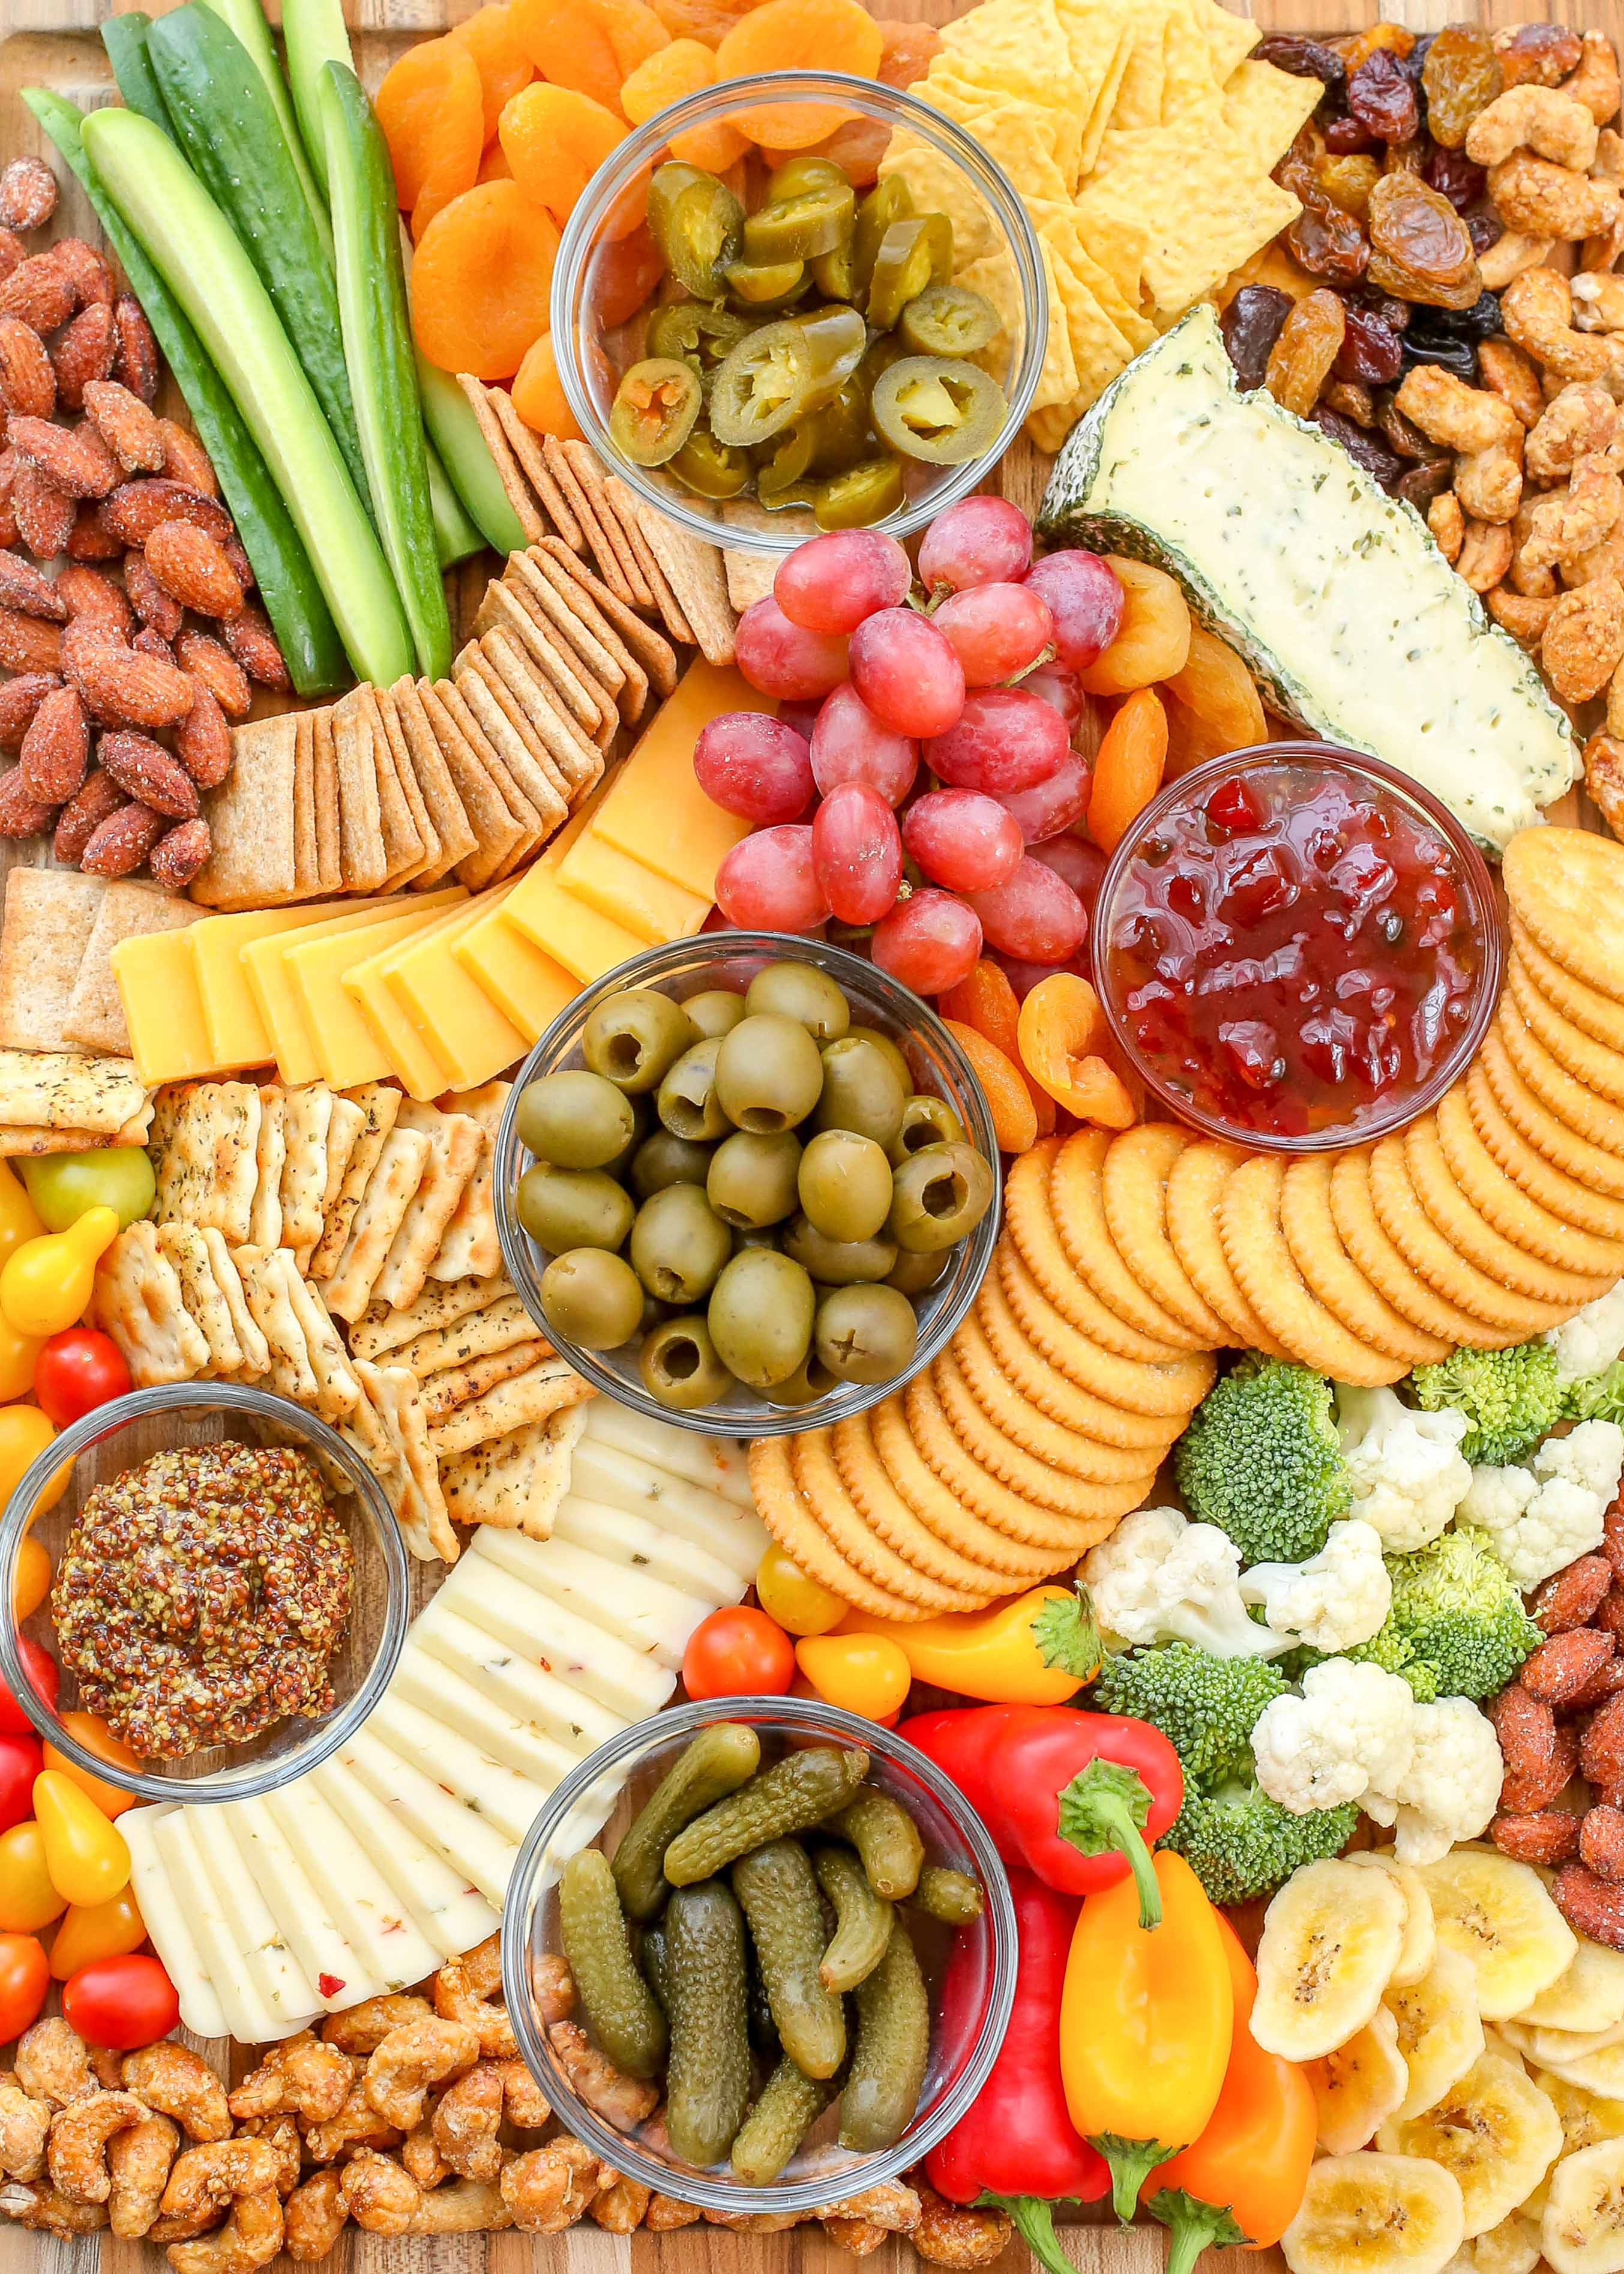
After placing the fruits, it's time to lay down the "bread." Since these can take up a lot of space, I usually fan out some crackers and then keep a separate platter nearby with extra bread and crackers for guests to grab.Make sure not to place the bread/breadsticks/crackers next to wet ingredients like fruit slices/pomegranate – or anything that can cause them to go "soggy" over time.
Step 8
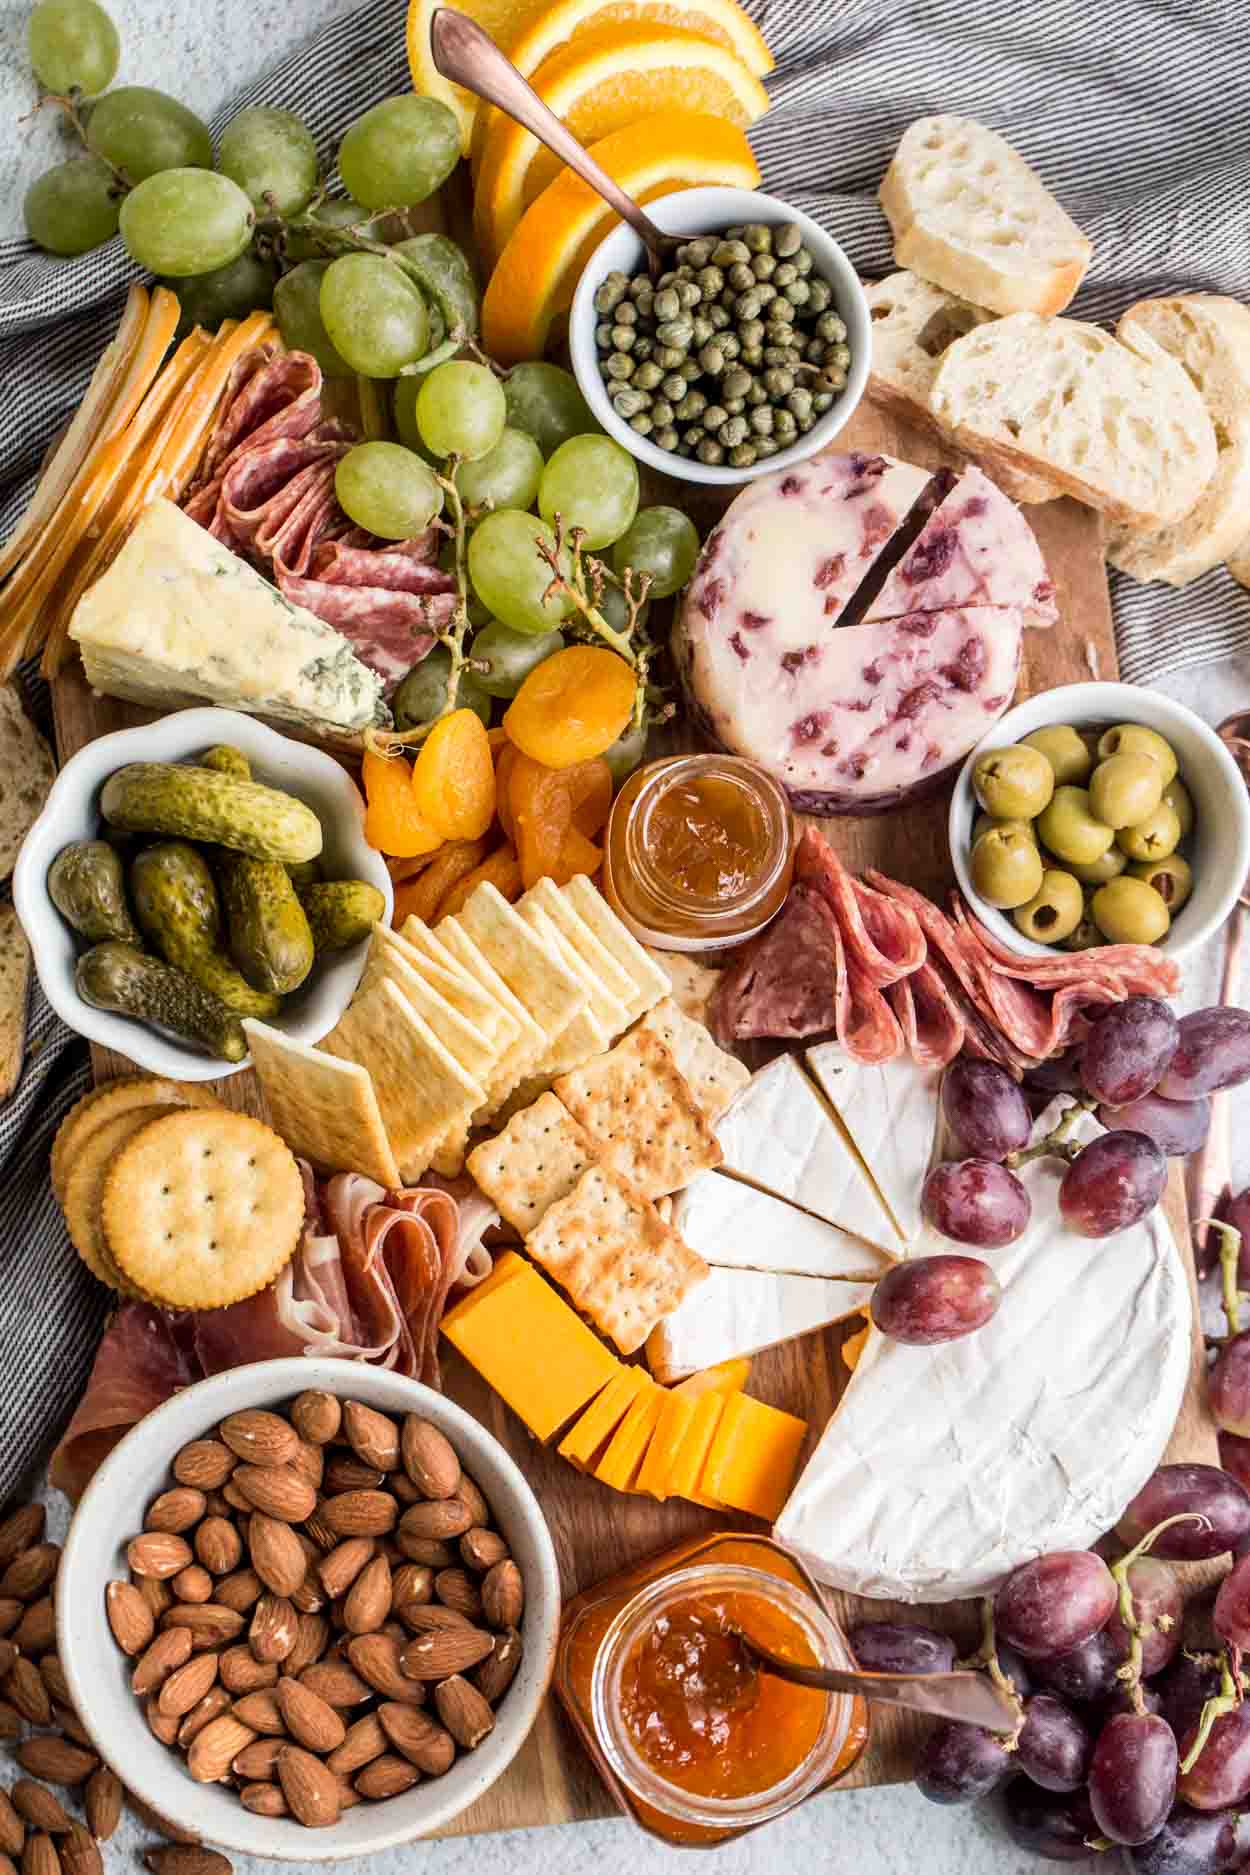
Fill in any remaining gaps on the board with dried nuts/seeds, other small items, and garnish.I first add the nuts/seeds. Spread the different kinds in different areas of the boards.Then, you can fill in any remaining blank spots on the board with a garnish: fresh herbs (like rosemary sprigs) or greenery will work well in these spaces.
Step 9
Make sure to label the cheeses (and optionally spreads/sauces if you're not serving them from their jars). You can do this with cheese "markers" or a simply DIY setup with toothpicks and labels.
Step 10
And lastly, but very importantly, add any utensils to the board. It would be best to have toothpicks for pickled and smaller items, cheese knives, spoons for dips, etc. Make sure you have spares, just in case.
Step 11
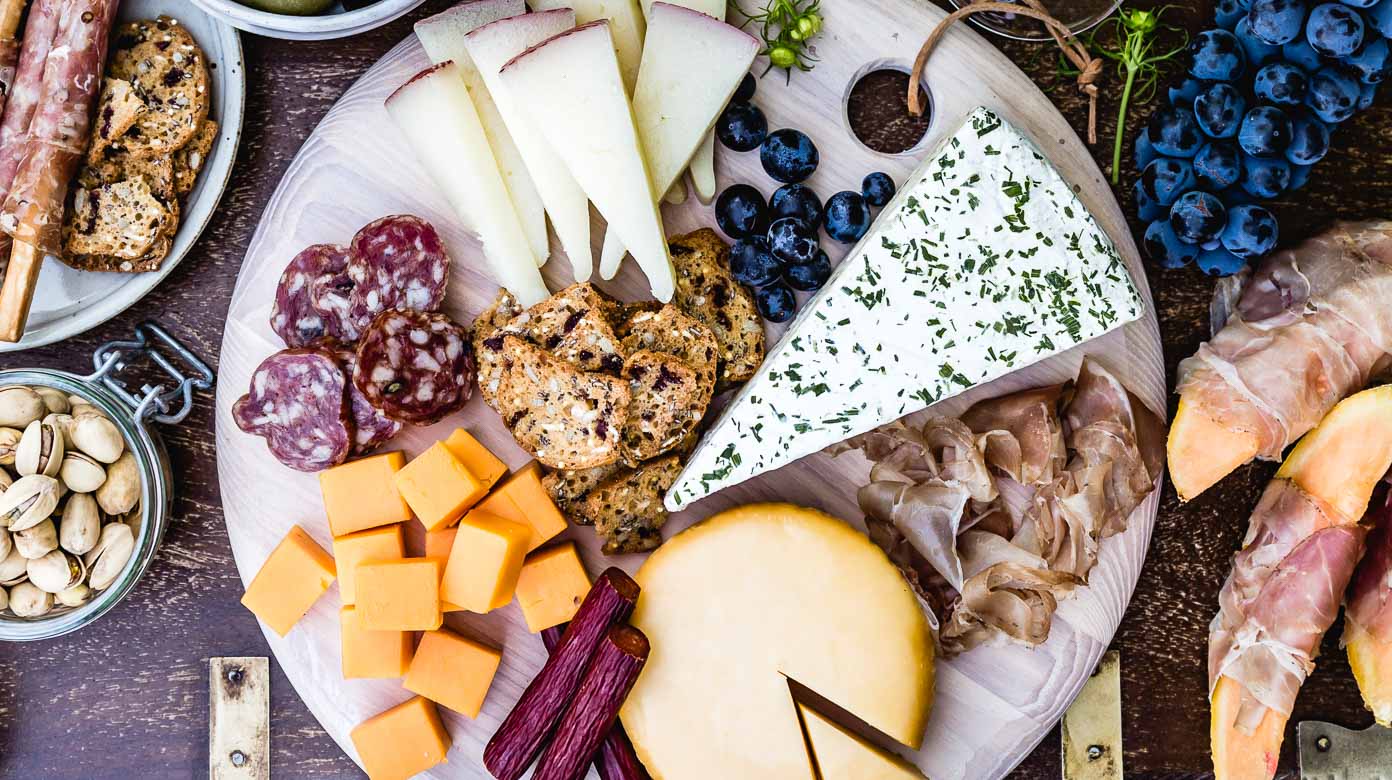
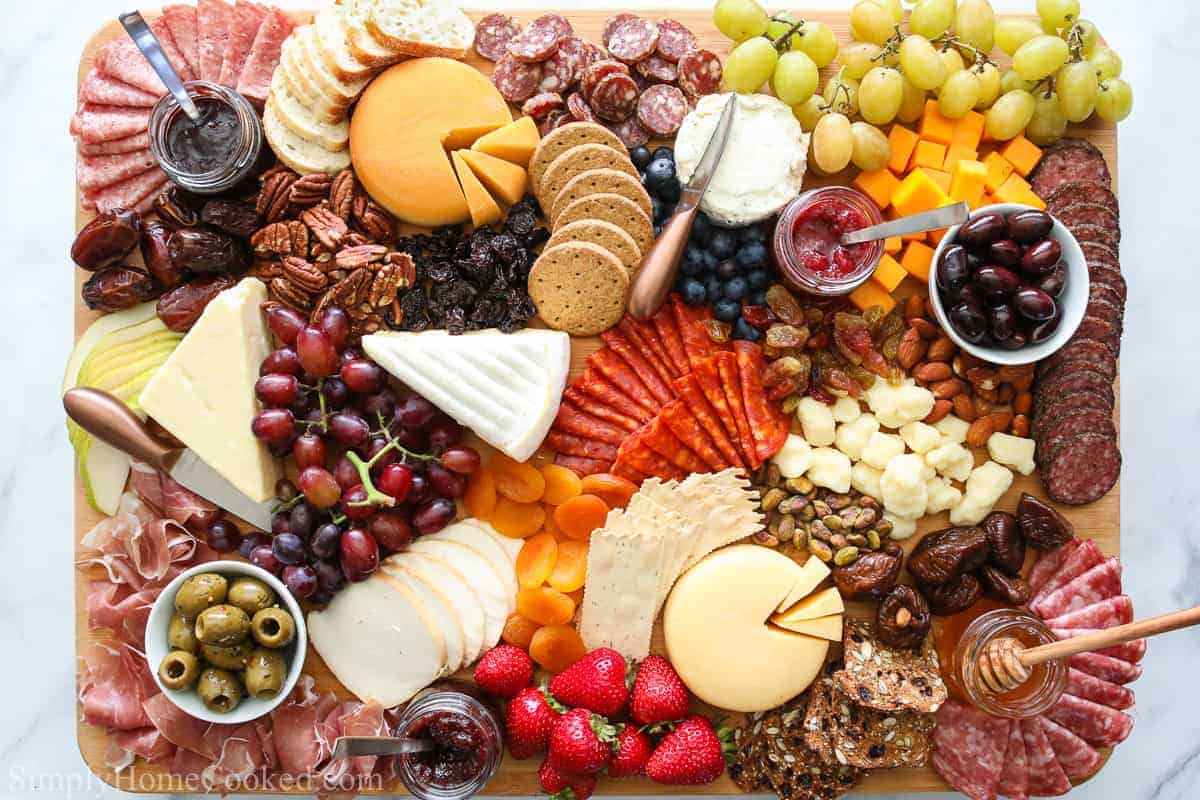
For this method, the idea is to keep all the cheese on a single board/tray in the center of the display. You can then build up the other ingredients around that – either keeping them together or spreading them apart. That way it's easy to replenish items without having to overly worry about the visual appeal and placement of each individual item.I find this works best for large "buffet" style events rather than smaller dinner parties. However, feel free to also use this method for smaller events and simply scale it down.Don't keep a cheeseboard sitting out for more than 2-3 hours, when possible. While any leftover hard cheese is usually OK to wrap and refrigerate, you should discard softer cheeses.
Top similar recipes
Curated for youYour folders

 236 views
How to Make a Cheese Board
cookieandkate.com
5.0
(3)
Your folders
 119 views
How to Make A Cheese Board
loveandlemons.com
5.0
(5)
Your folders
 330 views
How to Make a Charcuterie Board (Me...
therisingspoon.com
Your folders
 550 views
How to Make a Charcuterie Board (Ch...
valentinascorner.com
5.0
(2)
Your folders
 508 views
How To Make A Cheese and Meat Platt...
foolproofliving.com
5.0
(4)
Your folders
 289 views
How to Make a Charcuterie Board {Me...
killingthyme.net
5.0
(5)
Your folders
 292 views
How to Make a Standard Pillowcase
papernstitchblog.com
Your folders
 75 views
How to Make a Standard Pillowcase
papernstitchblog.com
Your folders
 404 views
Cheese Board Making 101 {a.k.a. How...
barefeetinthekitchen.com
5.0
(21)
Your folders
 445 views
How to Make the Ultimate Cheese Boa...
joyfulhealthyeats.com
5.0
(2)
Your folders
 292 views
How To Make An Easy Cheese Board
barefeetinthekitchen.com
4.7
(3)
Your folders
 785 views
How to make the ultimate charcuteri...
simplyhomecooked.com
5.0
(4)
Your folders
 565 views
Summer Antipasto Platter Cheese Boa...
taketwotapas.com
5.0
(7)
Your folders
 239 views
How to Make the BEST Cheese Board: ...
themediterraneandish.com
4.5
(8)
Your folders
 1334 views
How To Make A Charcuterie Board
favfamilyrecipes.com
5.0
(7)
Your folders
91 viewsHow to Make a Charcuterie Board
favfamilyrecipes.com
Your folders
 409 views
How to Make a Charcuterie Board
theroastedroot.net
Your folders
 258 views
How to make a Butter Board
justinesnacks.com
Your folders
 231 views
How to Make a Charcuterie Board
makingmommagic.com
5.0
(1)