How To Make Chickpea Flour Pasta
5.0
(6)
Your folders
Your folders
Prep Time: 20 minutes
Cook Time: 8 minutes
Total: 28 minutes
Servings: 6
Author : Samira
Ingredients
Export 3 ingredients for grocery delivery
Instructions
Step 1
You can do this process on a work surface, within a bowl, or even with a stand mixer.Combine the flour and water and form a dough, kneading well to obtain a uniform texture. Though this chickpea flour pasta doesn't contain gluten, kneading is still important for a smooth dough.
Step 2
Form into a ball and then set the dough aside in a bowl/in cling film for 10-15 minutes, to rest. Technically, as this pasta doesn't contain gluten, I'm not even sure this resting step is necessary, but I like to think that the extra time for the flour to hydrate makes for a slightly stronger dough, so I like to rest it for a little while at least.If you find that the dough is a little too crumbly, then you can add some additional water. Add one tablespoon at a time until it forms a dough.
Step 3
You can shape/chop the oat flour pasta either by hand with a rolling pin or with a pasta machine.
Step 4
Divide the dough into 4-6 pieces - this will make it more manageable to work with as you roll each section into pasta sheets.
Step 5
Dust your work surface with a little extra chickpea flour, and then use a rolling pin to roll out the pieces into a thin long strip. If you want to do this by hand, simply continue to roll until you reach your desired thickness - I usually aim for around 3mm when hand-rolling.Alternatively, you can use a pasta machine, feeding it through from the thickest section, working your way to your desired thickness.
Step 6
For tagliatelle/pappardelle style noodles, flour the dough sheet well, roll it up, and then slice into noodles of your desired thickness. Feel free to trim off the uneven edges first (check notes for how to use these scraps).This method is easiest to do with the additional xanthan gum and/or tapioca starch. With just flour and water, simply roll the sheet out flat on the table and cut the noodles as it lays flat, rather than rolled up.
Step 7
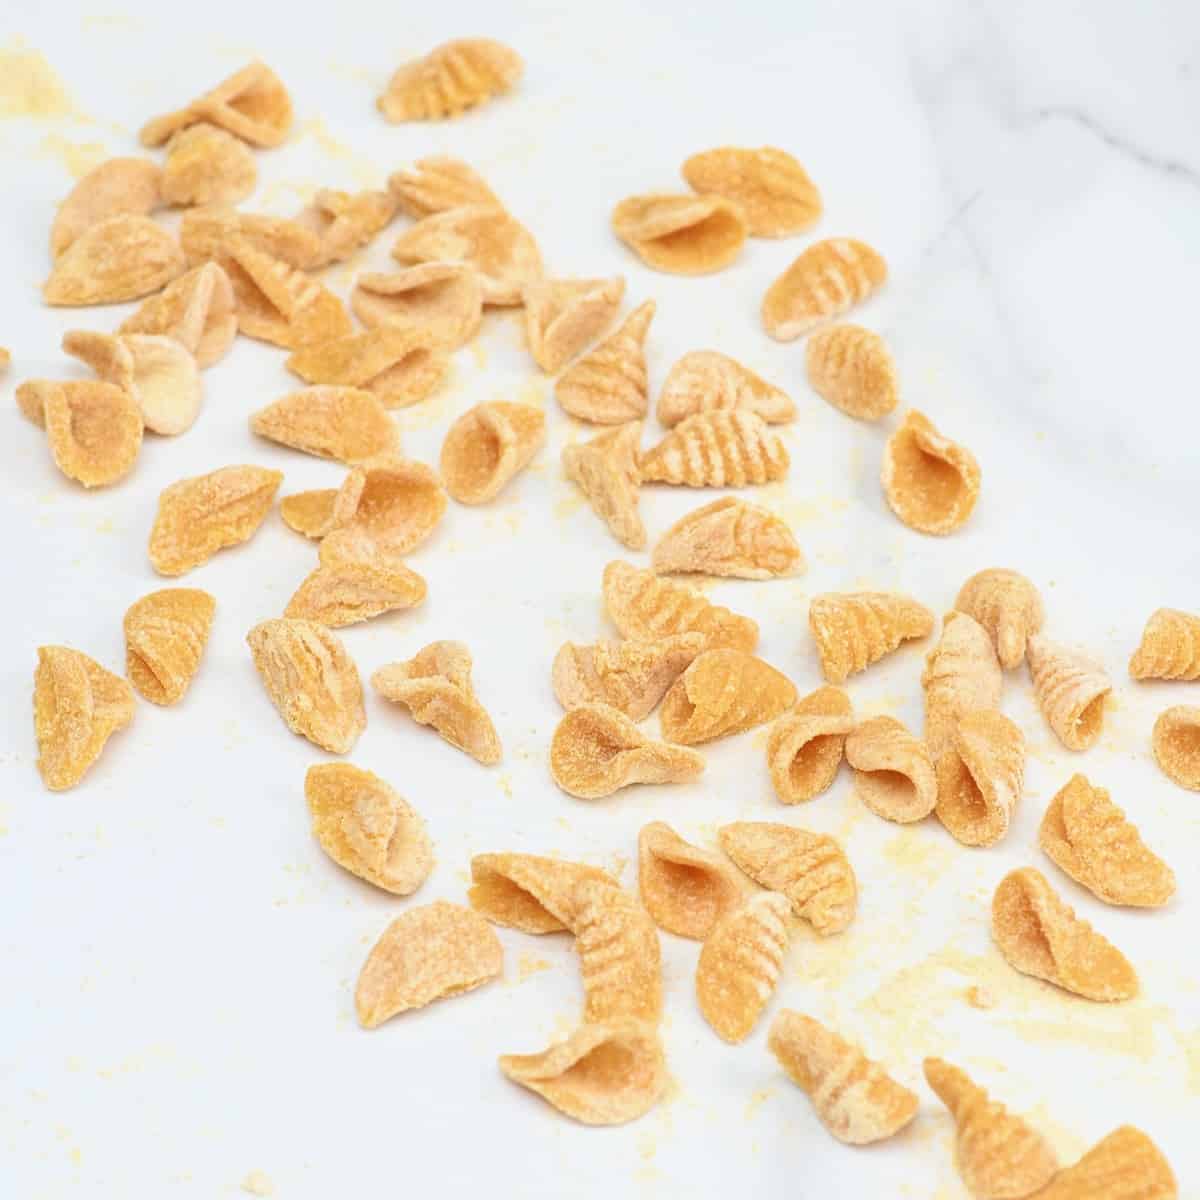
This time around, I decided to make a simple round pasta shape similar to gnocchetti/shell-shaped (it might have a name, but I'm not sure what it is). I first used a small round cutter to cut out lots of disks, then used a fork to roll them over, pinching two sides in, to connect (refer to images).There is a wooden pasta tool you can use instead of the fork, but I found the fork easier for this chickpea flour pasta dough.
Step 8
At this point, you can either spread them across a tray and leave them to dry out (or do so with a dehydrator), or proceed with cooking the chickpea pasta!
Step 9
To cook the pasta, bring a pot of salted water to a boil and then add the pasta. Cook it for between 7-8 minutes, until al-dente. Stir every minute or so, just to make sure the chickpea pasta doesn't stick together.
Step 10
Once cooked, drain the pasta, and enjoy it with a little butter and parmesan (or dairy-free butter and nutritional yeast for a vegan option), or your sauce of choice (options listed below).
Step 11
Lay the pasta out on a large tray in a well-ventilated area and dry until no longer pliable. You could also use a dehydrator for this - refer to manufacturer guidance for advice on times and temperatures. I tend to leave it to dry overnight, check in the morning, and continue as needed.If you live in a particularly humid or cold area then I would suggest simply storing the pasta in the freezer as drying may not be possible.
Step 12
Store: The fresh chickpea flour pasta will store in an airtight container in the fridge for 1-2 days. Alternatively, freeze it for between 3-4 months. Dry: For longer-term storage, you could probably dry the pasta and then store it in an airtight container in a cool location. I haven't actually tried to do so yet with this pasta, but have had great success with all my previous pasta varieties. Use it within 1-2 months. Alternatively, freeze for up to 6 months.