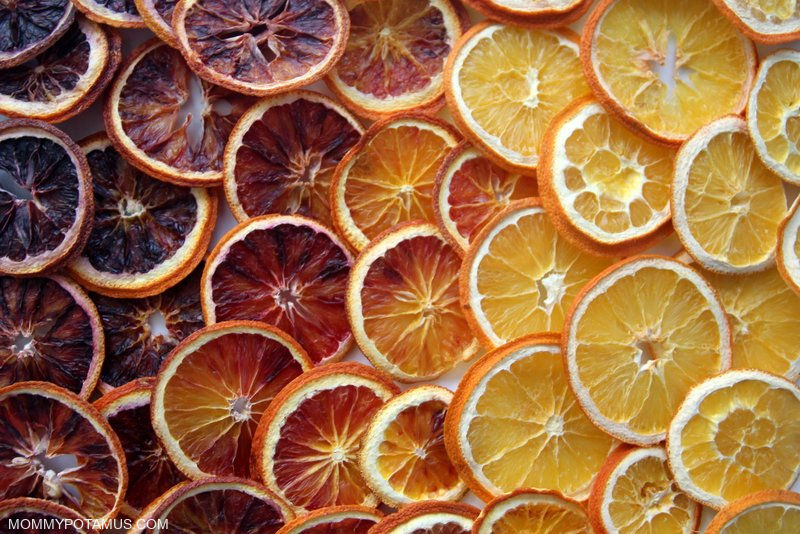
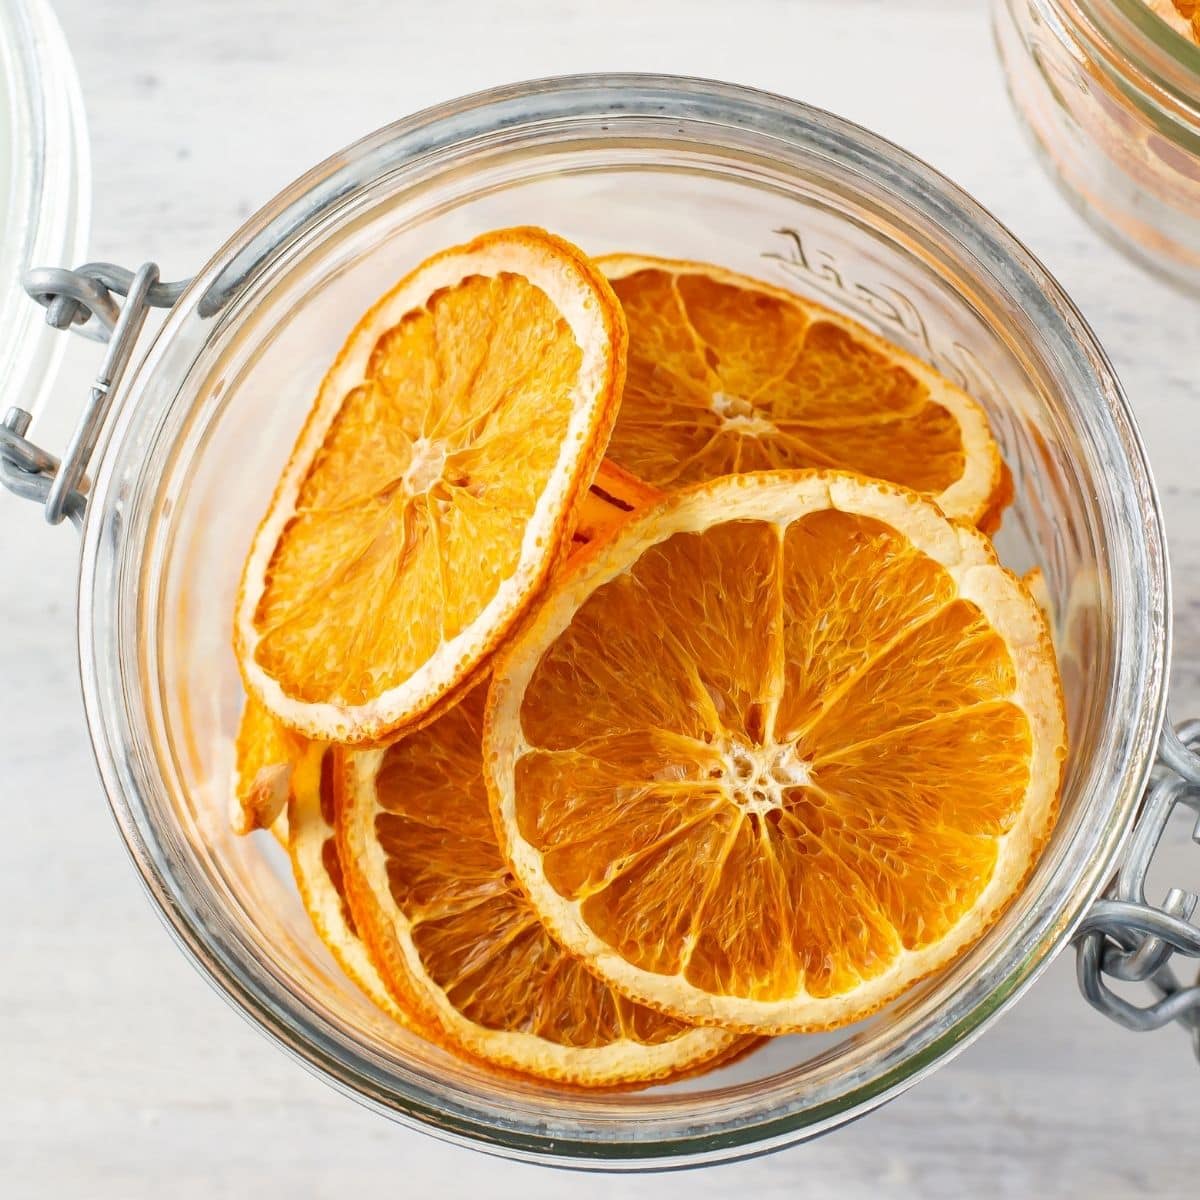
How To Make Dried Orange Slices
Your folders
Your folders
Total: 20
Ingredients
Export 7 ingredients for grocery delivery
Instructions
Step 1
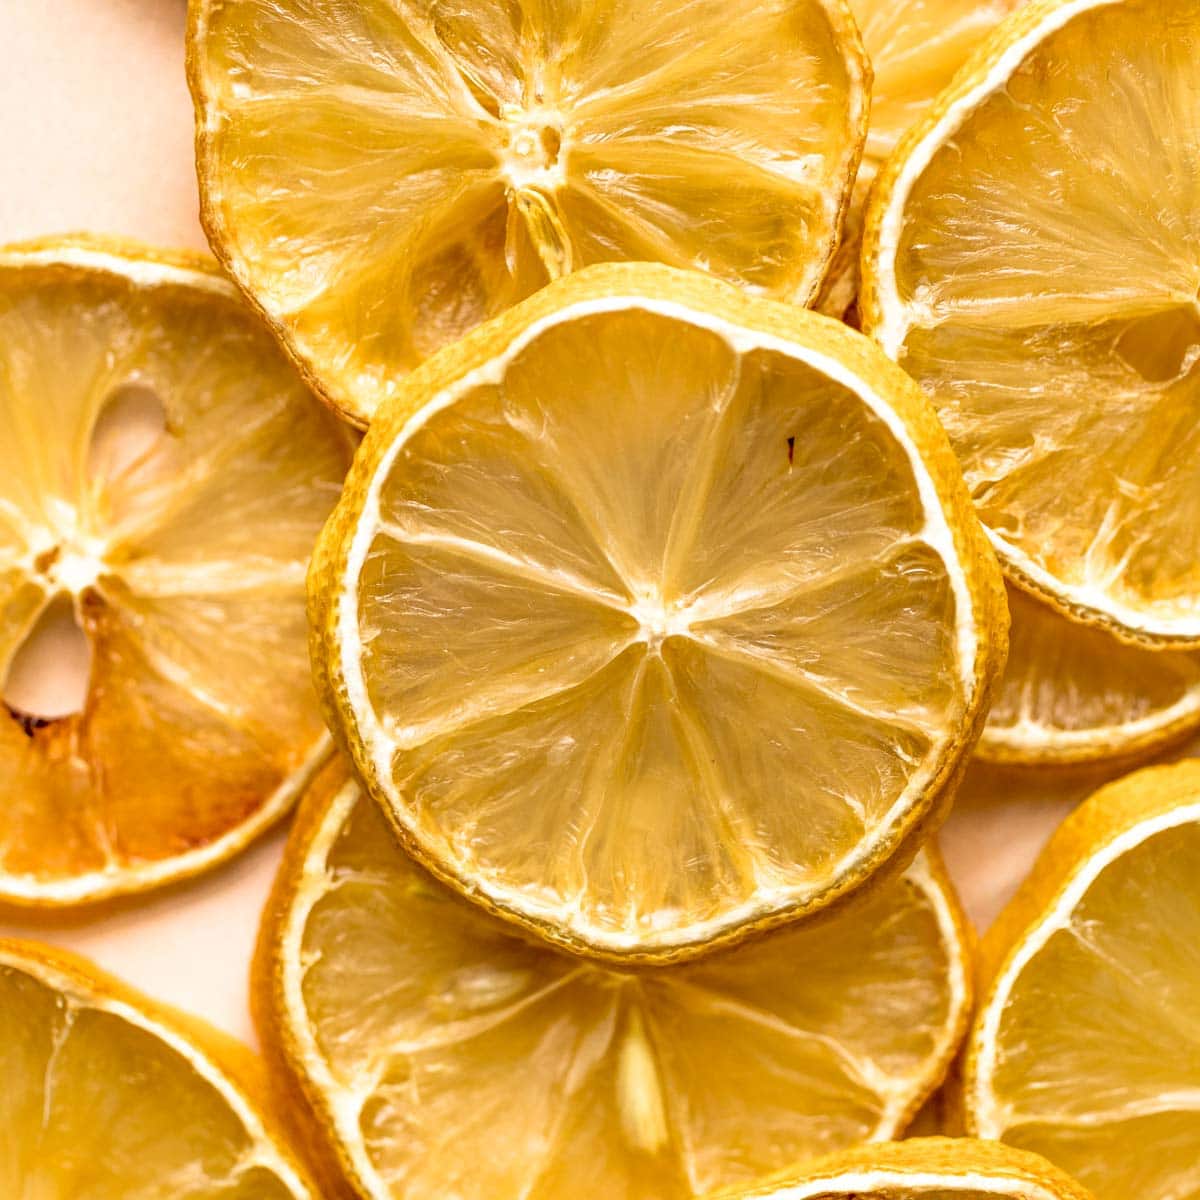
Using a sharp knife, slice each orange into 1/4 inch thick slices. Don't worry about measuring them with a ruler or anything, just do your best to keep them thin and as even as possible.
Step 2
Using a paper towel or kitchen towel (that won't show stains), blot each side to remove excess moisture and speed the drying process OR skip the blotting step so that the natural sugars can concentrate and add a bit of shine.
Step 3
Line your dehydrator tray with some parchment paper and lay the slices on the tray, making sure there's a little room between each one.
Step 4
Place the trays in the dehydrator. Some dehydrators allow you to manually select the temperature setting while others dry at one consistent temperature. Mine allows me to set mine, so I select 115F. It usually takes about 8-12 hours for the orange slices to fully dry . . . usually closer to twelve for mine.
Step 5
Flip them once or twice throughout the process to keep the edges from curling up. I usually flip around the 4 hour mark and then again around 8.
Step 6
Once the oranges hit the 8 hour mark, start checking them and removing any slices that are fully dry.
Step 7
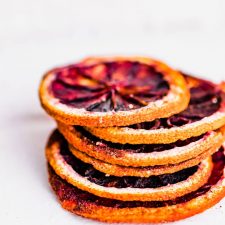
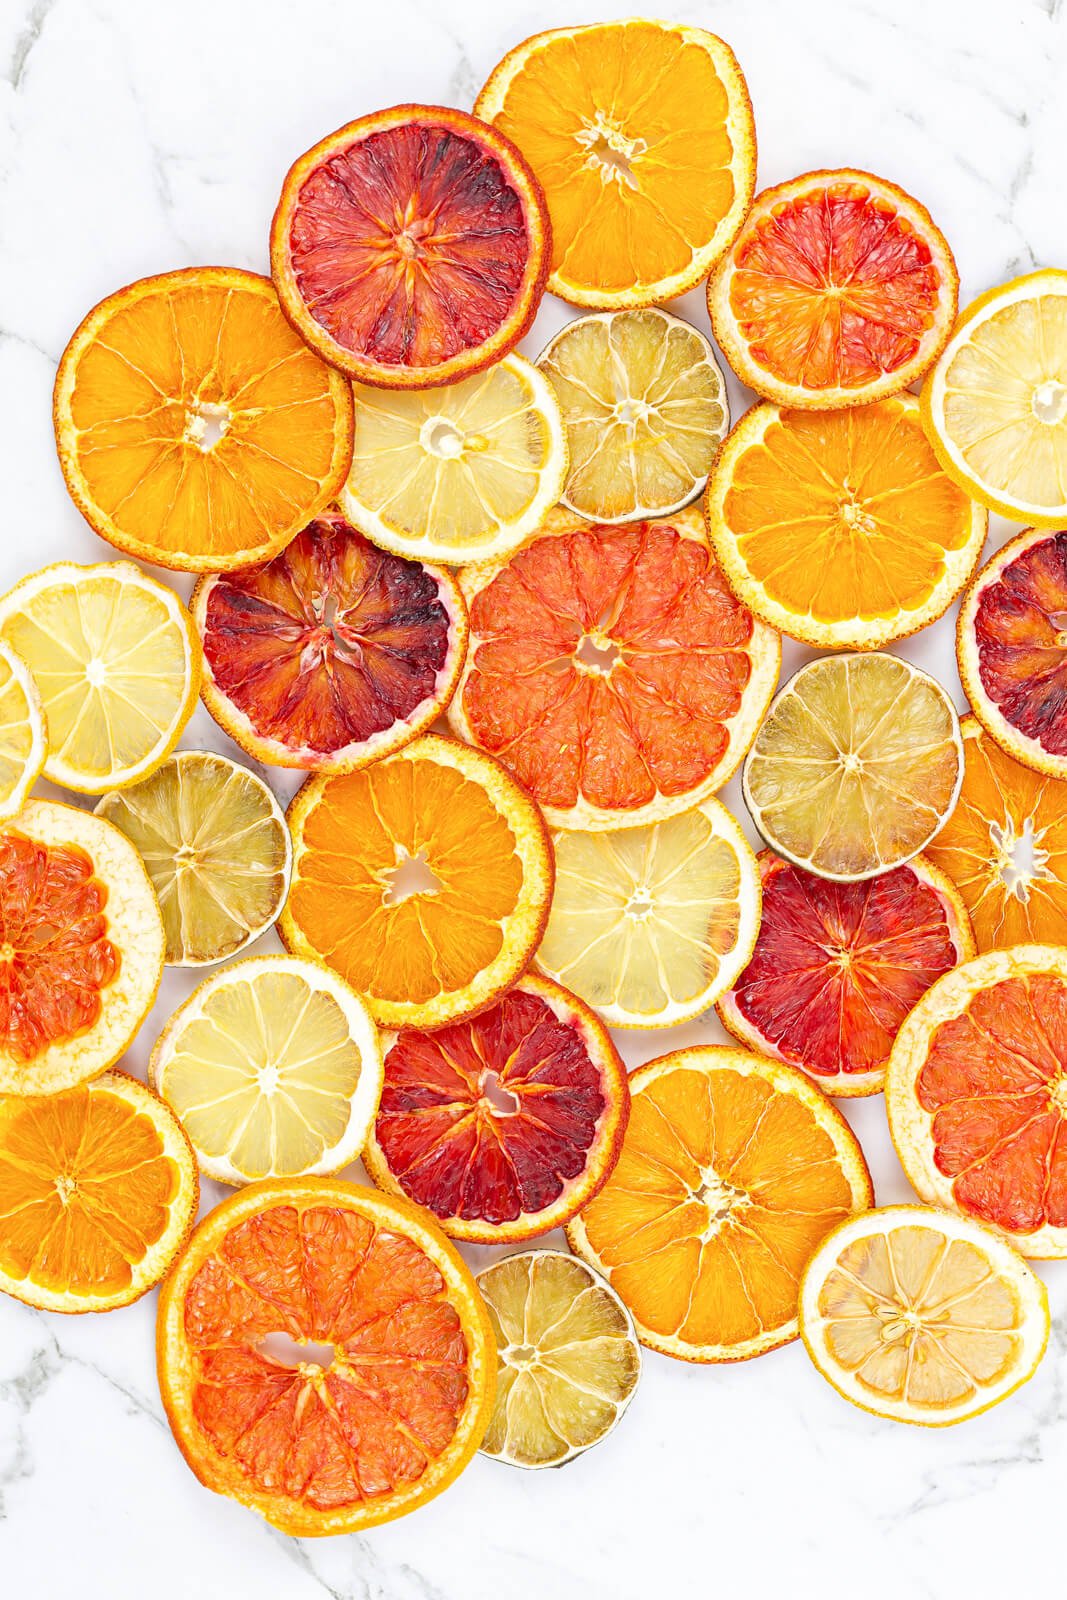
Once your orange slices are completely dry, you can store them in a pretty jar and put them on display, make them into Christmas decorations, garlands, etc. If you want to use them as drink garnishes, store them in an airtight container in a cool dry area until you're ready to use them.
Step 8
Preheat your oven to 170F.
Step 9
Using a sharp knife, slice each orange into 1/4 inch thick slices. Don't worry about measuring them with a ruler or anything, just do your best to keep them thin and as even as possible.
Step 10
Blot each side with a paper towel or dark kitchen towel (that won't show stains) to remove excess moisture and speed the drying process. I usually toss all the slices on a towel as I'm cutting, then toss another towel on top and blot them all at once.
Step 11
Line your baking sheet with some parchment paper and lay the slices on the tray, making sure there's room between each one. If you can fit two baking sheets in your oven and have enough oranges, keep going until you have both filled.
Step 12
Place the baking sheet (or sheets) in the oven and dry for around six hours. Flip them every hour or so to keep the edges from curling up. Around the 4.5-5 hour mark, start checking to see if any of the oranges are done. If they are, remove them and set them aside. Continue this process until all the orange slices are dried.
Step 13
Once your orange slices are completely dry, you can store them in a pretty jar and put them on display, make them into Christmas decorations, garlands, etc. If you want to use them as drink garnishes, store them in an airtight container in a cool dry area until you're ready to use them.
Top similar recipes
Curated for youYour folders

 401 views
Dried Orange Slices
ellaclaireinspired.com
Your folders
 175 views
Dried Orange Slices
freshoffthegrid.com
5.0
(1)
Your folders
 817 views
Dried Orange Slices
yummymummykitchen.com
5.0
(1)
6 hours
Your folders
 663 views
How To Make Dried Orange Peel
savoringthegood.com
5.0
(1)
45 minutes
Your folders
 430 views
How to Make Dried Orange Peel
leitesculinaria.com
Your folders
 288 views
Homemade Dried Lemons - How To Make...
myveganminimalist.com
5.0
(6)
240 minutes
Your folders
 299 views
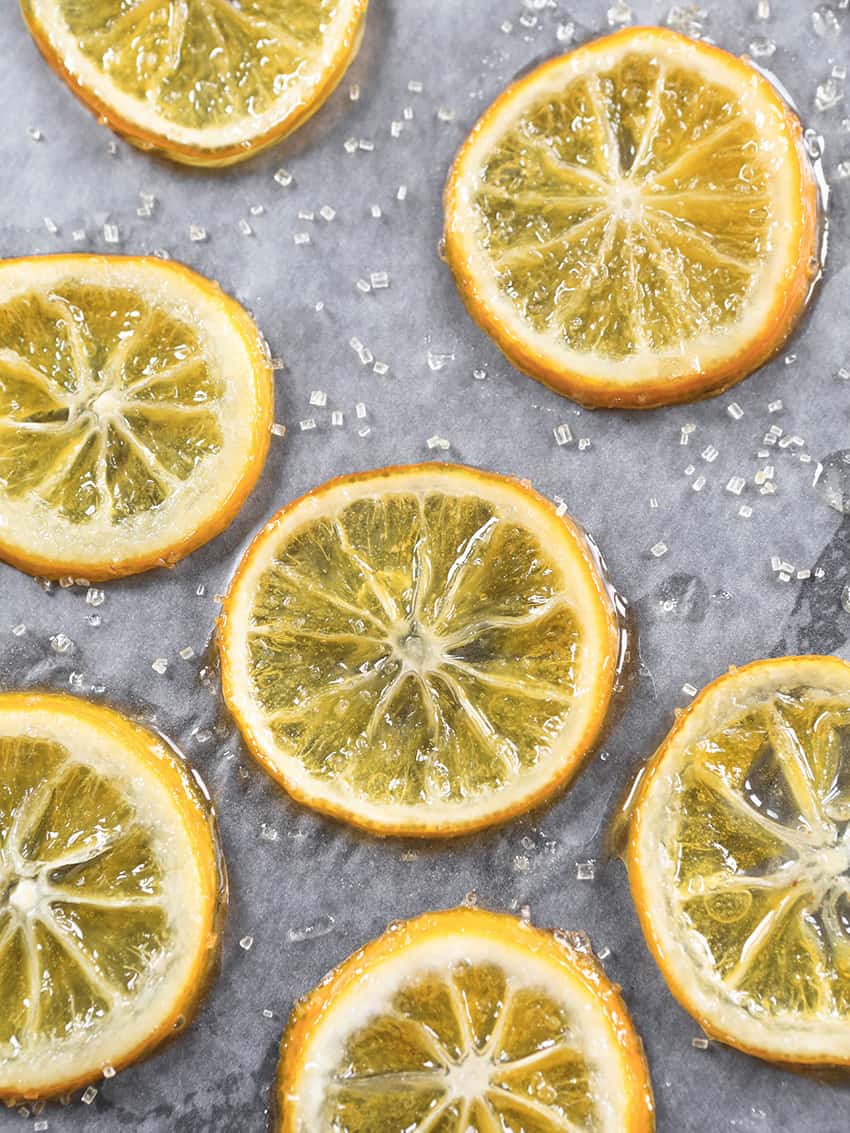
Sweetened Dried Orange Slices
cottercrunch.com
4.7
(19)
3 hours
Your folders
 282 views
Easy Dried Orange Slices
mindfulmocktail.com
5.0
(7)
240 minutes
Your folders
 387 views
How To Dehydrate Orange Slices
flouronmyface.com
5.0
(2)
1080 minutes
Your folders
 684 views
How To Make Candied Lemon Slices
pipandebby.com
4.9
(12)
20 minutes
Your folders
 237 views
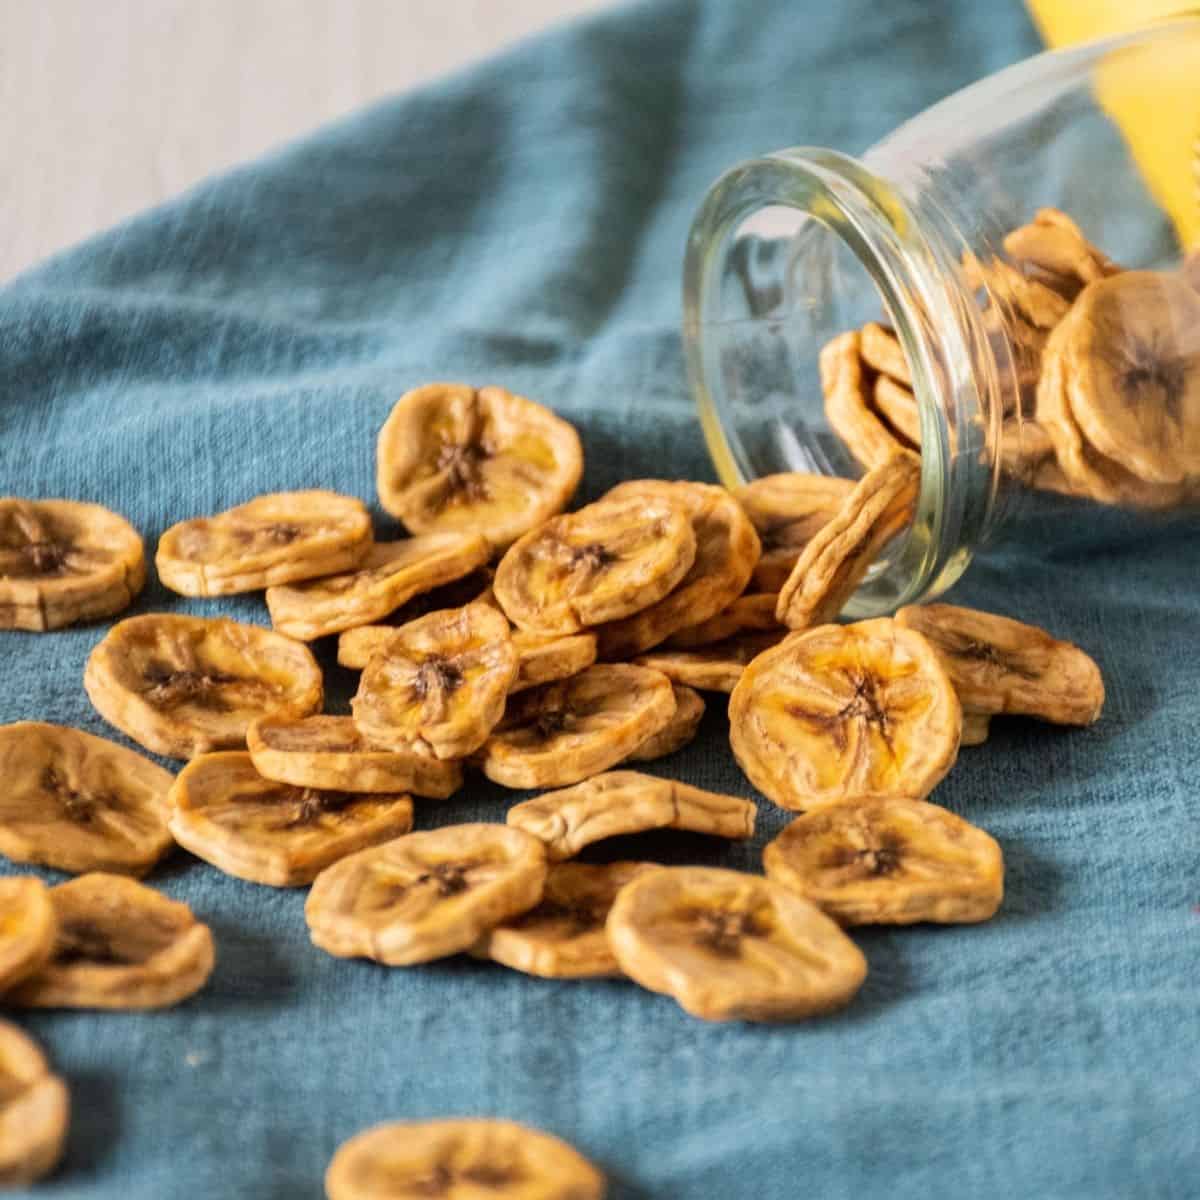
How to Make Dried Bananas
beingnutritious.com
5.0
(6)
180 minutes
Your folders
 122 views
How to Make Dried Cherries
wikihow.life
92.0
(121)
Your folders
/182165772-56a30e135f9b58b7d0d0329e.jpg) 228 views
228 viewsUse Your Oven to Make Dried Apple S...
thespruceeats.com
Your folders
 290 views
Dried Orange Slices and Lemon Chips
bestfooddryerkitchen.com
5.0
(2)
300 minutes
Your folders
 221 views
High Altitude Orange Cake with Drie...
curlygirlkitchen.com
5.0
(6)
30 minutes
Your folders
 317 views
How to Make Orange Juice
alphafoodie.com
5.0
(13)
5 minutes
Your folders
 189 views
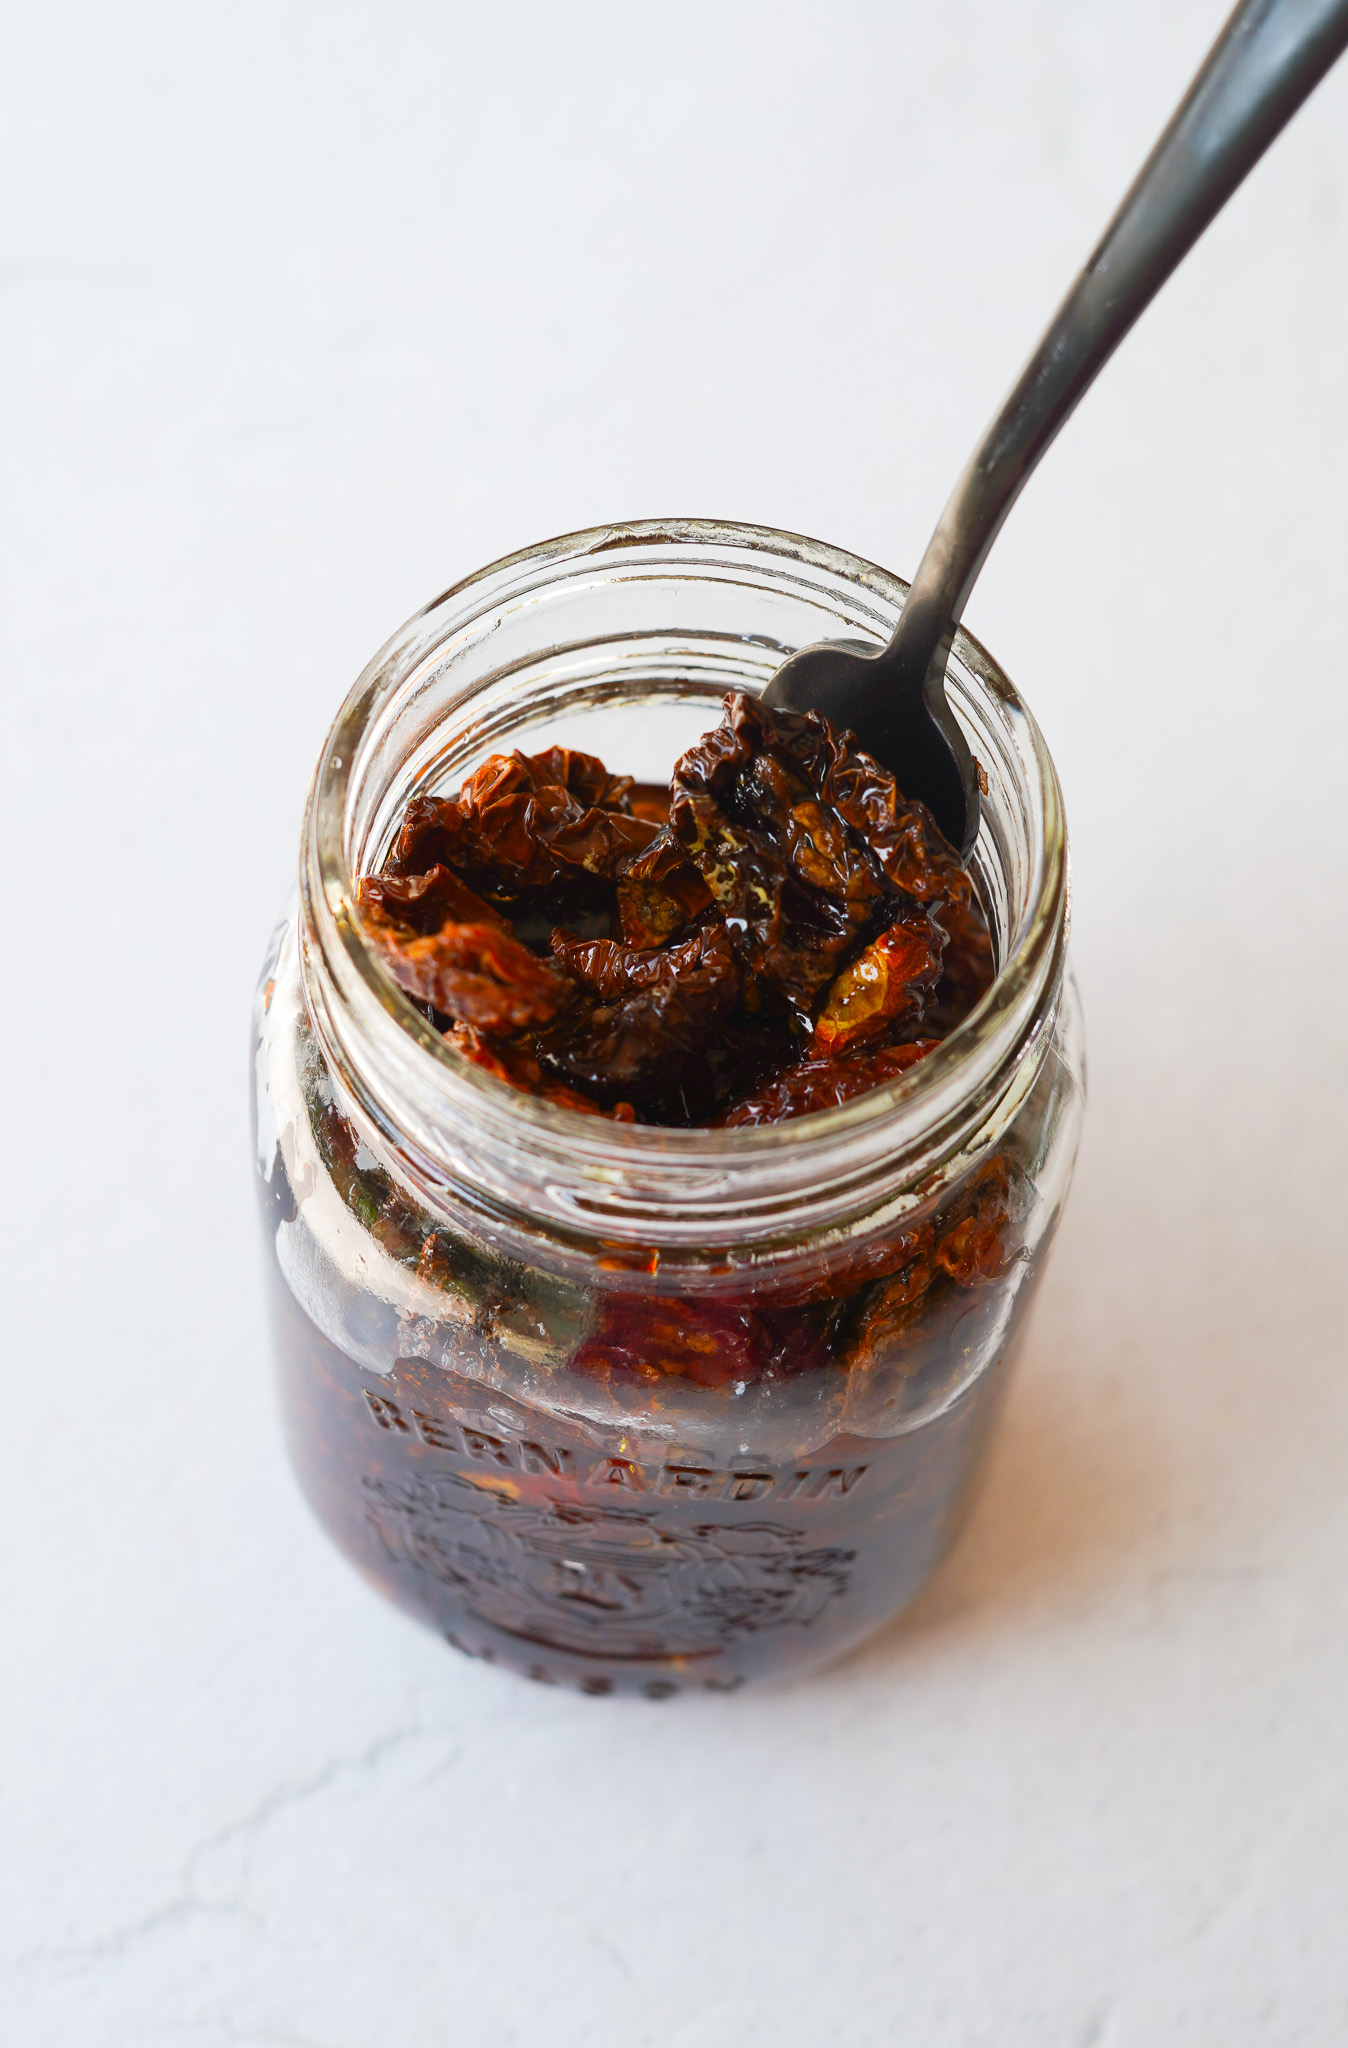
How to Make Sun Dried Tomatoes
plantyou.com
5.0
(1)
180 minutes
Your folders
 587 views
How to Make Dried Chipotle Chiles
keviniscooking.com
5.0
(10)
600 minutes
Your folders
 853 views
How to Make Dried Tangerine Peel
thewoksoflife.com
5.0
(6)
20 minutes