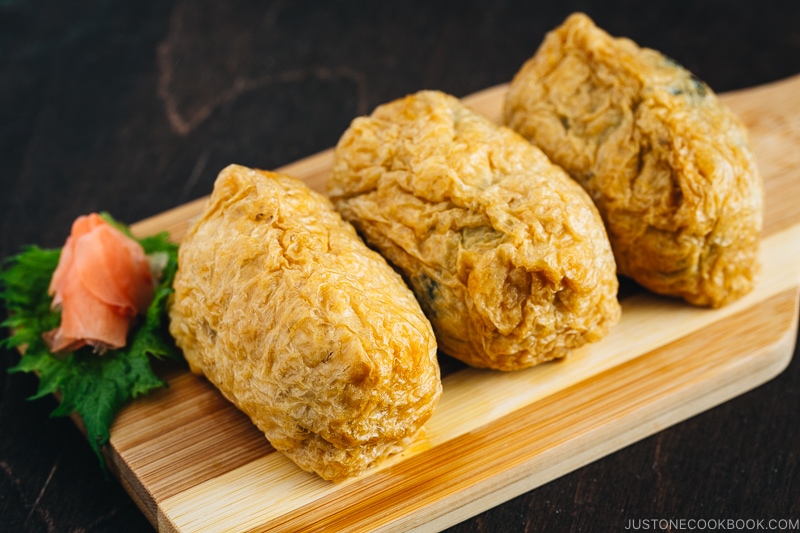
Inari Sushi
Your folders
Your folders
Total: 180
Servings: 12
Ingredients
Export 6 ingredients for grocery delivery
Instructions
Step 1
Gather all the ingredients. Please note that the time for rice cooking varies depending on how you cook it. It usually takes about 45 minutes to 1 hour.
Step 2
We measure the uncooked rice with a rice cooker cup; 1 rice cooker cup of uncooked rice is 180 ml, ¾ US cup, or 150 g. We measure the water with a standard US measuring cup; 1 US cup is 240 ml of water. The rice-to-water ratio for sushi rice is 1 to 1, instead of 1 to 1.1 or 1.2 for regular steamed rice. For this recipe, 2 rice cooker cups of uncooked rice yield roughly 3–4 servings (3½ US cups or 660 g) of steamed rice and make 12 Inari sushi pieces.
Step 3
First, wash the rice: Place the measured rice in a bowl. Do an initial quick rinse by adding just enough water to submerge all the rice, then discard the water immediately; repeat this quick rinse once more. Next, wash the rice using your fingers to gently agitate the wet grains in a circular motion for 10-15 seconds. Then, rinse it by adding water and immediately discarding the cloudy water; repeat this rinse once more. Repeat the wash and rinse steps two more times. Finally, drain the rice very well in a fine-mesh sieve and shake off any excess water.
Step 4
Put the well-drained rice in the inner pot of your rice cooker. Add the measured water to just under the 2-cup line of your pot (for 2 rice cooker cups of uncooked rice). If your rice cooker has a Sushi Rice mode, add water up to that line. Next, check the kombu to see if there are any dirt particles and wipe off with a damp cloth, but do not wipe off the white powdery umami substance. Next, place the kombu on top of the rice. Let the rice and kombu soak in the water for 20–30 minutes. Then, start cooking. If you don’t have a rice cooker, cook the rice in a pot on the stove or an Instant Pot with the amount of water I specified in this recipe.
Step 5
While the rice is cooking, make the sushi vinegar. Combine the unseasoned rice vinegar, sugar, and salt in a small bowl. Microwave it for 30–40 seconds and whisk until the sugar is completely dissolved. Alternatively, you can put it in a saucepan and bring it to a boil over medium-high heat and whisk to dissolve the sugar. Set it aside and let it cool to lukewarm or room temperature.
Step 6
If using a wooden sushi oke (also called hangiri), moisten it with running water and drain well. You can also use a baking sheet lined with parchment paper. When the rice is cooked, discard the used kombu (or repurpose it to make simmered kombu) and transfer the hot cooked rice into the sushi oke. Spread out the rice evenly so it will cool faster.
Step 7
While the rice is hot, gradually drizzle the sushi vinegar all over the rice. With a rice paddle, gently “slice” the rice at a 45-degree angle to distribute the sushi vinegar mixture and break up the chunks of rice. Gently flip the rice in between slices. Do not stir or mix the rice because the grains may break and become mushy. While using this slicing motion, vigorously fan the rice with a paddle fan or other fan. Fanning cools the rice and removes the excess moisture. It also makes the rice shine and keeps it from becoming mushy. Slice and fan until the rice is cooled to the temperature of human skin. Then, cover the prepared sushi rice with a damp towel (or paper towel) and keep it for up to a few hours at room temperature.
Step 8
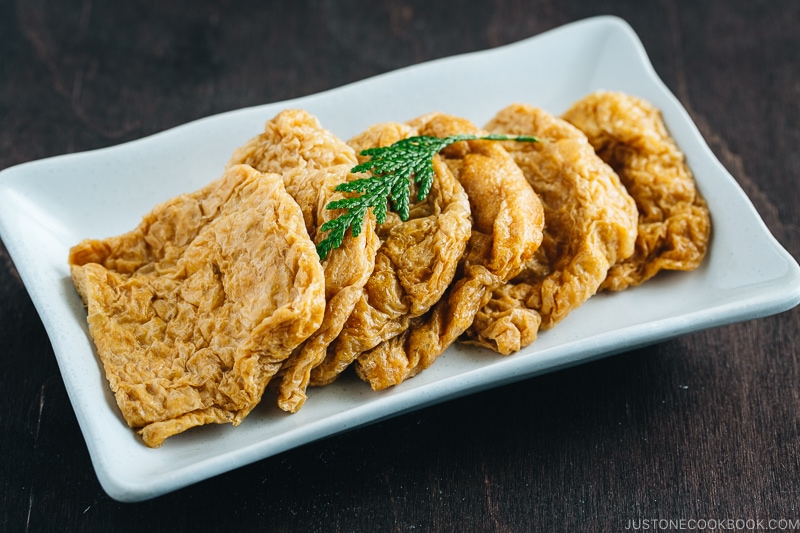
Now, let’s make the Inari sushi! Take out the Inari age from the refrigerator.
Step 9
Sprinkle the sesame seeds over the sushi rice and gently “slice” the rice again to combine. Next, divide the sushi rice into quarters; you’ll make three Inari Sushi pieces with each quarter of sushi rice.
Step 10
Pour the seasoning/cooking liquid from the seasoned Inari age container (or package) into a small bowl. Moisten your hands with this seasoned liquid and place a small handful of sushi rice (about ¼ cup) in your palm.
Step 11
Gently form the sushi rice into an oblong shape. Your hands should be just firm enough so the sushi rice doesn’t fall apart. Try to keep the density of the sushi ball as airy as possible. You don't want to squeeze the rice too tightly. Repeat with the rest of sushi rice. You should be able to make 12 sushi rice balls.
Step 12
Squeeze out the seasoned Inari age and carefully open the Inari age pockets, separating the skin all the way to the bottom of the pocket. Be gentle, as the skin is thin. Then, fold back the skin at the opening.
Step 13
Stuff each sushi rice ball into the Inari age pockets. Stuff the rice all the way into the pocket so that the two pocket corners look smooth and round.
Step 14
Finally, close the Inari Sushi: First, unroll the skin at the opening, then fold both side edges down onto the sushi rice ball.
Step 15
Then, fold the front and back edges down like you’re wrapping a present. Place the sealed Inari Sushi seam side down onto a plate or tray. Continue with the rest of the pockets. Your Inari Sushi are now ready to serve.
Step 16
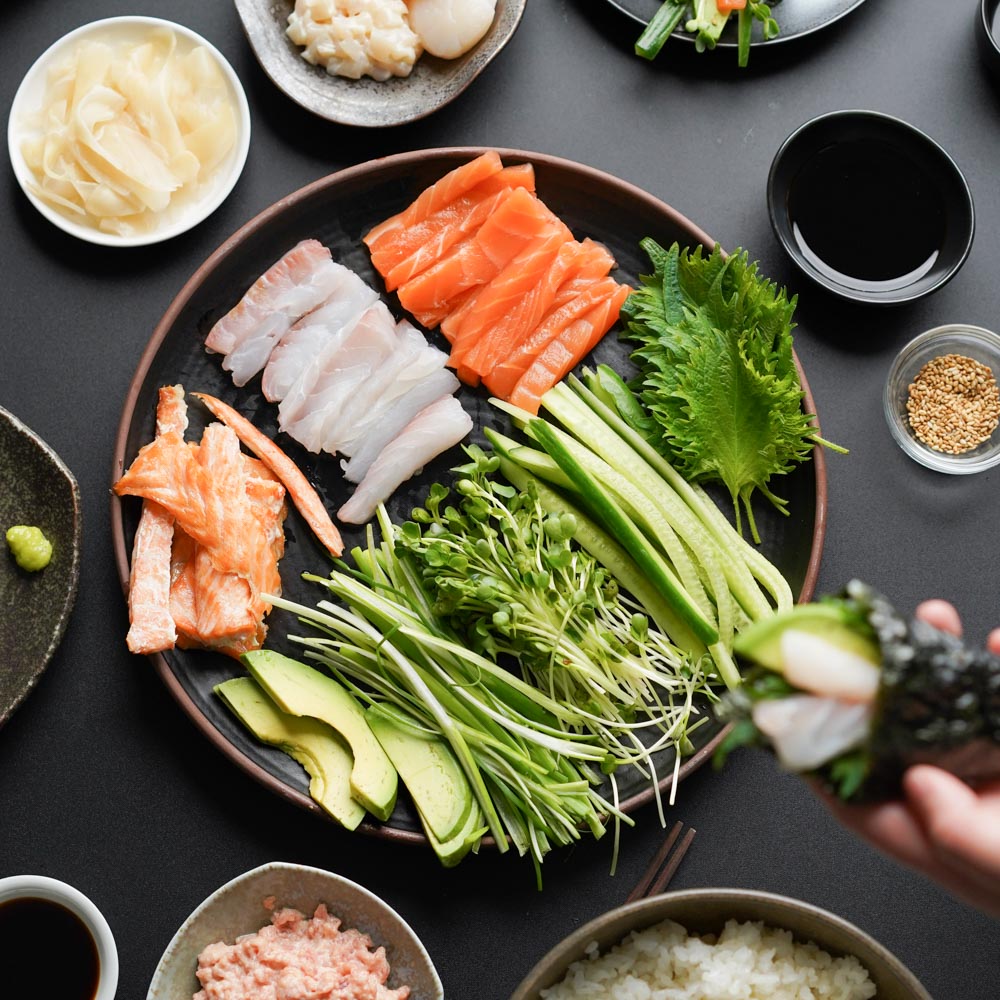
To make Kansai-style Inari Sushi (optional), decorate the top with colorful ingredients. After stuffing it with sushi rice, keep the pocket open on top and tuck the edges of the Inari age inside the pocket so you will have smooth, round edges. Then, you can add any toppings you like. Here, I used sliced cucumber, ikura (salmon roe), shredded egg crepe (kinshi tamago), boiled shrimp, and cooked salmon flakes.
Step 17
Serve the Inari Sushi at room temperature. Garnish with shiso leaves and sushi ginger, as desired.
Step 18
You can keep the leftovers in a cool place for several hours but consume them within the same day they’re prepared. You can also store them in the refrigerator for up to 24 hours. I highly recommend placing them in an airtight container or on a plate wrapped tightly with plastic and then wrapping the entire container or plate with a thick kitchen towel. The towel insulates the sushi rice from the cold air in the refrigerator so the rice doesn't get hard. If you have leftover Inari age, you can store it with its liquid in the freezer for up to a month. If you store it in an airtight container in the refrigerator, we recommend using it within 2–3 days.
Top similar recipes
Curated for youYour folders
 1178 views
Inari Sushi
justonecookbook.com
4.3
(23)
Your folders
 314 views
Tricolor Yubuchobap (Korean Style I...
mykoreankitchen.com
4.8
(6)
5 minutes
Your folders
 567 views
Inari Sushi (Inarizushi - いなり寿司)
pickledplum.com
Your folders
 1238 views
Homemade Inari Age
justonecookbook.com
4.7
(14)
20 minutes
Your folders
 315 views
What is Inari, and what is it doing...
makemysushi.com
5.0
Your folders
 1042 views
Sushi Rolls (Maki Sushi - Hosomaki)
justonecookbook.com
4.7
(7)
Your folders
 341 views
Hand Roll Sushi (Temaki Sushi)
hungryhuy.com
5.0
(1)
20 minutes
Your folders
 439 views
Sushi - Wikipedia
en.wikipedia.org
Your folders
 591 views
Sushi rice
bbcgoodfood.com
15 minutes
Your folders
 246 views
Sushi timbales
taste.com.au
4.0
(3)
20 minutes
Your folders
 257 views
Sushi timbales
delicious.com.au
20 minutes
Your folders
 592 views
Oreo Sushi
oatslady.com
Your folders
 947 views
Homemade Sushi
fifteenspatulas.com
Your folders
 959 views
Sushi Rice
norecipes.com
4.4
(10)
25 minutes
Your folders
 735 views
Sushi Rice
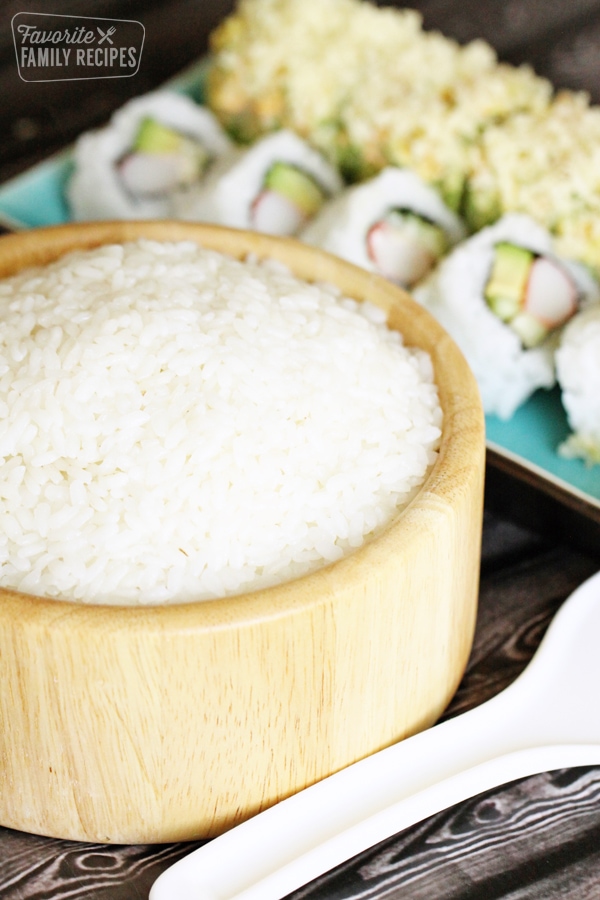
favfamilyrecipes.com
4.9
(13)
30 minutes
Your folders
 539 views
Sushi rice
taste.com.au
4.7
(7)
15 minutes
Your folders
 349 views
Sushi Bake
onolicioushawaii.com
4.5
(133)
15 minutes
Your folders
 186 views
Steak Sushi
cookbycolornutrition.com
10 minutes
Your folders
 359 views
Sushi Bake
takestwoeggs.com
5.0
(1)
15 minutes