Jillee’s Best Gluten-Free Bread Recipe Ever
3.6
(5)
Your folders
Your folders
Prep Time: 70 minutes
Cook Time: 50 minutes
Total: 120 minutes
Servings: 16
Author : Jill Nystul

Ingredients
Export 13 ingredients for grocery delivery
Instructions
Step 1
Prepare two 8-inch bread pans by spraying them with cooking spray.
Step 2
Add the yeast to the 2 cups of warm water, and stir until mixed. Set this aside to activate while you mix the rest of the ingredients.
Step 3
Mix the flour blend, xanthum gum, egg replacer, salt, and powdered milk together in a medium-size bowl and set aside.
Step 4
Put eggs, butter, vinegar, and honey in the bowl of your mixer. Mix together for about 30 seconds using the paddle attachment. The butter will be chunky, and that’s okay!
Step 5
Add half of the dry ingredients to the wet mixture in the mixer. Mix just until blended, and then add the remaining dry ingredients and mix for another 30 seconds, until blended.
Step 6
With the mixer on low speed, slowly add the warm water and yeast mixture, then turn the mixer to medium-high speed and beat for 4 minutes. After the 4 minutes your bread dough should resemble thick cake batter.
Step 7
Spoon the dough into your greased bread pans. Dip your fingers in water to smooth the top of the dough, if desired. Set aside in a warm place to rise for approximately one hour. While the dough rises, preheat your oven to 375 degrees.
Step 8
When the dough has risen to about an inch above the top of the pans, place the pans in your preheated oven on the middle rack.
Step 9
Bake for 45 to 55 minutes, or until the bread’s internal temperature reaches 200 degrees with an instant-read thermometer. (This is very helpful! It’s hard to tell when gluten free bread is done. If you don’t have an instant read thermometer, just use your best guess based on your particular oven.)
Step 10
Remove the bread from the oven and let cool in pans for 10 minutes. Then remove loaves from the pans and place on a rack to cool completely. (As you can see, I brushed the top of mine with butter when they came out of the oven.)
Step 11
After allowing it to cool COMPLETELY before slicing. (This is important! Don’t rush it and cut into it while it’s still warm or you will flatten it.) And make sure to let your bread knife do the cutting for you! You provide the “sawing” action, but let the knife blade do the work. Don’t press down, just keep “sawing” across the top until you get all the way to the bottom of the loaf.
Top similar recipes
Curated for youYour folders
 293 views
The Best Gluten Free Bread Recipe E...
wholelifestylenutrition.com
4.5
(48)
50 minutes
Your folders
 279 views
Best Ever Gluten Free Banana Bread
foodtalkdaily.com
40 minutes
Your folders
 81 views
Gluten-Free Pumpkin Bread (BEST EVE...
meaningfuleats.com
5.0
(46)
65 minutes
Your folders
 788 views
Best-Ever Gluten-Free Pasta
delish.com
4.2
(13)
Your folders

 373 views
Gluten-free Yorkshire Pudding Recip...
glutenfreecuppatea.co.uk
4.5
(386)
20 minutes
Your folders
 243 views
Best Ever Gluten Free Chocolate Cak...
whattheforkfoodblog.com
4.5
(625)
35 minutes
Your folders
-600x600.jpg?ext=.jpg)
 6 views
Best Ever Spritz Cookies (Gluten-Fr...
landolakes.com
Your folders
 152 views
Gluten-Free Apple Muffins (BEST EVE...
meaningfuleats.com
5.0
(33)
20 minutes
Your folders

 188 views
Best Ever Dairy-Free Homemade Bread...
bigfamilyblessings.com
4.5
(86)
25 minutes
Your folders
 543 views
The Best Ever Super Moist Gluten Fr...
gimmedelicious.com
4.8
(262)
50 minutes
Your folders

 177 views
Gluten-Free Best Ever Corn Dogs R...
bettycrocker.com
Your folders
 296 views
Best-ever gluten-free choc chip coo...
taste.com.au
1.0
(1)
15 minutes
Your folders
 382 views
The Best Gluten Free Bread Machine ...
fearlessdining.com
4.9
(38)
74 minutes
Your folders
 231 views
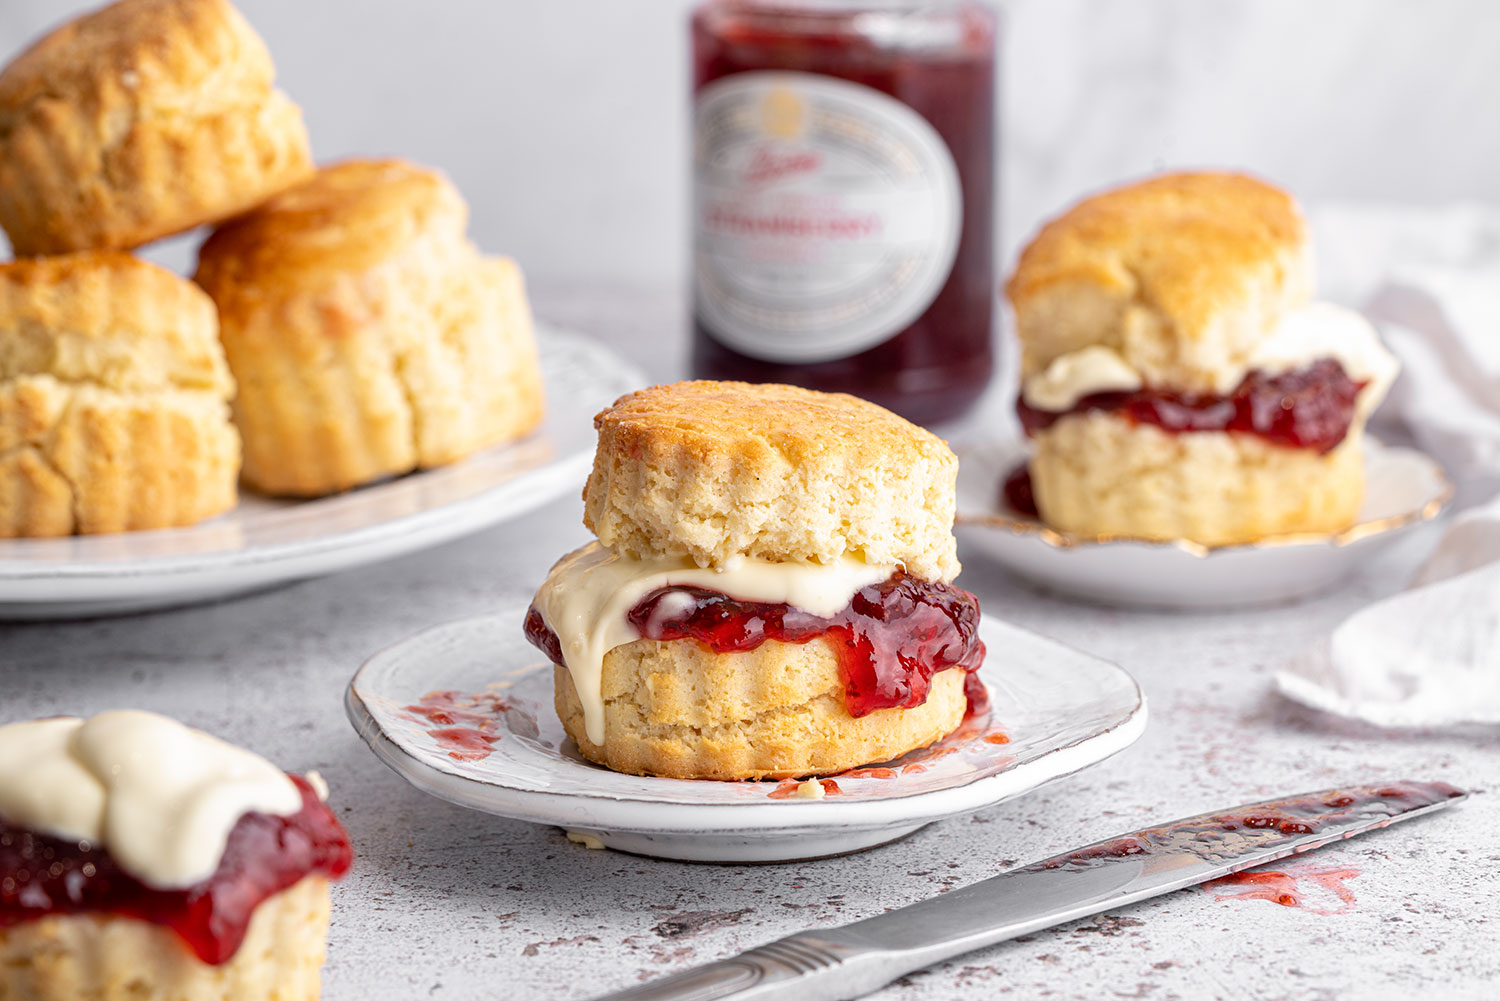
Gluten-free Scones Recipe - BEST EV...
glutenfreecuppatea.co.uk
4.6
(630)
15 minutes
Your folders

 79 views
Gluten Free Bread Recipe
happy-mothering.com
4.8
(49)
150 minutes
Your folders

 214 views
The Best Gluten Free Challah Bread ...
glutenfreeonashoestring.com
4.9
(180)
45 minutes
Your folders
 512 views
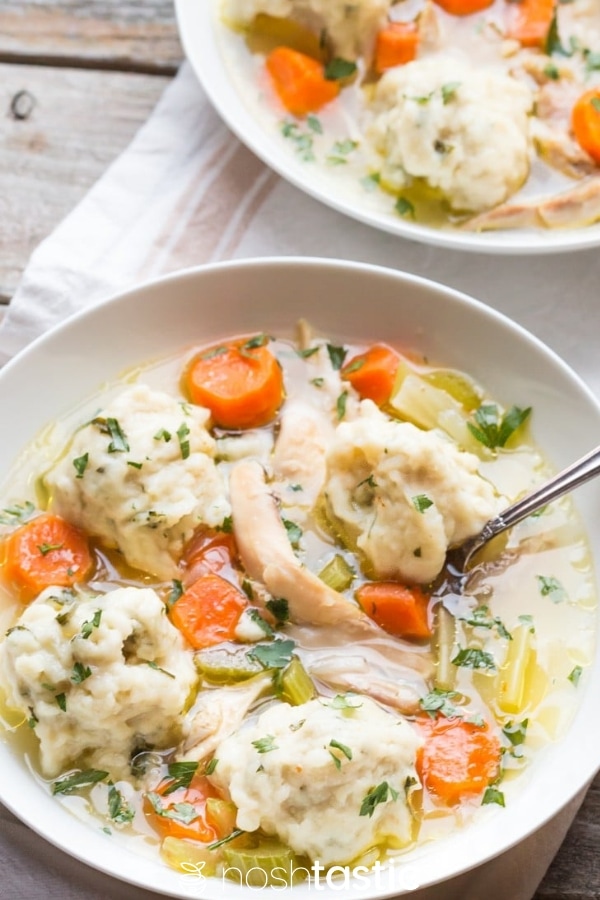
Best Ever Gluten Free Chicken and D...
noshtastic.com
4.9
(102)
80 minutes
Your folders
 342 views
Best Ever Chewy Fudgy Gluten-free B...
mygluten-freekitchen.com
4.5
(124)
35 minutes
Your folders

 195 views
The Best Ever Gluten-free Cornbread...
rachlmansfield.com
5.0
(2)
15 minutes