Making Penguin Feet Amigurumi Tutorial
Your folders
Your folders
Author : Jess Huff

Ingredients
Export 10 ingredients for grocery delivery
Instructions
Step 1
Tip: The feet are made with a technique that may not be suitable for beginners. If you're getting frustrated, you can use the beak portion of the pattern (next section below) to make beginner-friendly feet. Simply crochet the beak as written, then add an extra round of single crochets before fastening off. Voila, a foot!To view a video tutorial, see "Making the Feet" in the Notes section of the pattern.With yellow yarn, make 3 toes:01. start 4 sc into a magic ring [4]02. sc in each st around [4]At the end of Toes 1 & 2, fasten off, leaving a 5 inch tail.At the end of Toe 3, do not fasten off. Next, we'll combine all 3 toes into one large round to create the rest of the foot.03. Crochet into the first 2 stitches of Toe 2. Crochet around all 4 stitches of Toe 1. Crochet into the remaining 2 stitches of Toe 2. Crochet around all 4 stitches of Toe 3. [12]04. sc in each st around [12]Now crochet until you reach the edge of the foot (for me, this was 4 additional single crochets). Fasten off, leaving a tail of 12 inches.Close up the holes between the toes using the 5 inch tails. Hide the tails inside the work.Do not stuff the foot. Pinch the final round together and slip stitch closed. Your foot is now ready to attach while crocheting the body at a later step.
Step 2
With yellow yarn:01. start 6 sc into a magic ring [6]02. inc in each st around [12]03. sc in each st around [12]Do not stuff. Fasten off, leaving a 8” tail. Pinch the final round together and slip stitch closed. Hide the tail inside the work. Your beak is now ready to attach while crocheting the head at a later step.
Step 3
With black yarn:01. start 6 sc into a magic ring [6]02. inc in each st around [12]03. *sc, inc* 6 times [18]04. sc, inc, *sc 2, inc* 5 times, sc [24]05 – 06. sc in each st around [24]07. sc 5, dec, sc 10, dec, sc 5 [22]08. *sc 9, dec* 2 times [20]09. sc 4, dec, sc 8, dec, sc 4 [18]10. sc in each st around [18]11. *sc 7, dec* 2 times [16]12 – 14. sc in each st around [16]15. *sc 2, dec* 4 times [12]16. sc in each st around [12]Do not stuff. Fasten off, leaving an 18” tail. Pinch the final round together and slip stitch closed. Your wing is now ready to attach while crocheting the body at a later step.
Step 4
The body and head will be crocheted together as one piece. We'll start at the bum and finish at the top of the head. Unless the pattern indicates otherwise, start the next round with the same color the previous round ended with.B = Black | W = White01. B: start 6 sc into a magic ring [6]02. inc in each st around [12]03. *sc, inc* 6 times [18]04. sc, inc, *sc 2, inc* 5 times, sc [24]05. *sc 3, inc* 6 times [30]06. sc 2, inc, *sc 4, inc* 5 times, sc 2 [36]We'll be attaching the feet as we crochet the next round of the body. To view a video tutorial, see "Attaching the Feet" in the Notes section of the pattern.07. Attach the first foot: (sc 5, inc), sc in the next st, Attach the second foot: (sc 4, inc, sc), sc 4, inc, *sc 5, inc* 3 times [42]08. sc 3, inc, W: sc 6, inc, B: *sc 6, inc* 4 times, sc 3 [48]09. sc 3, W: sc 4, inc, sc 7, B: inc, *sc 7, inc* 4 times [54]10. sc 2, W: sc 2, inc, sc 8, inc, sc 4, B: sc 4, inc, *sc 8, inc* 3 times, sc 4 [60]11. sc 2, W: sc 19, B: sc 39 [60]12. sc, W: sc 21, B: sc 38 [60]13. W: sc 23, B: sc 37 [60]14. W: sc 24, B: sc 36 [60]15 – 16. W: sc 25, B: sc 35 [60]17. W: sc 26, B: sc 34 [60]18. W: sc 4, dec, *sc 8, dec* 2 times, sc, B: sc 7, dec, *sc 8, dec* 2 times, sc 4 [54]19. W: sc 24, B: sc 30 [54]20. sc, W: sc 6, dec, sc 7, dec, sc 6, B: sc, dec, *sc 7, dec* 3 times [48]21. sc, W: sc 21, B: sc 26 [48]22. sc, W: sc 2, dec, *sc 6, dec* 2 times, sc 2, B: sc 4, dec, *sc 6, dec* 2 times, sc 3 [42]23 – 24. sc 2, W: sc 18, B: sc 22 [42]25. sc 2, W: sc 3, dec, sc 5, dec, sc 6, B: dec, sc 4, dec, *sc 5, dec* 2 times [36]26 – 27. sc 3, W: sc 15, B: sc 18 [36]28. sc 3, W: dec, sc 3, dec, sc 4, dec, sc 2, B: sc 2, dec, *sc 4, dec* 2 times, sc 2 [30]We'll be attaching the wings as we crochet the next two rounds of the body. To view a video tutorial, see "Attaching the Wings" in the Notes section of the pattern.29. sc 4, W: sc 11, B: sc 14, Start attaching the first wing: (sc) [30]30. Finish attaching the first wing: (sc 5), W: sc 9, B: Attach the second wing: (sc 6), sc 10 [30]Stuff the body. Now we're moving on to the head:31. sc 5, W: sc 10, B: sc 15 [30]32. sc 2, inc, sc 2, W: sc 2, inc, sc 4, inc, sc 3, B: sc, inc, *sc 4, inc* 2 times, sc 2 [36]33. sc 5, inc, W: *sc 5, inc* 2 times, sc, B: sc 4, inc, *sc 5, inc* 2 times [42]34. sc 3, inc, sc 3, W: sc 3, inc, sc 6, inc, sc 4, B: sc 2, inc, *sc 6, inc* 2 times, sc 3 [48]35. sc 7, inc, W: *sc 7, inc* 2 times, sc 2, B: sc 5, inc, *sc 7, inc* 2 times [54]36. sc 4, inc, sc 3, W: sc 5, inc, sc 8, inc, sc 6, B: sc 2, inc, *sc 8, inc* 2 times, sc 4 [60]37. sc 9, W: sc 23, B: sc 28 [60]38. sc 9, W: sc 24, B: sc 27 [60]We'll be attaching the beak as we crochet the next round of the head. To view a video tutorial, see "Attaching the Beak" in the Notes section of the pattern.39. sc 9, W: sc 9, Attach the beak: (sc 6), sc 9, B: sc 27 [60]40 – 41. sc 10, W: sc 23, B: sc 27 [60]42. sc 11, W: sc 22, B: sc 27 [60]Marking Stitches for the Eyes: Insert two strands of yarn 14 stitches apart between rounds 41 & 42. These markers will show you where to place your safety eyes at a later step.For additional details and a photo, see "Marking Stitches for the Eyes" in the Notes section of the pattern.43. sc 12, W: sc 21, B: sc 27 [60]44. sc 12, W: sc 20, B: sc 28 [60]45. sc 13, W: sc 19, B: sc 28 [60]46. sc 4, dec, sc 7, W: sc, dec, sc 8, dec, sc 6, B: sc 2, dec, *sc 8, dec* 2 times, sc 4 [54]47. sc 7, dec, sc 4, W: sc 3, dec, sc 7, dec, sc 2, B (for remainder of piece): sc 5, dec, *sc 7, dec* 2 times [48]Leaving Exposed Front Loops for the Hat: In round 48 we’re going to crochet into the back loop only. At a later step, we’ll crochet into the exposed front loops to create the hat.48. BLO: sc 3, dec, *sc 6, dec* 5 times, sc 3 [42]49. Both loops (for remainder of piece): *sc 5, dec* 6 times [36]50. sc 2, dec, *sc 4, dec* 5 times, sc 2 [30]Stuff head ¾ full and create indents for the eyes. Insert your safety eyes and secure the backings. For additional details and a video tutorial, see "Indenting the Eyes" in the Notes section of the pattern.51. *sc 3, dec* 6 times [24]52. sc, dec, *sc 2, dec* 5 times, sc [18]Finish stuffing.53. *sc, dec* 6 times [12]54. *dec* 6 times [6]Fasten off, leaving a tail of about 8 inches. Close with an Ultimate Finish, then hide the tail inside the work.
Step 5
I used a Clover Pom-Pom Maker to create this piece. To view a video tutorial, see "Making the Pom-Pom" in the Notes section of the pattern.If you don't have a pom-pom maker, you can crochet a ball to use instead using the instructions below.With blue yarn:01. start 6 sc into a magic ring [6]02. inc in each st around [12]03. *sc, inc* 6 times [18]04. sc, inc, *sc 2, inc* 5 times, sc [24]05. sc in each st around [24]06. sc, dec, *sc 2, dec* 5 times, sc [18]07. *sc, dec* 6 times [12]Stuff the ball.08. *dec* 6 times [6]Fasten off, leaving a tail of about 10 inches. Close with an Ultimate Finish, and leave the tail so you can use it to attach the ball to the hat at a later step.
Step 6
To add the hat, we'll crochet into the exposed front loops from round 48 of the Body & Head. Hold your penguin right side up, and insert your hook through each exposed loop bottom-to-top.To view a video tutorial, see "Making the Hat" in the Notes section of the pattern.With blue yarn:01. sc in each of the exposed front loops on the head. BLO: slst to join. [48]Leaving Exposed Front Loops for the Hat Trim: In round 2 we’re going to crochet into the back loop only. At a later step, we’ll crochet into the exposed front loops to create the trim on the hat.02. ch 2, BLO: dc in each st around, Both loops: slst to join [48]03 – 06. ch 2, dc in each st around, slst to join [48]Fasten off, leaving a 18” tail. Do not stuff the hat. Thread the end of the tail through a yarn needle and weave it between every stitch in the final round. Cinch the round together, then attach the pom-pom at the top.
Step 7
The trim will be worked into the exposed front loops from round 2 of the hat. Hold your penguin upside down and insert your hook through each exposed loop top-to-bottom.With blue yarn:01. ch 3, tr in each st around, slst to join [48]Fasten off, secure with a knot, and hide the yarn tail inside the work.
Step 8
With blue yarn:01. ch 63, tr in 4th ch from hook, tr in each remaining ch [60]Add fringe to each end of the scarf if desired, then wrap it around your penguin's neck.
Top similar recipes
Curated for youYour folders
 127 views
Crochet Ears to Head Amigurumi Croc...
jesshuff.com
Your folders
 183 views
Easy Penguin Cupcake Recipe
helloyummy.co
Your folders
 284 views
bath-tea-tutorial
apumpkinandaprincess.com
Your folders

 275 views
Mug Tutorial Handbrake.mp4
heyletsmakestuff.com
Your folders
 226 views
Halloween Feet Loaf Recipe
mynameissnickerdoodle.com
4.2
(68)
45 minutes
Your folders

 250 views
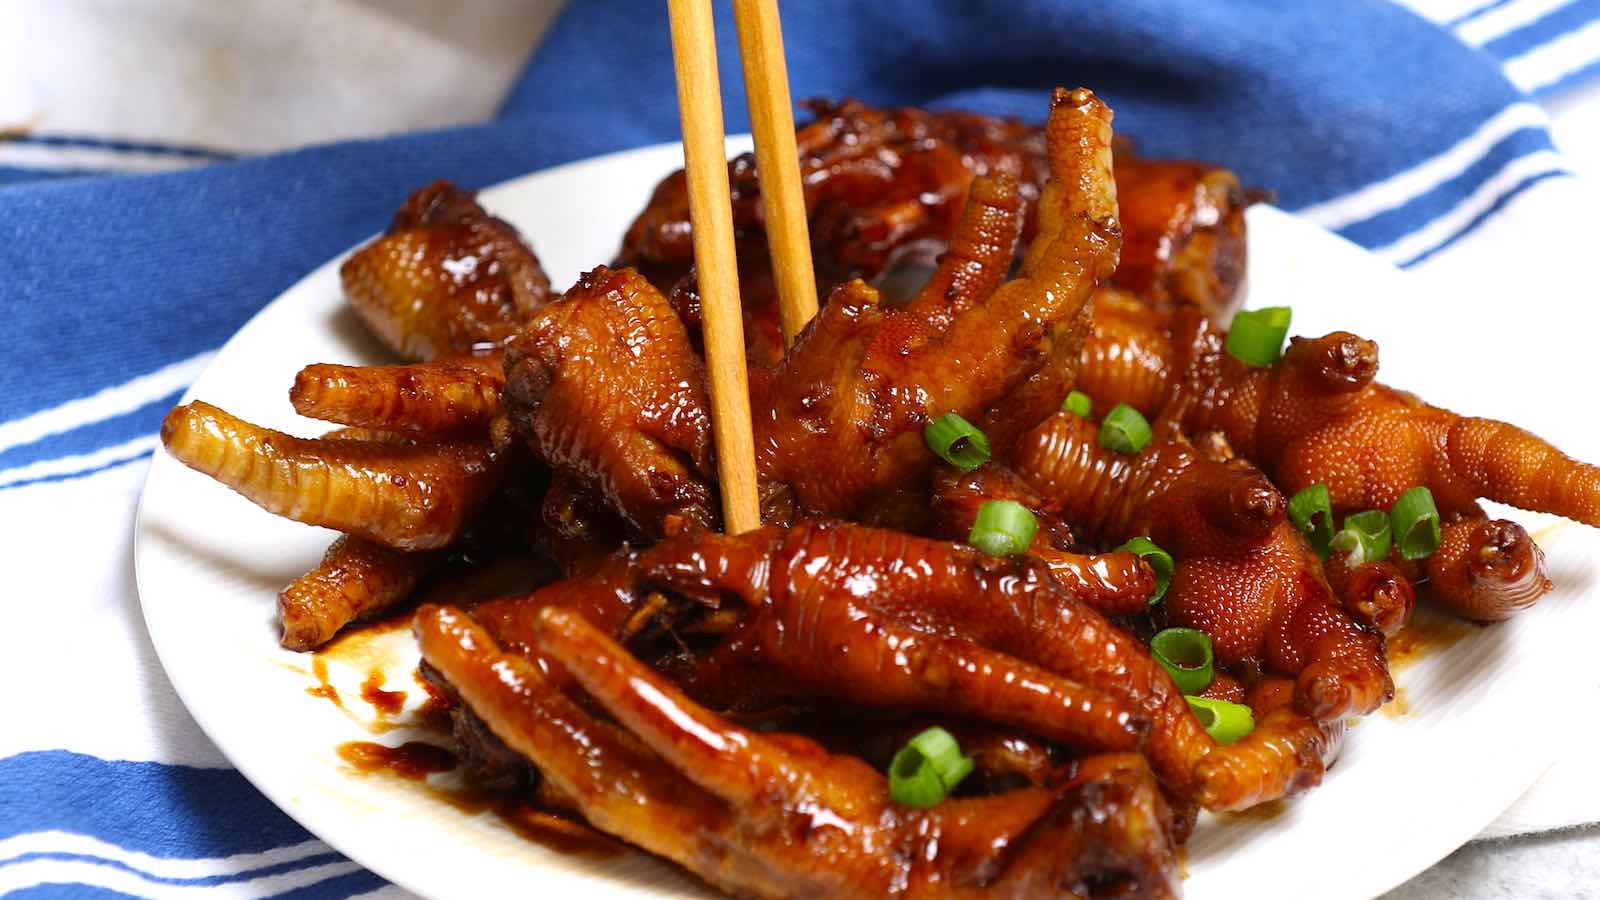
Korean Chicken Feet (Dakbal)
seonkyounglongest.com
5.0
(2)
1 hours, 10 minutes
Your folders
 256 views
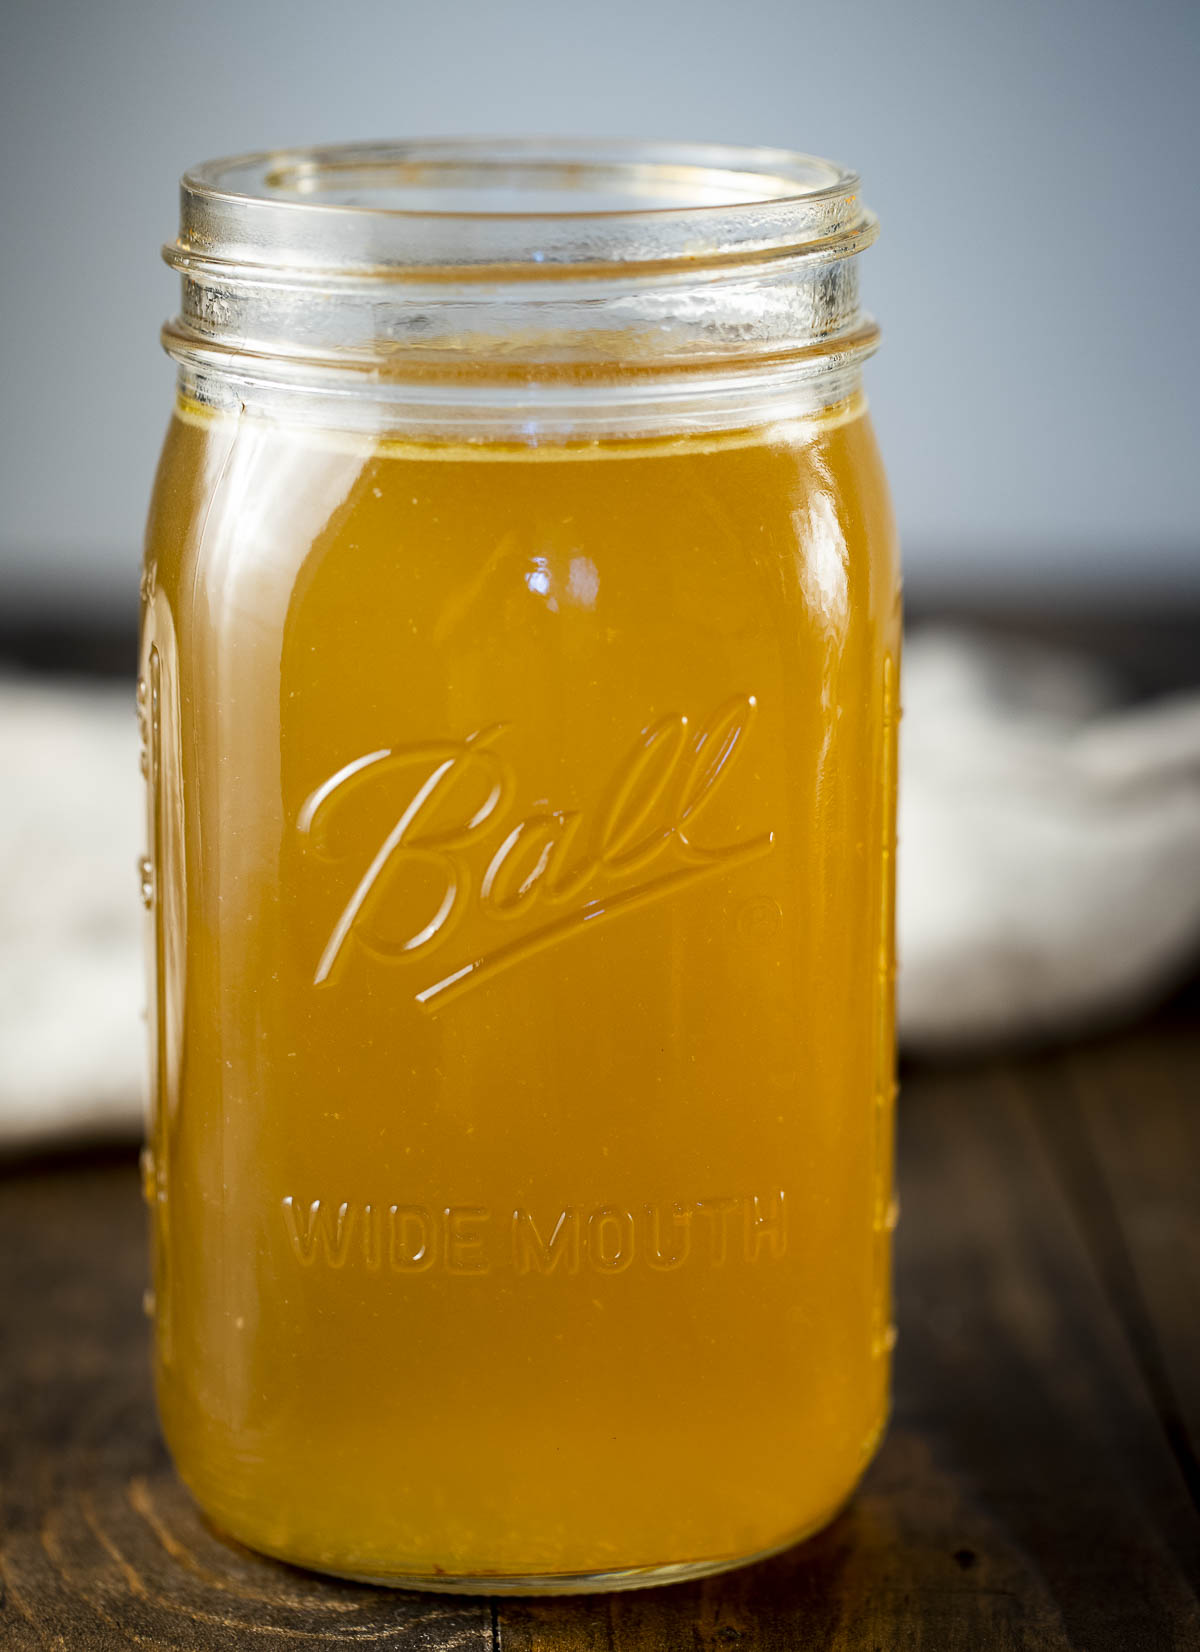
Easy Chicken Feet Recipe
izzycooking.com
4.9
(9)
25 minutes
Your folders
 284 views
Chicken Feet Bone Broth
wenthere8this.com
5.0
(3)
480 minutes
Your folders
 53 views
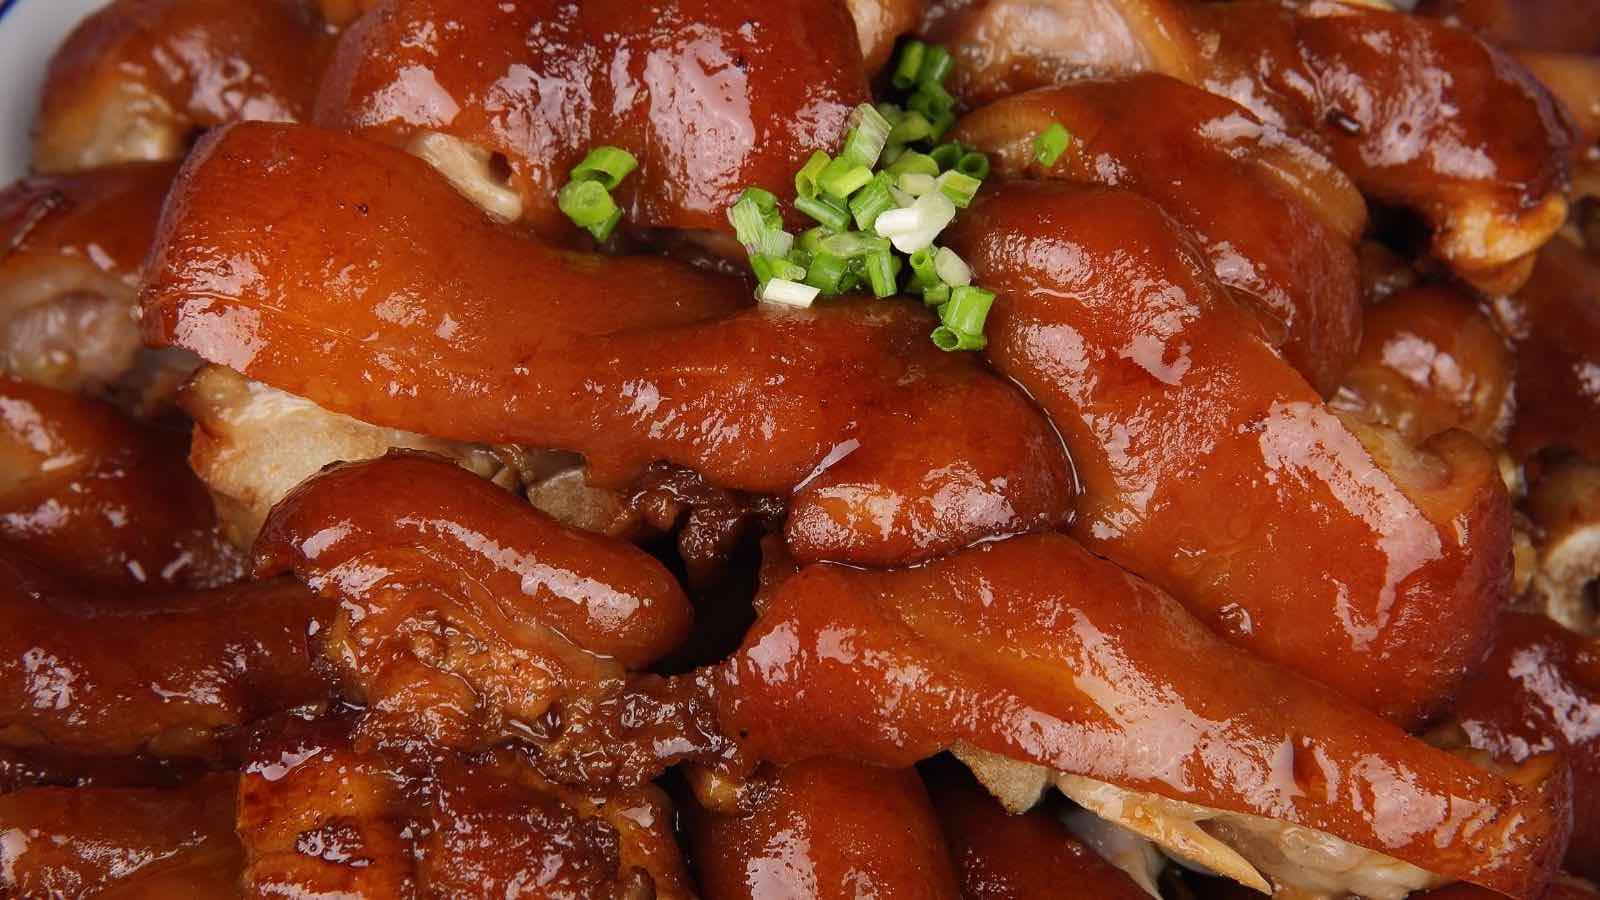
Easy Pork Feet Recipe
izzycooking.com
Your folders
 814 views
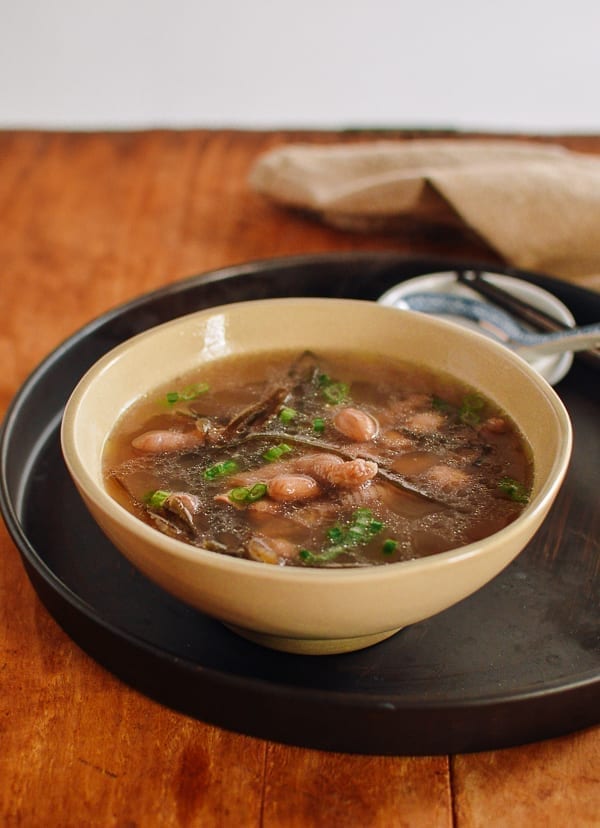
Easy Pork Feet Recipe
izzycooking.com
5.0
(1)
50 minutes
Your folders
 242 views
Cantonese Chicken Feet Soup
thewoksoflife.com
4.8
(13)
165 minutes
Your folders
 185 views
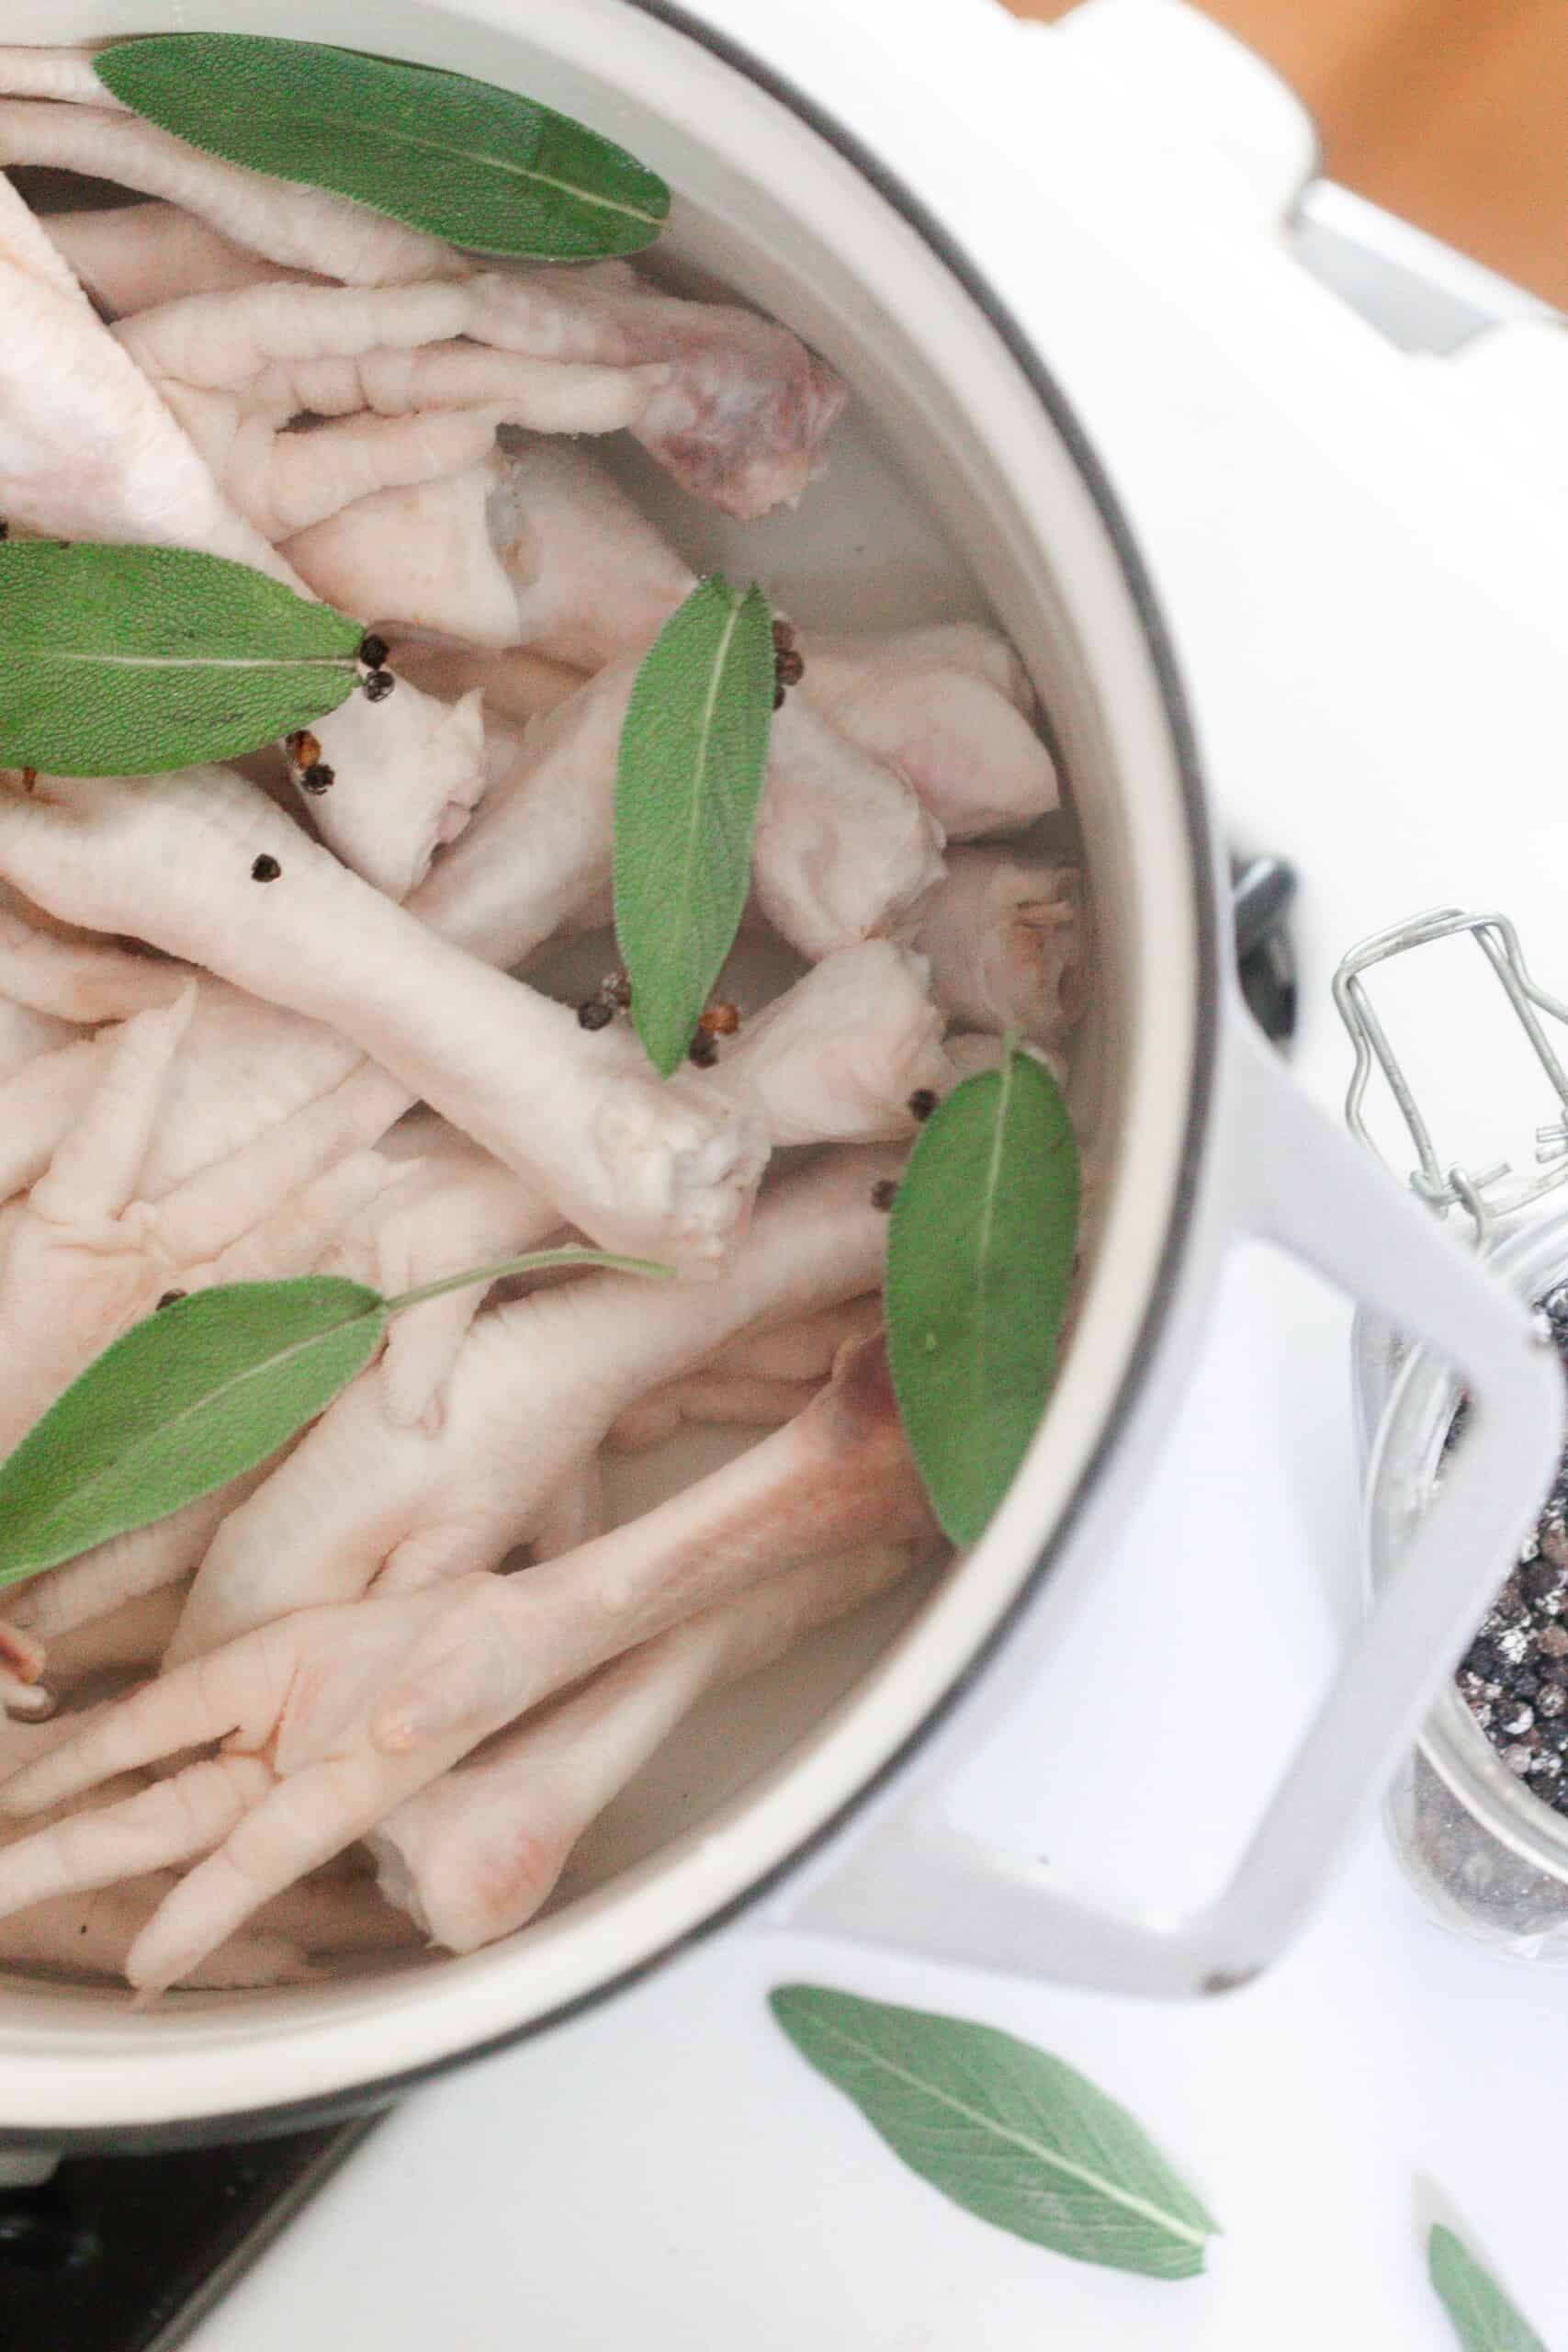
Chicken Feet Bone Broth
farmhouseonboone.com
4.5
(32)
360 minutes
Your folders

 410 views
Adorable Penguin Christmas Cookies ...
theloopywhisk.com
10 minutes
Your folders
 108 views
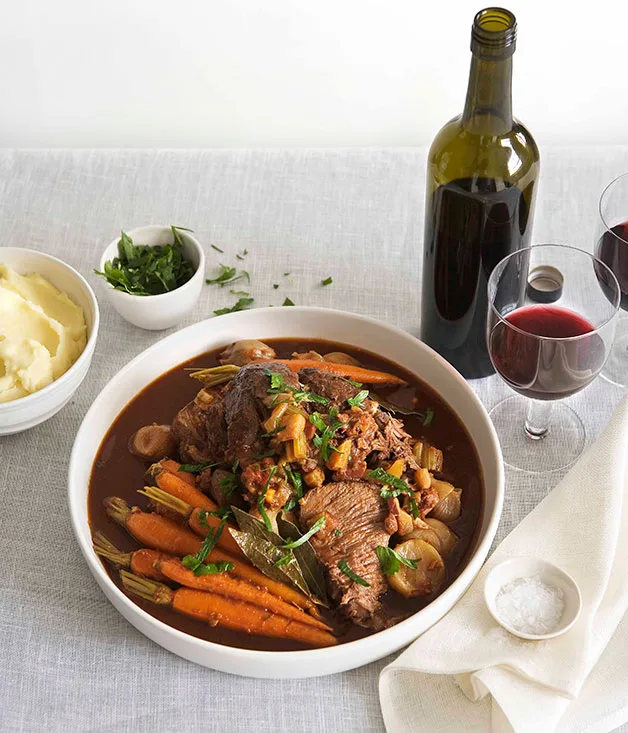
Making stock
gourmettraveller.com.au
Your folders
 58 views
Tutorial: Éclairs & Choux Paste
ironwhisk.com
Your folders
 212 views
Tarragon Vinegar (DIY Tutorial!)
acouplecooks.com
5.0
(1)
Your folders
 213 views
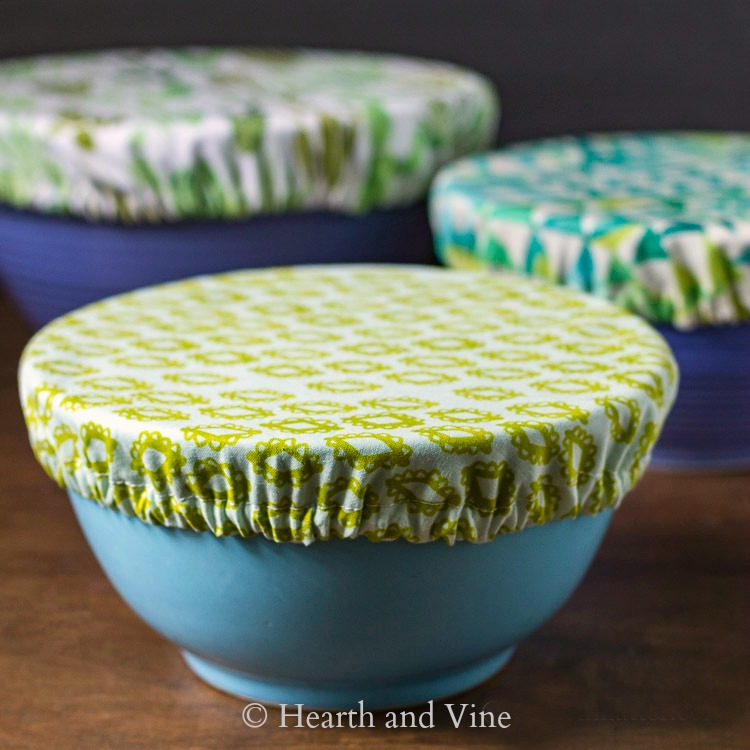
Fabric Bowl Covers Tutorial
hearthandvine.com
Your folders
 221 views
DIY Bath Bomb Tutorial
abeautifulmess.com
Your folders
 251 views
DIY Christmas Potpourri Tutorial
cherishedbliss.com