Mason Jar Centerpiece with PicturesBirthday Girl SignGuide to Making Photo GiftsHow to Make an Infusible Ink BlanketMaking a Vacation Savings BankDIY Mason Jar Soap Dispenser
Your folders
Your folders
Total: 60
Ingredients
Export 3 ingredients for grocery delivery
Instructions
Step 1
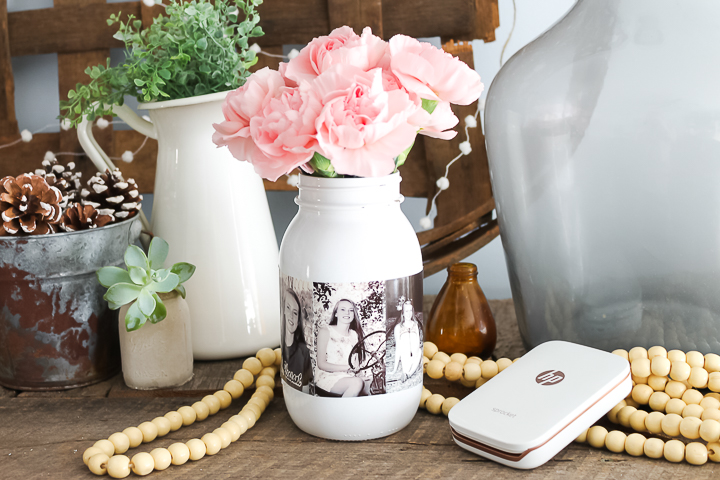
You will need to print enough pictures to go around the outside of your mason jar. I am using small prints from my HP Sprocket. You can also use 2×3 prints or even 4×6 prints that you cut down. It is really up to you which size you use. You will want to print enough to go all the way around the outside of your mason jar.
Step 2
You will also want to paint the mason jar. Be sure it is really clean then paint all sides well. Allow to cure completely before continuing with this project. I like to allow mine to dry for 72 hours so the paint does not lift off.
Step 3
Then you can start applying the pictures to the mason jar. The HP Sprocket prints are self-adhesive. So I just peeled back the liner and stuck mine right to the jar. Overlap each print slightly until you go all the way around the jar then overlap the last on the first. That is it! Your jar is complete once all of your pictures are in place. No Sprocket? Keep reading to see how to make this jar with regular prints.
Top similar recipes
Curated for youYour folders
 191 views
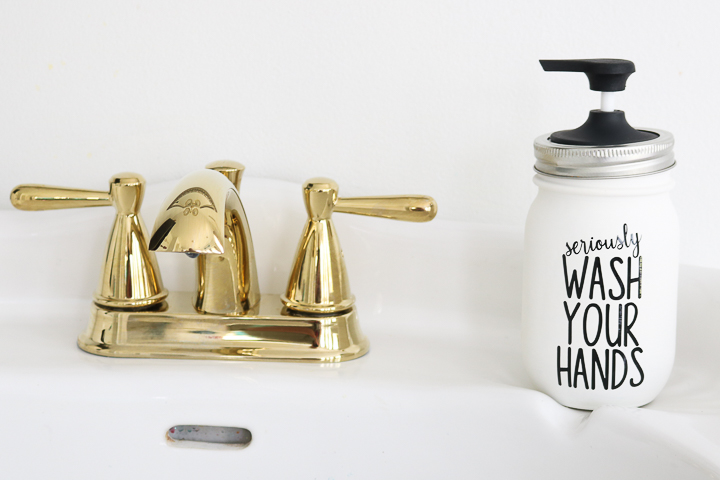
DIY Mason Jar Soap Dispenser
thecountrychiccottage.net
Your folders
 230 views
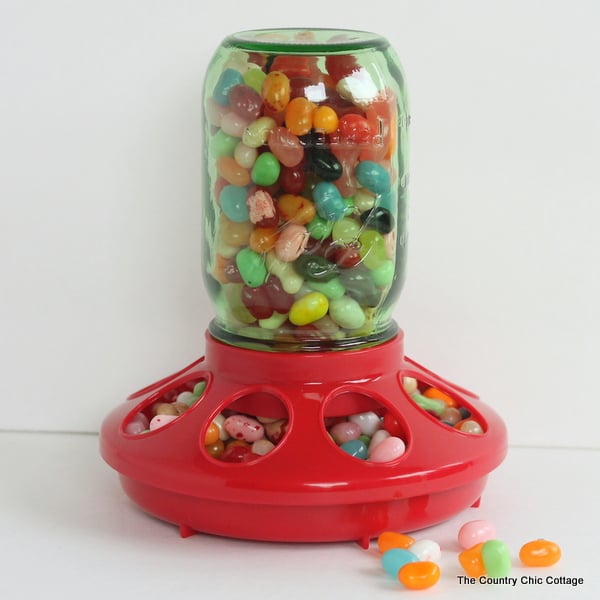
Mason Jar Candy Dispenser
thecountrychiccottage.net
Your folders
 251 views
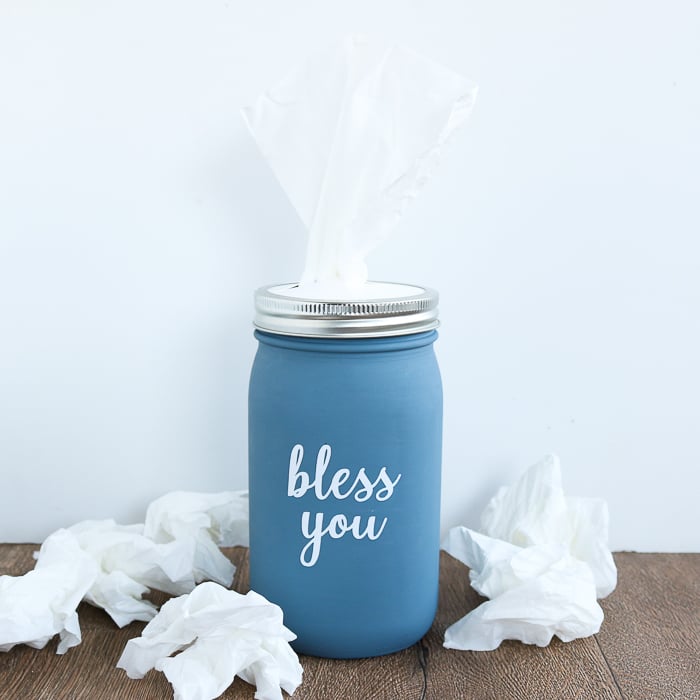
How to Make a Mason Jar Tissue Hold...
thecountrychiccottage.net
Your folders
 106 views
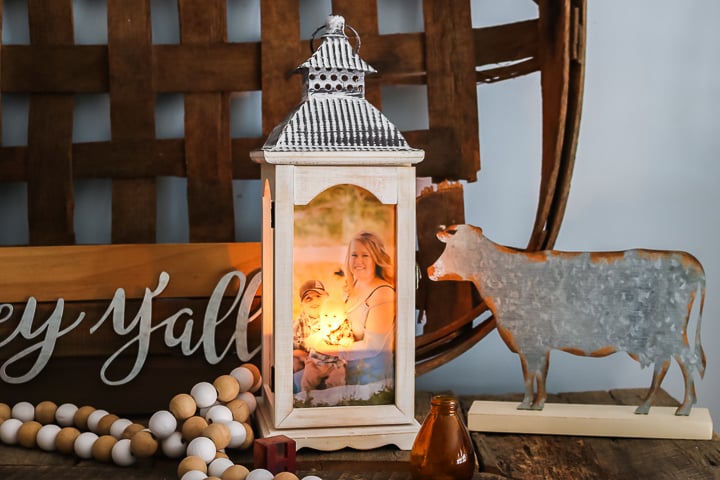
Photo Lantern Project IdeaDIY Grand...
thecountrychiccottage.net
Your folders
 218 views
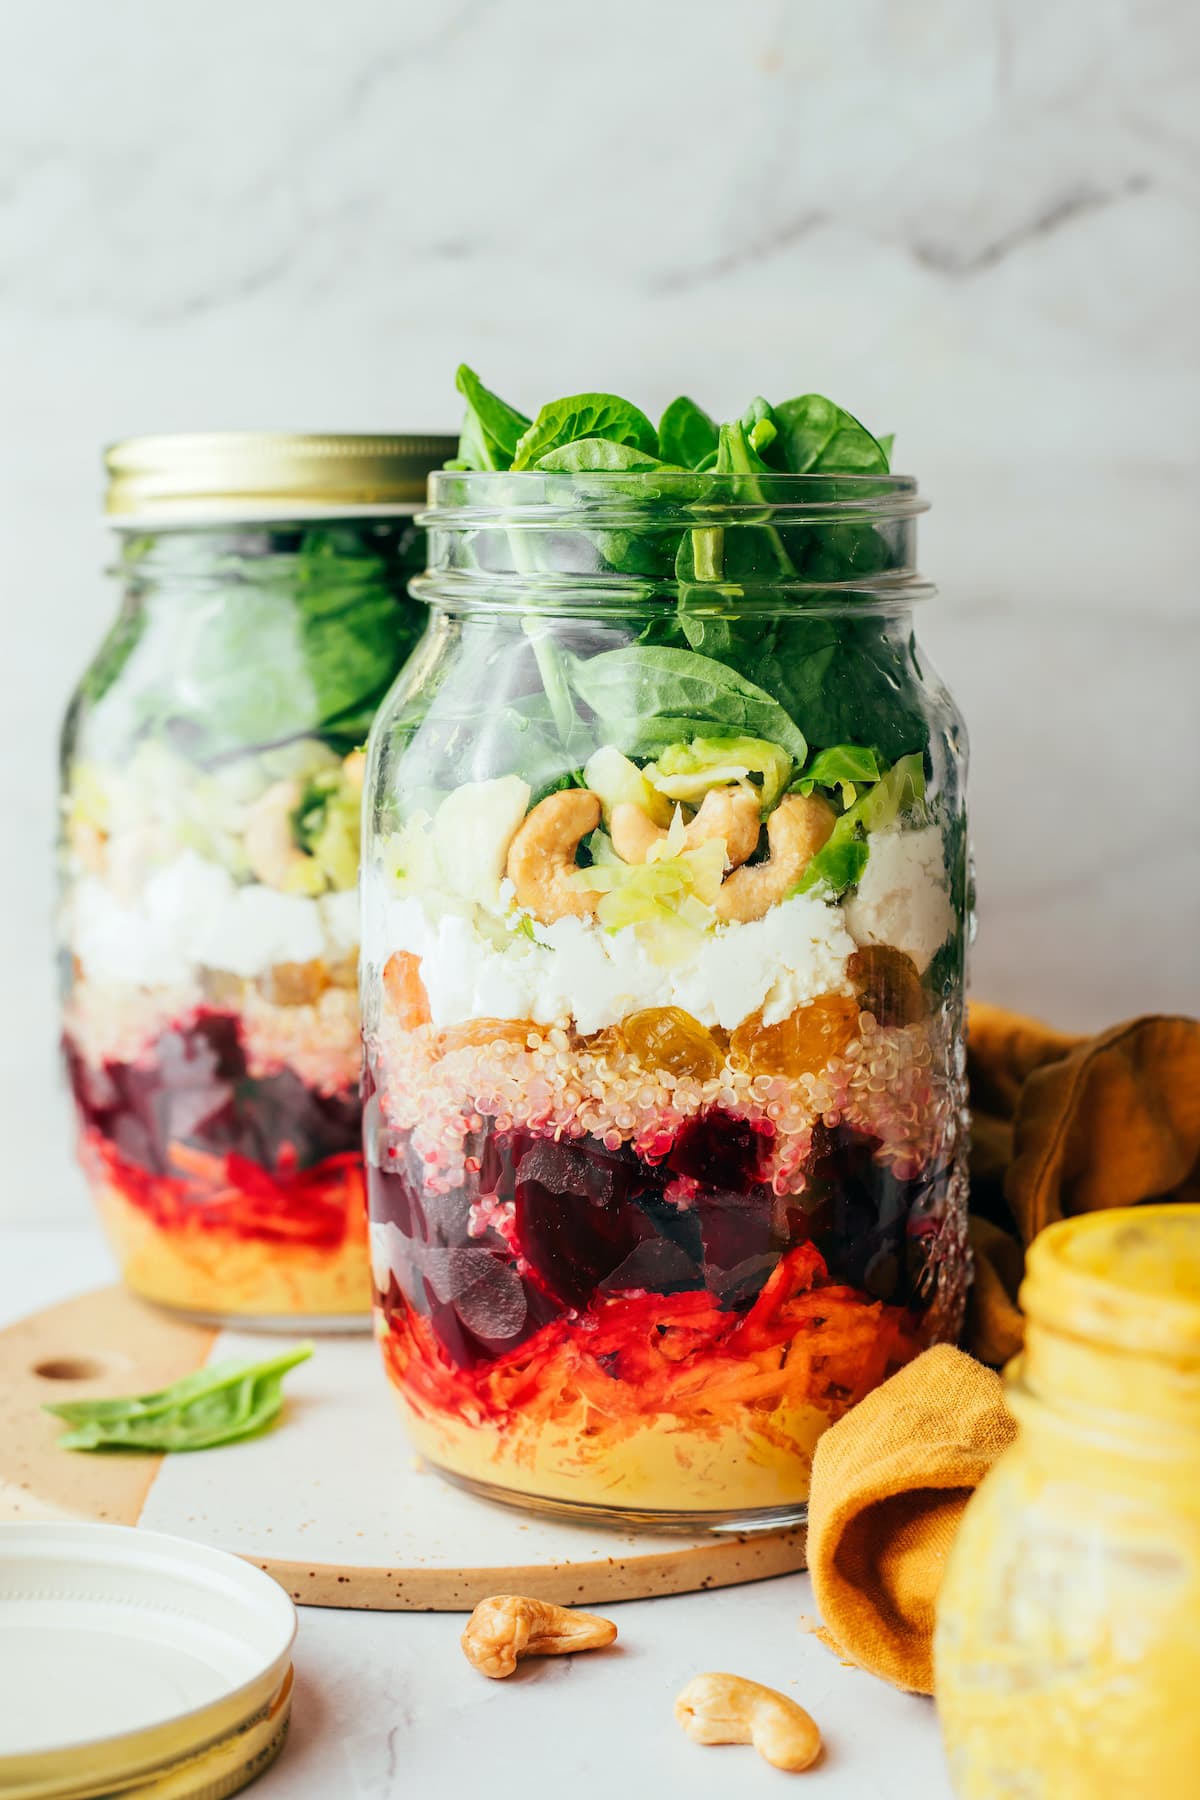
How to Make Mason Jar Salads
eatingbirdfood.com
5.0
(2)
Your folders
 484 views
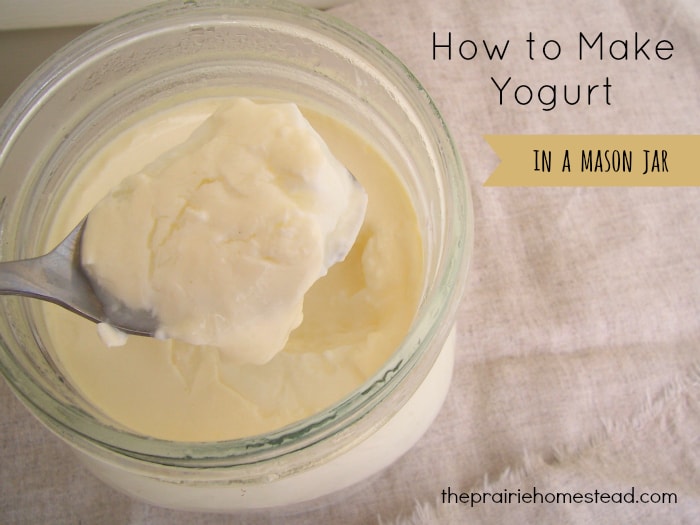
How to Make Yogurt in a Mason Jar
theprairiehomestead.com
4.8
(9)
Your folders
 206 views
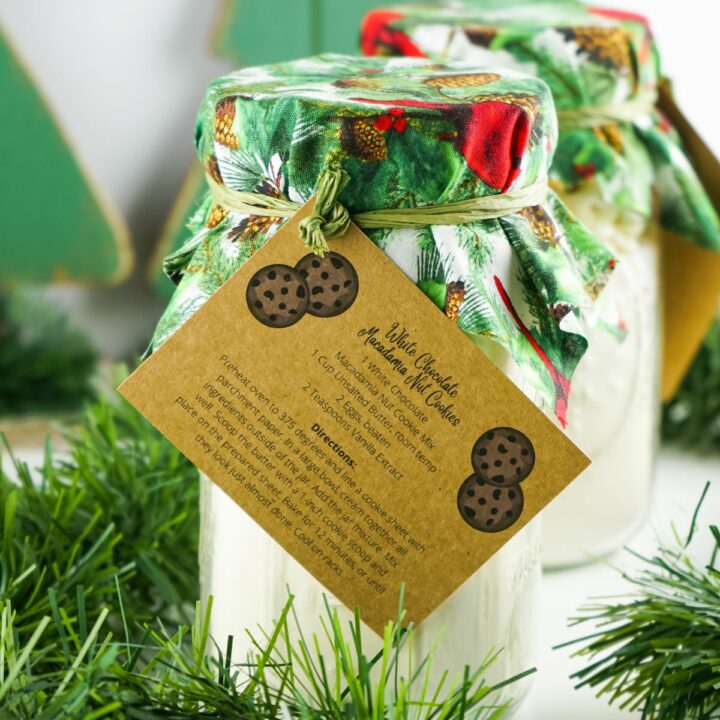
Mason Jar Cookies
walkingonsunshinerecipes.com
Your folders
 128 views
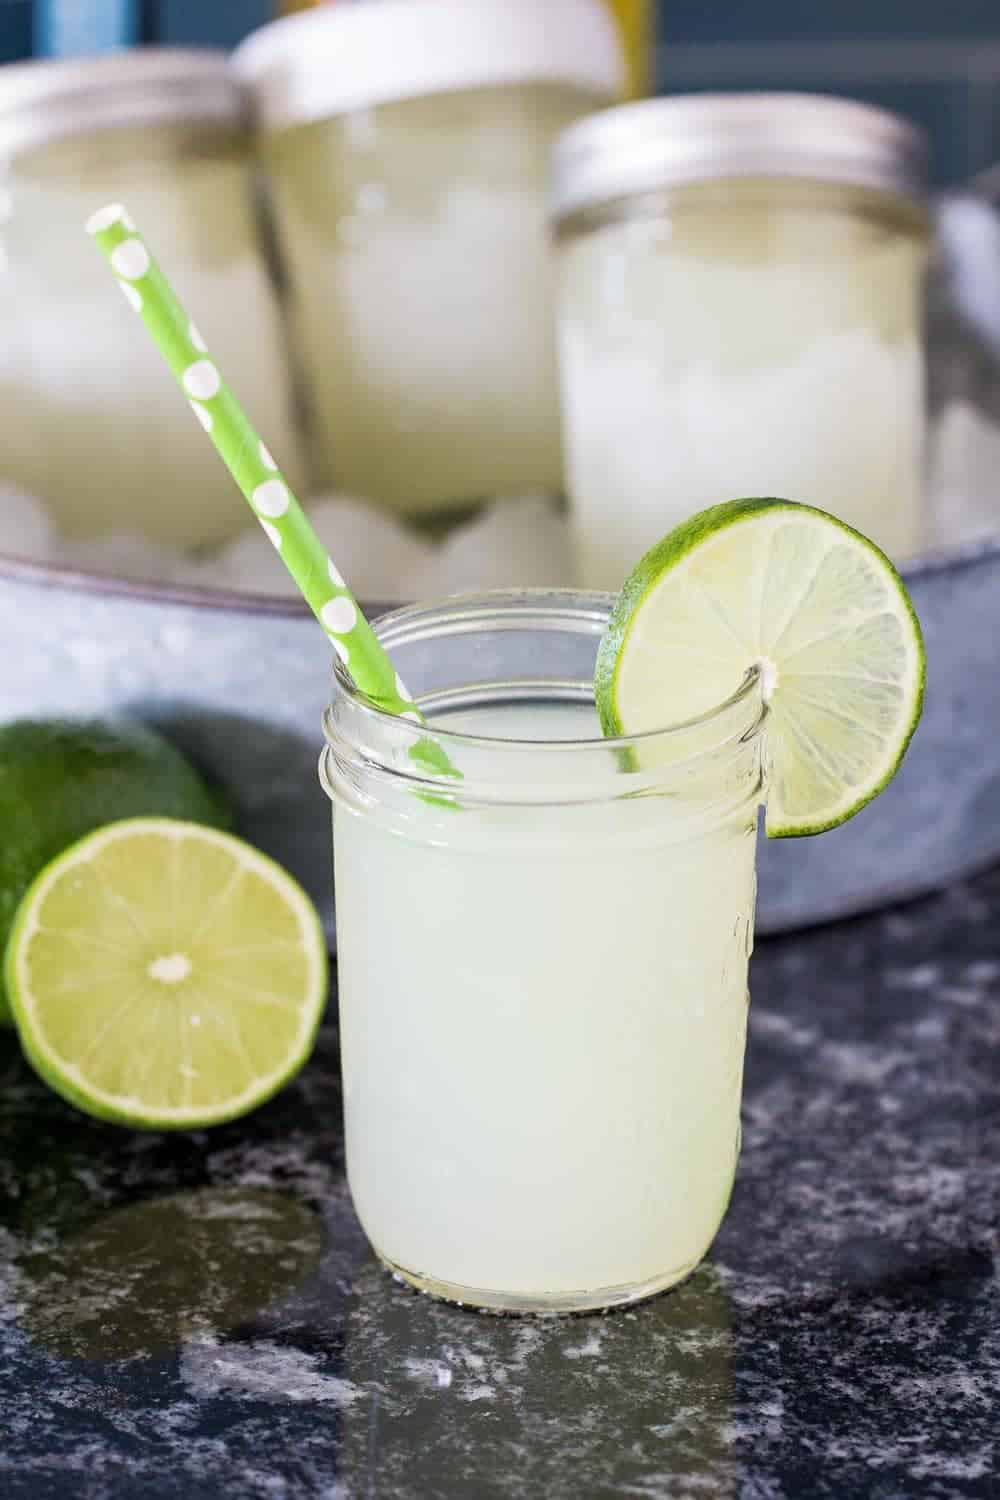
Mason Jar Margaritas
stetted.com
4.8
(12)
Your folders
 117 views
Make a DIY Photo CanvasFarmhouse St...
thecountrychiccottage.net
Your folders
 82 views
Mason Jar AquariumMason Jar Aquariu...
craftsbyamanda.com
Your folders
 767 views
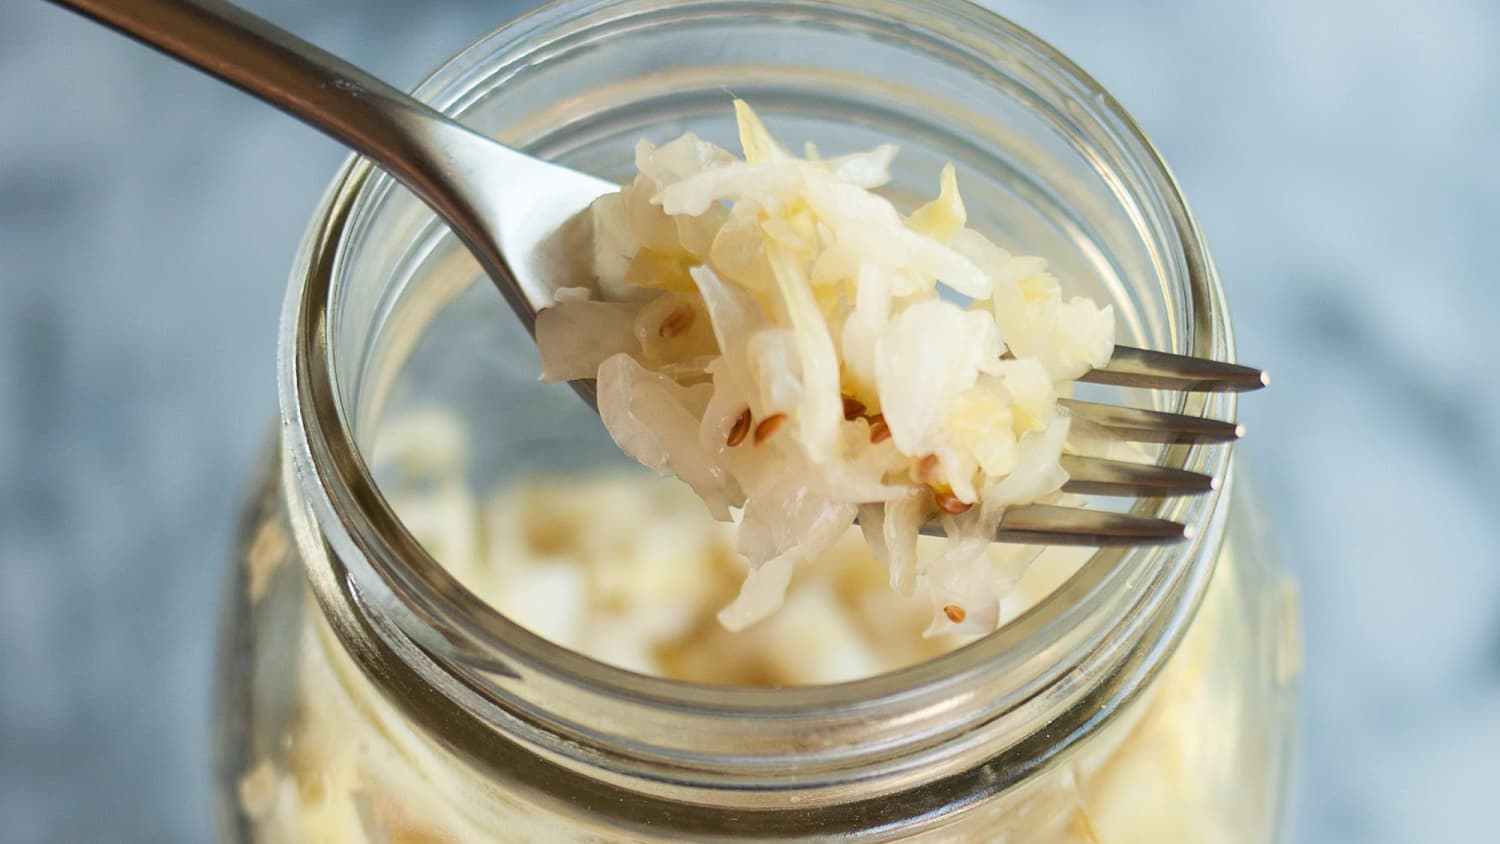
How To Make Homemade Sauerkraut in ...
thekitchn.com
4.6
(21)
Your folders
 256 views
How to make Homemade Butter in a Ma...
bigbearswife.com
4.7
(7)
15 minutes
Your folders
 205 views
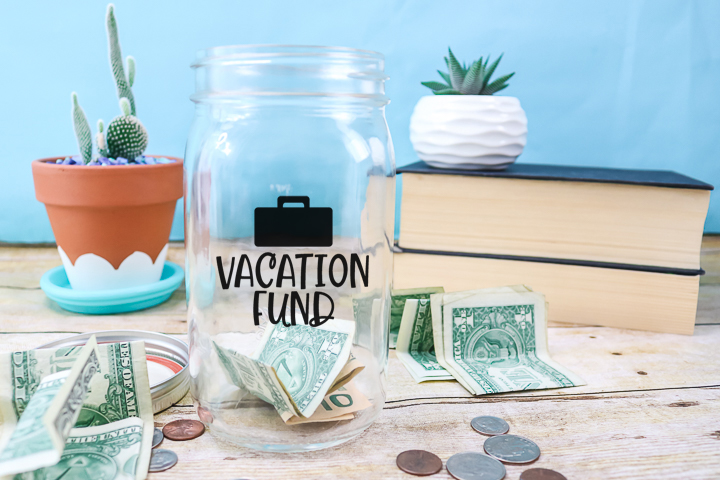
Making a Vacation Savings Bank
thecountrychiccottage.net
Your folders
 388 views
Mason Jar Snow Globes
smartschoolhouse.com
Your folders
 729 views
Mason Jar Cherry Pies
alaskafromscratch.com
Your folders
 556 views
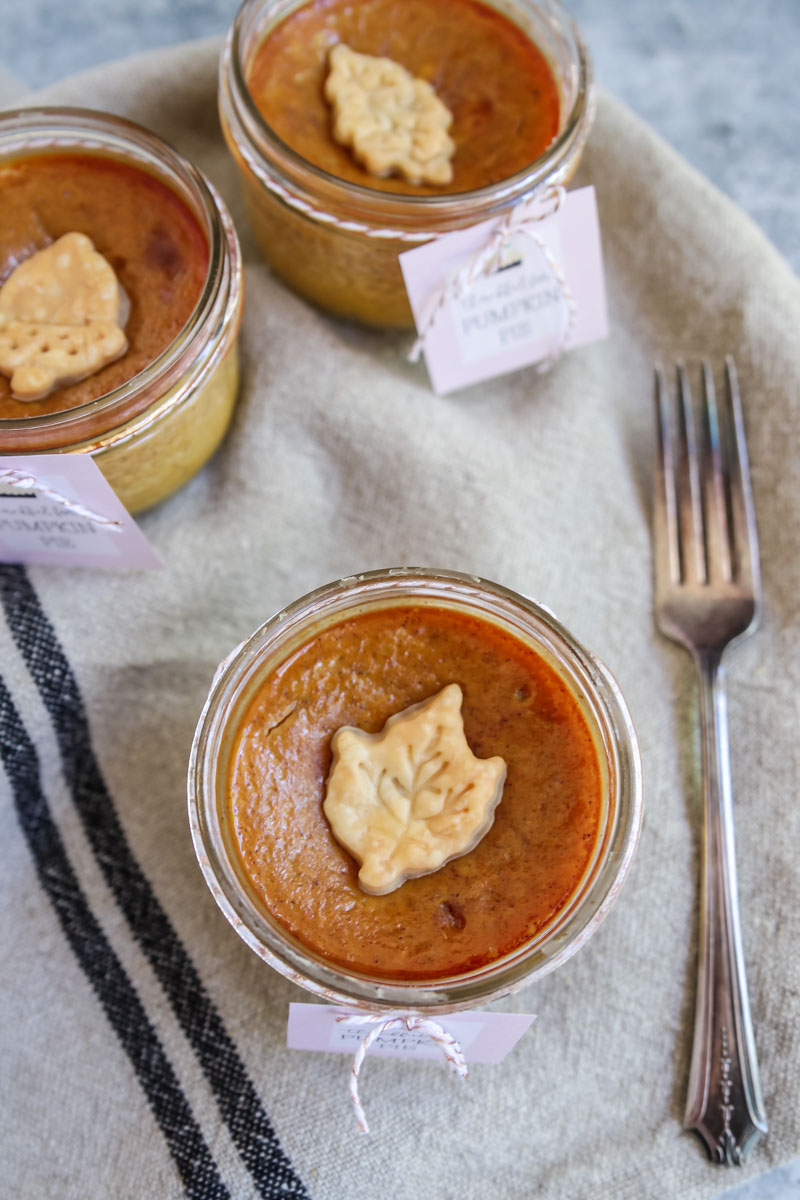
Mason Jar Pumpkin Pies
modern-glam.com
5.0
(4)
60 minutes
Your folders
 807 views
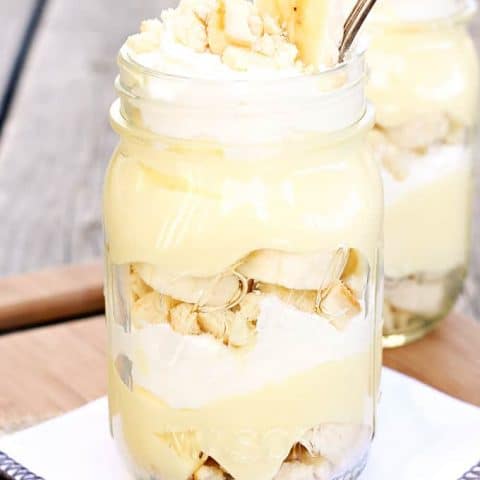
Mason Jar Banana Pudding
letsdishrecipes.com
4.5
(66)
Your folders
 230 views
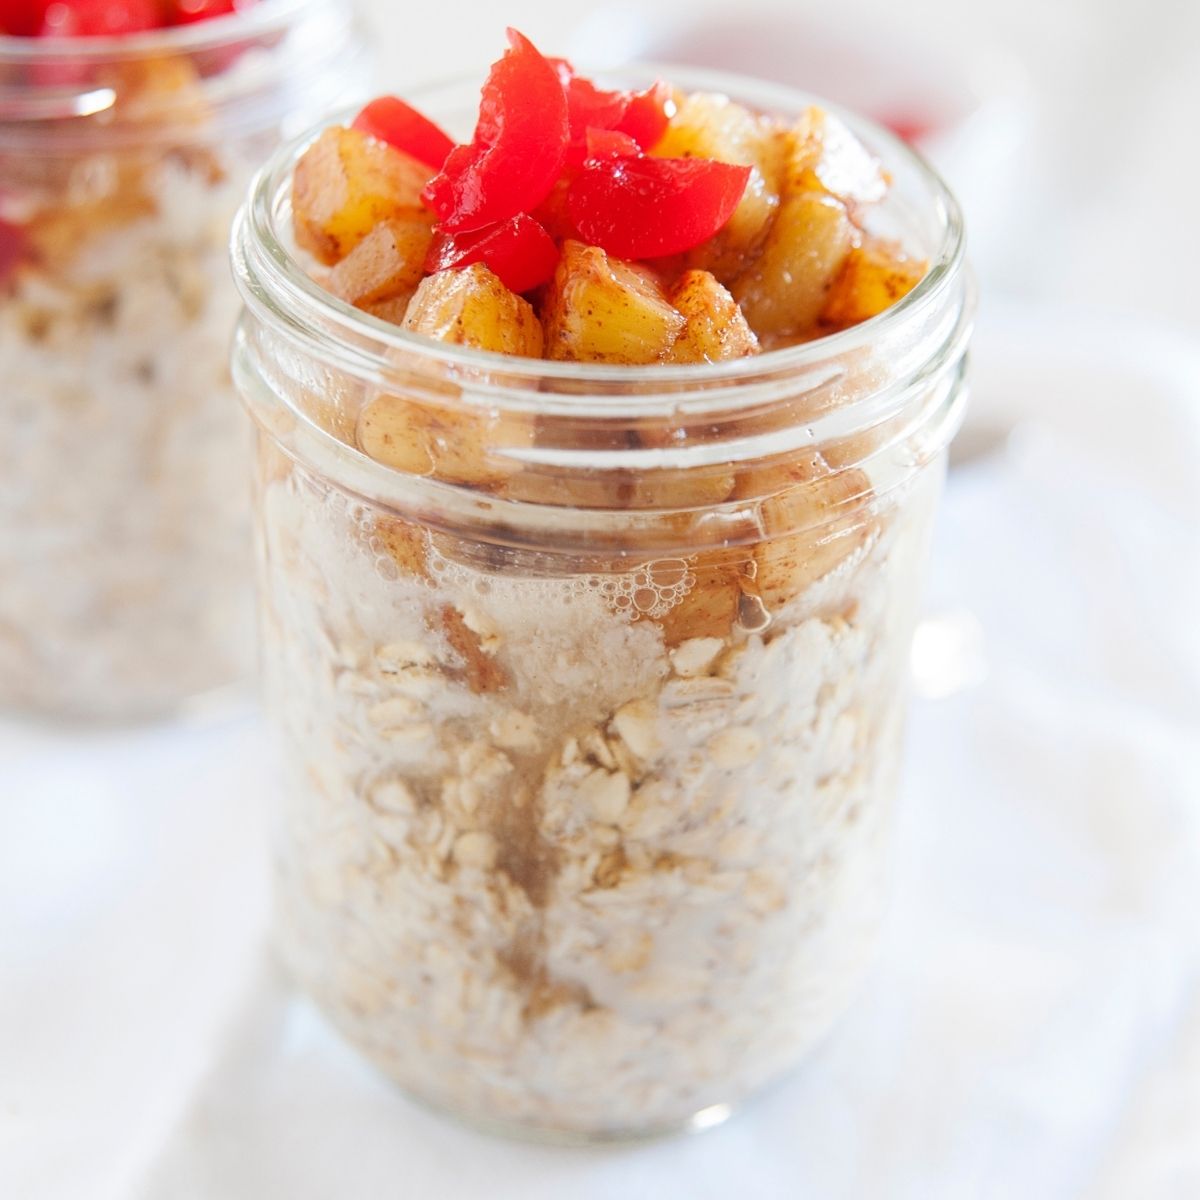
Mason Jar Overnight Oats
laurafuentes.com
5.0
(5)
Your folders
 227 views
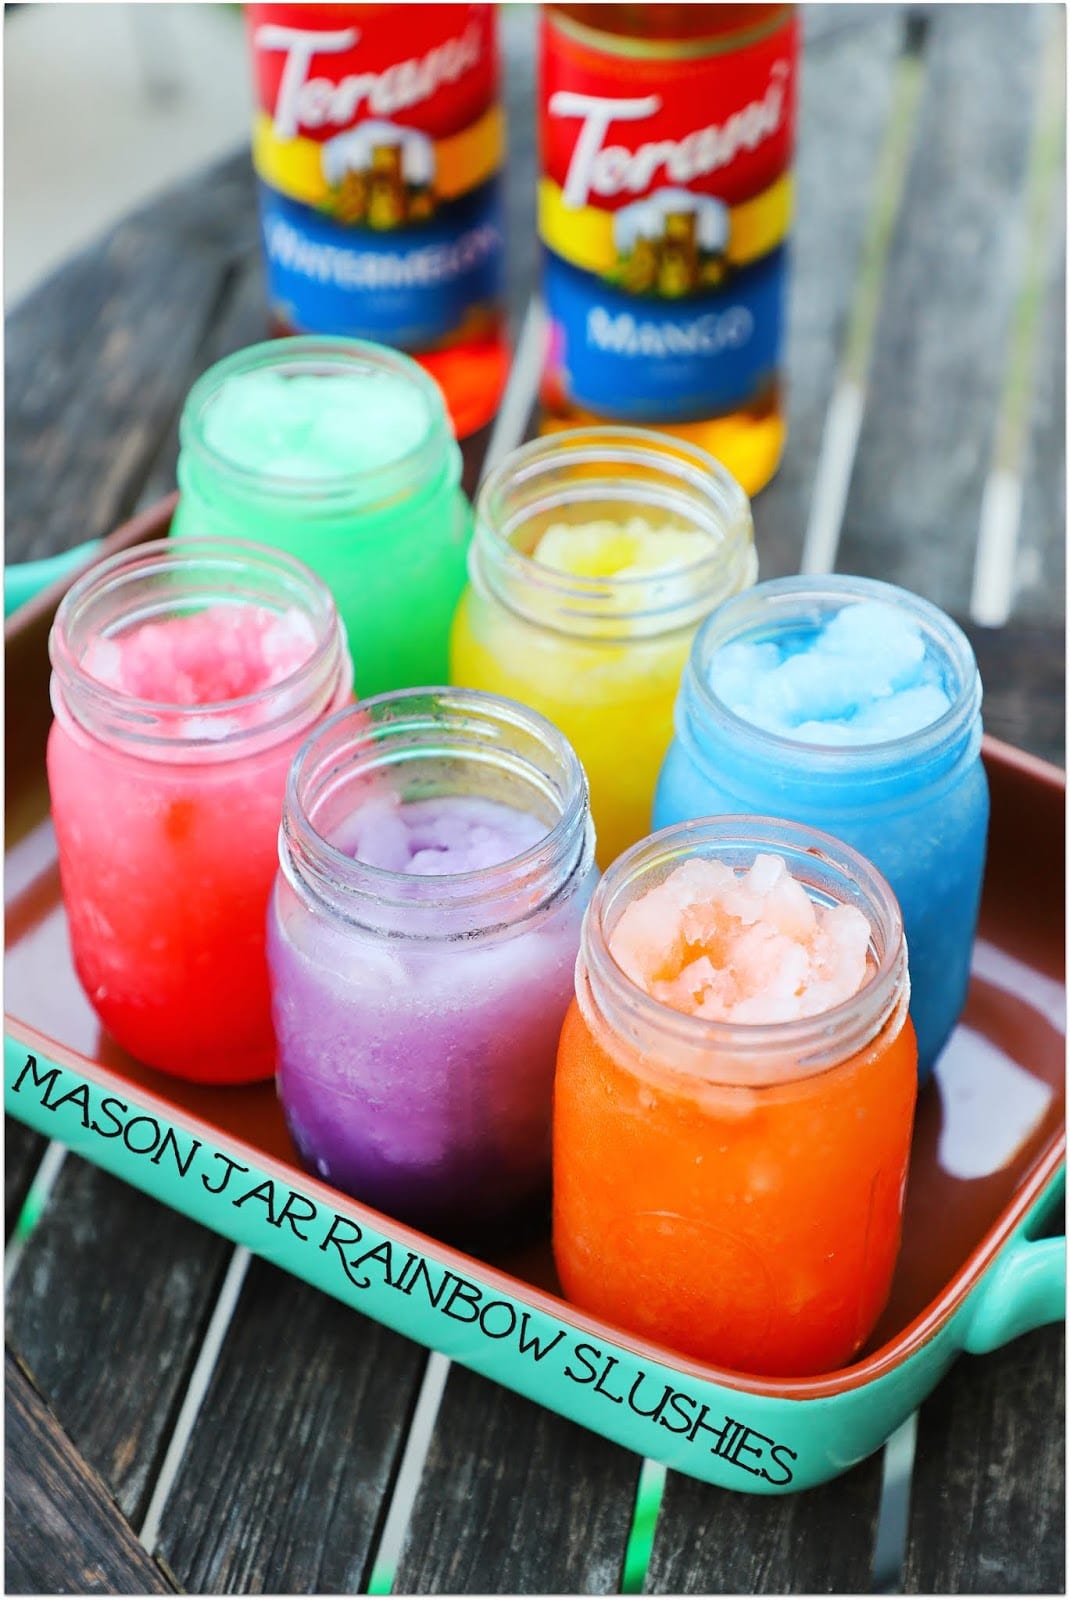
Mason Jar Rainbow Slushies
4theloveoffoodblog.com