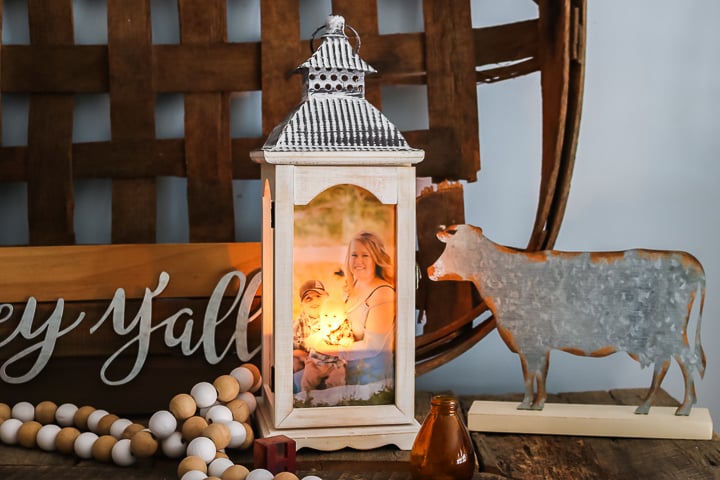
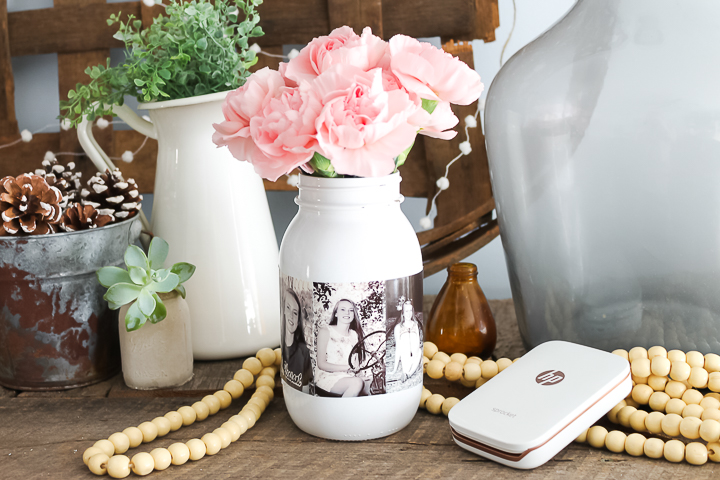
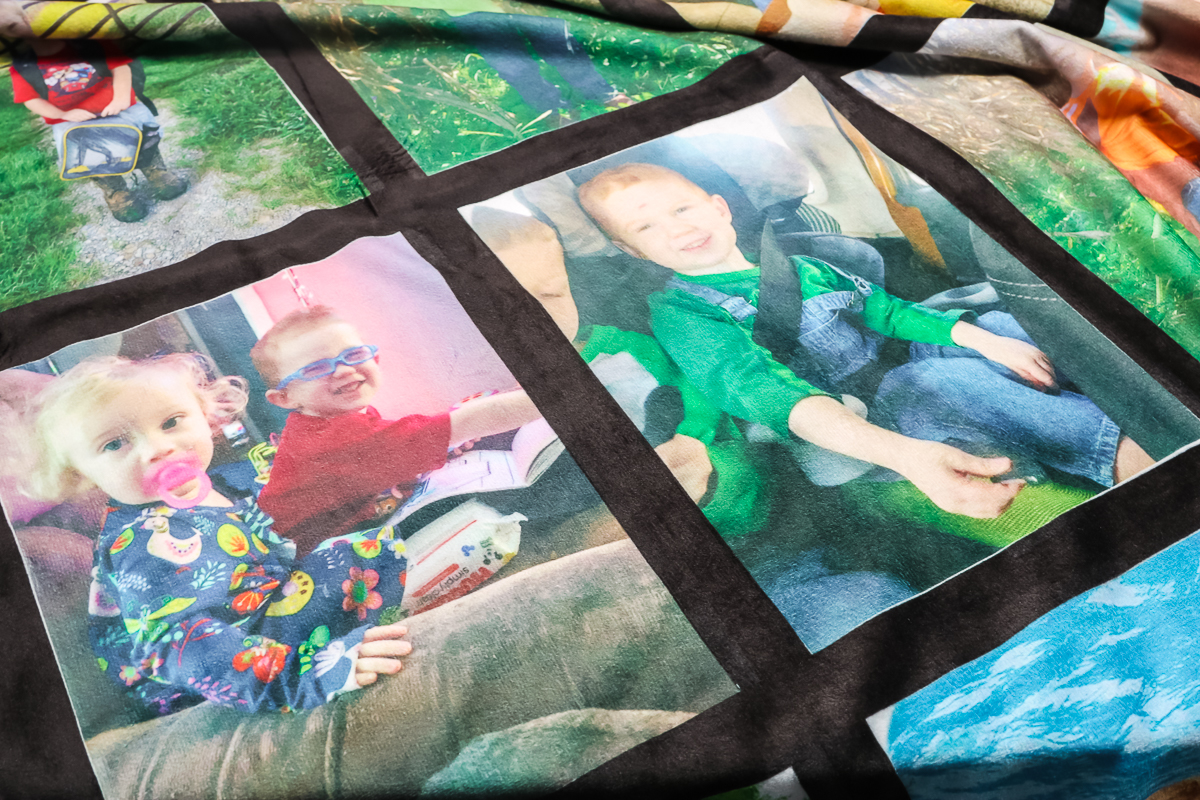
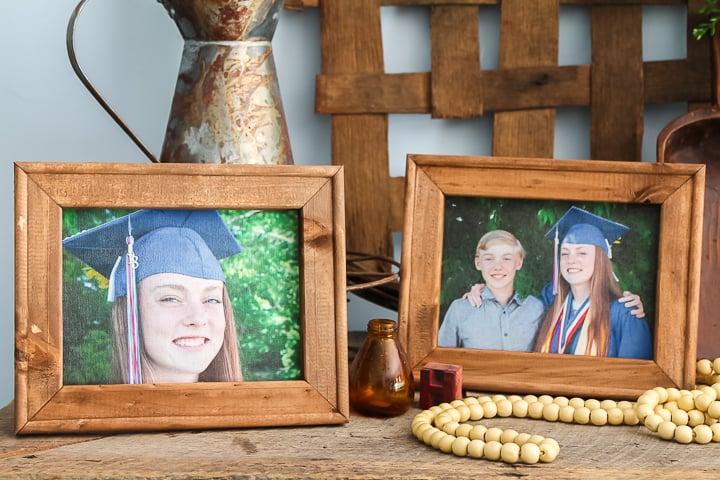
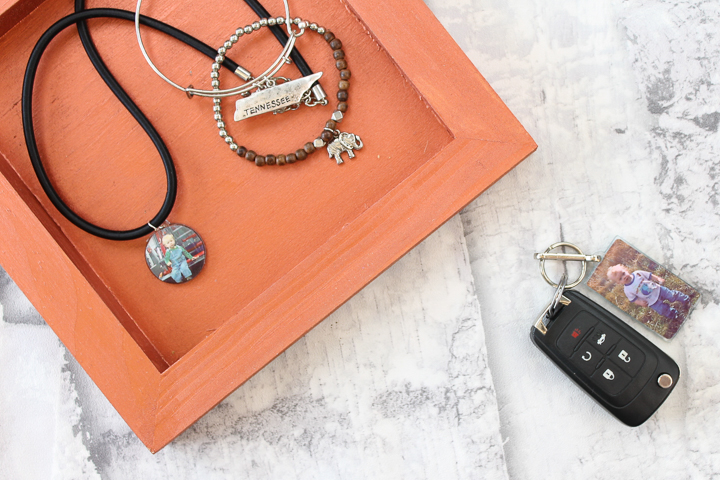
Photo Lantern Project IdeaDIY Grandma GiftsGuide to Making Photo GiftsMason Jar Centerpiece with PicturesHow to Make an Infusible Ink BlanketBubbling Lavender Bath Salts
Your folders
Your folders
Total: 15
Ingredients
Export 6 ingredients for grocery delivery
Instructions
Step 1
Measure the window where you would like to add your image. Choose the image you want and print it on your vellum using an inkjet printer. You will want to make sure to print where it will fit inside the window you measured. Allow the ink to dry completely on the vellum. It will be wet when you remove it from the printer.
Step 2
Cut the vellum to the size of the pane of your lantern. I was able to remove the pane from my lantern and trace it with a pen. If you can’t remove it, just measure and use a ruler to make the lines on your vellum.
Step 3
Cut around the lines you made with scissors so that your photo is the same size as the lantern pane.
Step 4
Once you cut with scissors, it is time to secure the vellum to the glass pane. Use a very thin bead of glue around the outer edge.
Step 5
Then add the vellum to the glass. Remove any excess glue. Allow to dry completely.
Step 6
Once dry, add the pane back to the lantern and place an LED candle inside if you wish.
Top similar recipes
Curated for youYour folders
 43 views
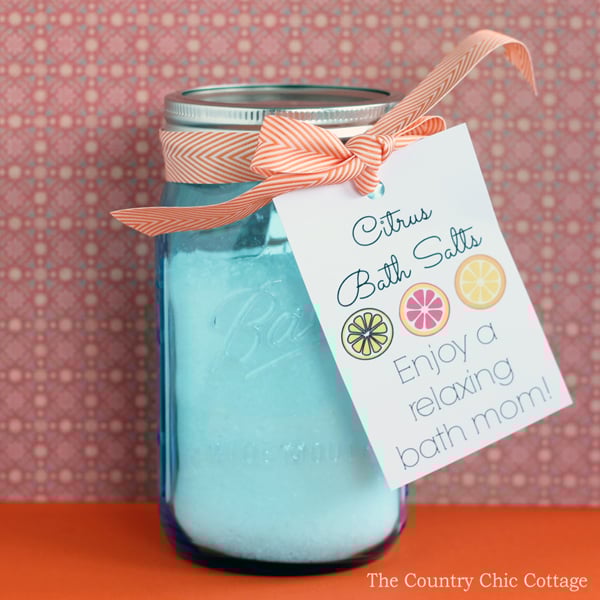
Mason Jar Centerpiece with Pictures...
thecountrychiccottage.net
Your folders
 119 views
How to Make Sublimation Photo Blank...
thecountrychiccottage.net
Your folders
 63 views
How to Make a Photo Puzzle
thecountrychiccottage.net
Your folders
 53 views
Epsom Salts Lavender Bath
dishingupbalance.com
Your folders
 194 views
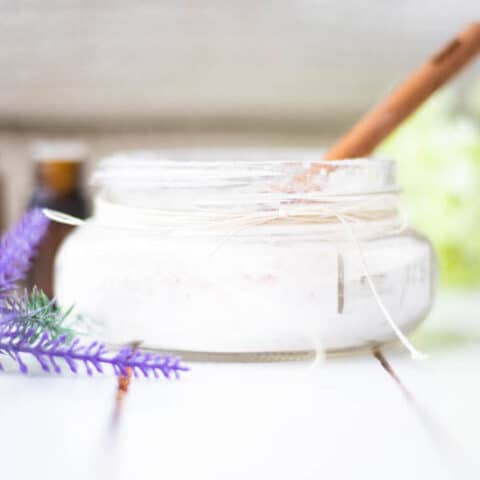
Bubbling Lavender Bath Salts
thecountrychiccottage.net
Your folders
 117 views
Make a DIY Photo CanvasFarmhouse St...
thecountrychiccottage.net
Your folders
51 viewstest photo
recipes.plantjammer.com
Your folders
 217 views
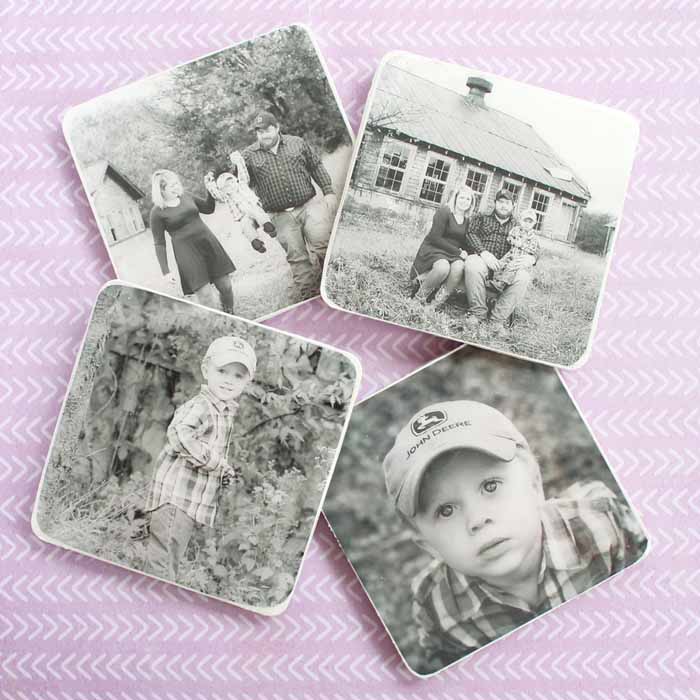
DIY Photo Coasters
thecountrychiccottage.net
Your folders
 218 views
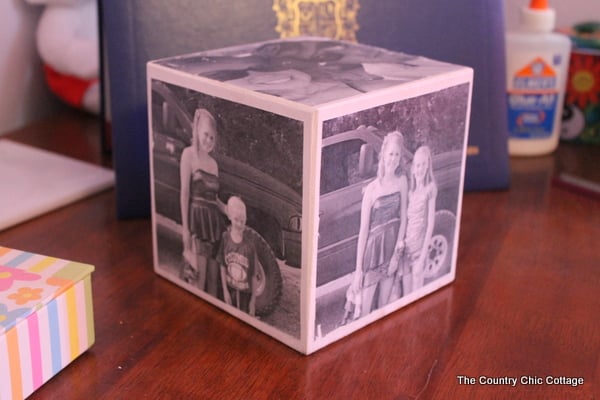
DIY Photo Cube
thecountrychiccottage.net
Your folders
 172 views
Fizzing Bath Salts
ouroilyhouse.com
4.5
(48)
Your folders
 339 views
DIY Bath Salts
thecountrychiccottage.net
Your folders
 261 views
How to Make an ApronHow to Make an ...
blog.treasurie.com
Your folders
 46 views
Rustic Party Banner PrintableDIY Ma...
thecountrychiccottage.net
Your folders
 189 views
Lavender Bath Bombs
craftsbyamanda.com
Your folders
 208 views
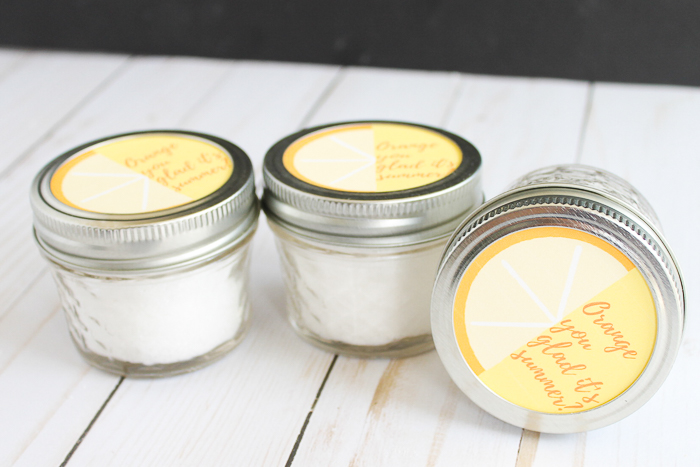
DIY Citrus Bath SaltsRainbow Bath B...
thecountrychiccottage.net
Your folders
 35 views
Guide to Making Photo GiftsDecoupag...
thecountrychiccottage.net
Your folders
 679 views
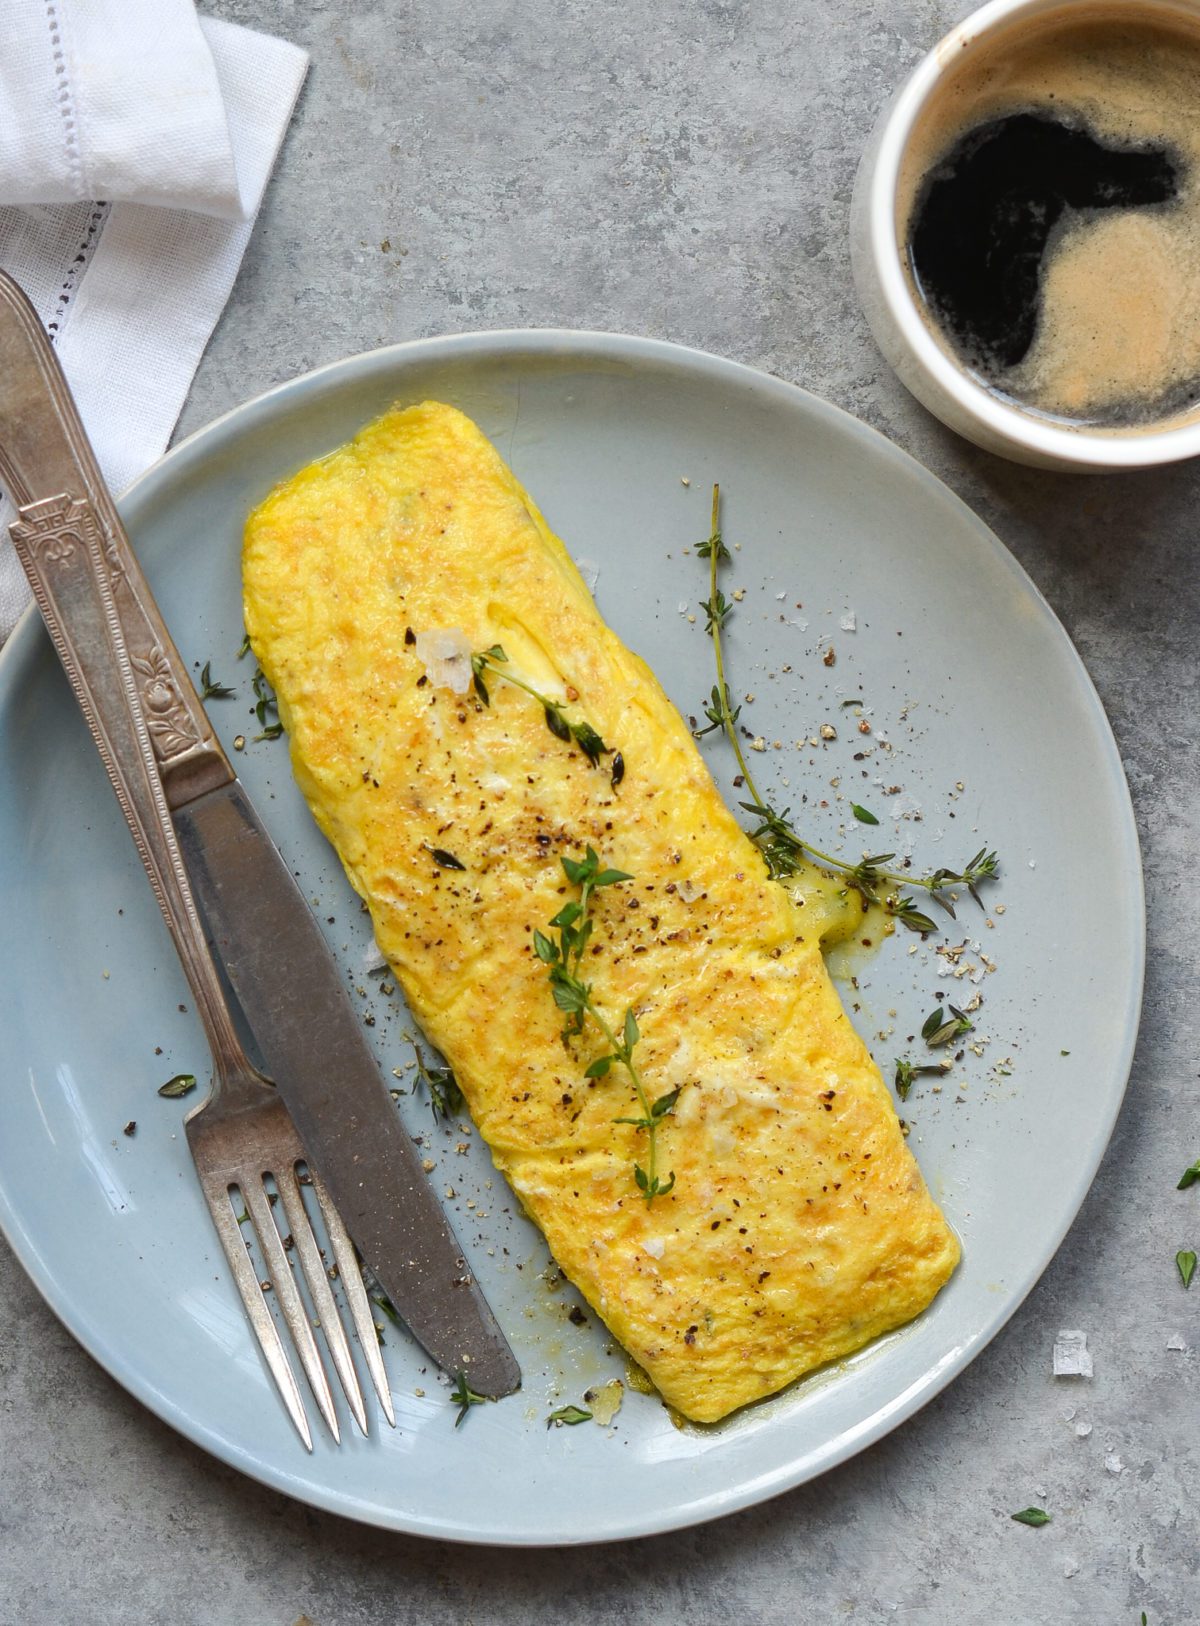
How to Make an Omelette
simplyrecipes.com
4.8
(17)
5 minutes
Your folders
 620 views
How to Make an Omelet
kristineskitchenblog.com
4 minutes
Your folders
 402 views
How To Make An Omelette
onceuponachef.com
5.0
(5)
5 minutes