Perfect Peppermint Patties
4.4
(38)
Your folders
Your folders
Prep Time: 20 minutes
Total: 20 minutes
Servings: 5
Author : Taste of Home
Ingredients
Export 6 ingredients for grocery delivery
Instructions
Step 1
In a large bowl, use a hand mixer or stand mixer to beat together the confectioners’ sugar, butter, peppermint extract and vanilla extract. Pour in the evaporated milk, and beat well.
Step 2
Roll the peppermint patty dough into 1-inch balls. Place the dough balls on a waxed paper or parchment-lined baking sheet.
Step 3
Using the bottom of a glass, flatten each dough ball to 1/4-inch thickness. Tightly cover the baking sheet with storage wrap, and freeze the dough for 30 minutes. Editor’s Tip: If your patties are sticking to the glass, rub the bottom of the glass with a tiny bit of butter.
Step 4
Gently melt the chocolate chips and shortening on high in the microwave. Chocolate can burn easily in the microwave, so cook in 15-second intervals, giving the mixture a good stir after each interval. Stir until the chocolate coating is completely smooth. Editor's Tip: If melting chocolate in the microwave is too finicky for you, try one of our other trusted methods to melt chocolate.
Step 5
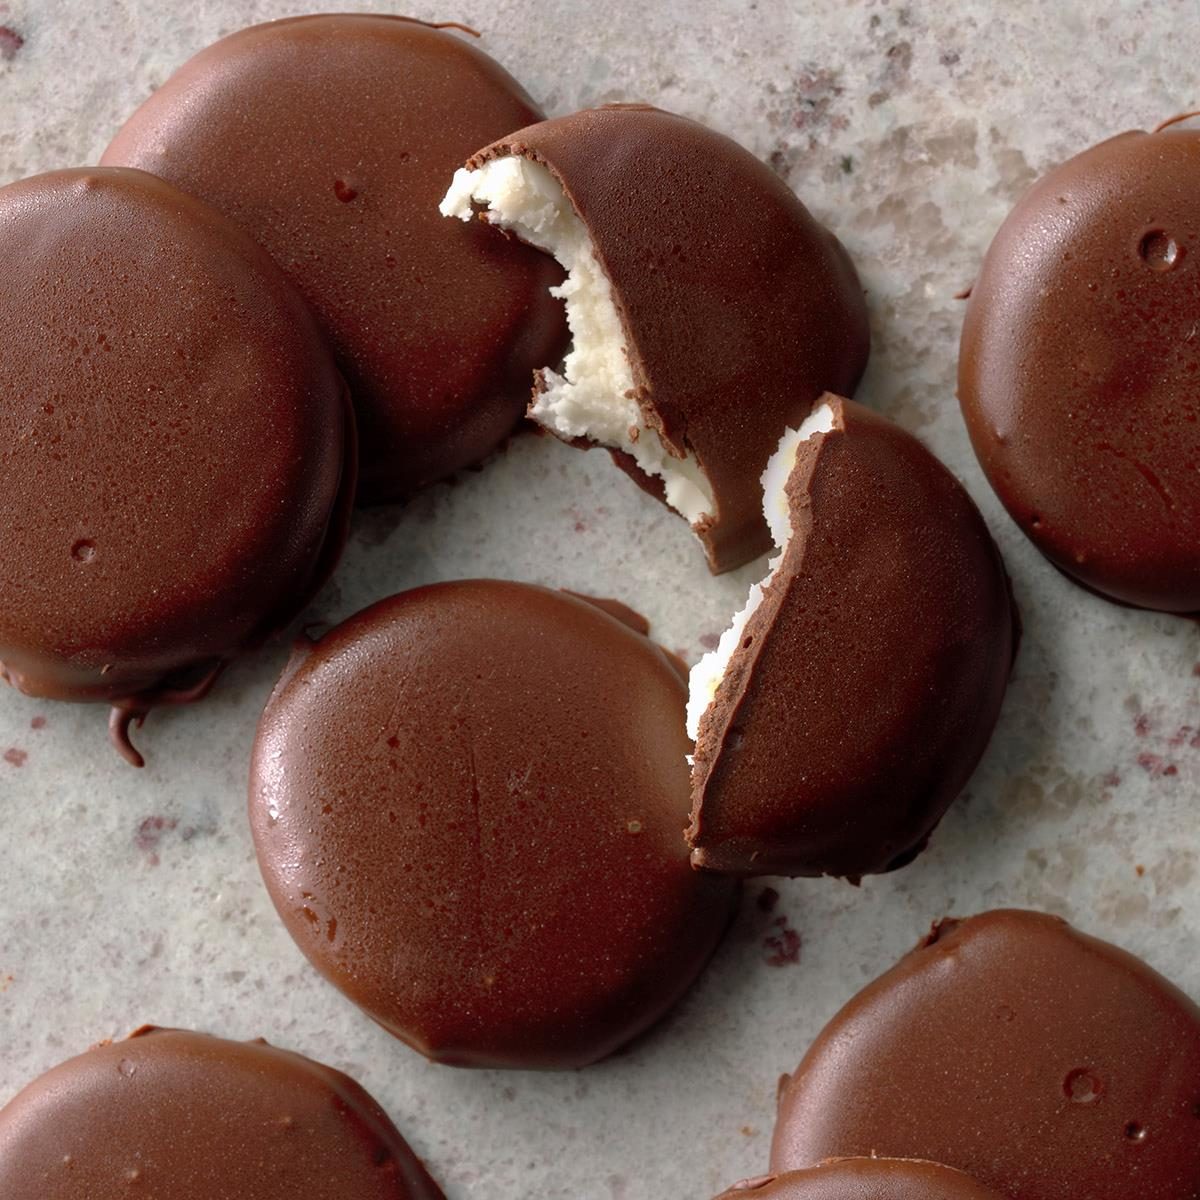
With a fork, dip the patties into the chocolate coating, letting the excess drip off. Arrange the peppermint patties on waxed paper, and let stand until the chocolate is set. We recommend using two forks: one to dip the patty into the chocolate, and the other to push the patty off the fork and onto the wax paper. An offset spatula also works well for this. Editor’s Tip: This is the perfect time to add sprinkles on top if desired. Sprinkle them on before the chocolate coating hardens—it happens quicker than you think!