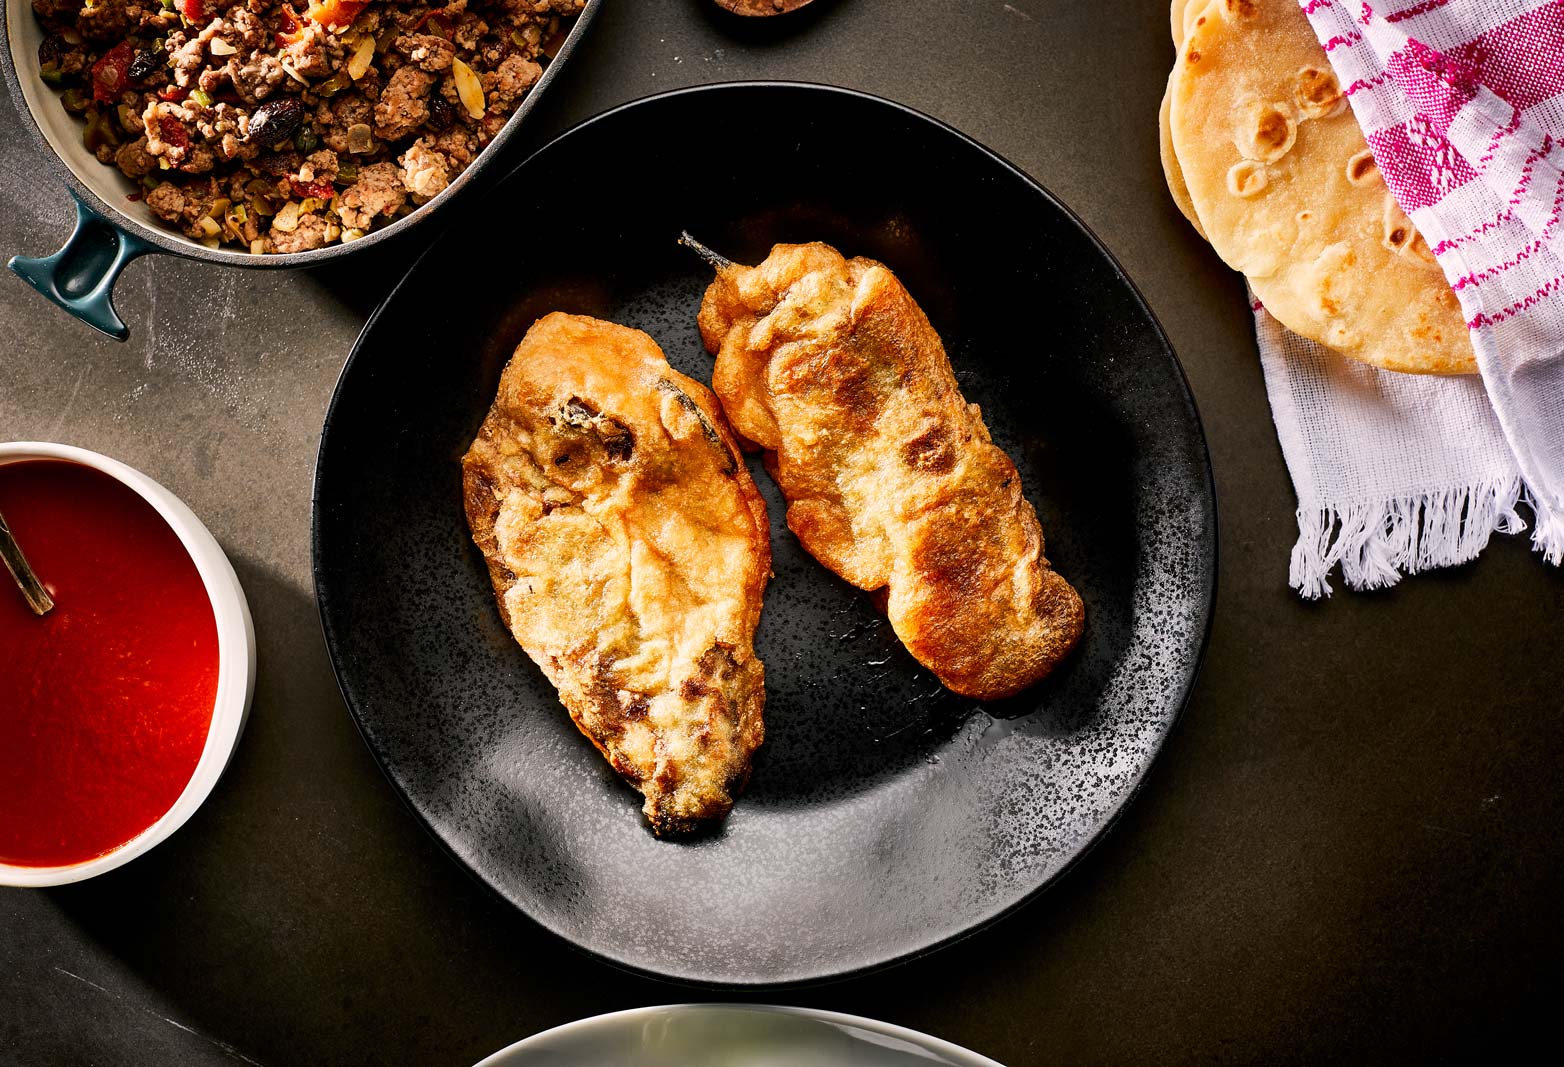
Picadillo Chile Relleno
4.2
(6)
Your folders
Your folders
Prep Time: 20 minutes
Cook Time: 5 minutes
Servings: 8
Author : Pati Jinich
Ingredients
Export 10 ingredients for grocery delivery
Instructions
Step 1
Roast or char the Anaheim chiles by either placing them on a tray under the broiler, directly on the grill, or directly over the open flame. I prefer to broil them because you can do more at one time, and it just seems faster and easier. Whatever method you choose, turn them every 2 to 3 minutes for a total of 6 to 9 minutes. They must seem charred and blistered on the outside, and the flesh must be cooked but not burnt.
Step 2
Once charred and hot, place the chiles in a plastic bag, close it tightly, and let them sweat for at least 10 minutes. Lastly, under a thin stream of cold water, or using a bowl of water, remove the charred skin, which should come right off. Make a slit down one side of the chile and remove the cluster of seeds and veins.
Step 3
Stuff each chile with about 1/3 cup picadillo or as much as will fit allowing them to close. You may seal with a toothpick.
Step 4
Place 1/2 cup all purpose flour on a plate, roll the stuffed chiles in the flour, and let them sit. The flour coating will help the batter coat and stay on the chiles later on.
Step 5
In a mixer, beat the egg whites until they can hold stiff peaks. Gently, over low speed, fold in the egg yolks and only beat enough to incorporate them, a few seconds.
Step 6
In a large casserole, heat about 1/2” depth of oil, over medium to medium-high heat. Once hot, test the oil by dipping in a piece of tortilla or bread — if there are active and happy bubbles all around it, the oil is ready. If and when oil is ready, dip each of the stuffed and floured chiles into the egg batter, making sure that they are entirely covered in batter. Gently place them in the hot oil, trying to keep the side that was open or sealed with the toothpick facing up. Spoon some of the hot oil on top, so that it will seal the chile. Make as many as will fit in the casserole without overcrowding them. Fry for about 2 minutes per side, until golden brown. Make sure you flip them gently with a slotted spoon. Once ready, place on a paper covered drying rack or platter.
Step 7
(Note: If you are going to eat later, you may warm up the chiles in a baking dish in a 300℉ oven for 10 minutes.)
Step 8
To make tacos, place the chiles rellenos in flour tortillas and top with shredded cabbage, colorado chile salsa, Mexican crema, and crumbled queso Cotija or queso fresco.