Puri For Pani Puri | Suji Ke Golgappe
4.9
(70)
Your folders
Your folders
Prep Time: 15 minutes
Cook Time: 30 minutes
Total: 75 minutes
Servings: 50
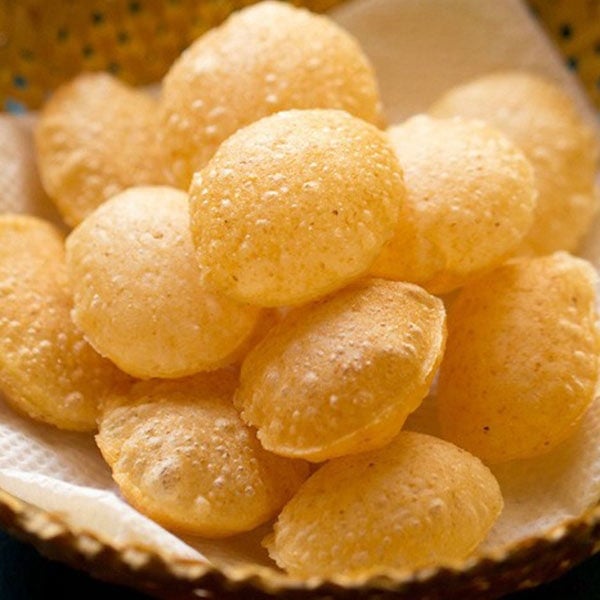
Ingredients
Export 5 ingredients for grocery delivery
Instructions
Step 1
In a mixing bowl, take the fine unroasted sooji or rava or semolina, 1 teaspoon oil, baking soda and salt. With your fingers, mix the oil evenly with the sooji.
Step 2
Now add all purpose flour to this mixture.
Step 3
Mix again very well so that the all purpose flour is mixed evenly.
Step 4
Add 3 tablespoons water first. Mix again. Then add 1 tablespoon water more and begin to knead the dough. Sooji absorbs water while kneading. Add water in parts while kneading.
Step 5
Then add 2 tablespoons more of the water and continue to knead. The kneading is very important in getting the perfect texture. The dough is not soft nor too hard.
Step 6
If you make the dough soft, then add 1 to 3 teaspoon more of the suji. If the dough looks hard, then add sprinkle some water and continue to knead.
Step 7
The suji puri dough should be elastic. Gluten strands need to be formed, which gives a structure and shape to the pooris. The correct texture of the dough, also help in puffing puris and helps in them staying crisp.
Step 8
Knead very well. Elasticity helps in rolling the dough without cracks and thinly. When rolling, the dough should roll easily without any cracks. You should be easily able to lift the rolled dough without it tearing or breaking and falling apart.
Step 9
Knead to a semi soft elastic dough and keep it in a bowl or pan.
Step 10
Cover the dough with a moist kitchen towel or napkin and allow the dough to rest for 30 minutes. You can also keep the dough for an hour.
Step 11
After 30 minutes, knead the dough again.
Step 12
Now divide the dough into two or three parts. Take one part on your work surface and begin to roll. Avoid adding any dry flour while kneading. Keep the remaining dough covered with the moist kitchen towel.
Step 13
Roll to a large round. There should be no cracks in the rolled dough. You can flip the entire rolled dough without it breaking or tearing apart.
Step 14
Keep on rolling to a thin and even round. The puri have to be thinly rolled. If not thin, the base becomes thick and remains soft even after frying. If the dough is not rolled evenly, then the puri won't puff up.
Step 15
With a cookie cutter or a small bowl, cut small to medium discs from the rolled dough. Using a cookie cutter gives even shape and size to the pooris. You can also make small balls and roll them. But then the puri won't have an even and uniform shape.
Step 16
Remove the dough edges and place the small roundels in a plate without them touching each other. Keep these puris covered with a moist kitchen towel.
Step 17
Collect the egdes and knead them lightly. Roll the edges too and make puris the same way.
Step 18
In this way make all the puris and keep them covered in a moist kitchen towel. You can also roll them and fry simultaneously like I have done.
Step 19
Heat oil for deep frying in a kadai or pan. The oil should be medium hot. Add a tiny piece of the dough ball in the hot oil. If the ball steadily comes up to the surface, the oil is hot and the pooris can be fried now.
Step 20
Slid a few pooris in the oil. They will puff up quickly as soon as you add them to the hot oil. You can fry up to 4 to 8 pieces at a time, depending on the size of your pan.
Step 21
With a slotted spoon flip them, once they puff up. Even after oil stops sizzling, continue to fry till light golden. Frying this way, gives a crisp texture to the pooris from outside as well as inside. Otherwise, they remain soft from inside and crisp from outside.
Step 22
Fry them till they are a light golden or golden.
Step 23
Drain fried puri on kitchen paper towels. There will be a few flat puris too. These you can use to make sev puri or papdi chaat. Continue to fry all the pooris this way.
Step 24
Drain them on paper towels.
Step 25
Once they get cooled at room temperature, immediately add puris to a jar or box and close the lid tightly.
Step 26
Make pani puri, dahi puri or ragda puri or puchka from these homemade pooris or golgappas. You will get 50 to 60 pooris from this recipe. They stay crisp and good for a month if stored in an airtight box.
Top similar recipes
Curated for youYour folders

 426 views
Pani Puri
vegrecipesofindia.com
4.9
(74)
15 minutes
Your folders

 143 views
Pani puri
sbs.com.au
20 minutes
Your folders
 722 views
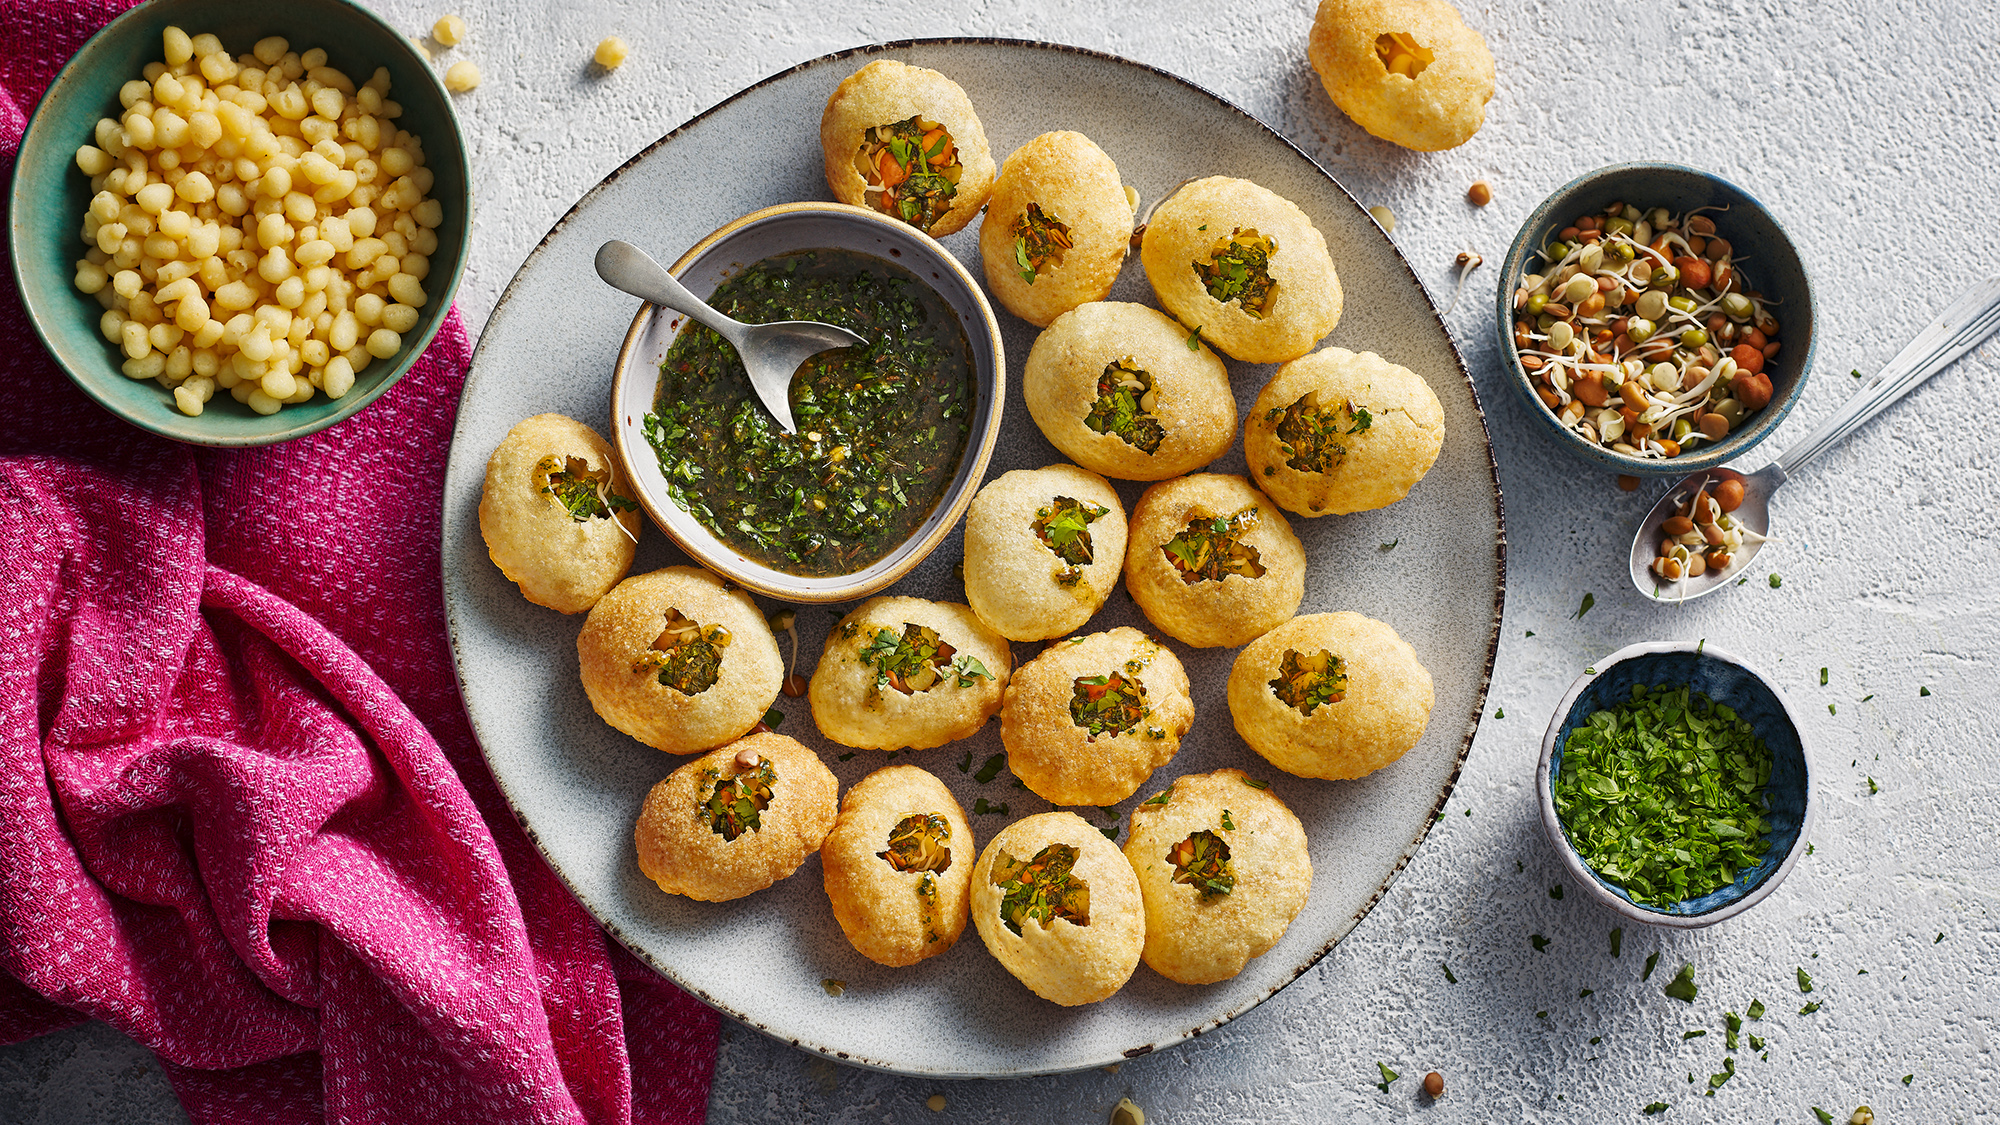
Pani puri
bbc.co.uk
Your folders

 257 views
Pani Puri
lezzet.com.tr
4.0
(299)
Your folders
 383 views
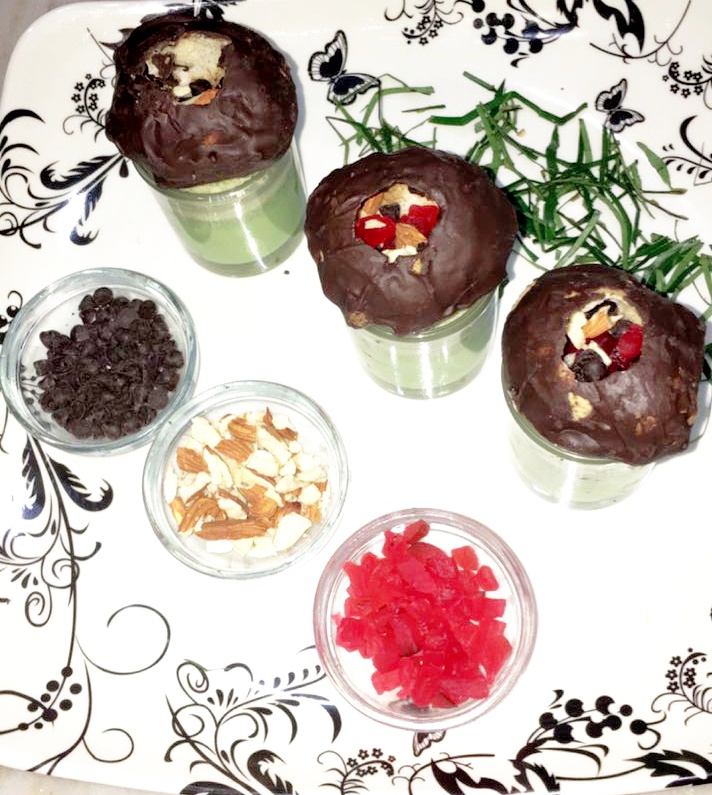
Chocolate Pani-Puri
yourvegrecipe.com
4.2
(5)
Your folders

 298 views
Pani Puri With Chana Masala
sortedfood.com
Your folders
 259 views
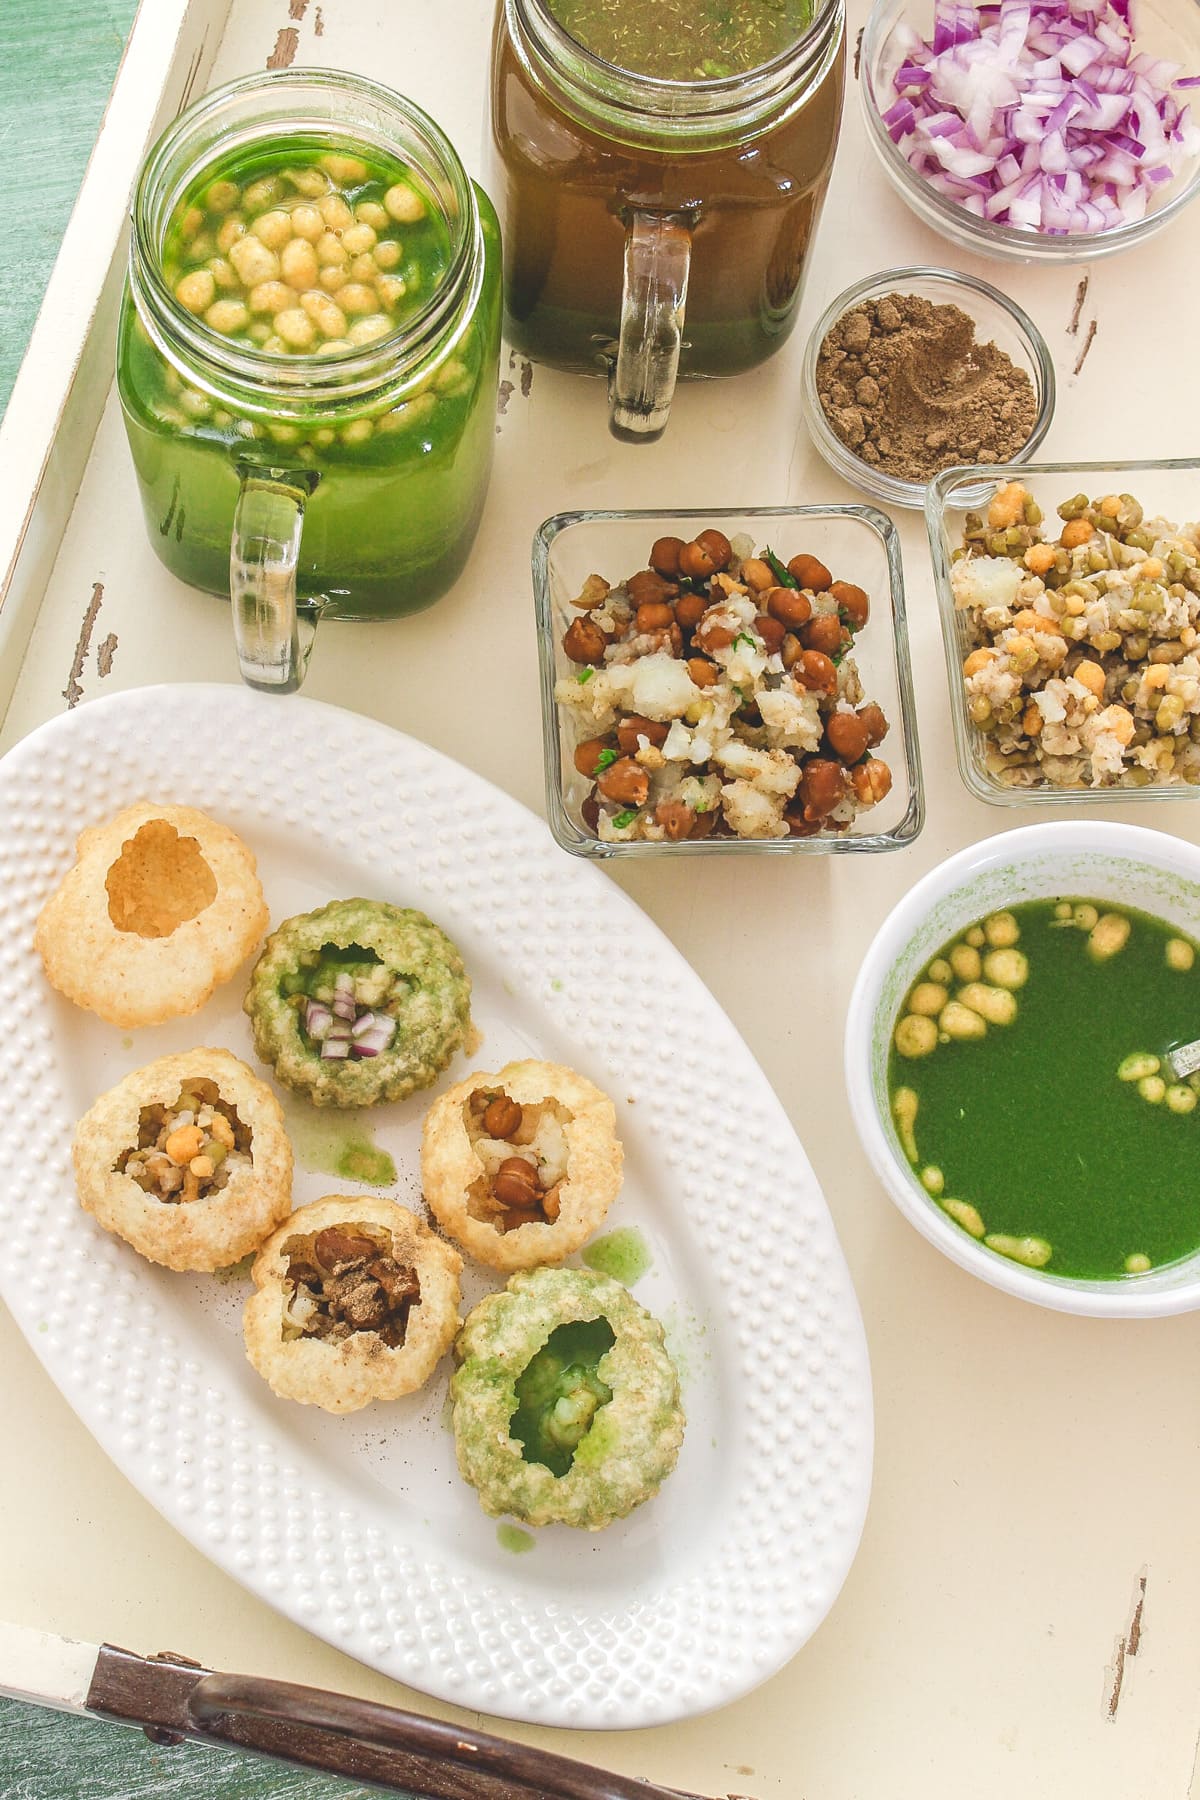
Pani Puri Recipe (Water & Stuffing)
spiceupthecurry.com
4.8
(12)
15 minutes
Your folders

 220 views
pani puri shots (a.k.a. golgappa sh...
gluttodigest.com
5.0
(1)
Your folders

 205 views
Dahi Ragda Puri | Dahi Puri
hetalkamdar-com.translate.goog
5.0
(1)
Your folders
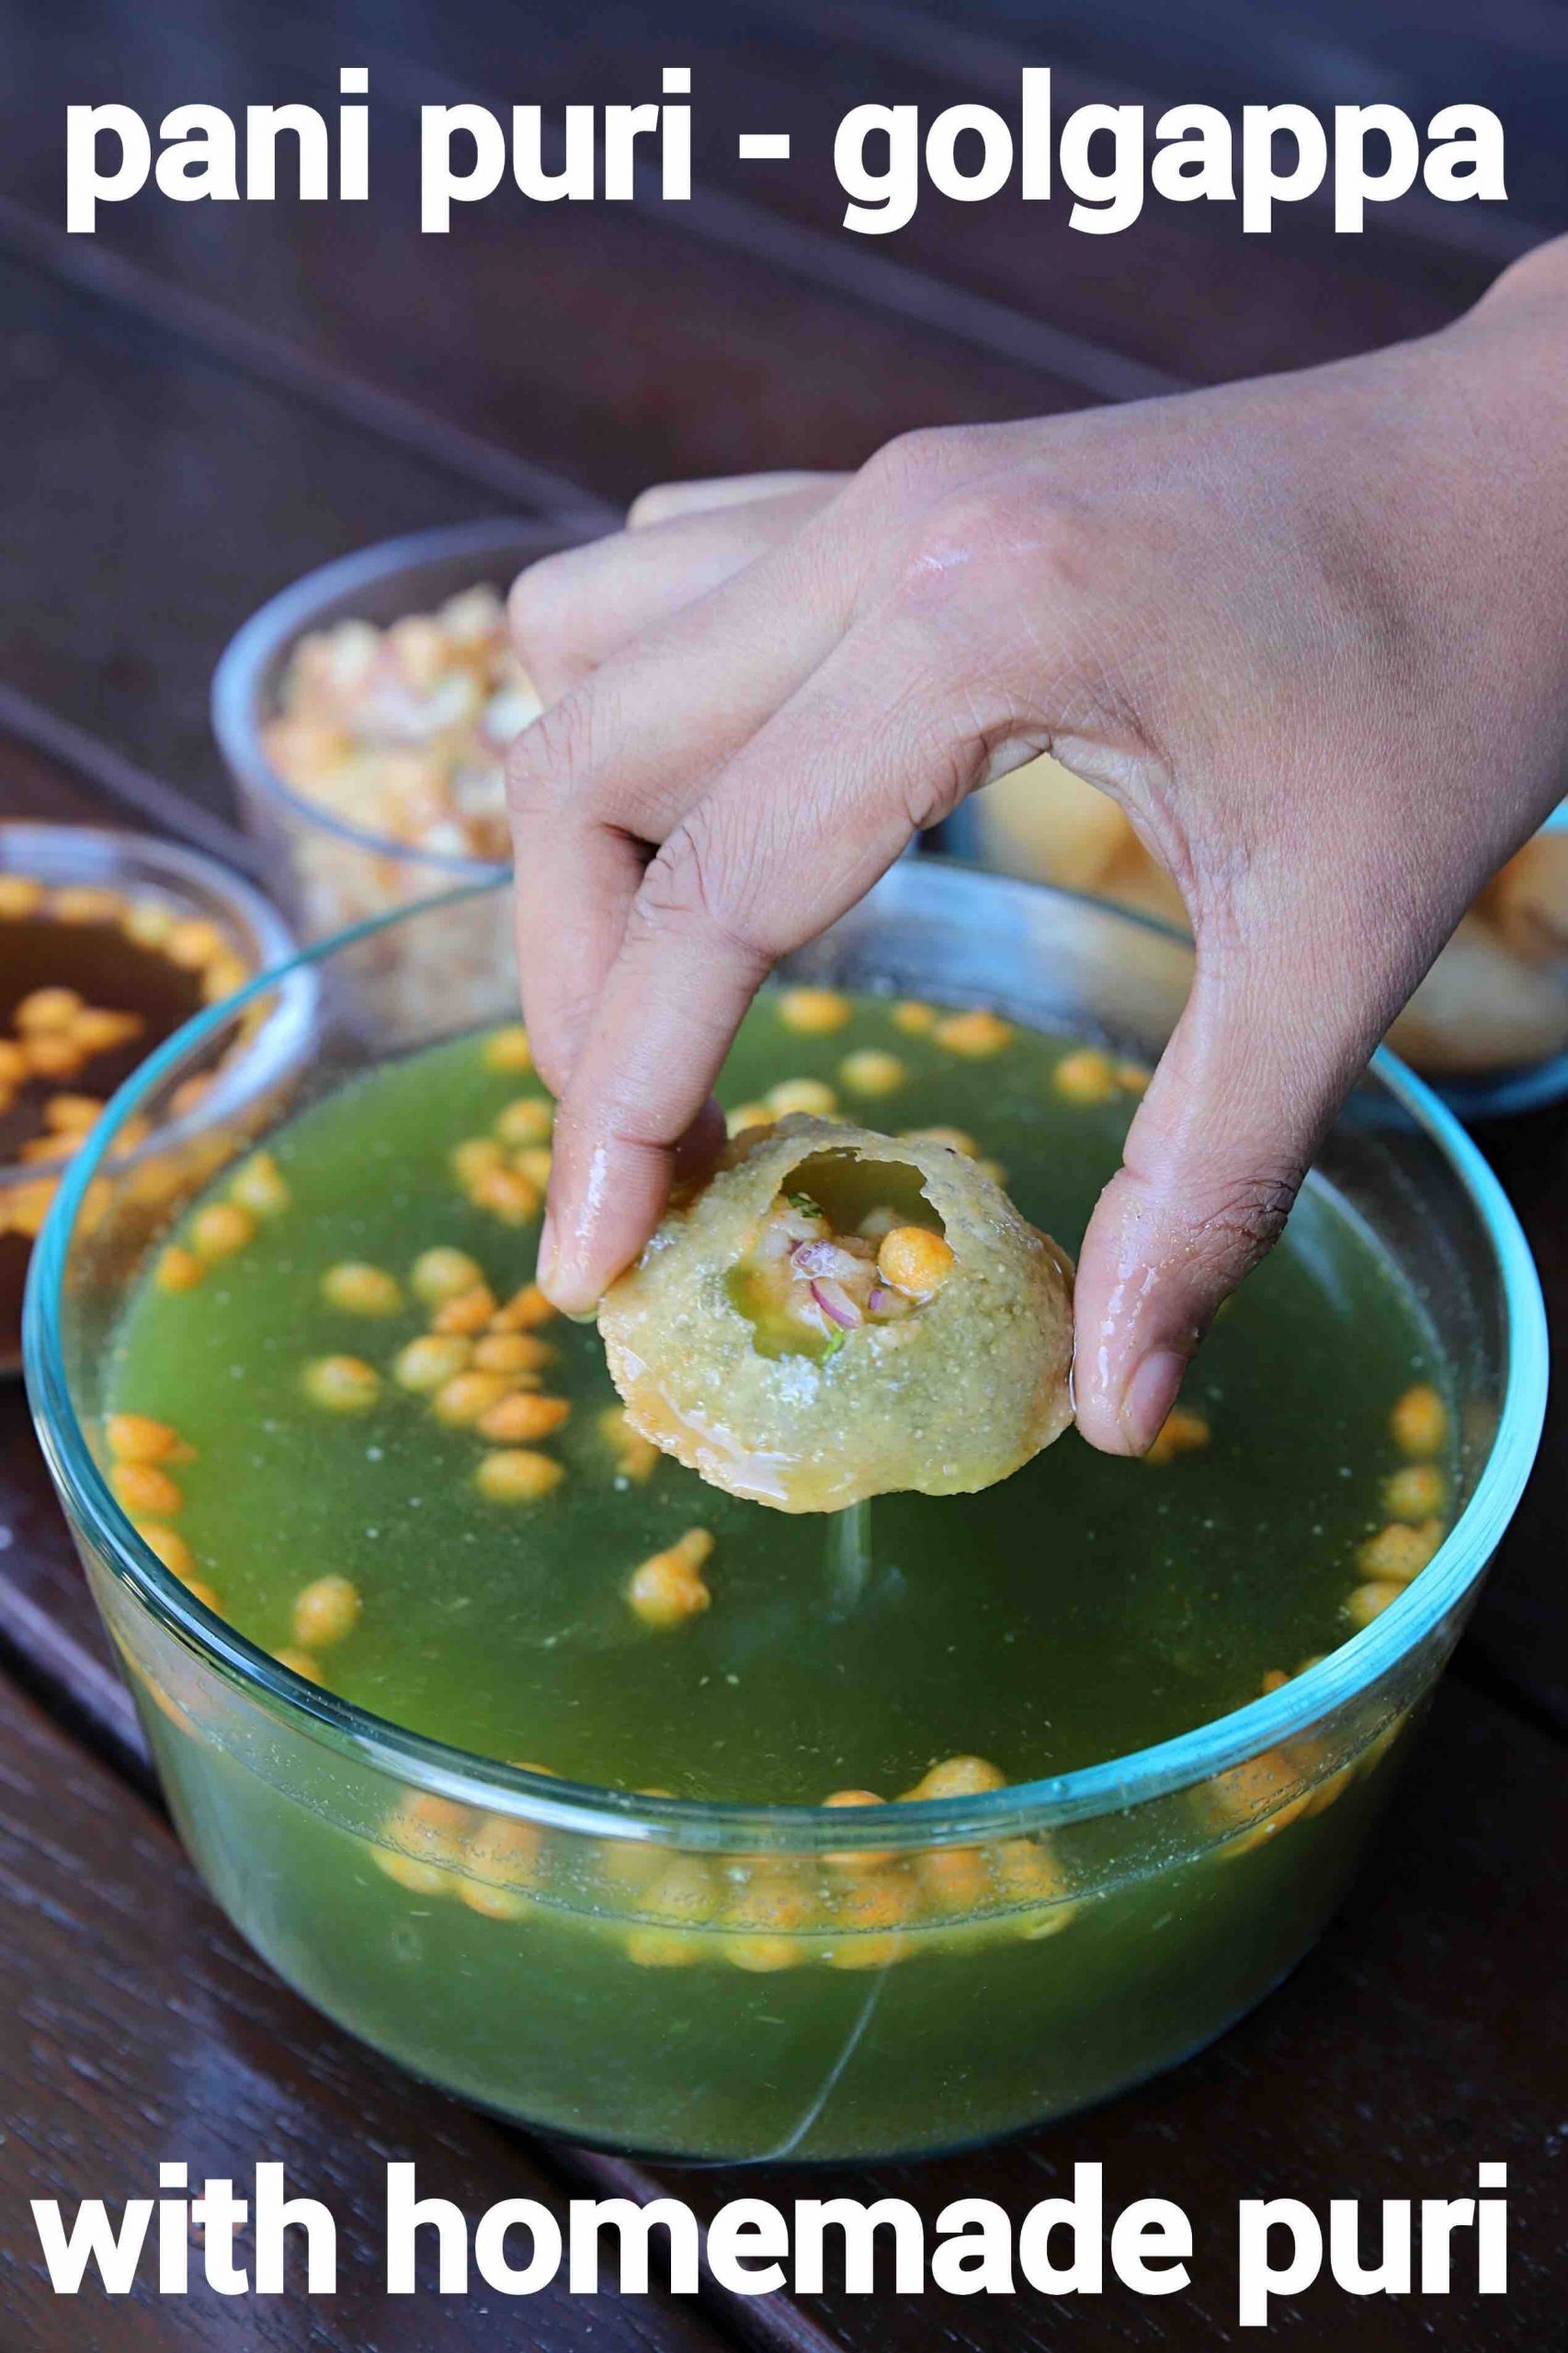
 579 views
pani puri recipe | golgappa | puchk...
hebbarskitchen.com
4.8
(98)
30 minutes
Your folders
 478 views
Aloo Puri
vegrecipesofindia.com
5.0
(17)
50 minutes
Your folders

 554 views
Dahi Puri
bonappetit.com
4.0
(3)
Your folders
 176 views
Halwa Puri
masalaandchai.com
5.0
(3)
60 minutes
Your folders
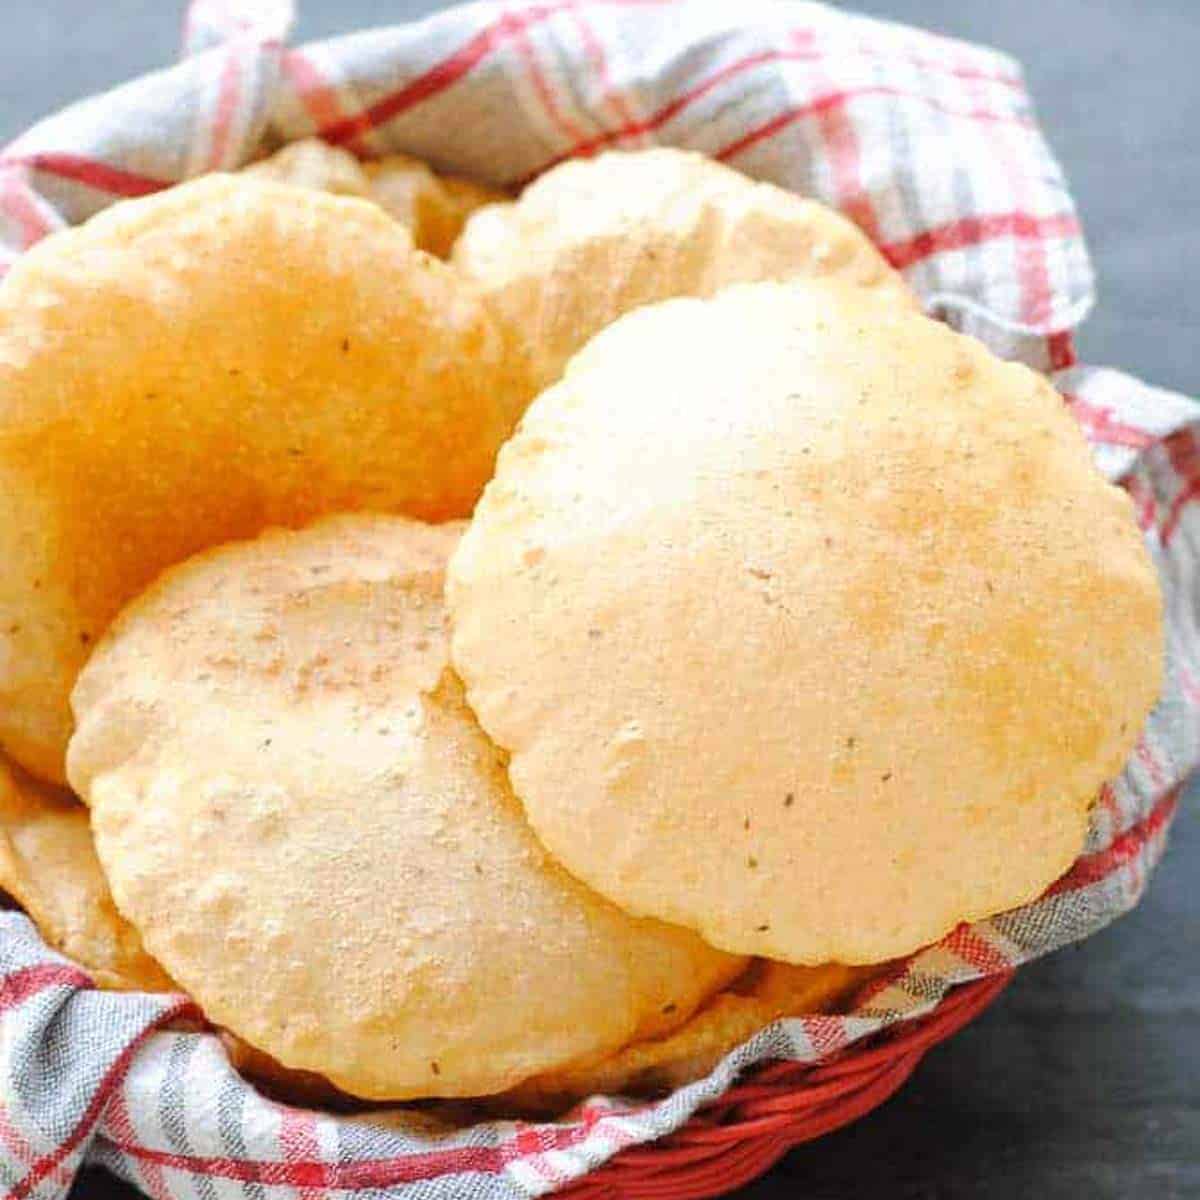
 284 views
Puri Recipe
indianambrosia.com
5.0
(13)
15 minutes
Your folders

 69 views
Sev Puri
vegrecipesofindia.com
5.0
(17)
15 minutes
Your folders

 63 views
Sev Puri
shwetainthekitchen.com
5.0
(1)
Your folders
 1151 views
aloo sabzi for puri | recipe of pur...
hebbarskitchen.com
5.0
(2)
20 minutes
Your folders
 66 views
Sev Puri Recipe (Sev Batata Puri)
indianhealthyrecipes.com
5.0
(38)
5 minutes
Your folders
 893 views
Pani Puri Recipe (with Step by Step...
foodviva.com
4.9
15