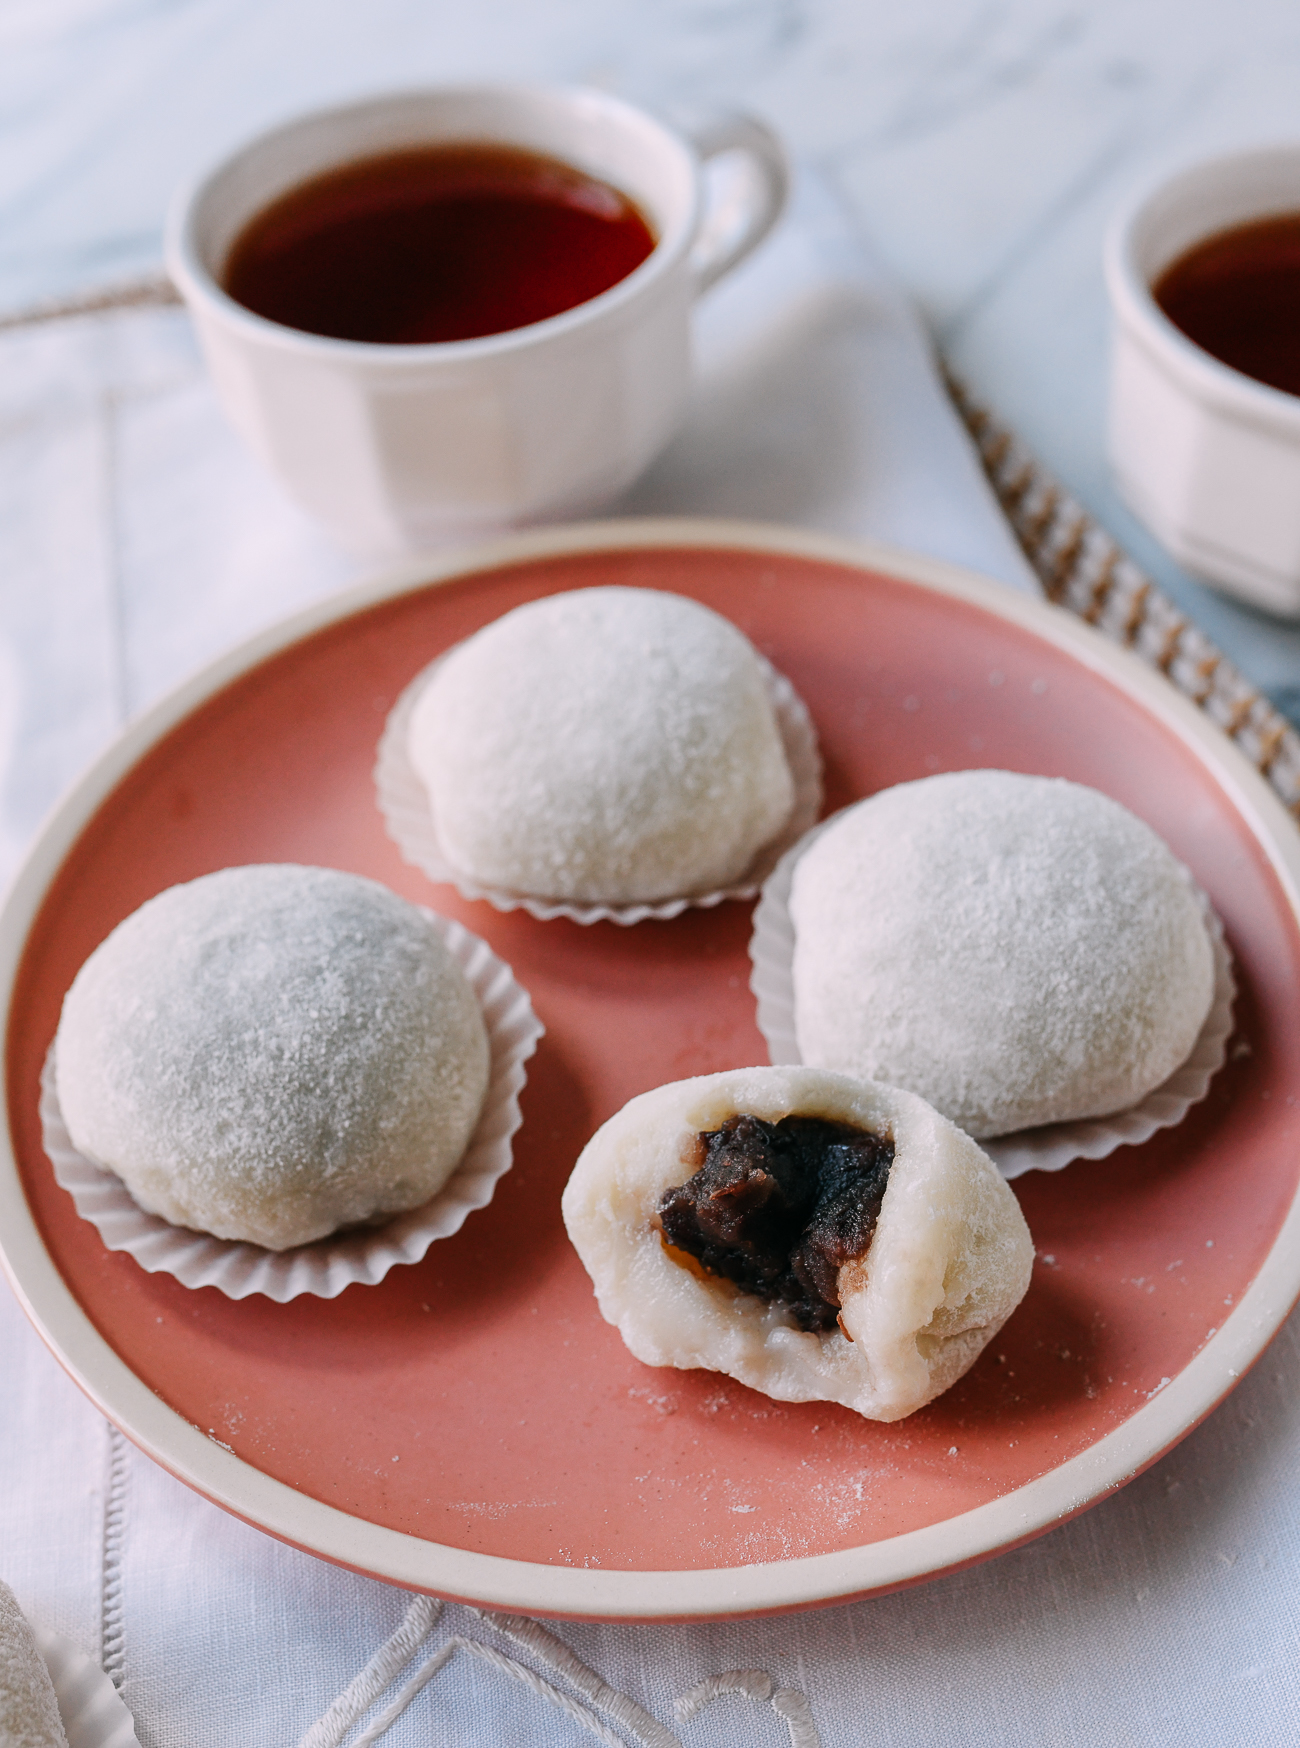
Red Bean Mochi
5.0
(2)
Your folders
Your folders
Prep Time: 60 minutes
Cook Time: 30 minutes
Total: 90 minutes
Servings: 9
Author : Judy
Ingredients
Export 7 ingredients for grocery delivery
Instructions
Step 1
In a clean, dry saucepan, add ¼ cup sweet rice flour. Cook for 10 minutes over medium-high heat, until the flour starts to lightly smoke. Stir often to prevent burning. Remove from the heat and let cool completely while you prepare the rest of the mochi components.
Step 2
Generously brush an 11x11” square cake pan (non-stick is ideal) with a thin coating of vegetable oil. Set aside.
Step 3
Prepare your steamer with water and bring to a boil.
Step 4
While the water is heating, mix together the sweet rice flour, cornstarch, caster sugar, coconut milk, and melted coconut oil in a large bowl until smooth, with no lumps.
Step 5
Transfer the mixture to the prepared cake pan, and gently tap the pan on the counter to distribute the dough evenly. Once the water in the steamer is boiling, steam the dough for 15 minutes over high heat. Remove from the heat and leave on the counter to cool completely.
Step 6
Chill the red bean paste in the refrigerator (covered) for at least 30 minutes. Cold red bean paste is easier to handle--both when rolling the filling into balls and when assembling the mochi.
Step 7
With lightly oiled hands, roll the paste into balls (35g each for larger mochi, or 20-25g if you are making 16 smaller mochi with this recipe). Set aside on a plate.
Step 8
Once the dough cools, transfer it onto a large piece of wax paper (or a clean, lightly greased countertop brushed with vegetable oil). Use an oiled bench scraper to gradually lift the sticky mochi off the pan.
Step 9
Cut the dough into 9 or 16 equal squares (depending on whether you want larger or smaller mochi).
Step 10
Very lightly oil your fingers, take a piece of dough, and place the red bean paste filling in the center. Close the dough around the filling, pinching it closed. Too much oil at this stage will prevent the dough from closing, so oil your fingers just enough to prevent the dough from sticking to your hands when handling.
Step 11
Roll the mochi in the cooked sweet rice flour to coat. Toss it lightly between your palms to shake off any excess flour.
Step 12
Place each mochi seam side down in a paper cupcake cup. Repeat until all the mochi are assembled.