Rye Flour Sourdough Starter
5.0
(2)
Your folders
Your folders
Prep Time: 5 minutes
Total: 5 minutes
Author : hopewellheights

Ingredients
Export 1 ingredients for grocery delivery
Instructions
Step 1
Use warm water if possible, but make sure it's no warmer than 110F. The whole process of making a rye starter for the first time takes 8-12 days.
Step 3
Day 1First step: In a glass or stoneware jar or bowl, combine 1/4 Cup water with 1/3 Cup rye flour (43 g rye flour). Stir with a wooden spoon until the flour is totally mixed into the water. The mixture will be a bit thick but should be easy to stir.
Step 5
If the starter seems too thick or clumpy, slowly add 1 T of water at a time until you reach the right consistency. If too thin, add 5 g flour at a time.
Step 7
Cover with a loose-fitting lid, tea towel, or doubled cheesecloth. If air can’t get in, fermentation activity won’t happen. I love this big weck jar for keeping my starter because I can just set the glass lid on top without the sealing ring and it works perfectly.
Step 9
Now that you’ve stirred water + flour together in your container and covered it, you’re finished for day
Step 11
Set the starter on your kitchen counter at room temperature until day
Step 13
Day 2Uncover the starter and remove half of the contents, discard what you remove. You can toss the discard, add it to your scrap bucket for chickens/pigs/etc., or use it in sourdough discard recipes like these sourdough discard pancakes. This discarding step is the only step that’s different than day
Step 14
It is not necessary to use a clean jar every day when you discard and feed the starter, continue using the same jar or bowl.
Step 16
Discarding half of the mixture is only necessary when you are establishing a new starter. Once the starter is mature, you will not need to discard half. You can just continue feeding it every day, but keep in mind that if you feed it daily without using any, you'll end up with a ton of starter and need a very large container.
Step 18
Next, add 1/3 cup of flour and 1/4 cup water to the remaining contents of the starter & stir until well combined.The flour-to-water ratio may be different than mine if you use a different flour, and that's okay.
Step 20
Cover and store the starter on the counter just like on day
Step 22
Days 3-7Repeat the steps from day
Step 24
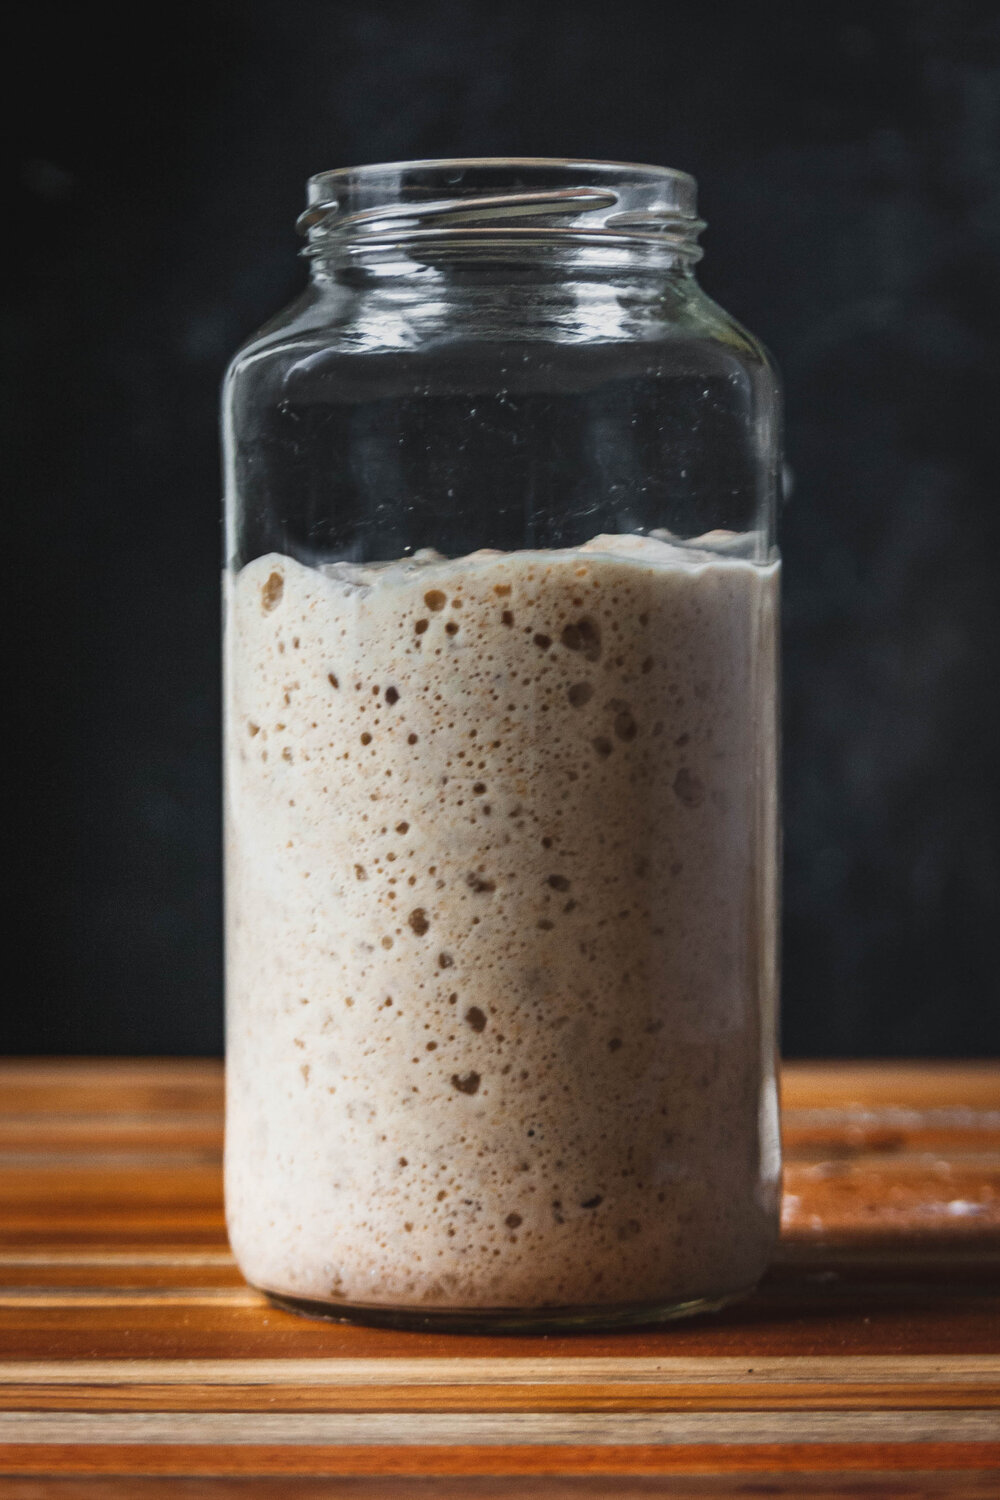
After a few days, you should notice that your starter almost doubles in size every 12-24 hours when after feeding it. You should also notice air bubbles on the top and that distinct sourdough smell.
Step 26
When it has risen to its highest point, this is called the "peak." After the starter peaks, it will slowly fall back down to where it was when you originally fed it, then it is ready to be fed again.
Step 28
If you notice your starter is "peaking" quickly (which is more likely to happen in the summer when your house is warm or if you store it in a warm spot) you may need to discard and feed more frequently than every 24 hours.
Step 30
If a starter peaks, falls, and sits for too long before being fed again, it may develop a "hooch" which is a thin layer of water near the top. Don't worry if you see this, it just means your starter is hungry and needs to be fed more frequently. Just dump the water when you discard, feed the remaining starter, and adjust your feeding schedule so it is fed more frequently.
Step 32
If you are feeding frequently, but not seeing much action or the starter develops a hooch every time it peaks and falls, try adjusting the flour-to-water ratio to increase the amount of flour so the starter is thicker when you feed it.
Step 34
Day 8By now, the starter should be mature enough to attempt baking bread. It should peak 8-24 hours after feeding, have lots of bubbles, and have a sour, tangy smell. For the best results, the most important thing is to use the starter in sourdough recipes when it is "peaked." Once it falls, feed it and let it peak before using it again or it will take a long time to leaven the dough.
Top similar recipes
Curated for youYour folders
 81 views
Sourdough Rye Starter
pantsdownapronson.com
Your folders
 323 views
Rye Sourdough Starter
kingarthurbaking.com
4.3
(6)
Your folders

 238 views
Rye Sourdough Starter
leitesculinaria.com
4.9
(18)
10070 minutes
Your folders

 257 views
Rye Sourdough Starter
redstaryeast.com
Your folders

 289 views
Rye sourdough starter
bbcgoodfood.com
Your folders

 282 views
Sourdough Rye Starter
pantsdownapronson.com
5.0
(17)
Your folders

 239 views
Rye Sourdough Starter
umamigirl.com
4.5
(2)
Your folders
 123 views
Rye Sourdough Starter
farmhouseonboone.com
5.0
(2)
Your folders
 76 views
Rye Sourdough Starter
farmhouseonboone.com
Your folders
 134 views
Rye sourdough starter powder
cookidoo.com.au
24 hours, 10 minutes
Your folders
 276 views
Rye Sourdough Starter (100% Hydrati...
thegoodheartedwoman.com
4.5
(2)
7200 minutes
Your folders

 242 views
Sourdough Starter
cooking.nytimes.com
4.0
(1.9k)
Your folders

 379 views
Sourdough starter
bbcgoodfood.com
Your folders
 871 views
Sourdough Starter
breadandbasil.nyc
Your folders
 465 views
Sourdough Starter
food.com
Your folders
 447 views
Sourdough Starter
food.com
4.5
(21)
Your folders
 267 views
Sourdough Starter
iamhomesteader.com
5.0
(17)
Your folders

 272 views
Sourdough Starter
iamhomesteader.com
5.0
(17)
Your folders

 279 views
Sourdough Starter
homesteadingfamily.com
5.0
(2)