Rye Sourdough Starter
4.5
(2)
Your folders
Your folders
Prep Time: 5 minutes
Total: 5 minutes
Servings: 1
Author : Carolyn Gratzer Cope

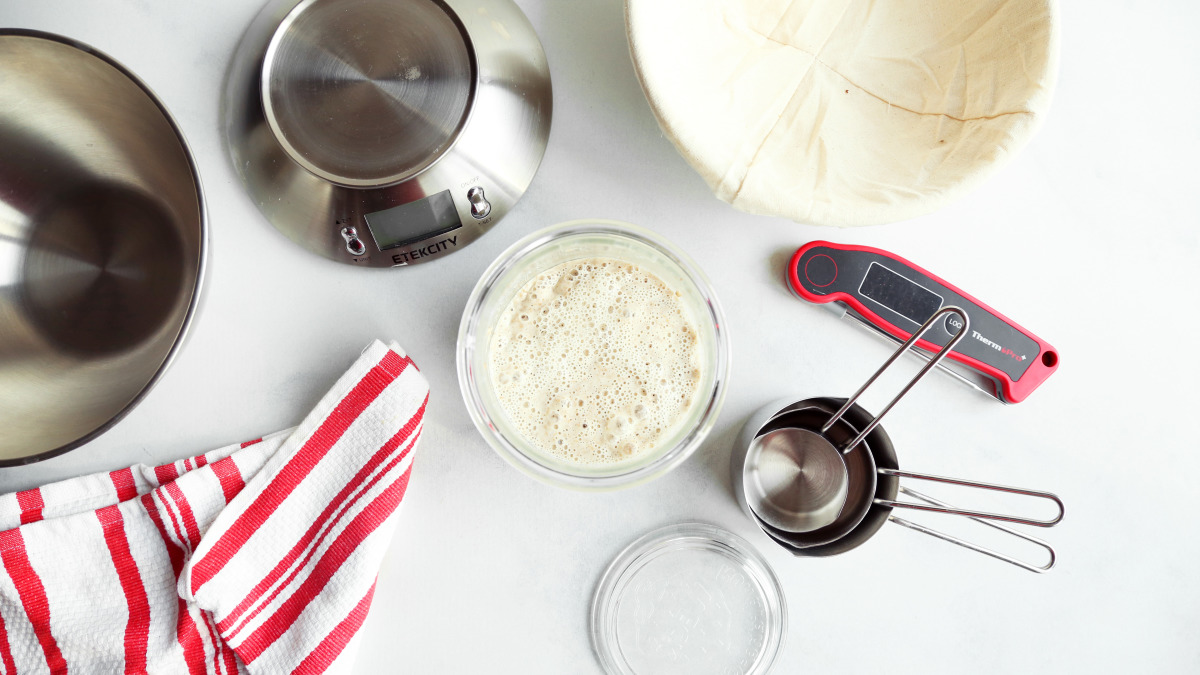
Ingredients
Export 1 ingredients for grocery delivery
Instructions
Step 1
Weigh your jar and write down how much it weighs. That way you'll always be able to calculate the weight of your starter by subtracting the weight of the jar.
Step 2
Pour the water into the jar.
Step 3
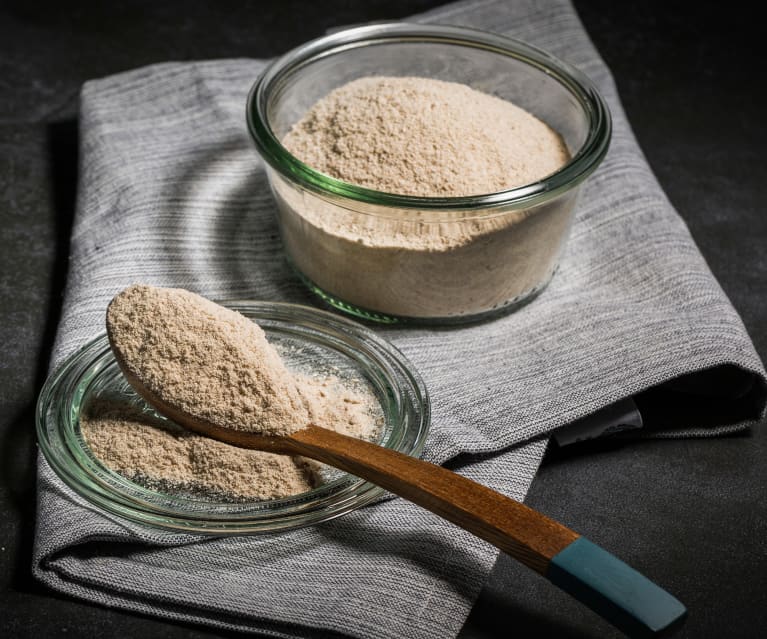
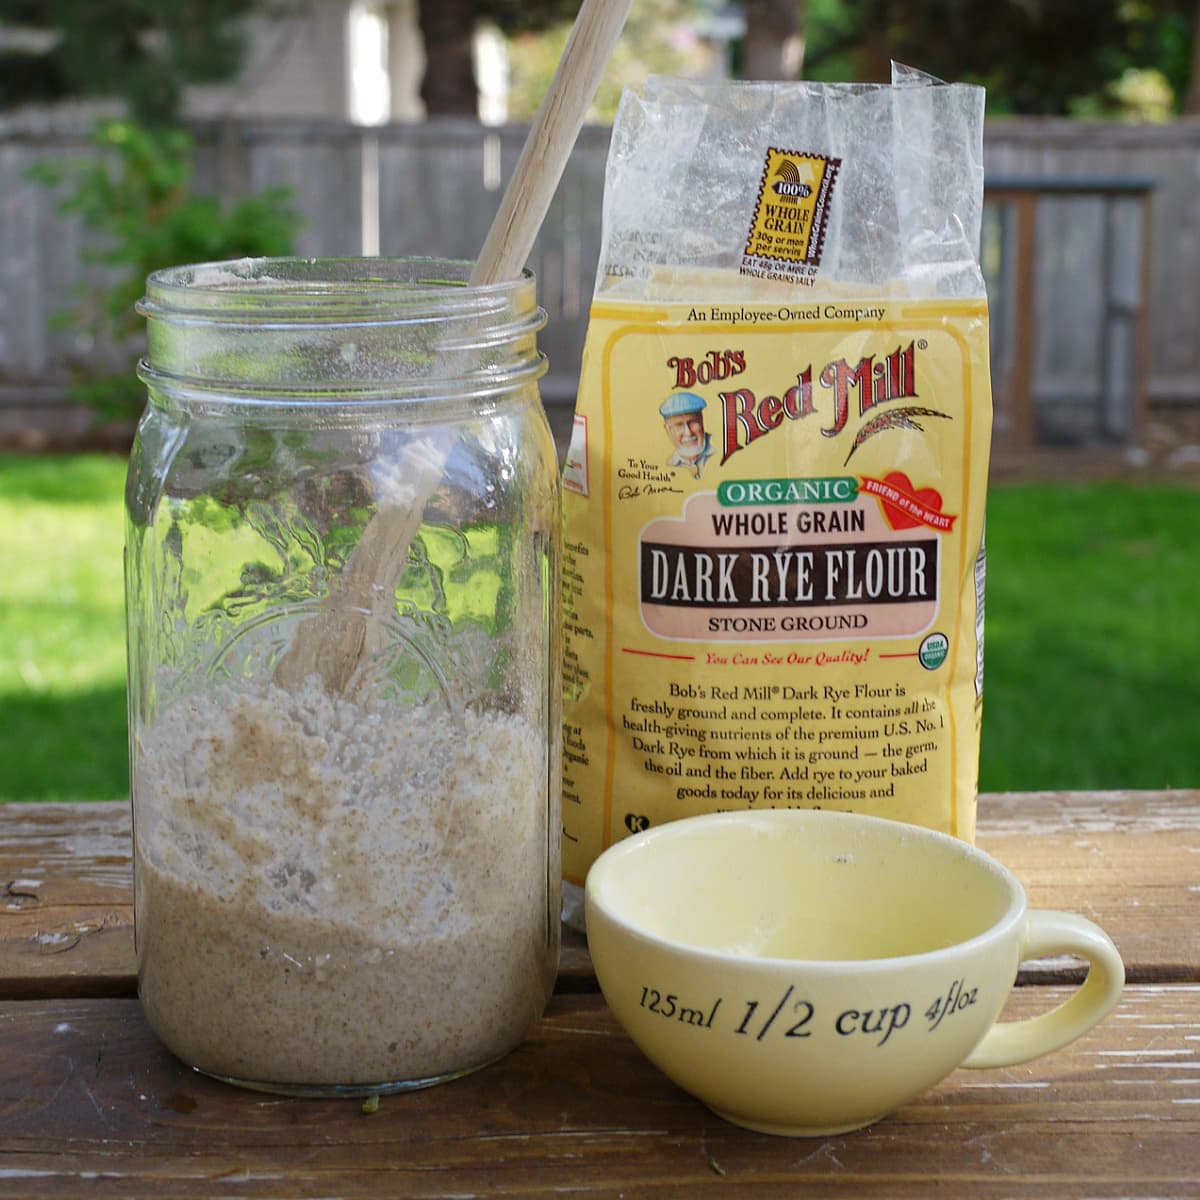
Spoon in the flour.
Step 4
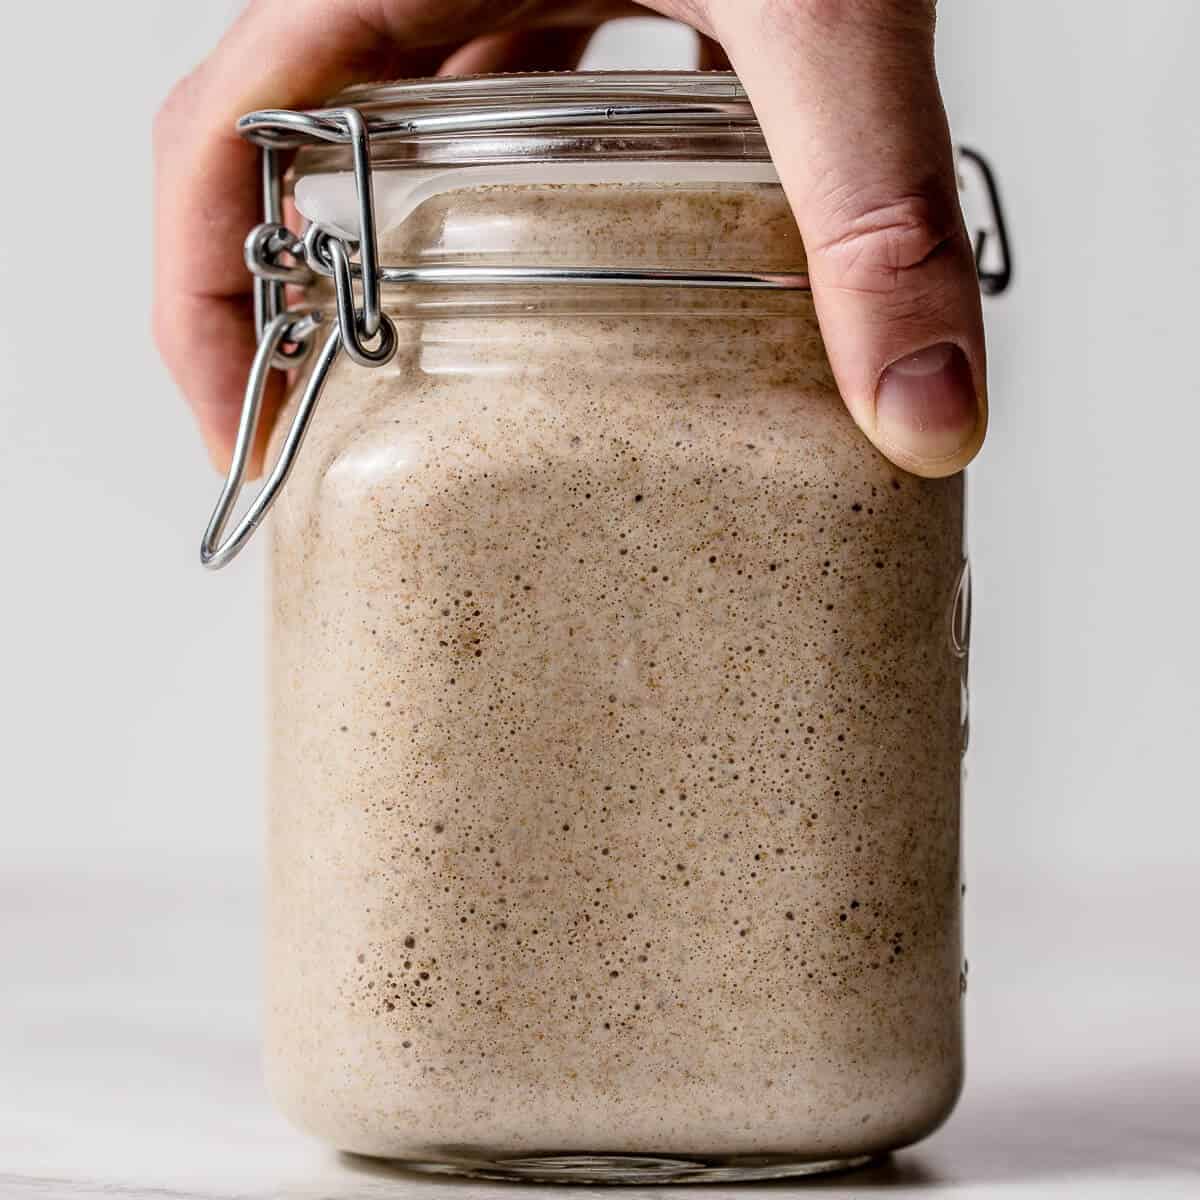
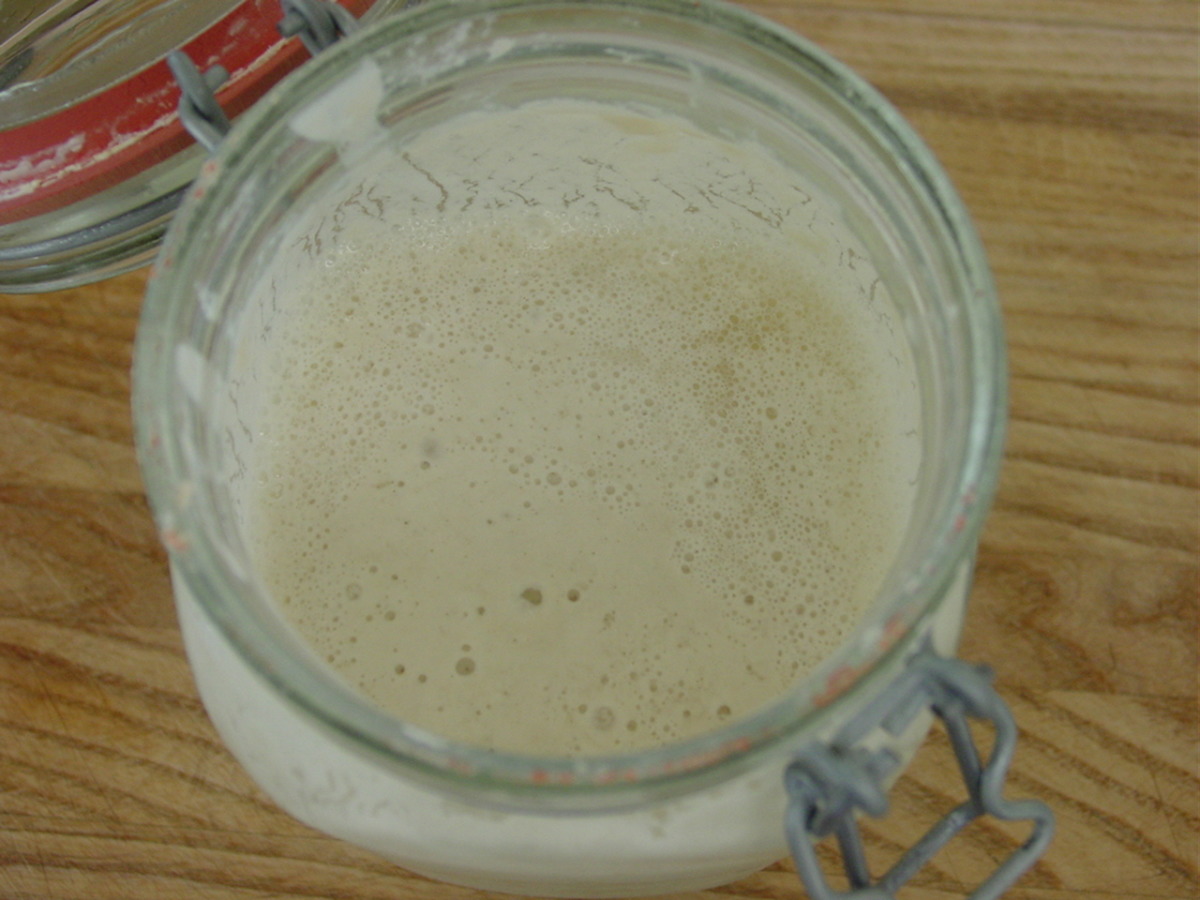
Stir it very well, until there's no more dry flour. Be sure to check the bottom of the jar for any dry flour and stir it into the mix.
Step 5
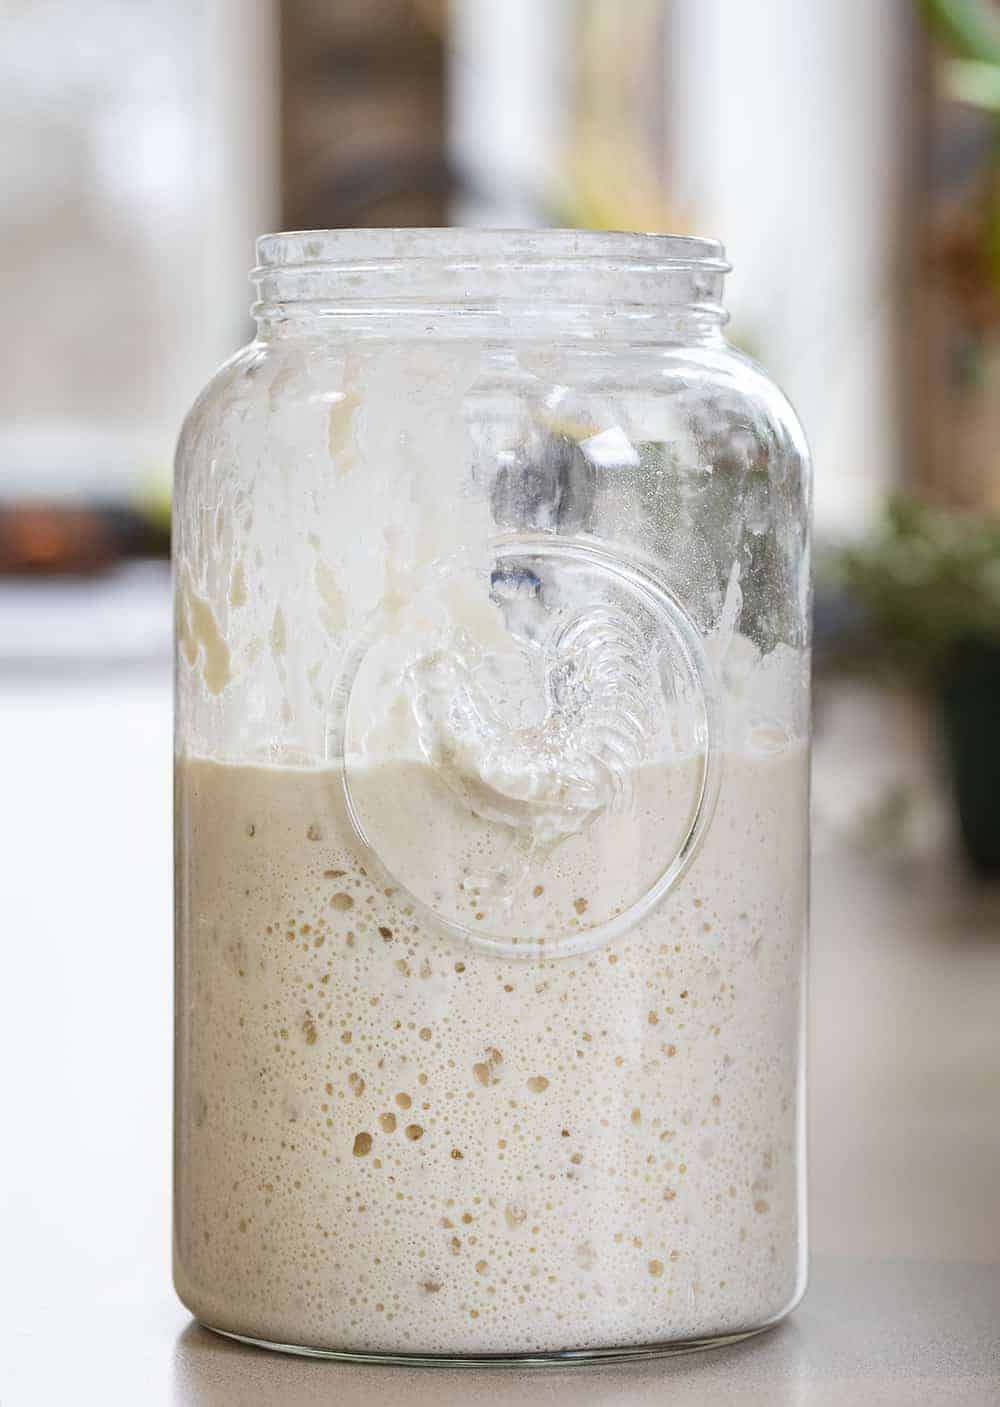
Use your spoon to gently pack down the starter into a relatively even layer. This will help you see how much it grows throughout the course of its feeding.
Step 6
Place a rubber band or elastic hair tie around the jar at the level of the top of the starter.
Step 7
Position the lid and screw it on loosely. This allows the starter to exhale carbon dioxide (a byproduct of yeast fermentation).
Step 8
Place starter on the counter or anywhere you like at warm room temperature. Don't expect any visible activity today.
Step 9
Remove all but 100 grams of the starter.
Step 10
Place the jar of starter on the scale and bring the scale to zero. (You now have about 100 grams of starter left in the jar.)
Step 11
Pour in 100 grams of water and stir it up to break up the starter.
Step 12
Spoon in 100 grams of flour. Stir well until there is no dry flour anywhere in the jar.
Step 13
Use your spoon to gently pack down the starter into a relatively even layer.
Step 14
Adjust the placement of the rubber band to the level of the top of the starter.
Step 15
Position the lid and screw it on loosely.
Step 16
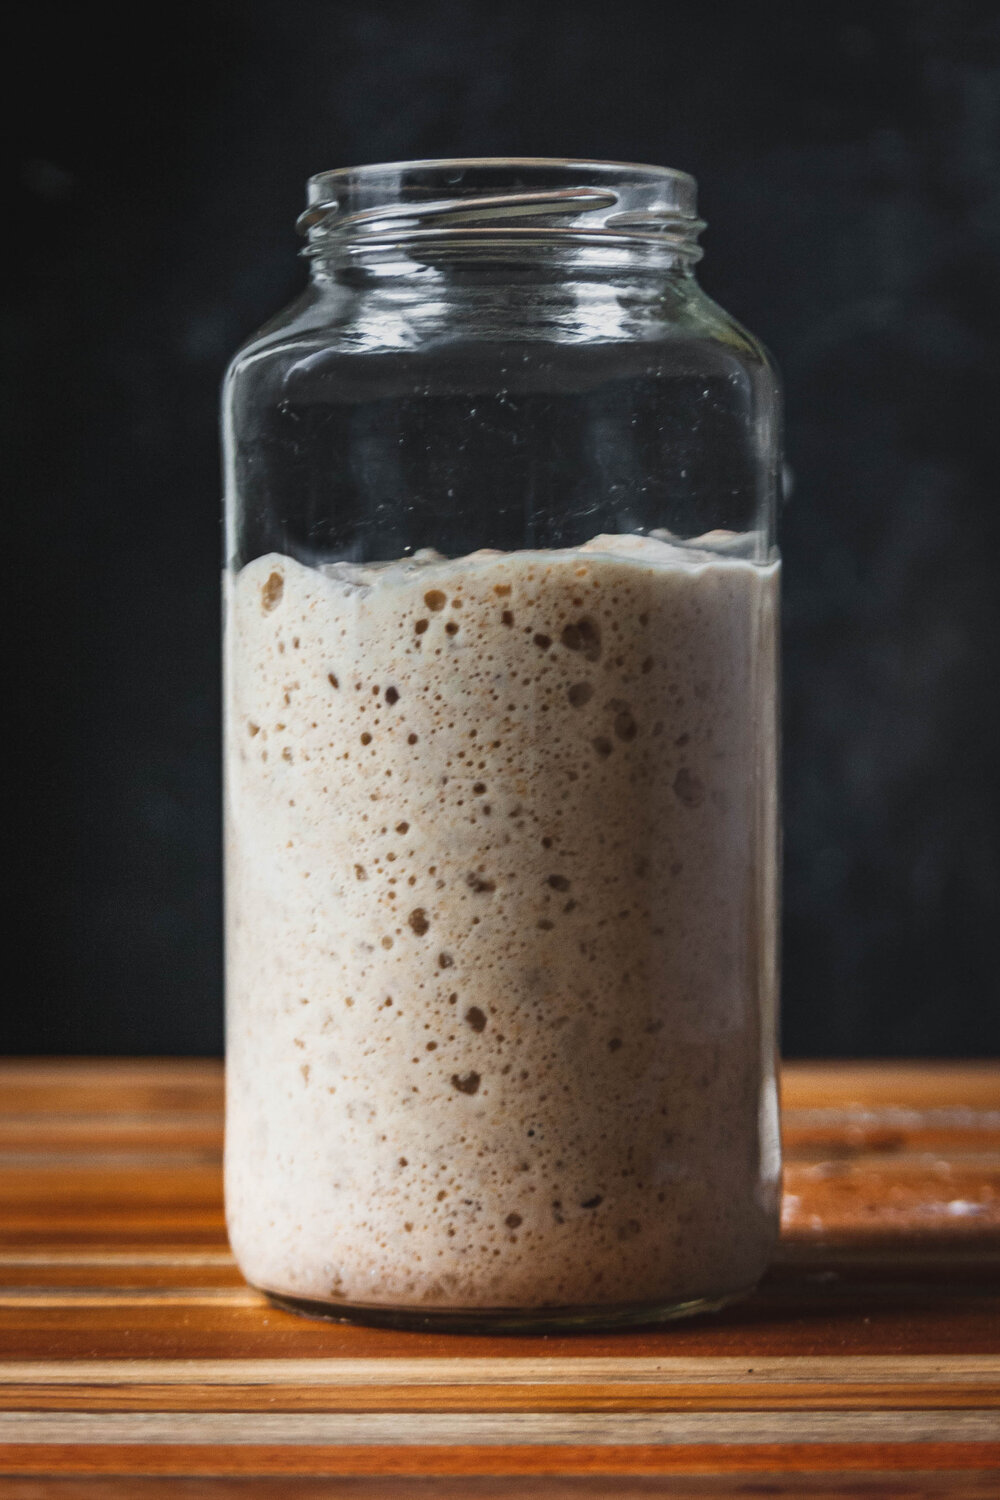
Place starter on the counter or anywhere you like at warm room temperature. If you're using good-quality flour and it's not freezing cold in your house, you're likely to see some activity today.
Step 17
On days three, four, and five, you will feed your starter twice per day, at approximate 12-hour intervals.
Step 18
Follow the steps for day two above, but do them once in the morning and once at night.
Step 19
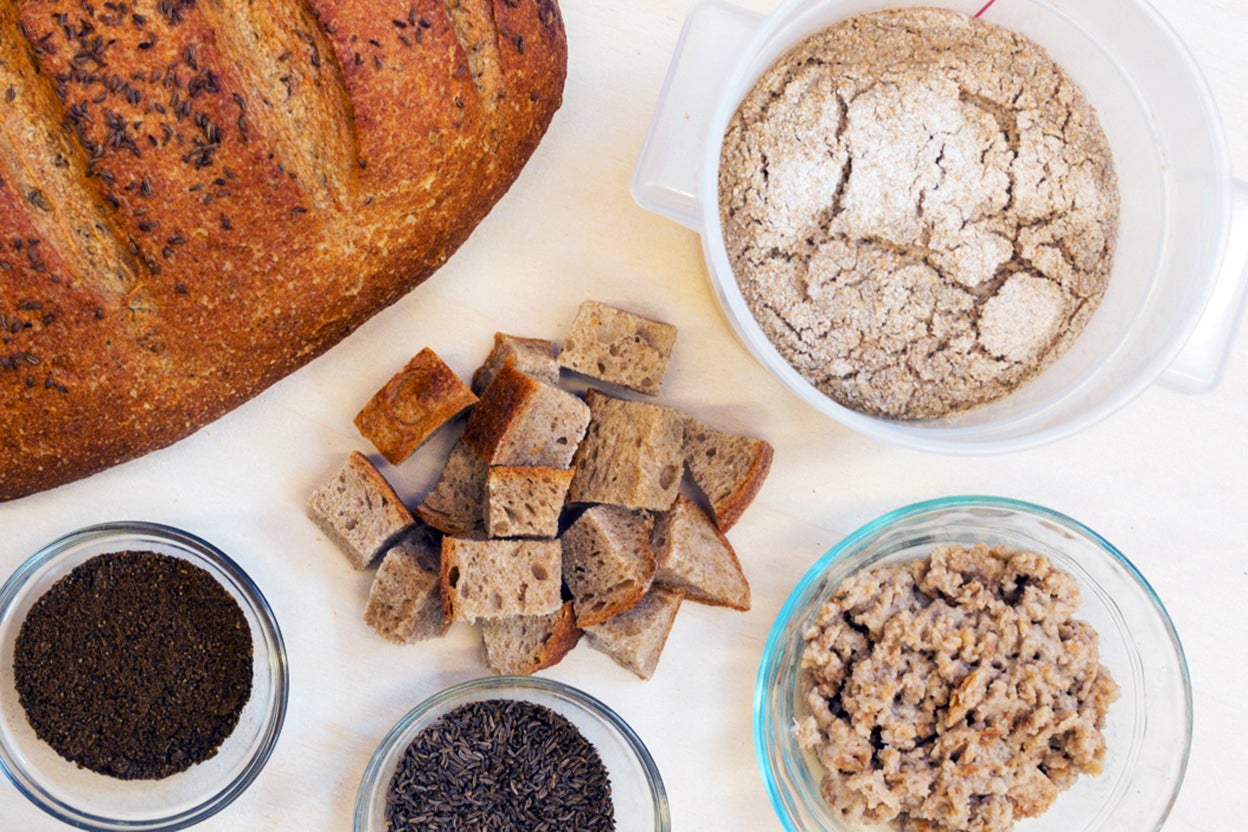
On these days, you'll have lots of discard. These are great days to make my favorite crackers.
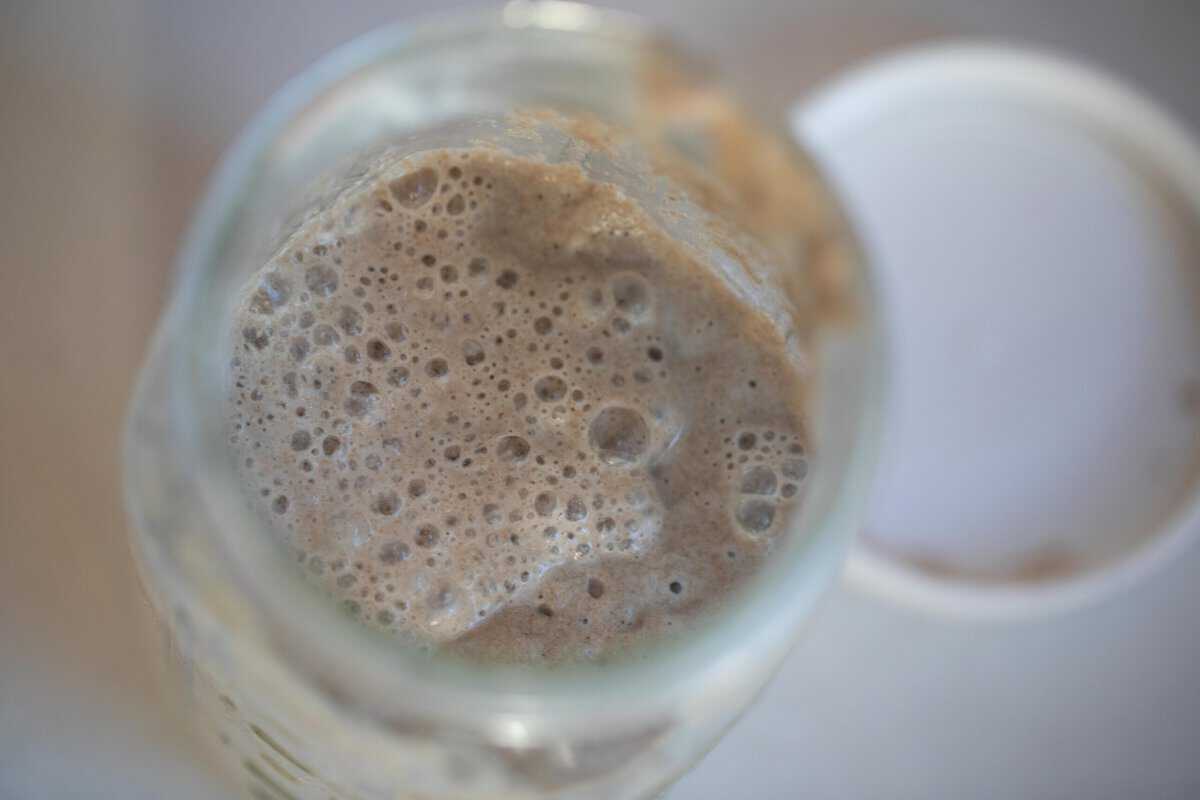
Step 20
By day five, if you're using really good flour, you should see the starter at least doubling in size between feedings. If you are seeing plenty of activity but not yet a doubling, don't worry. Continue feeding twice per day for the next few days.
Step 21
If you're not seeing much activity at all, refer to the troubleshooting section above.
Step 22
You'll know your starter is ready to leaven bread when it passes the float test.
Top similar recipes
Curated for youYour folders

 70 views
Sourdough Rye Starter
pantsdownapronson.com
Your folders
 310 views
Rye Sourdough Starter
kingarthurbaking.com
4.3
(6)
Your folders
 230 views
Rye Sourdough Starter
leitesculinaria.com
4.9
(18)
10070 minutes
Your folders
 244 views
Rye Sourdough Starter
redstaryeast.com
Your folders
 278 views
Rye sourdough starter
bbcgoodfood.com
Your folders
 273 views
Sourdough Rye Starter
pantsdownapronson.com
5.0
(17)
Your folders
 112 views
Rye Sourdough Starter
farmhouseonboone.com
5.0
(2)
Your folders
63 viewsRye Sourdough Starter
farmhouseonboone.com
Your folders
 121 views
Rye sourdough starter powder
cookidoo.com.au
24 hours, 10 minutes
Your folders
 244 views
Rye Flour Sourdough Starter
hopewellheightsblog.com
5.0
(2)
Your folders
 264 views
Rye Sourdough Starter (100% Hydrati...
thegoodheartedwoman.com
4.5
(2)
7200 minutes
Your folders
 238 views
Sourdough Starter
cooking.nytimes.com
4.0
(1.9k)
Your folders
 373 views
Sourdough starter
bbcgoodfood.com
Your folders
 857 views
Sourdough Starter
breadandbasil.nyc
Your folders
 462 views
Sourdough Starter
food.com
Your folders
 444 views
Sourdough Starter
food.com
4.5
(21)
Your folders
 259 views
Sourdough Starter
iamhomesteader.com
5.0
(17)
Your folders
268 viewsSourdough Starter
iamhomesteader.com
5.0
(17)
Your folders
 274 views
Sourdough Starter
homesteadingfamily.com
5.0
(2)