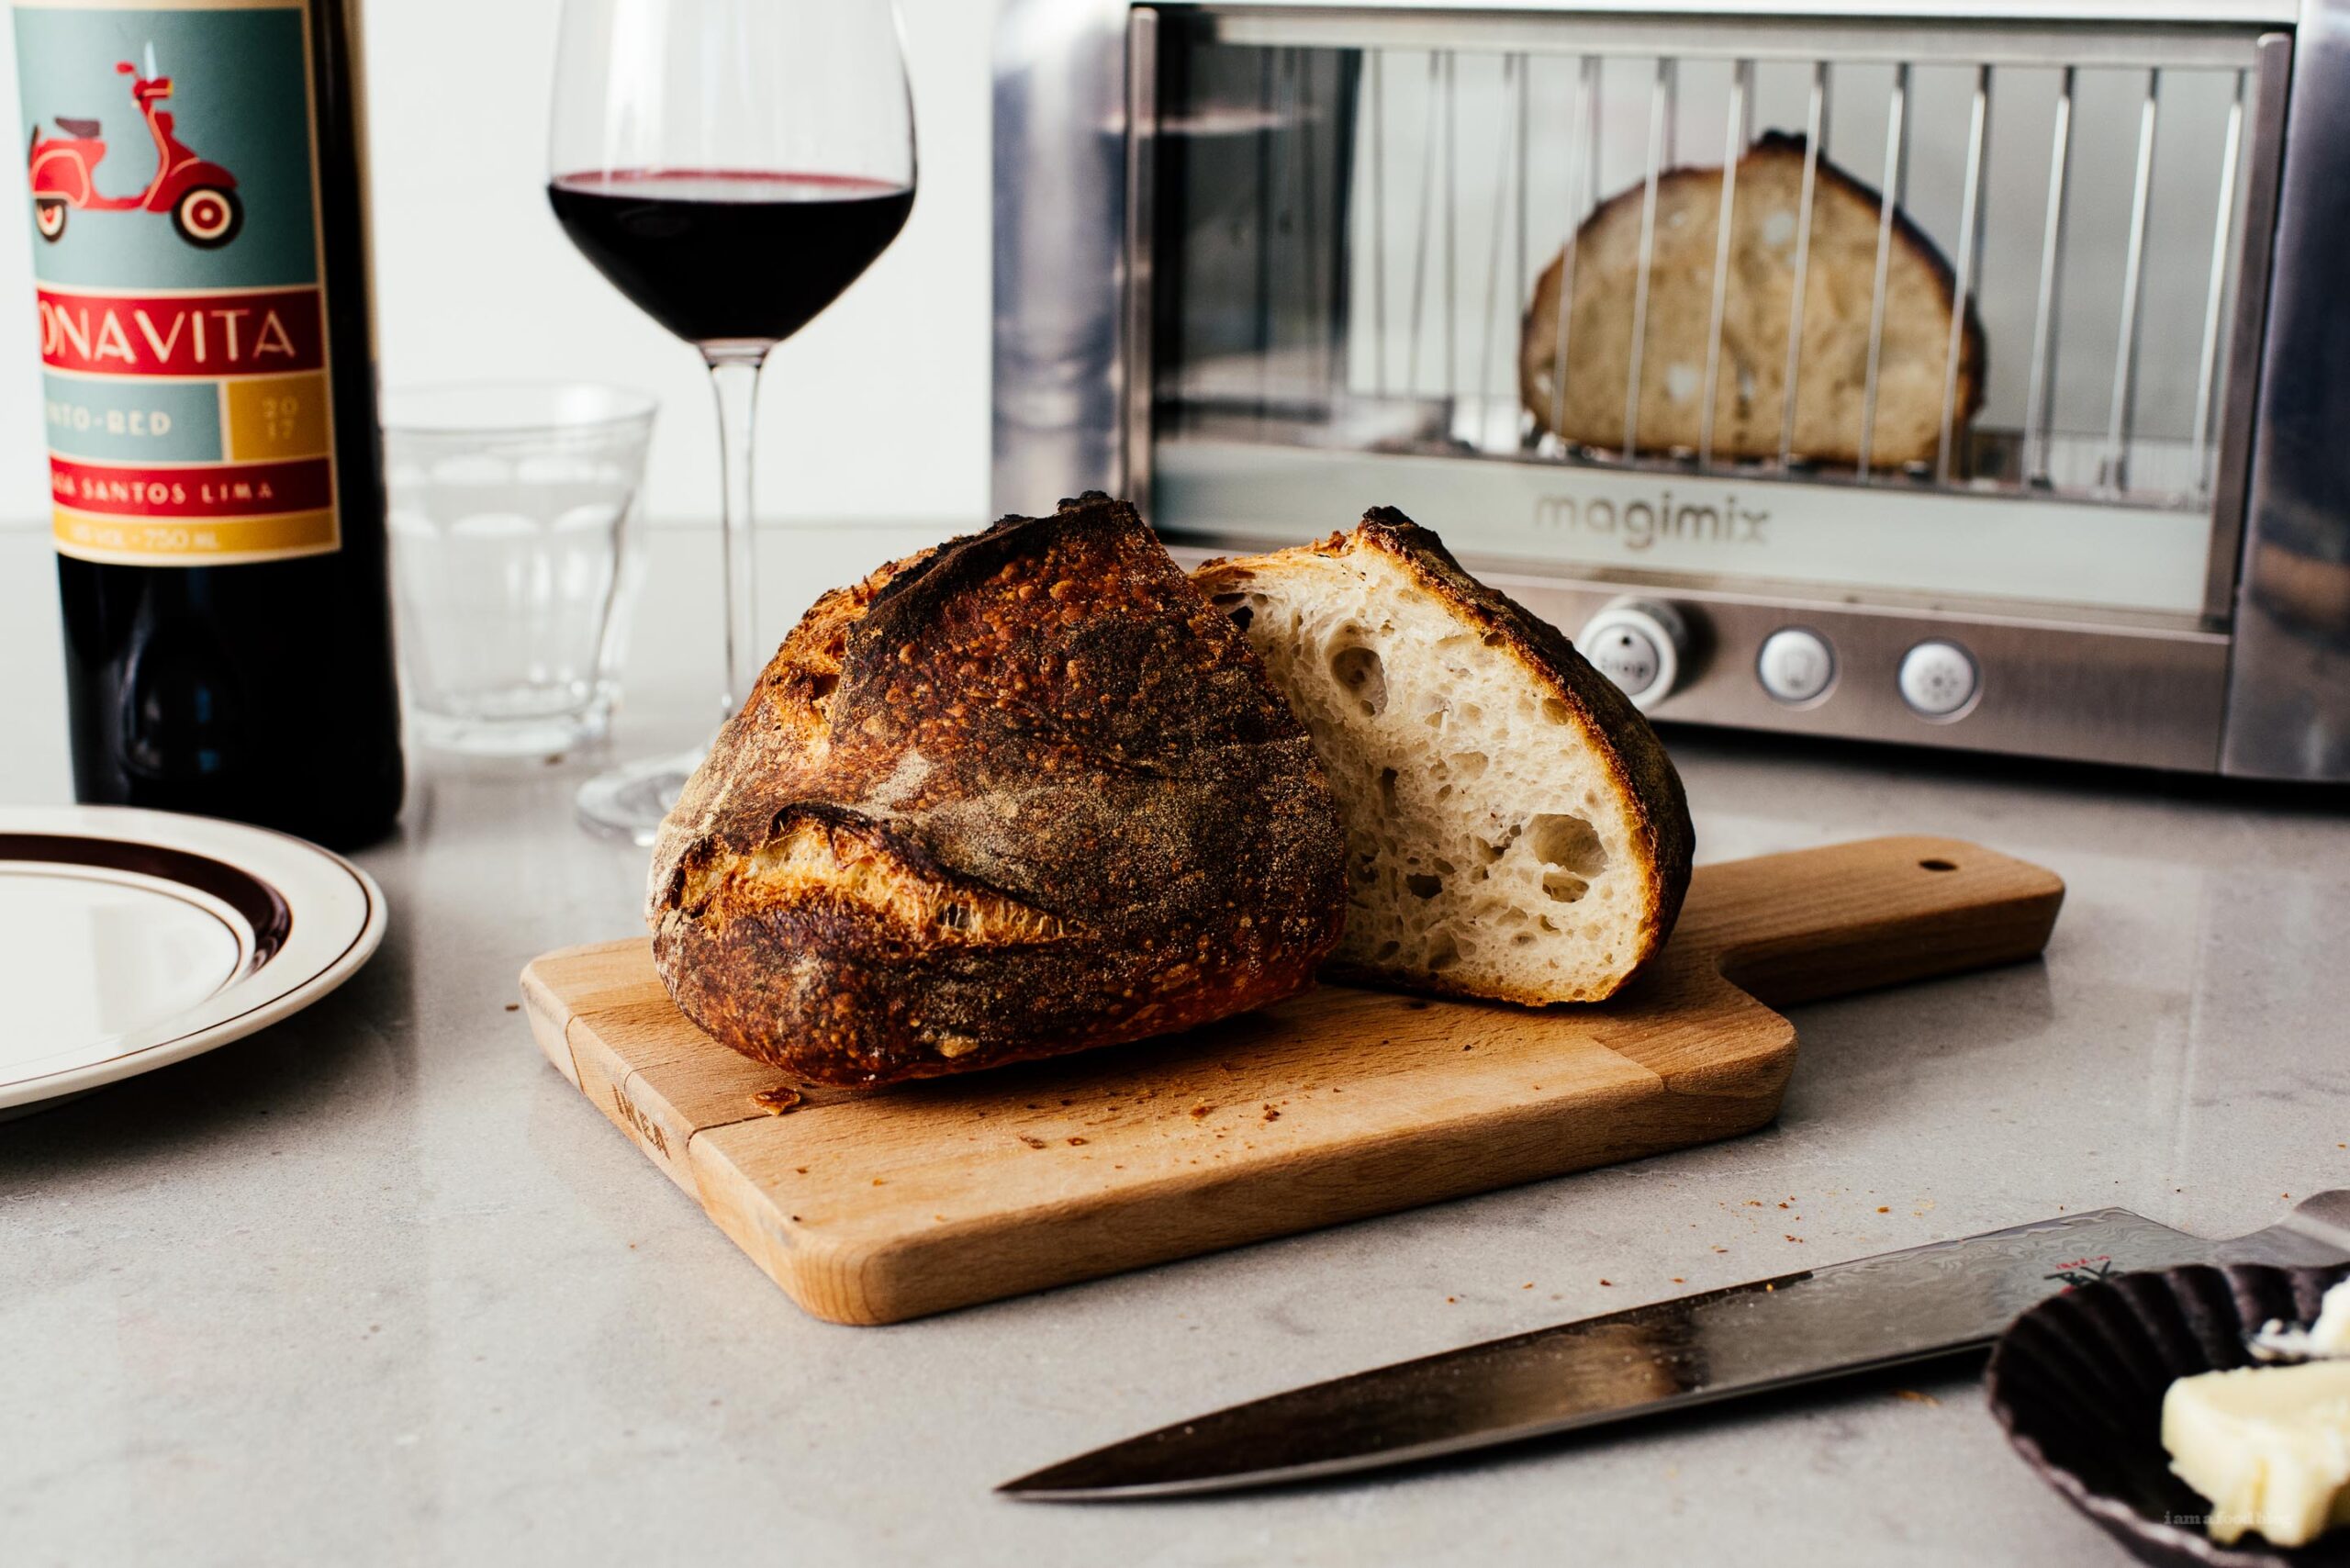
Sea Wolf Inspired Small Batch White Sourdough Loaf
4.9
(9)
Your folders
Your folders
Prep Time: 60 minutes
Cook Time: 40 minutes
Total: 820 minutes
Author : Stephanie
Ingredients
Export 5 ingredients for grocery delivery
Instructions
Step 1
The night before, 10-12 hours before you want to start making your loaf, make a levain by mixing together 10 grams of active starter, 40 grams all purpose flour, and 40 grams of water. Mix well and let rest, lightly covered, in a warm spot.
Step 2
The next day, when the levain has just reached peak (or just after peek), start your loaf: In a bowl, mix together 245 grams all purpose flour, 19.5 grams rye flour, 187.5 grams water, and 52 grams levain. Mix well, making sure there are no dry flour spots.
Step 3
One hour later, mix in the salt and let rest for 1 hour.
Step 4
Do a stretch and fold, then let the dough rest for 2 hours, lightly covered, preforming 1 full set of stretch and folds every half an hour. You should do a total of four sets, including the first set.To stretch and fold: lightly wet your hands and gather your dough at the top of the bowl and lift with two hands towards the ceiling, lifting and stretching enough so that you can fold the dough over on itself, tucking it into the opposite side. Rotate the bowl 180° so that the side that you tucked in is now on top and repeat the stretch and fold. Rotate the bowl 90° and then do the stretch and fold again. Rotate the bowl 180° again (so you’re on the opposite side of where you just tucked in the dough) and complete the last stretch and fold. You should have completed a stretch and fold on each “side” of the bread. Do the stretch and folds every half and hour, over the course of 2 hours.
Step 5
After the last stretch and fold, it’s time for bulk fermentation. Let the dough rest, covered for 1.5 hours to 2 hours, letting it rise, strengthen, and develop flavor. At the end of the bulk fermentation, the dough should have risen a bit (this will vary depending on starter strength and flour choice) and there should be some bubbles forming at the edges. The surface of the dough should be slightly shiny and when you shake your bowl, it should move and jiggle a little.
Step 6
Preshape: lightly flour your work surface and pour out your dough. Use a bench scraper to gently scrape and turn your dough, pulling it towards you, to develop some surface tension while shaping into a rough round circle. Let rest for 30 minutes, uncovered.
Step 7
After 30 minutes, prep your proofing basket or banneton by lining with a clean kitchen towel liberally dusted with 50/50 all purpose and rice flour. Set aside. Shape your dough: lightly dust your work surface and hands. Use a bench scraper to flip the dough over so that the bottom of the dough (the part that was touching your work surface) is now facing you and the smooth side of your dough is on the work surface.
Step 8
For a round: lightly flour your hands and stretch the dough into a rough rectangle, folding the top down towards the bottom and the bottom up towards the top. Fold the sides in and flip everything over so that the seams are on the bottom. Cup your hands together around the dough and gently pull towards your body, creating surface tension. Use your bench scraper and scoop underneath the shaped loaf and place it in your proofing basket, seam side up.For a batard: gently stretch the dough out into a rough rectangle, then bring the two sides in and overlap them in the center. Tuck the top part of the rectangle over on itself, tucking and folding until you make an oval shape. Use your bench scraper and scoop underneath the shaped loaf and place it in your proofing basket, seam side up. Pop the basket in a plastic bag (or cover lightly making sure that the covering doesn’t touch the dough). Let rest on the countertop for 30 minutes, then place in the fridge overnight.
Step 9
The next morning, place your dutch oven (keep the lid on a separate rack) in the oven and preheat by setting it to 500°F for one hour. When the preheat is done, take your loaf out of the fridge and unwrap. Cut a piece of parchment paper out a bit bigger than the size of your proofing basket. Place the parchment paper down on the loaf and flip the basket out on to a cutting board. Lightly brush away any excess flour. Score with a very sharp knife or a lame at a 45° angle.
Step 10
Very carefully pull out your dutch oven using oven mitts and use the parchment paper underneath your loaf to drop the loaf into the dutch oven. Carefully cover with the hot lid. Turn the heat down to 475°F and bake for 20 minutes. After 20 minutes, carefully remove the lid of the dutch oven and continue to bake for another 10 minutes, rotate the dutch oven, then bake for a final 10 minutes.
Step 11
When the bread is done, the crust should be golden and the internal temp should be over 208°F. Carefully remove the dutch oven from the stove (or carefully reach inside it and grab your loaf) and let cool for at least 2 hours before slicing and enjoying!
Top similar recipes
Curated for youYour folders

 152 views
Small Loaf Sourdough
cravethegood.com
4.6
(30)
45 minutes
Your folders
 73 views
Small Loaf Sourdough
cravethegood.com
Your folders

 1099 views
Small Batch Sourdough Bread
aheadofthyme.com
5.0
(18)
50 minutes
Your folders

 279 views
Small Batch White Queso
onedishkitchen.com
5.0
(7)
5 minutes
Your folders
 316 views
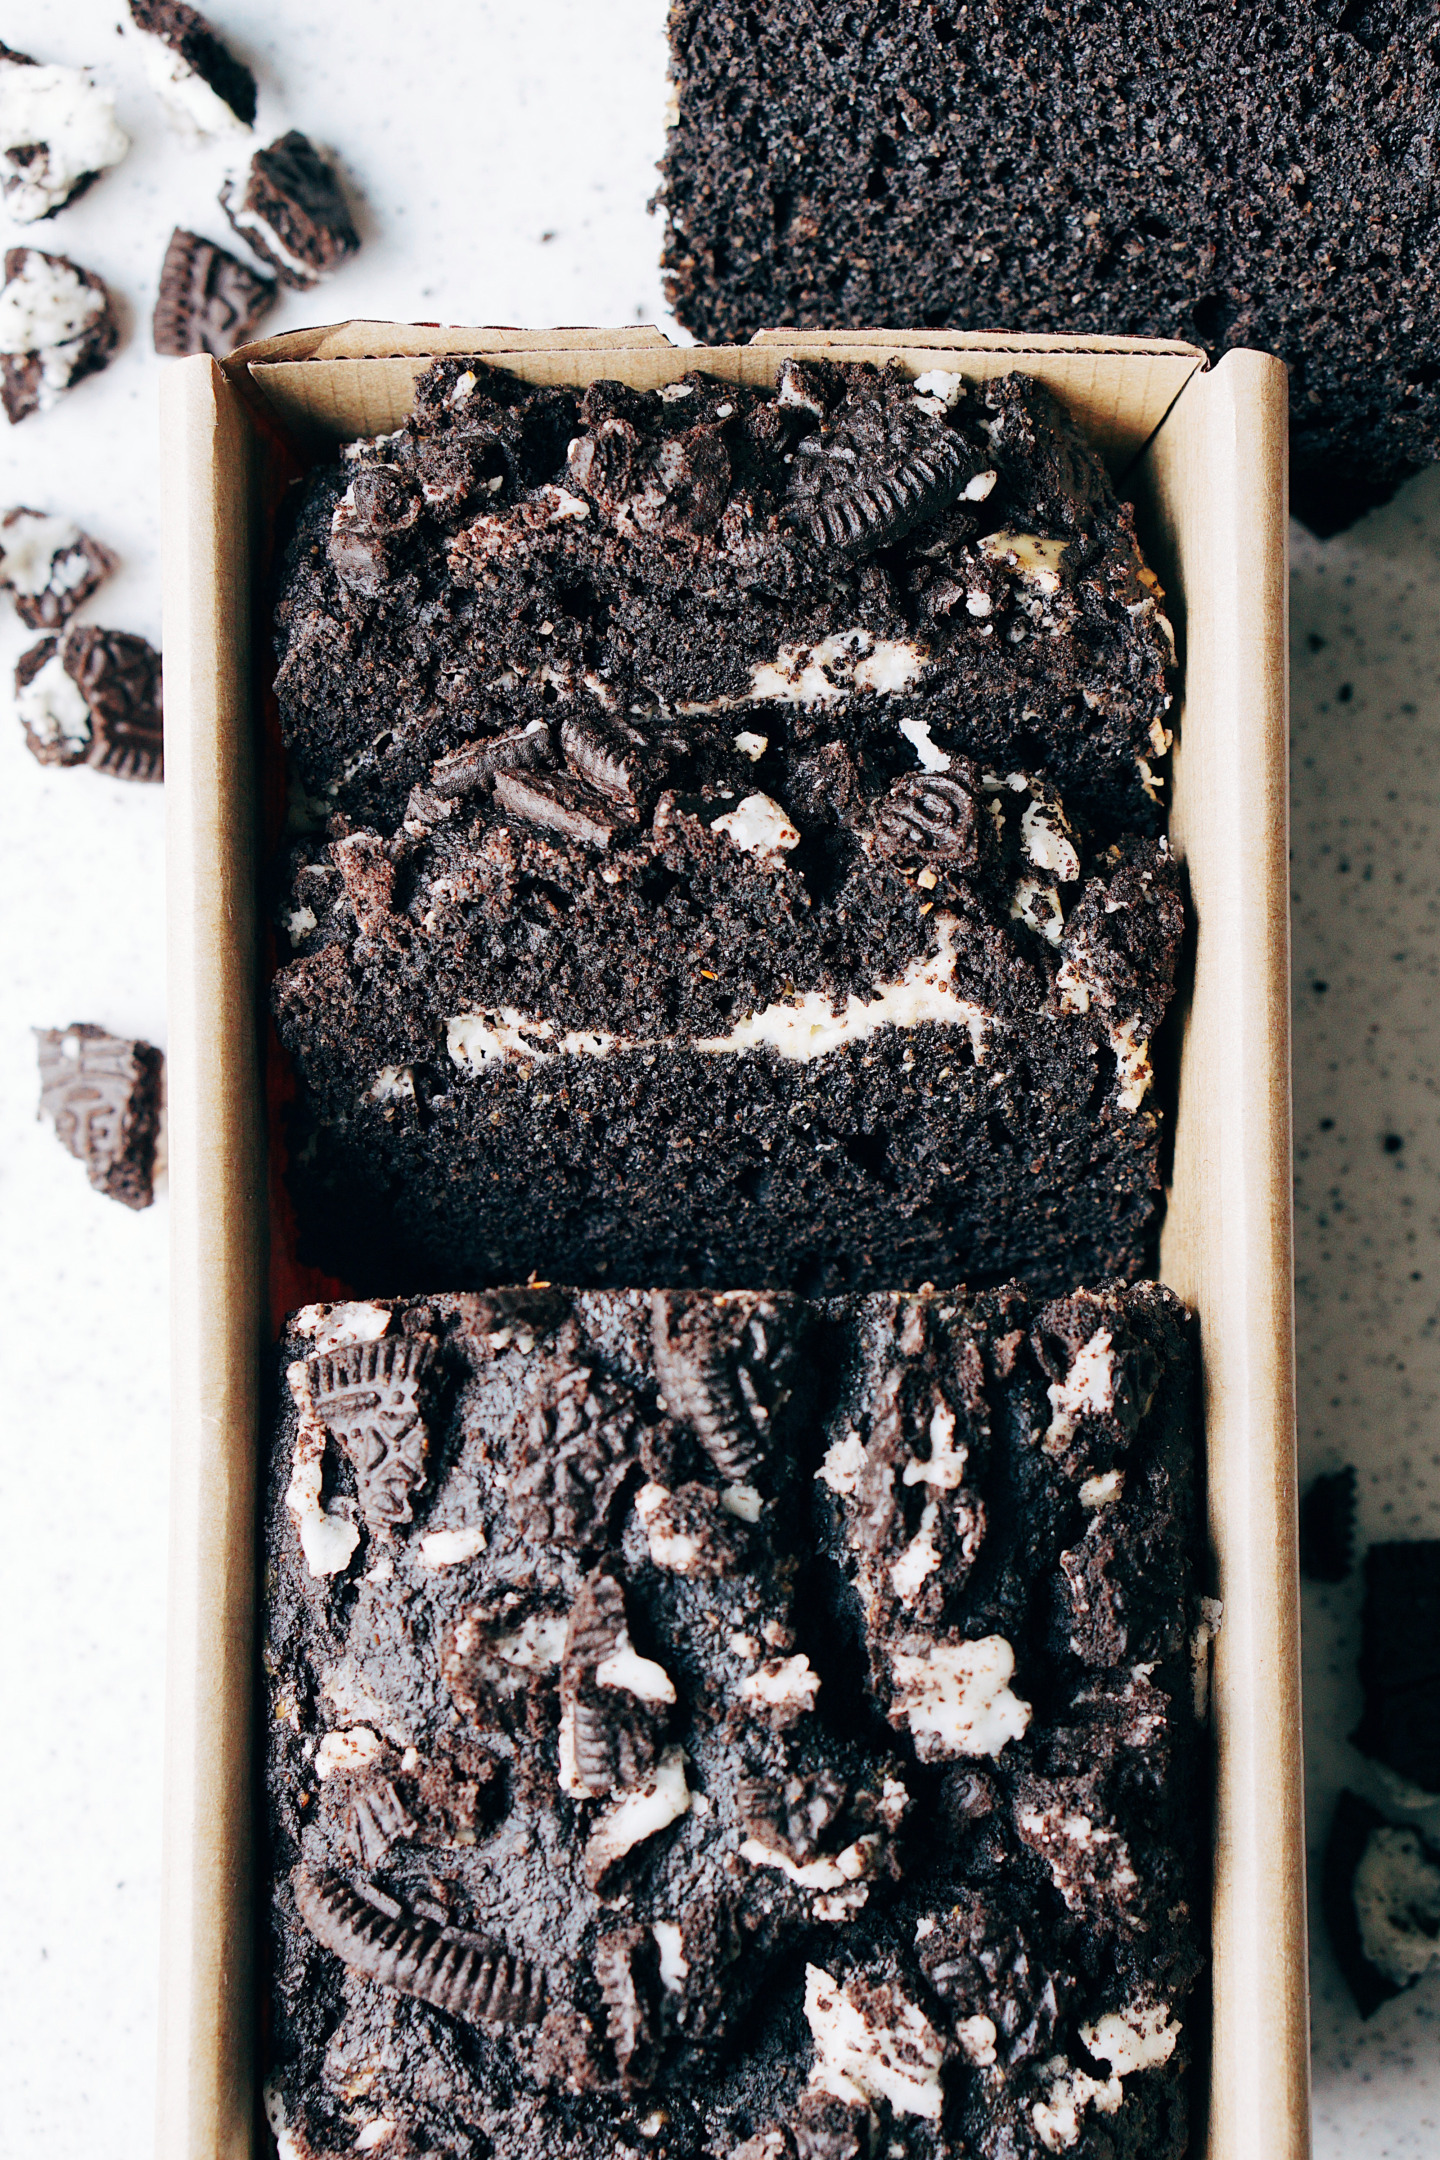
Small-batch OREO Cookie Loaf
minibatchbaker.com
40 minutes
Your folders

 381 views
Small Batch Sourdough Ciabatta Brea...
aheadofthyme.com
5.0
(4)
20 minutes
Your folders
 526 views
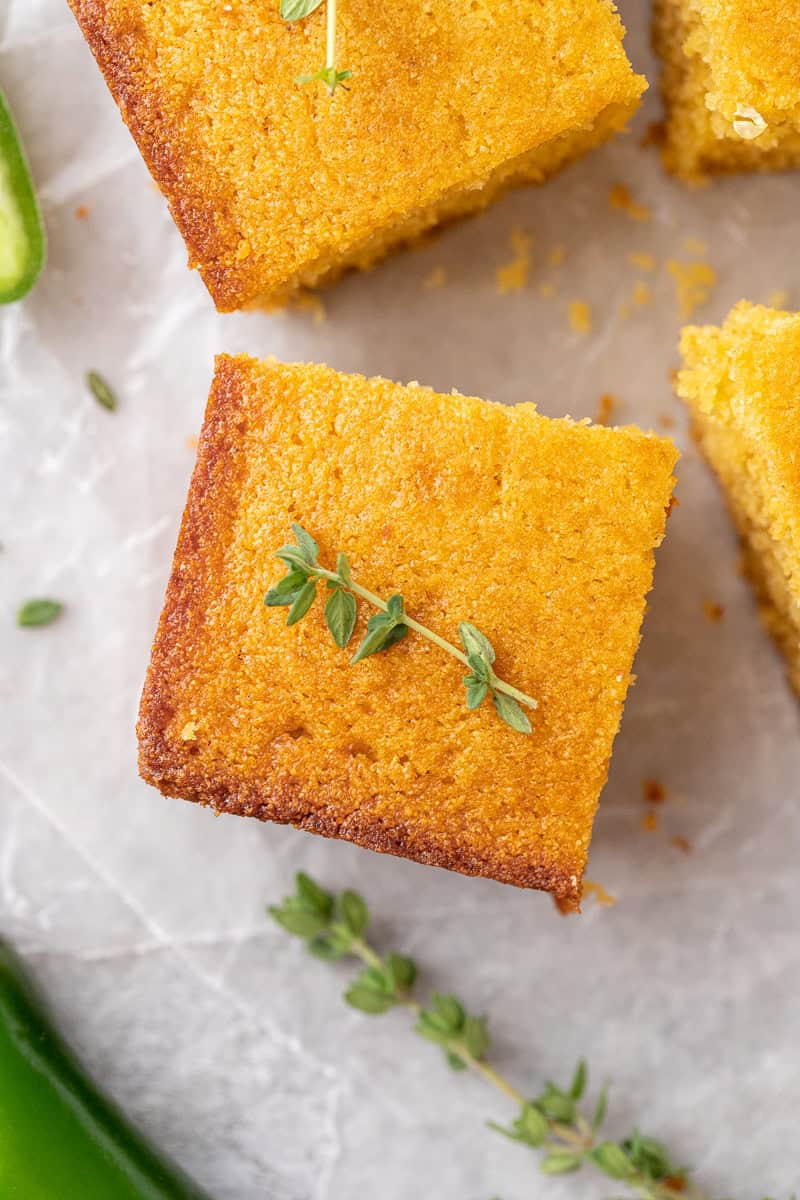
Small batch cornbread in a loaf pan
lifestyleofafoodie.com
5.0
(1)
18 minutes
Your folders
 371 views
Small Batch Applesauce
cookfasteatwell.com
5.0
(4)
20 minutes
Your folders

 556 views
small-batch eggnog
smittenkitchen.com
Your folders

 281 views
Small Batch Brownies
thecookiedoughdiaries.com
5.0
(76)
Your folders

 253 views
Small-Batch Brownies
dessertfortwo.com
4.5
(221)
23 minutes
Your folders

 568 views
Small Batch Pralines
onedishkitchen.com
5.0
(1)
15 minutes
Your folders

 490 views
Small Batch Brownies
cookingclassy.com
4.9
(32)
20 minutes
Your folders

 242 views
Small Batch Granola
frommybowl.com
5.0
(5)
18 minutes
Your folders

 311 views
Small Batch Cornbread
easyhealthllc.com
4.7
(33)
20 minutes
Your folders

 340 views
Small-Batch Macarons
dessertfortwo.com
4.4
(207)
13 minutes
Your folders

 406 views
Small Batch Pusharatas
deepsouthdish.com
30 minutes
Your folders

 299 views
Small Batch Eggnog
blossomtostem.net
4.6
(19)
2 minutes
Your folders
 633 views
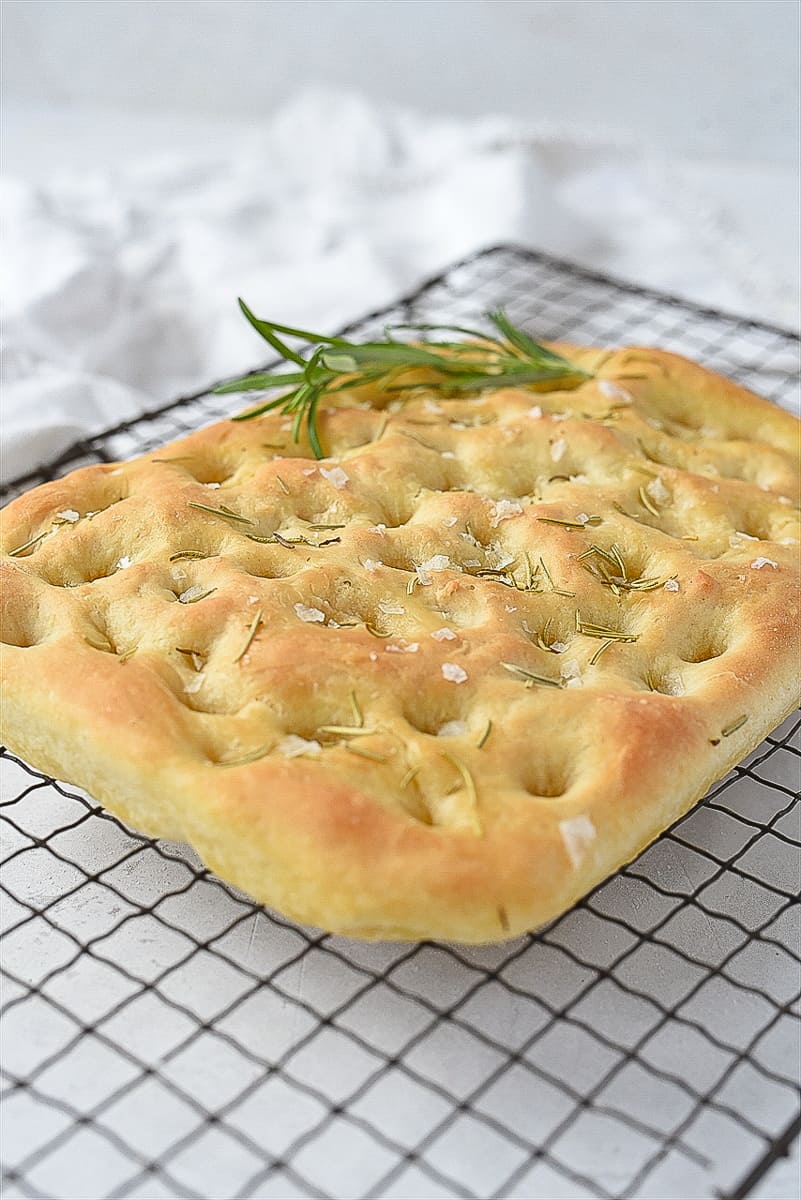
Small Batch Focaccia
yourhomebasedmom.com
4.9
(31)
15 minutes