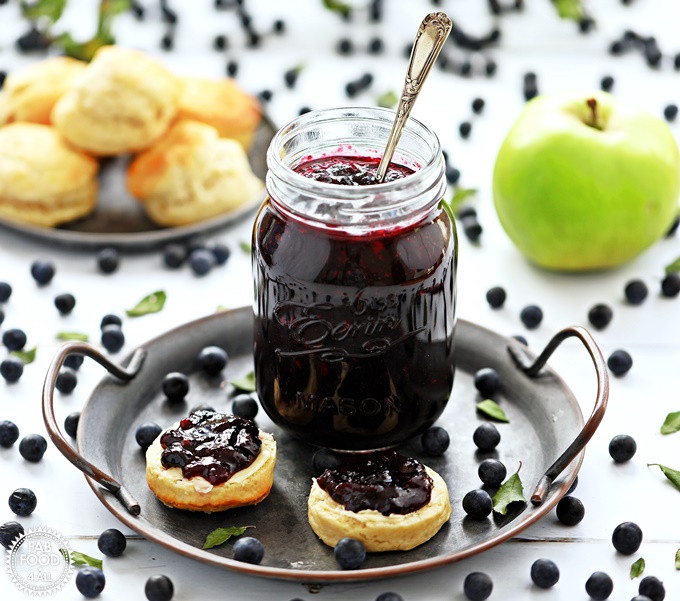
Sloe & Apple Jam
4.8
(6)
Your folders
Your folders
Prep Time: 15 minutes
Cook Time: 34 minutes
Total: 139 minutes
Servings: 3
Author : Camilla Hawkins

Ingredients
Export 3 ingredients for grocery delivery
Instructions
Step 1
Prepare your sloes by picking over for any leaves or bad fruit, rinse and pit (you can squeeze the stones out between your thumb and index finger or see my other pitting hack in post to adapt a cherry pitter).
Step 2
Peel, core and quarter the apples, then cut into small chunks (about the size of a raspberry).
Step 3
Place the pitted sloes and apple chunks into a preserving pan or similar with 200 ml of water.
Step 4
Bring to a boil and then simmer under a lid for 20 minutes (until apple is tender), stirring occasionally with a wooden spoon.
Step 5
At the same time place the sloe stones in a small pan with 200 ml of water, bring to the boil and simmer under a lid for 20 minutes, stirring occasionally.
Step 6
Once the sloe stones have cooked, place in a sieve over the cooked apples and sloes and push the flesh through with the back of a spoon.
Step 7
On a really low heat stir in the sugar and carry on stirring until it has completely dissolved (do not simmer). (Dragging your spoon across the pan there should be no crunching sounds).
Step 8
Then turn the heat up high and bring to a rolling boil and time for 3 - 4 minutes once it starts, stirring frequently to prevent the jam sticking to the pan.
Step 9
Take off the heat and test a few drops of jam on a chilled saucer and place in the fridge for a minute.
Step 10
Then run a finger through it, it should form crinkles, be tacky and not run back to the void your finger has just created. My jam was ready at 4 minutes as sloes and Bramley apples are both very high in pectin) so don’t over boil or you’ll get concrete.
Step 11
If your jam hasn’t reached setting point then boil for another minute and repeat the test until ready.
Step 12
Stir the jam vigorously to remove any scum but if that doesn’t work you can add a knob of butter or coconut oil for a vegan friendly option.
Step 13
Pot up into sterilised jars, a ladle and jam funnel are really useful here. I got just under 3 large 500 ml jars.
Step 14
Place lids on immediately and allow to cool.
Step 15
Store in a cool dark place and once opened store in the fridge and eat within a few months. Homemade jam is best eaten in the first year but will be shelf stable for many years.