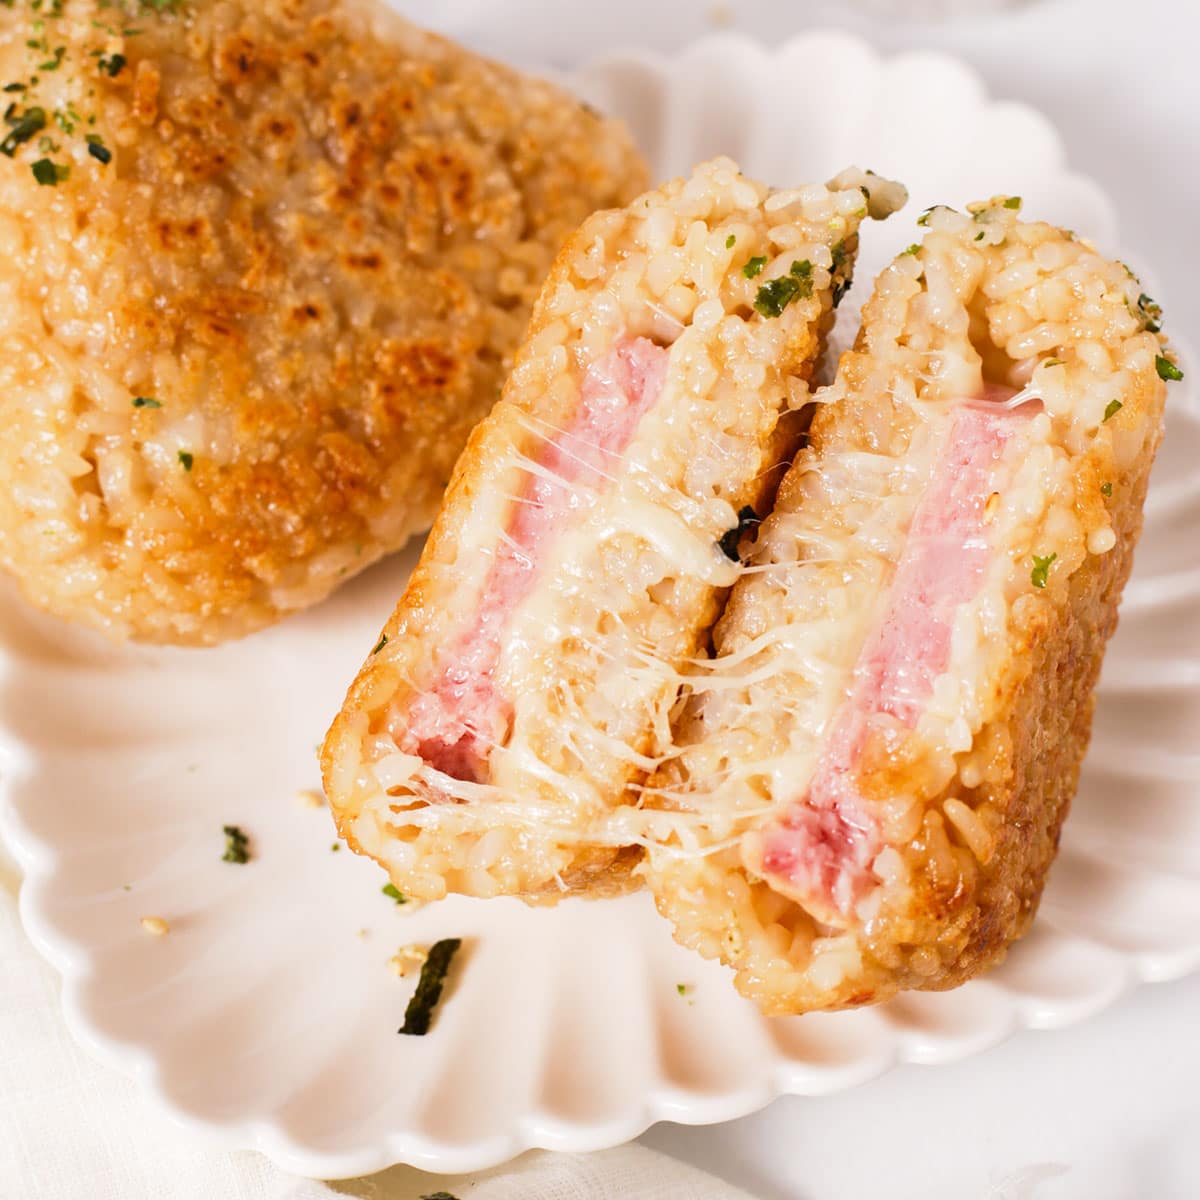
Spam Yaki Onigiri
5.0
(1)
Your folders
Your folders
Prep Time: 15 minutes
Cook Time: 8 minutes
Total: 23 minutes
Servings: 4
Ingredients
Export 8 ingredients for grocery delivery
Instructions
Step 1
Season the rice:Into a mixing bowl, add the hot, cooked sushi rice. Drizzle the soy sauce and sesame oil on the rice and fluff the rice in a slicing motion until the rice looks mostly even in color.
Step 2
Prepare filling:Sandwich each piece of spam between two slices of mozzarella. Repeat with all the spam and cheese.
Step 3
Shape the rice balls:Divide the seasoned rice into four even portions. Wet your hands and spread one portion of rice in one of your palms. Place a spam and mozzarella filling in the center of the rice and wrap the rice around the filling to seal.
Step 4
Using both hands, firmly compact the rice into a rice ball and shape the rice ball into a triangle. Repeat with the remaining rice and fillings and wet your hands in between making each rice balls.*Please refer to the post above for step by step reference!*
Step 5
Shaping with a mold:If shaping with a mold, scoop half a portion of rice into the mold and gently spread cover the bottom and half up the sides. Place the spam and cheese filling in the center and top with the remaining portion of rice. Firmly press with the onigiri presser to compact and shape the rice ball. Repeat with remaining rice.*Different molds come in different sizes and can hold different amount of rice. So if need be, the spam and cheese may need to be cut smaller to fit the mold and if needed, also adjust the amount of rice to use according to your mold.*
Step 6
Pan fry:In a pan over medium heat, add enough oil to lightly cover the bottom of the pan. Once the oil is hot, arrange the onigiri (rice balls) in the pan, triangle side down. Cook the rice balls on both sides until golden brown and crispy, about 3 to 4 minutes per side. You can also pan fry the edges too if you'd like.
Step 7
(Optional) Brush on sauce:When both sides of the onigiri are golden brown, reduce the heat to low. Then, brush each side with some soy sauce or your preferred sauce and pan fry for an additional 15 to 30 seconds, until crispy again.*Make sure the heat is on low and don't pan fry for too long after the sauce is brushed on to prevent it from burning.*
Step 8
Garnish the yaki onigiri with furikaki if you'd like and enjoy while warm!