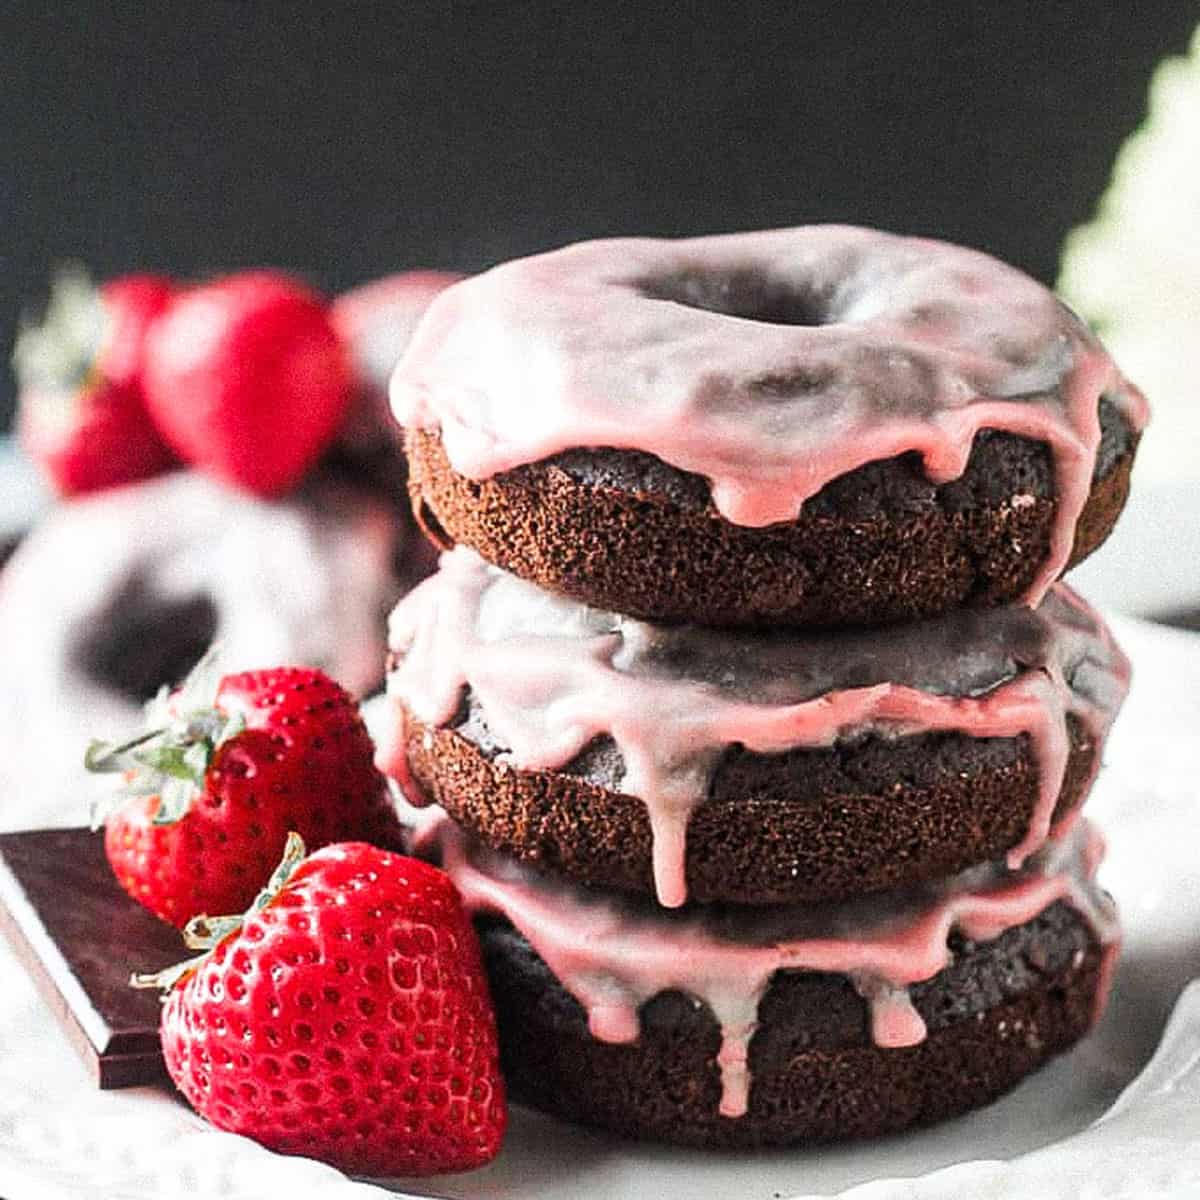
Strawberry Glazed Vegan Chocolate Donuts
4.6
(9)
Your folders
Your folders
Prep Time: 15 minutes
Cook Time: 12 minutes
Total: 37 minutes
Servings: 6
Ingredients
Export 11 ingredients for grocery delivery
Instructions
Step 1
Preheat the oven to 350°F. Lightly spray a 6-cavity donut pan with cooking spray and set aside.
Step 2
In a small bowl, whisk together the cornstarch and 3 tablespoons water to make a slurry and set aside.
Step 3
Sift together the oat flour, cocoa powder, baking powder, baking soda, and salt in a medium mixing bowl.
Step 4
In a large mixing bowl, whisk together the coconut sugar, maple syrup, oat milk, apple cider vinegar, vanilla, and cornstarch slurry.
Step 5
Pour the dry ingredients into the wet and whisk until smooth.
Step 6
Stir in the chocolate chips, if using.
Step 7
Pour the batter into a pastry bag and snip off the tip. Fill each donut cavity to the top. You can use a plastic zip top bag if you don't have a pastry bag or you could even just spoon the batter into the pan.
Step 8
Bake for 12 to 14 minutes until set.
Step 9
Cool the donuts in the pan on a wire rack for 5 to 10 minutes before turning them out onto a cooling rack.
Step 10
Place the chopped strawberries into the blender and purée. Add a teaspoon of water to get them started if needed. Only add more water if absolutely necessary - you don't want to dilute the color or flavor of the strawberries.
Step 11
Place the powdered sugar into a bowl and add 2 tablespoons of the strawberry purée to start. Whisk until smooth, adding another 1 tablespoon of strawberry purée, if needed, to get the correct consistency. You want it thick enough to coat the top of the donut, but thin enough to drip down the sides a bit.
Step 12
Place the wire cooling rack onto a rimmed baking sheet to catch the drips from the glaze as they dry.
Step 13
Place the perfectly rounded bottom half of a donut into the glaze and place back onto the wire rack glaze side up to dry.
Step 14
Repeat with remaining donuts.
Step 15
To get an even brighter pink color, let the icing on the donuts set and then dip each donut into the glaze once more, again placing back onto the wire rack, glaze side up, to dry.
Step 16
The glaze will get brighter as it dries.