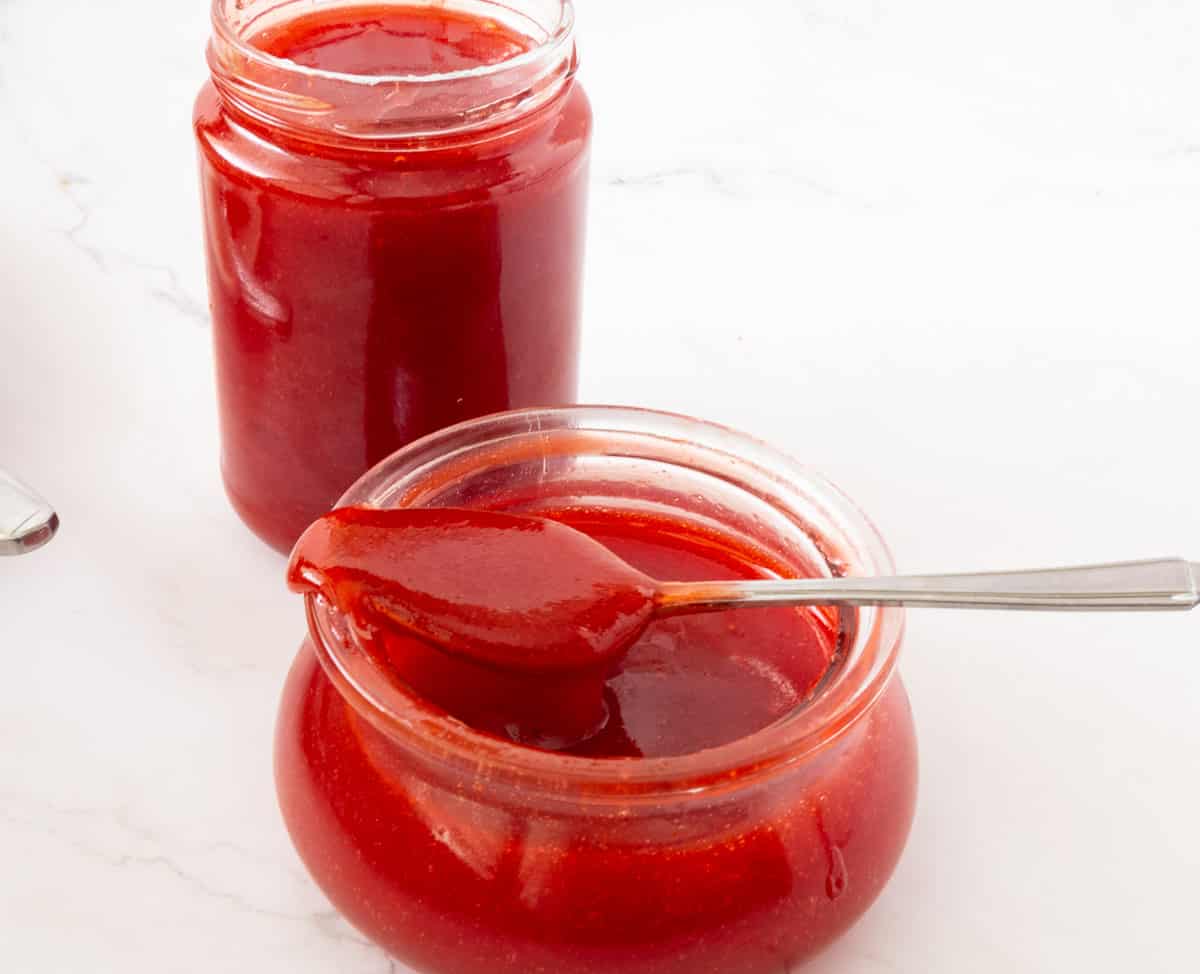
Strawberry Jelly
5.0
(18)
Your folders
Your folders
Prep Time: 10 minutes
Cook Time: 45 minutes
Total: 55 minutes
Servings: 4
Author : Veena Azmanov

Ingredients
Export 3 ingredients for grocery delivery
Instructions
Step 1
Check the strawberries and remove any bad, discolored, or bruised ones. Pro tip - You can use soft strawberries but discolored and bruised ones can ruin the jelly. Also, don't soak the fruit in water for too long as they do soak up moisture.
Step 2
Place the strawberries in a food processor and blend until smooth. Pour the puree into a sieve /mesh, cheesecloth, or jelly bag to strain out only the strawberry juice. Discard the seeds and fruit fiber. Pro tip - I like to use my blender instead of a food processor so I don't lose all the fruit fiber. The disadvantage of keeping fruit fiber though is that the jelly is less transparent.
Step 3
In a heavy bottom large pot (a large saucepan works too), combine the strawberries, sugar, salt, pectin powder, and lemon juice. Give it a good stir. Pro tip - Some pectin can become lumpy when added to the pan, but, it does dissolve during cooking. Alternatively, you can add the pectin to a small batch of strawberry puree and then add it to the pot.
Step 4
Cook on medium heat until the sugar is dissolved. Then, turn the heat up and let the mixture come to a full rolling boil. Let it boil for two minutes on medium-high. Skim any foam that rises to the top with a metal spoon.Pro tip - The foam does not affect the taste of the jelly but it does give the jelly a cloudy appearance.
Step 5
Then, turn the heat to medium-low and cook for just about 5 minutes. If there is still some scum on the top, you can add a tablespoon of butter to dissolve it. Pro tip - Ideally you do not need to reduce jelly or jam with pectin. But, since we are using less pectin in our jelly we will cook and reduce it for just about 5 minutes more.
Step 6
Turn the heat off and let the jam sit in the pan for 2 to 3 minutes. Pro tip - When using pectin there is no need to test jam the traditional method. But, if unsure you can use a candy thermometer - the jelly should still reach 105 C / 221 F.
Step 7
Pour the jelly into warm sterilized jars leaving 1/4 inch headspace from the top. Use a clean sterilized knife or spatula to move the jelly a bit – this will remove any air pockets.
Step 8
Place a piece of wax paper on the top before you place the lid on tightly. Clean the rim of the jar with a clean paper towel. Top the lid. Alternatively, use the lid with screw-on rings that come with the canning jars.
Step 9
Sterilize 4 x 8 oz (250 g) jars by washing them in hot soapy water or cleaning them in the dishwasher with a gentle cycle. Then, place them in the oven for 20 minutes at a low 284°F / 140°C.Pro tip - I find the dishwasher works well to wash jars and the oven dries any excess moisture in the bottles.
Step 10
Note - Leave them in the oven until you are ready to use them (you can turn the oven off). Don’t forget to wash and sterilize the bottle lids as well.
Step 11
Place a rack in the bottom of a large stockpot or water bath canner. Fill half the pot with water. Bring the water in the pot to a boil on high heat.
Step 12
Lower the filled jars over the rack leaving enough space between the jars.Pro tip - The level of water should be at least an inch above the top of the jars. So, if necessary, pour more boiling water.
Step 13
Bring the water to a boil again. Cover the pot and process/simmer for 15 minutes.
Step 14
Then, carefully remove the jars from the stockpot and place them on a kitchen towel to absorb any excess moisture. Cool completely. Pro tip - The hot jars are very delicate so make sure to use tongs when taking them out and place them upside down on soft towels to prevent them from breaking.
Step 15
Press the top of the lid to ensure the seal is tight – the lid should not move at all. Store in a cool dry place.