Tuna Mayo Onigiri
5.0
(4)
Your folders
Your folders
Prep Time: 15 minutes
Total: 15 minutes
Servings: 3
Ingredients
Export 5 ingredients for grocery delivery
Instructions
Step 1
Gather all the ingredients. For making onigiri, please use hot, freshly cooked Japanese short-grain rice. See how to cook it with a rice cooker, pot over the stove, Instant Pot, or donabe.
Step 2
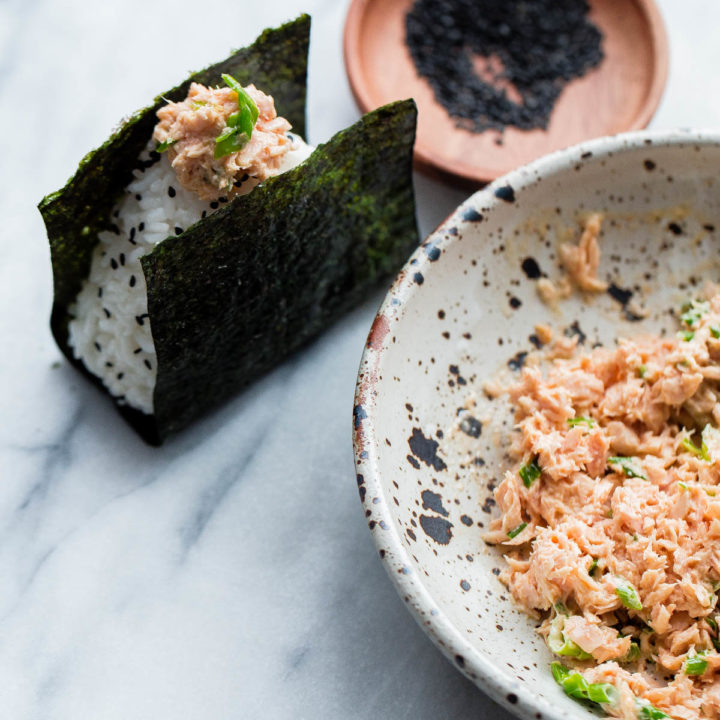
To make the tuna salad, drain ½ (5-ounce) can albacore tuna (preferably packed in olive oil). Transfer to a bowl and break up the tuna chunks into small flakes. Add 1 Tbsp Japanese Kewpie mayonnaise and ¼ tsp soy sauce Mix well to combine.
Step 3
Let the freshly cooked 2¼ cups cooked Japanese short-grain rice cool slightly in a large bowl or tray so it's easier to handle. The rice should be hot or warm when making onigiri.
Step 4
To keep the rice from sticking to it, wet an onigiri mold and lid in a bowl of water and shake off the excess water. Sprinkle salt in the moistened mold. Fill it halfway with rice, making sure to tuck the rice into the corners.
Step 5
To the center, add a spoonful of tuna mayo filling (about 1–2 tsp). Add more rice to cover the tuna mayo and fill the mold to the top edge.
Step 6
Sprinkle the top of the rice with a bit more salt. Cover with the lid and push down firmly. You should feel a slight resistance as you compress the rice; if not, add a bit more.
Step 7
Remove the lid, flip the mold over, and push the “button” to release the rice ball onto a plate. Repeat to make the remaining onigiri. Tip: Dip your fingers in water before touching the onigiri to keep the rice from sticking to them.
Step 8
Place a piece of plastic wrap in a rice bowl or any small bowl and sprinkle it with Diamond Crystal kosher salt. Add about ⅓ cup rice. Tip: Salting the rice helps to preserve it longer.
Step 9
Create a small indentation in the center of the rice, then add a spoonful of tuna mayo, about 1–2 tsp. Add another ⅓ cup rice on top to cover the tuna mayo completely.
Step 10
Sprinkle the rice with more salt. Gather the corners of the plastic wrap and twist the plastic to tighten it around the rice.
Step 11
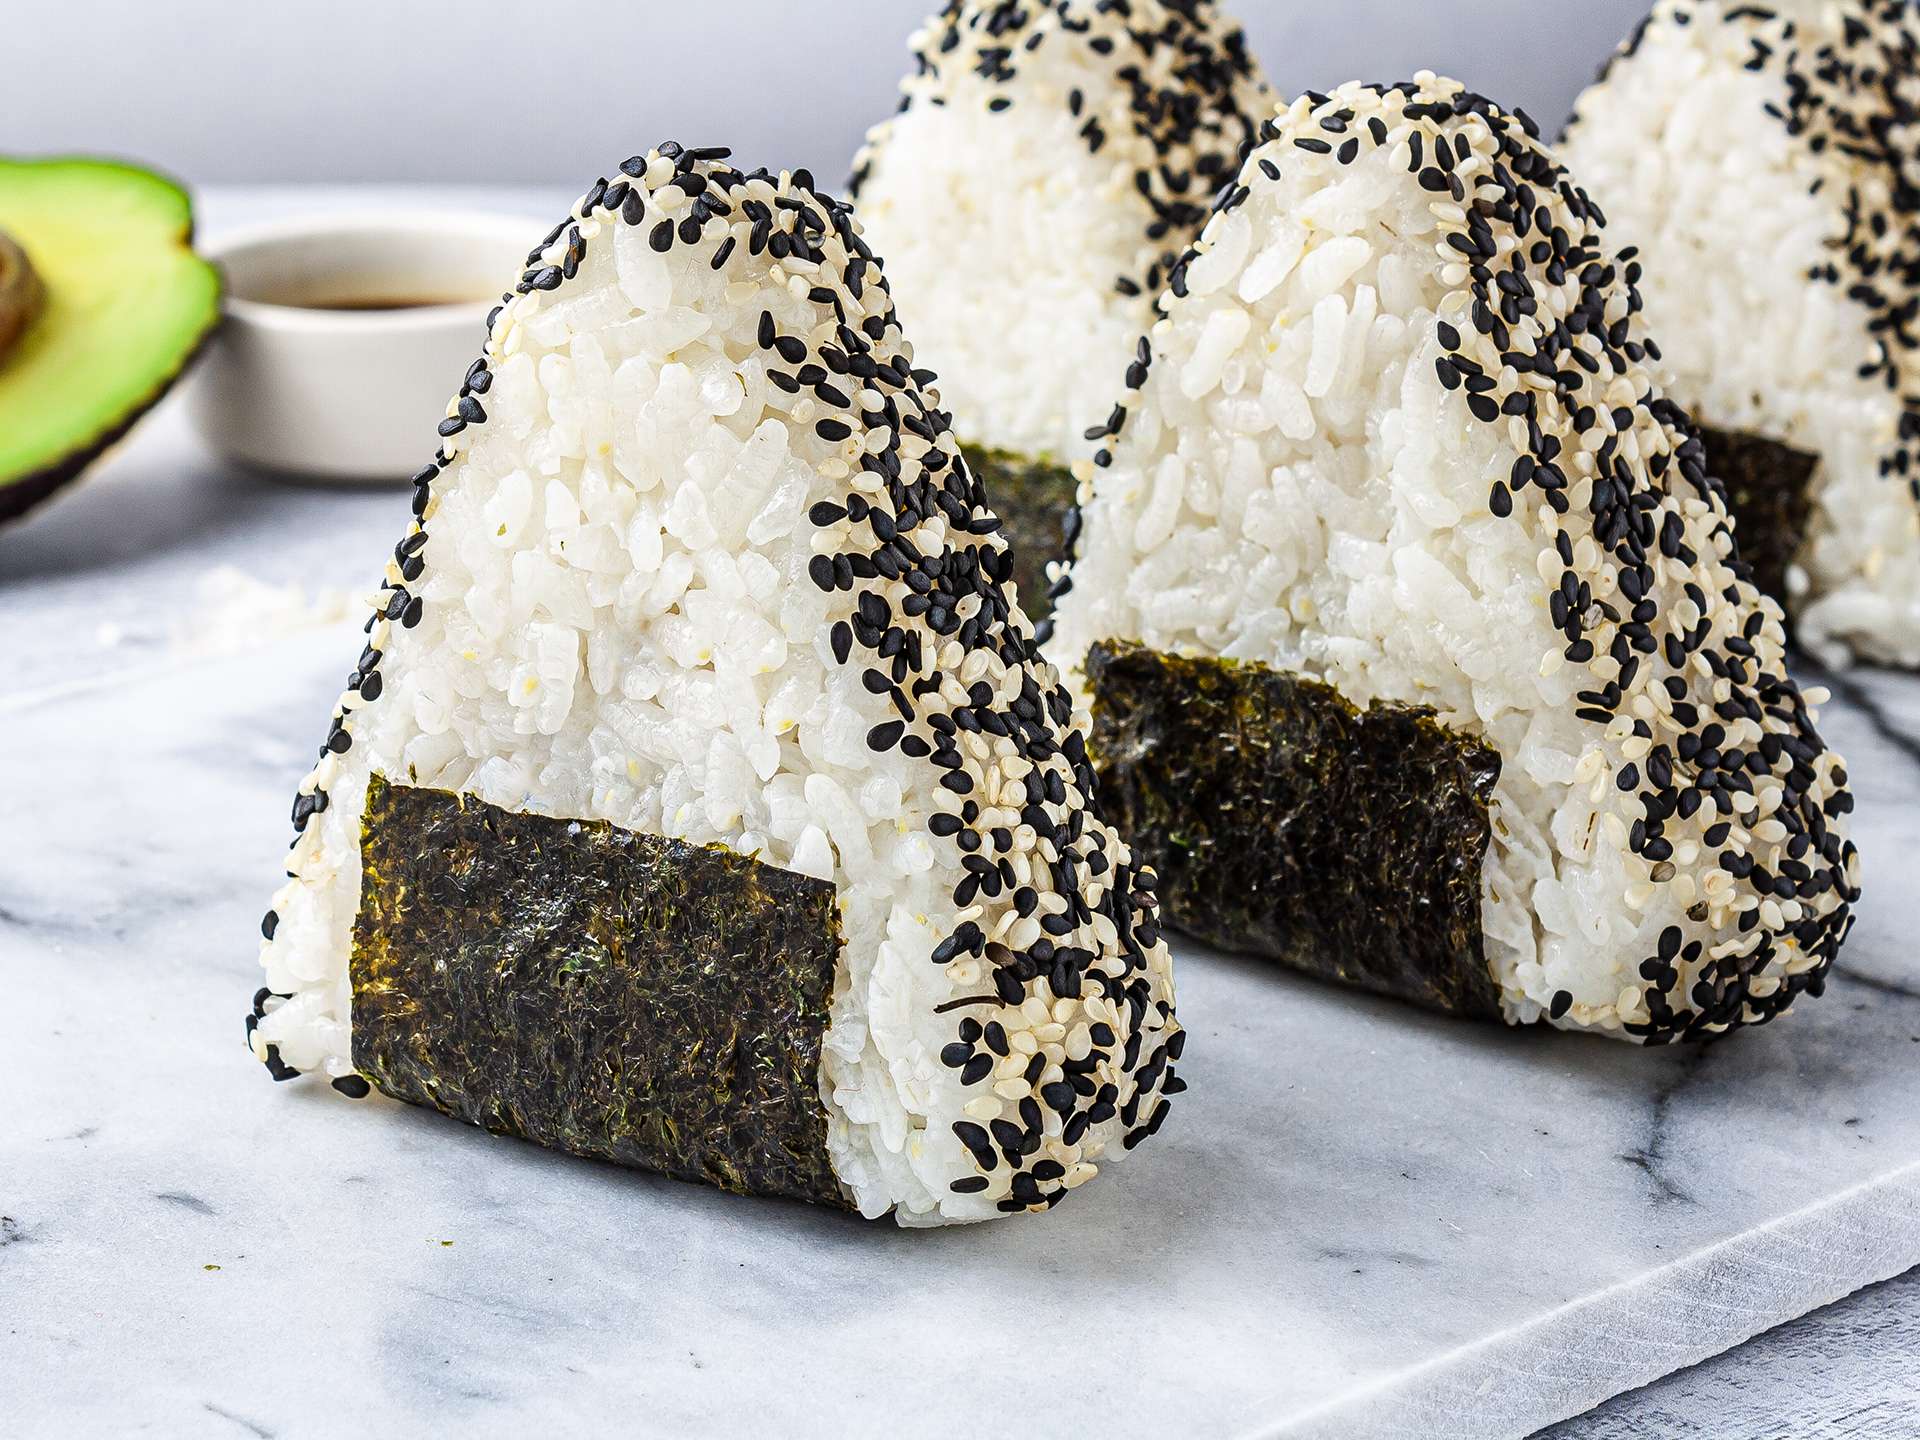
Gently press the rice with your top hand in a "mountain" shape to form a triangle corner. At the same time, gently squeeze with your bottom hand to flatten either side. Rotate and press 2–3 more times to form the other triangle corners. Tip: Press firmly enough so the onigiri doesn’t fall apart, but don’t squeeze too tightly. Try to keep the rice ball as airy as possible.
Step 12
Cut 1 sheet nori (dried laver seaweed) into thirds. Wrap the onigiri from both sides with a strip of nori seaweed, leaving the top corner exposed. If you like crispy nori, then wait to wrap the onigiri right before serving; keep the nori in an airtight container or bag so it does not get stale in the meantime.
Step 13
Tuck the nori under the bottom of the onigiri. Place a dollop of tuna mayo filling on the top corner. Serve warm or at room temperature.
Step 14
If you‘d like to take onigiri for your lunch, keep it cool in an insulated bag with ice packs and consume within 6 hours. Onigiri gets hard when you refrigerate it and the cold air dries out the rice. So, I don‘t recommend making it too far ahead of time. But if you really need to, my trick is to wrap the onigiri with thick kitchen towels and store it in the fridge. The onigiri will be cool and safe but should not get cold and dry.
Top similar recipes
Curated for youYour folders

 410 views
Tuna Mayo Onigiri
contemplatingsweets.com
5.0
(4)
10 minutes
Your folders
 645 views
Tuna Mayo Onigiri
straightupeats.com
10 minutes
Your folders
 309 views
Tuna-Mayo Onigiri
epicurious.com
Your folders
 239 views
Spicy Tuna Mayo Onigiri
bonappetit.com
4.8
(9)
Your folders
 108 views
Soy Tuna-Mayo Onigiri
japanesecooking101.com
7 minutes
Your folders
 220 views
Tuna Onigiri
jeccachantilly.com
Your folders
 346 views
Tuna-Mayo Onigiri Recipe – Japanese...
japanesecooking101.com
Your folders
 360 views
Spicy Tuna Onigiri
siftandsimmer.com
5.0
(11)
20 minutes
Your folders
 465 views
Spicy Tuna Onigiri
thishealthytable.com
5.0
(5)
Your folders
 1056 views
Spicy Tuna Onigiri
abeautifulplate.com
4.6
(64)
30 minutes
Your folders
 402 views
Vegan "Tuna" Onigiri
foodaciously.com
4.8
(4)
Your folders
 1087 views
Tuna Mayo Onigiri Rice Ball (シーチキンマ...
sudachirecipes.com
Your folders
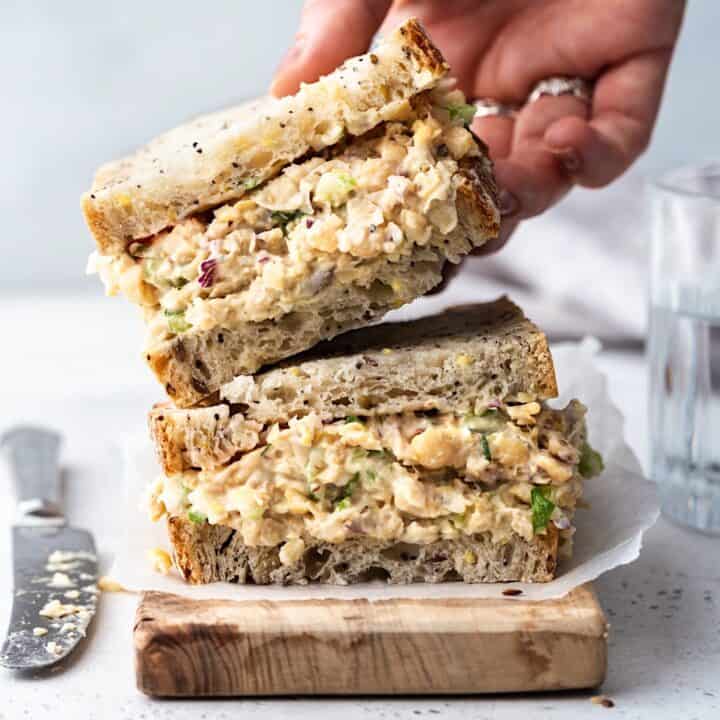
 222 views
Chickpea Tuna Mayo
romylondonuk.com
Your folders
 996 views
Gochujang Mayo Tuna Patties
mykoreankitchen.com
4.9
(12)
15 minutes
Your folders
 261 views
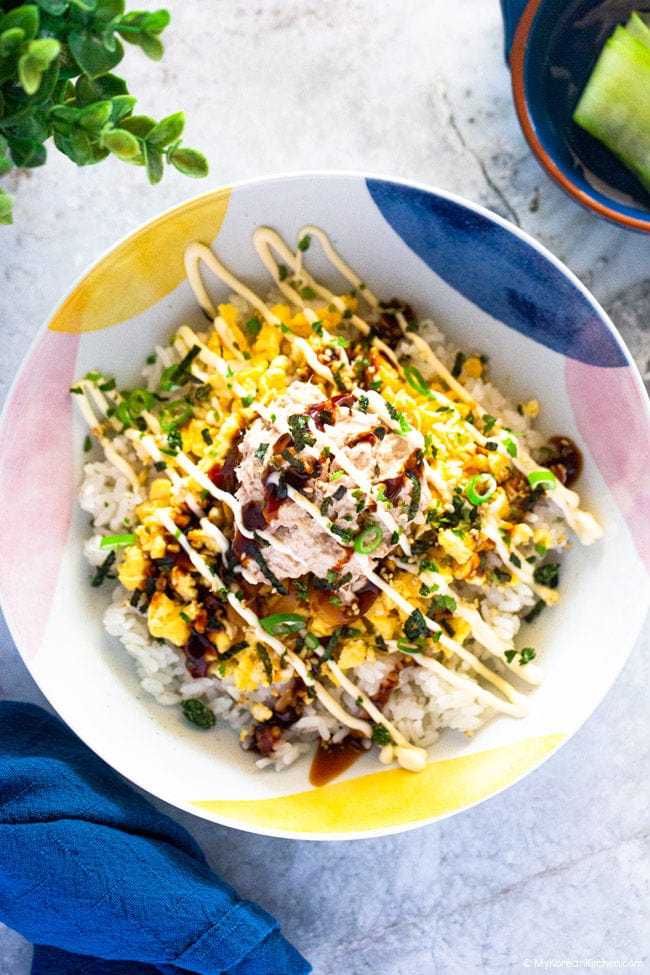
Tuna Mayo Rice Bowl
mykoreankitchen.com
4.8
(5)
10 minutes
Your folders
 163 views
Vegan Chickpea Tuna Mayo
cupfulofkale.com
4.6
(50)
Your folders
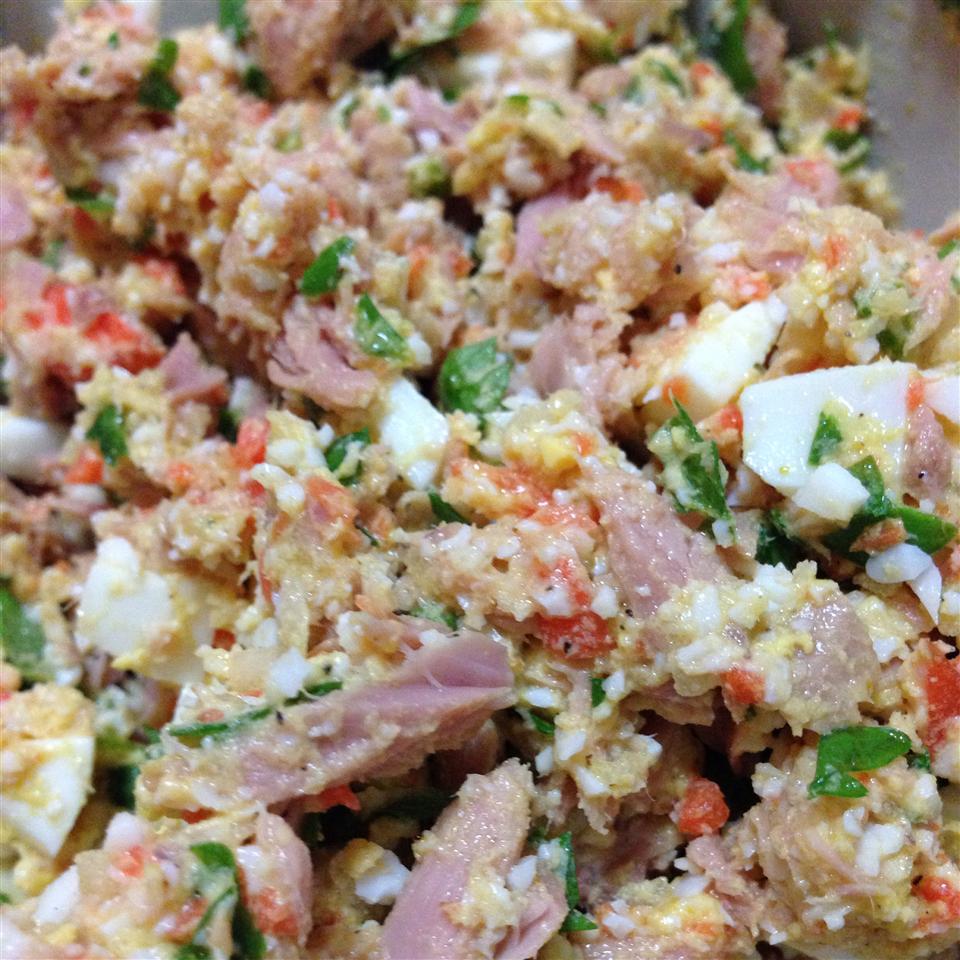 282 views
No-Mayo Tuna Salad
allrecipes.com
4.1
(22)
5 minutes
Your folders
 394 views
No Mayo Tuna Salad
simplywhisked.com
4.7
(7)
Your folders
395 viewsNo Mayo Tuna Salad
simplywhisked.com
4.7
(7)