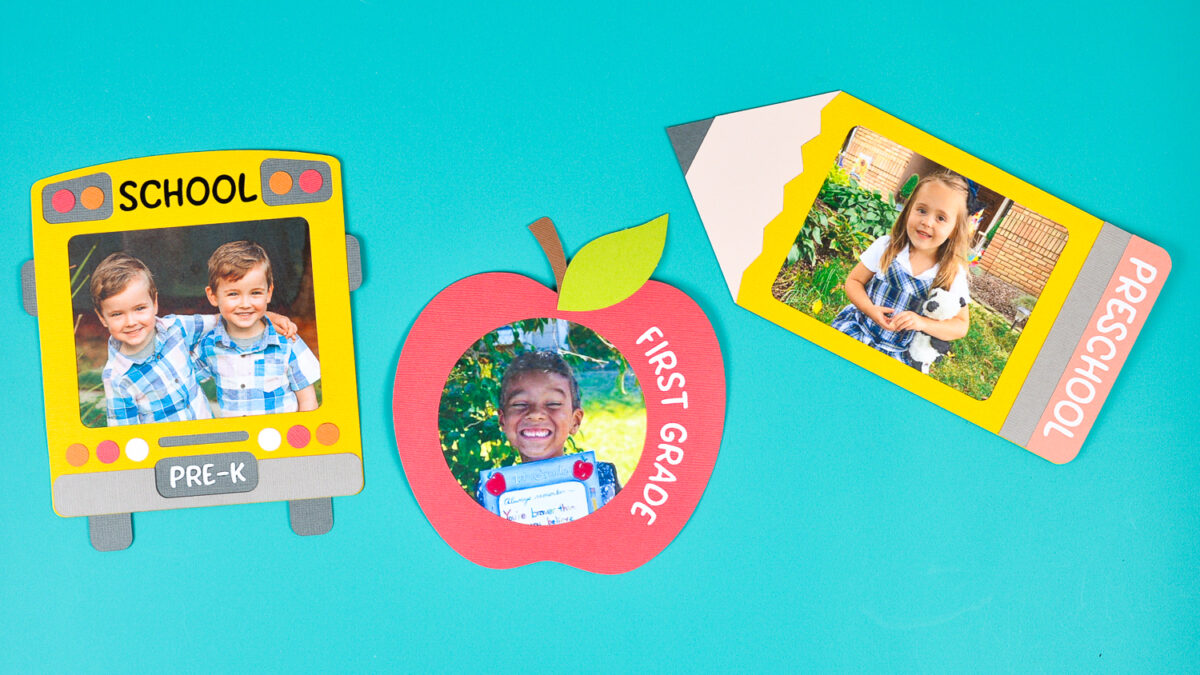
Back to School FramesBack to School Frames
Your folders
Your folders
Ingredients
Export 4 ingredients for grocery delivery
Instructions
Step 1
Start by uploading the downloaded SVG file to Cricut Design Space. If you need help uploading your file, see this post. Included are separate files for each grade, preschool through 8th!
Step 2
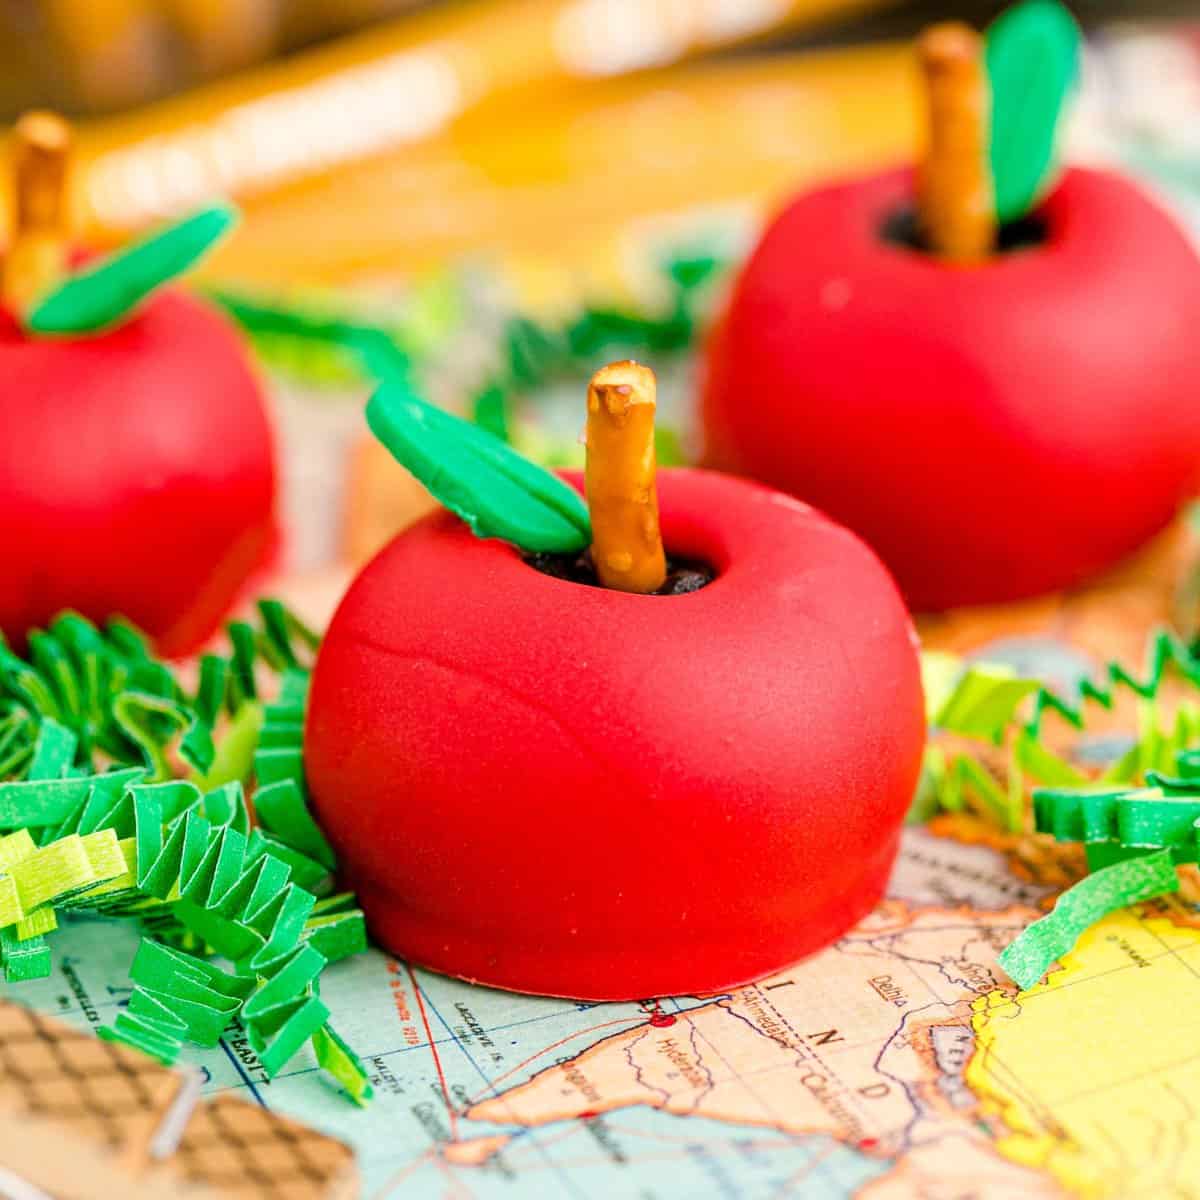
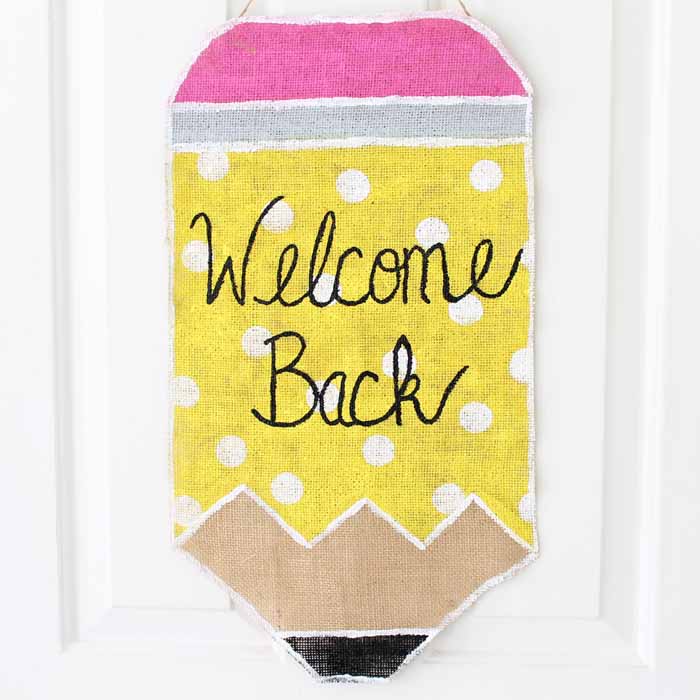
For the text (both the word SCHOOL on the bus and the grade levels, you can choose whether you want to cut these out of cardstock like the rest of the project, or if you want to use iron on vinyl. Smaller pieces like this are so much easier to cut with iron on vs. trying to piece in cardstock.Once you have all of your pieces cut, it's time to assemble your frames! The bottom piece for each frame is cut in black—you can piece the rest of your frame, including the photo of your child, on top of that bottom piece. Save the cutouts in the middle of the apple, bus, and pencil to help you cut your school photos to the correct size.
Step 3
Back to School Frames: Cricut Design SpaceUse a Xyron Creative Station—it's basically a sticker maker! You can run all of the pieces through and it will add an adhesive layer to the back.
Step 4
The mini version of the Xyron Sticker Maker was used for the smaller pieces.
Step 5
Once you've run your cardstock pieces through the Xyron, rub the plastic coating on top—this helps keep it from "webbing" (you'll know it when you see it!). The brayer does a great job of helping the webbing problem.
Step 6
Once you have all of your stickers made, it's time to assemble! Carefully peel the largest piece (the bus, pencil, and apple) and place your photo behind the frame. Then place onto the bottom gray piece. Then add all of the decorative pieces.
Step 7
For the text, the Cricut EasyPress is being used, though an iron works as well. Carefully lay your weeded iron on vinyl onto your project. Set the EasyPress at 290° and try not to get the actual photo under the heat plate. 20 seconds is usually enough to get it to adhere to cardstock. If you're having trouble getting it to adhere, try pressing from the back.
Step 8
Once you've adhered your iron on vinyl pieces, you're done!
Step 9
Start by uploading the downloaded SVG file to Cricut Design Space. If you need help uploading your file, see this post. Included are separate files for each grade, preschool through 8th!
Step 10
For the text (both the word SCHOOL on the bus and the grade levels, you can choose whether you want to cut these out of cardstock like the rest of the project, or if you want to use iron on vinyl. Smaller pieces like this are so much easier to cut with iron on vs. trying to piece in cardstock.Once you have all of your pieces cut, it's time to assemble your frames! The bottom piece for each frame is cut in black—you can piece the rest of your frame, including the photo of your child, on top of that bottom piece. Save the cutouts in the middle of the apple, bus, and pencil to help you cut your school photos to the correct size.
Step 11
Back to School Frames: Cricut Design SpaceUse a Xyron Creative Station—it's basically a sticker maker! You can run all of the pieces through and it will add an adhesive layer to the back.
Step 12
The mini version of the Xyron Sticker Maker was used for the smaller pieces.
Step 13
Once you've run your cardstock pieces through the Xyron, rub the plastic coating on top—this helps keep it from "webbing" (you'll know it when you see it!). The brayer does a great job of helping the webbing problem.
Step 14
Once you have all of your stickers made, it's time to assemble! Carefully peel the largest piece (the bus, pencil, and apple) and place your photo behind the frame. Then place onto the bottom gray piece. Then add all of the decorative pieces.
Step 15
For the text, the Cricut EasyPress is being used, though an iron works as well. Carefully lay your weeded iron on vinyl onto your project. Set the EasyPress at 290° and try not to get the actual photo under the heat plate. 20 seconds is usually enough to get it to adhere to cardstock. If you're having trouble getting it to adhere, try pressing from the back.
Step 16
Once you've adhered your iron on vinyl pieces, you're done!
Top similar recipes
Curated for youYour folders
 205 views
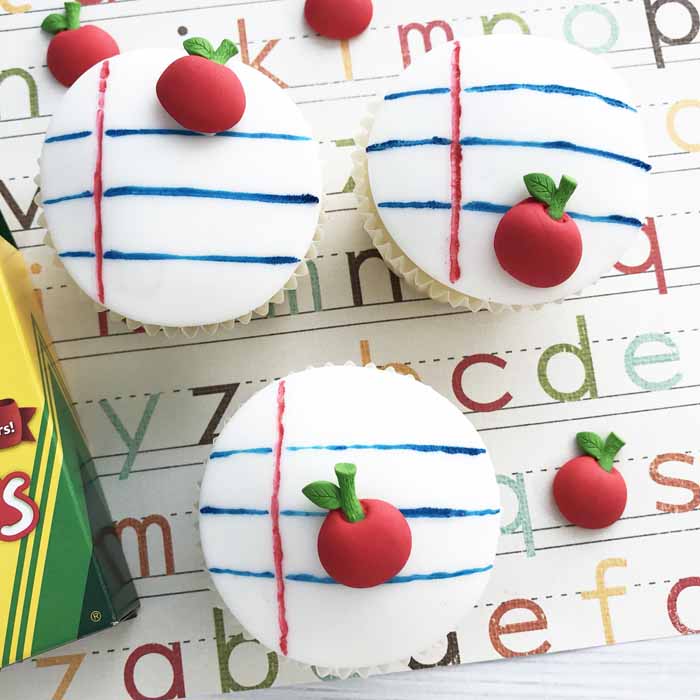
Back to School Cupcakes
thecountrychiccottage.net
Your folders
 198 views
Back to School Turkey Pinwheels
aheadofthyme.com
Your folders
 176 views
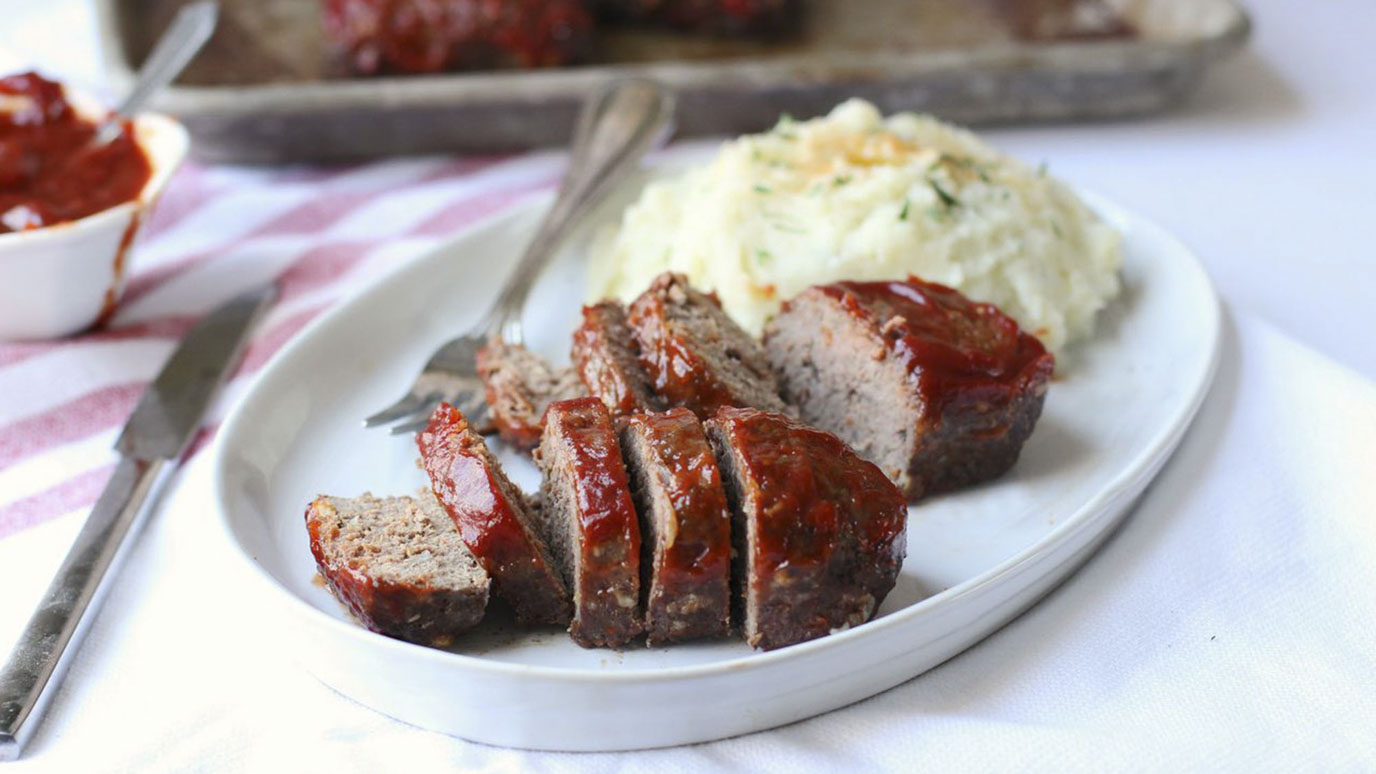
Back to School Mini Meat Loaves
mccormick.com
35 minutes
Your folders
 214 views
27 Healthy Back to School Meals
allnutritious.com
5.0
(2)
20 minutes
Your folders
 224 views
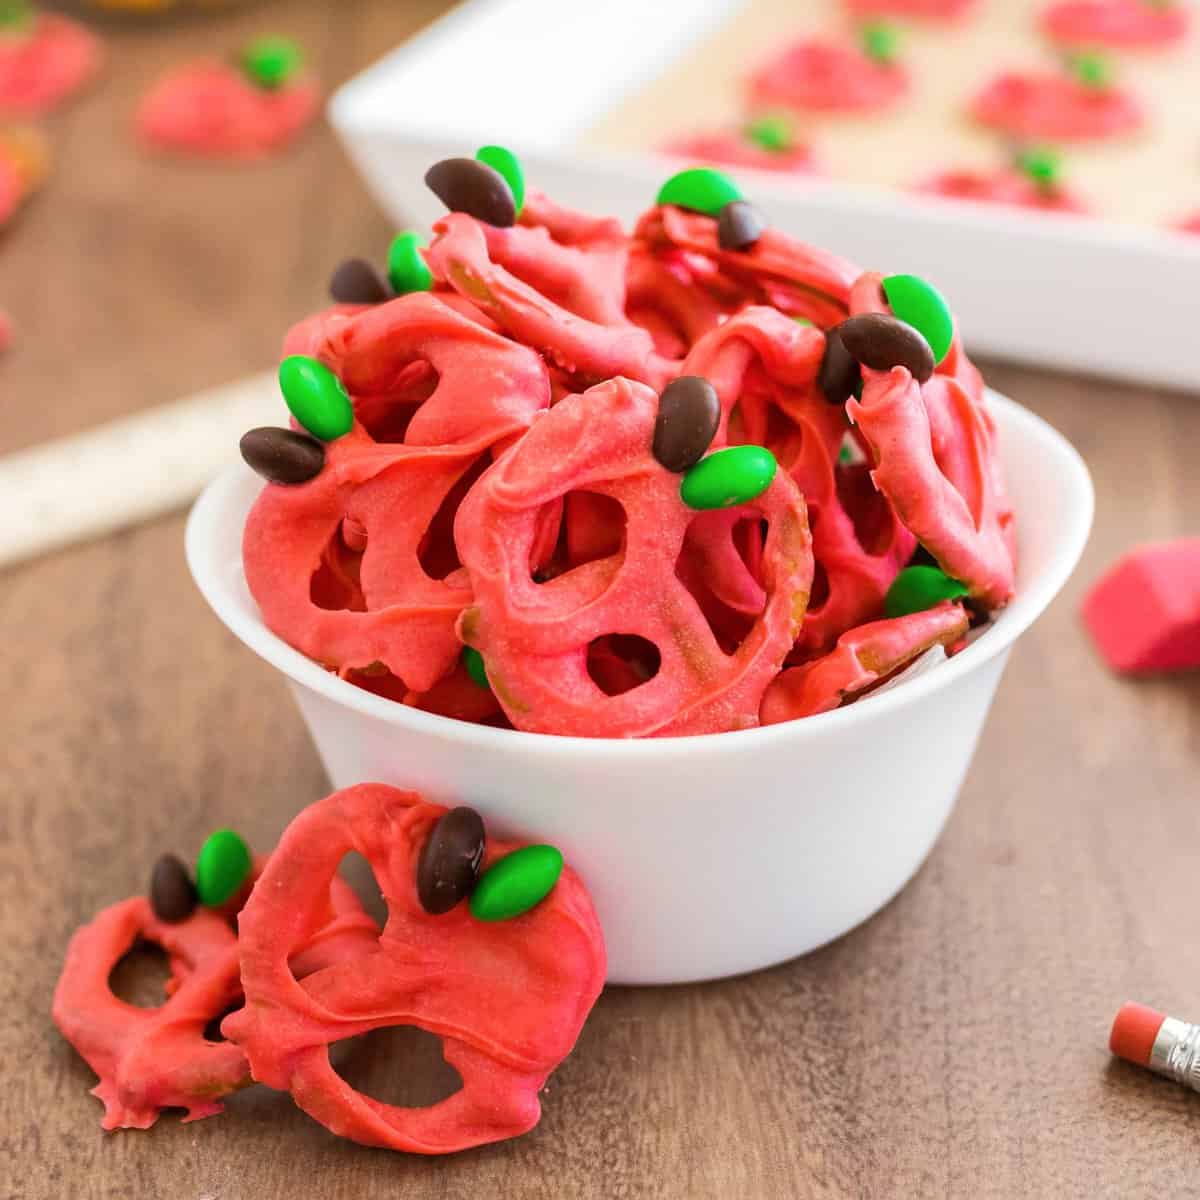
Back-to-School Chocolate Covered Pr...
thecountrycook.net
5.0
(1)
Your folders
 181 views
Back-to-School Apple Shaped Oreo Tr...
thecountrycook.net
5.0
(1)
Your folders
 230 views
Class Door Decoration for Back to S...
thecountrychiccottage.net
Your folders
 54 views
Vegan Meal Prep | Back to School Lu...
sweetpotatosoul.com
Your folders
 468 views
25 Back to School Lunch and Snack I...
aheadofthyme.com
5.0
(2)
Your folders
 390 views
5 Healthy Make Ahead Lunches (For B...
therisingspoon.com
Your folders
 156 views
School Cake!
janespatisserie.com
5.0
(24)
45 minutes
Your folders
 264 views
School Pizza
copymethat.com
Your folders
 182 views
School Pizza
bigoven.com
15 minutes
Your folders
180 viewsSchool Pizza
bigoven.com
15 minutes
Your folders
201 viewsSchool Lunches
bigoven.com
30 minutes
Your folders
 278 views
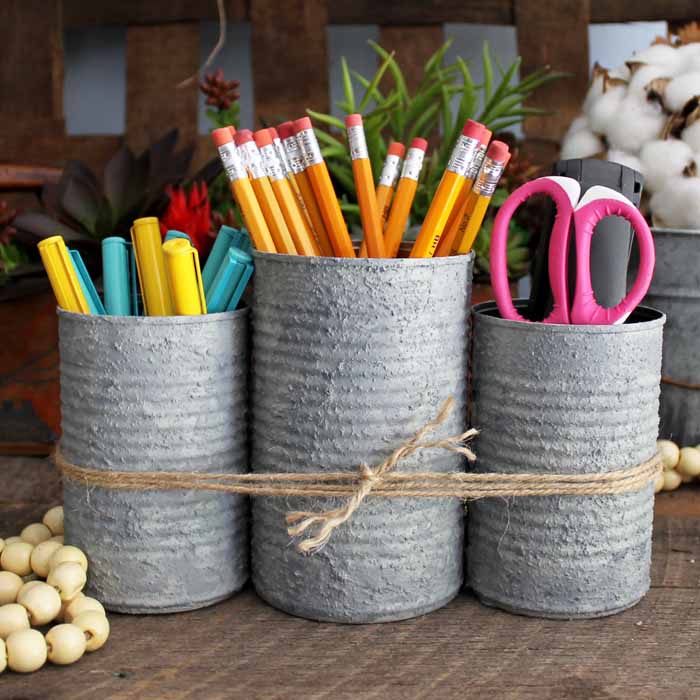
School Organizer
thecountrychiccottage.net
Your folders
 152 views
Make this Sesame Chicken Stir-fry o...
cleanfoodcrush.com
Your folders
 150 views
Chocolate School Cake!
janespatisserie.com
5.0
(6)
45 minutes
Your folders
 175 views
School Night Casserole
easiereats.com
5.0
(1)
1 hours, 20 minutes