Best Cinnamon Roll Recipe and Cinnamon Roll Icing Recipe
5.0
(4)
Your folders
Your folders
Prep Time: 30 minutes
Cook Time: 17 minutes
Total: 212 minutes
Servings: 15
Author : The Food Charlatan
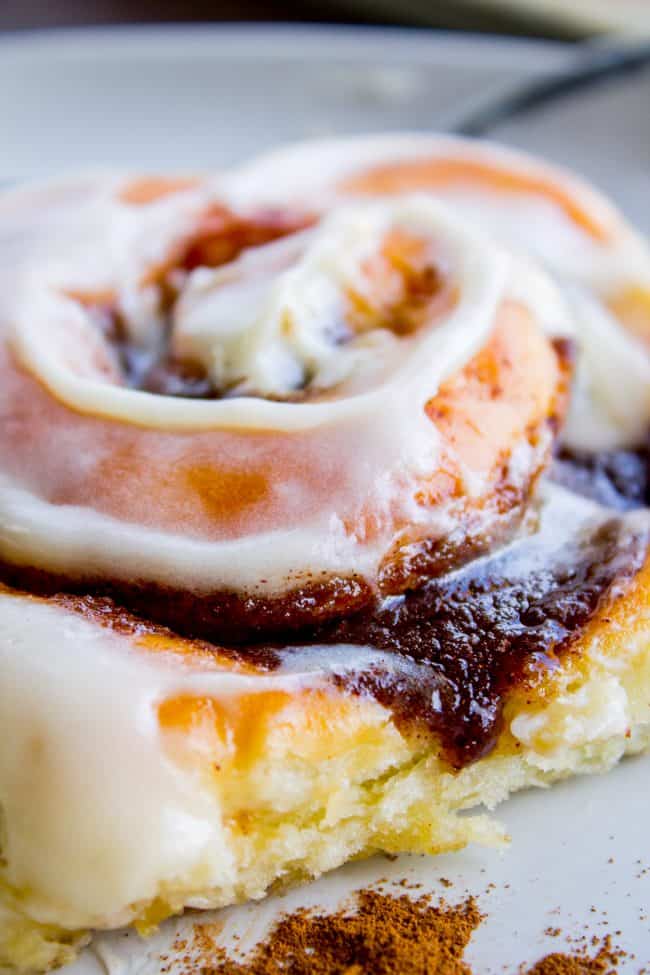
Ingredients
Export 12 ingredients for grocery delivery
Instructions
Step 1
Make the sweet dough: In a glass measuring cup, add 1 cup milk. Use whole milk if you have it. Warm the milk in the microwave in 20 second increments until it is nice and warm. Stir it with a small spoon and feel it with your finger. It should be about 105-110 degrees F, or about the temperature of nice bath water. If it feels at all HOT, stick it in the fridge until is cools down.
Step 2
Add 1 tablespoon of yeast and 5 tablespoons granulated sugar and stir. Wait 5 minutes and check to make sure your yeast is getting bubbly. If not, you have killed your yeast; dump it and start over. Better to start over now than after hours or rising!
Step 3
Once you are certain that your yeast is alive and well, add two eggs to the measuring cup and whisk it all together until smooth.
Step 4
Meanwhile, add 3 and 1/4 cups flour to a large bowl or stand mixer. Make sure you spoon and level your flour. Add 1 teaspoon kosher salt.
Step 5
Add the wet ingredients to the flour in the bowl. Use the paddle attachment on your mixer (or regular beaters if you're using a hand mixer) and beat until combined, about 1 minute. Make sure to stop and scrape the sides and bottom of the bowl.
Step 6
With the mixer running on low or medium low, add 1 tablespoon of very soft butter at a time, until the entire 1/2 cup has been added in. Make sure each tablespoon of butter is fully incorporated before adding more butter. The process of adding in the butter should take a couple minutes at least.
Step 7
Once all the butter is incorporated, beat on medium low speed for 5 minutes. The dough should be silky, smooth, and shiny. After 5 minutes, it will not have cleaned the sides of the bowl, but it should be formed together in a loose ball. It is VERY wet and not workable at all.
Step 8
Grease a large bowl with butter or oil. Don't be stingy now.
Step 9
Use a spatula to scrape the sweet dough into the greased bowl. Cover and refrigerate for 2 hours or up to 2 days. (Chilling is not optional. You won't be able to work with this dough until it is completely chilled!)
Step 10
When you are ready to roll out the dough, prepare the pan and the filling.
Step 11
To prepare the pan: In a small bowl, microwave 1/4 cup (1/2 stick) butter until it is just barely melted. Add 1/4 cup cream and 5 tablespoons brown sugar. Stir together and scrape it into the pan you are using to bake your cinnamon rolls in.
Step 12
A note on what pan you use: I like to use an 11x17x1 inch half baking sheet. This will give you rolls that are not quite as tall but have a beautiful round shape. I prefer the ratio of cinnamon filling to dough when the rolls are baked. You can also use a 9x13 inch pan. This will give you taller rolls that will bake into each other in the oven. This recipe will work in either pan you use, but I recommend the 11x17 baking sheet.
Step 13
Use a spoon or pastry brush to spread the cream, butter, and brown sugar mixture all over the bottom of the pan you are using, and all the way up the sides as well.
Step 14
Prepare the filling for the rolls: Add 3/4 cup (1 and 1/2 sticks) very soft butter to a medium bowl. Add 1 cup plus 2 tablespoons brown sugar, 2 tablespoons cinnamon, 1/4 teaspoon kosher salt, and 1/2 or 3/4 teaspoon cardamom, if you are using it. (you should use it.) Stir it all together and set aside.
Step 15
Bring a pot of water to a boil on the stove. Place a 9x13 inch pan on a bottom rack in your oven. Place another rack above it. Turn your oven on to 350 for about 3 minutes, then turn it off. Your rolls are going to rise in the oven with a water bath.
Step 16
Roll out the dough: Prepare a work surface with a generous dusting of flour. I love to roll out dough on my pastry cloth, it makes it so easy.
Step 17
Scrape the chilled dough onto the flour and knead it together a couple times with your hands. Press it out into a rectangle with your hands, then use a rolling pin to roll the dough into a large rectangle. It should be about 1/4 inch thick if not a little thicker. It should measure about 12 inches by 16-18 inches. It doesn't have to be exact.
Step 18
Use a spatula to spread the filling on top of the dough, all the way to the edges. If the filling looks like it's not soft enough to spread easily, put it in the microwave for 5 seconds and stir. You want the filling to go into the oven thick, not melted, so don't put it in the microwave for too long.
Step 19
Roll up the dough, starting from the long edge. As you roll, use your hands to smooth out the dough from the center to make the roll even (so that the center of your roll is not way thicker than the edge of your roll.)
Step 20
Use your fingers to seal the roll.
Step 21
Use a very long and sharp serrated knife to cut the dough into 1 or 1 and 1/2 inch rolls. Use a sawing motion. Dip your knife in flour in between cuts. The dough is pretty sticky on the inside.
Step 22
Place each roll in the prepared pan. They should not touch each other.
Step 23
Once all the rolls are on the pan, generously spray some plastic wrap with nonstick spray, and cover the rolls. Do NOT forget to spray the plastic wrap. Do NOT use a tea towel. The dough is pretty sticky, and if your cover sticks to them, it will ruin your beautiful rise when you try to take it off. No, I'm not at all bitter that this happened to me on one of my test runs, why do you ask??
Step 24
Pour the boiling water that you have on the stove into the 9x13 inch pan that's on the lower rack in your oven. Make sure that you remembered to turn off the oven. It should be nice and warm but NOT HOT. You want the rolls to rise, not cook. If you accidentally left your oven on too long, leave the door open and let it cool down. If the racks are too hot to touch with your fingers, don't put the rolls in the oven. Let them start rising on top of the oven and put the rolls in when the oven has cooled a bit.
Step 25
Let the covered rolls rise for about 45 minutes. They should be nice and puffy.
Step 26
About 15 minutes before the rolls are finished rising, remove the rolls and the pan of water from the oven. Preheat the oven to 350 degrees F.
Step 27
Once the rolls are quite puffy and have just about doubled in size, bake at 350 for about 15-18 minutes.
Step 28
The rolls should be golden on top when fully baked. The best way to know if the rolls are done in the middle is to use a thermometer: the center of the rolls should be 190 degrees F. The bottom of the rolls should also be lightly browned, but lifting the edge of a roll can be tricky.
Step 29
Make the cream cheese frosting while the rolls are in the oven. In a large bowl or stand mixer, beat 8 ounces softened cream cheese with 1/2 cup softened butter. Scrape the sides and bottom and beat for a couple minutes until it's nice and fluffy. Add 1 cup powdered sugar and 1/4 teaspoon salt, and beat well.
Step 30
Let the rolls cool for about 10 minutes, then spread with HALF the cream cheese frosting. If you are serving these to a large group and they will all be eaten right away, frost with the entire amount. Otherwise, save the other half of the frosting to serve with leftover rolls, or to pass at the table for guests to serve themselves. I find that people have such different opinions on the level of frosting they enjoy, that it's better to let guests serve themselves.
Step 31
Make the recipe as written through step 23 (except don't boil the water). Once the rolls are shaped and on the pan, cover as directed, then refrigerate overnight. In the morning, prepare the oven by preheating the oven (and then turning it off) and placing a pan of boiling water on a bottom rack. (Remember to turn the oven off, as described in step 24.) Let the rolls rise for the same amount of time and bake as directed.
Top similar recipes
Curated for youYour folders
 222 views
Cinnamon Roll Icing Recipe
cookingwithkarli.com
4.6
(97)
Your folders
 256 views
Cinnamon Roll Icing
cookingwithkarli.com
4.4
(68)
Your folders
 343 views
Cinnamon Roll Recipe
iamafoodblog.com
4.7
(3)
20 minutes
Your folders

 401 views
The Perfect Cinnamon Roll Icing
allrecipes.com
4.8
(483)
Your folders

 306 views
The Perfect Cinnamon Roll Icing
allrecipes.com
Your folders
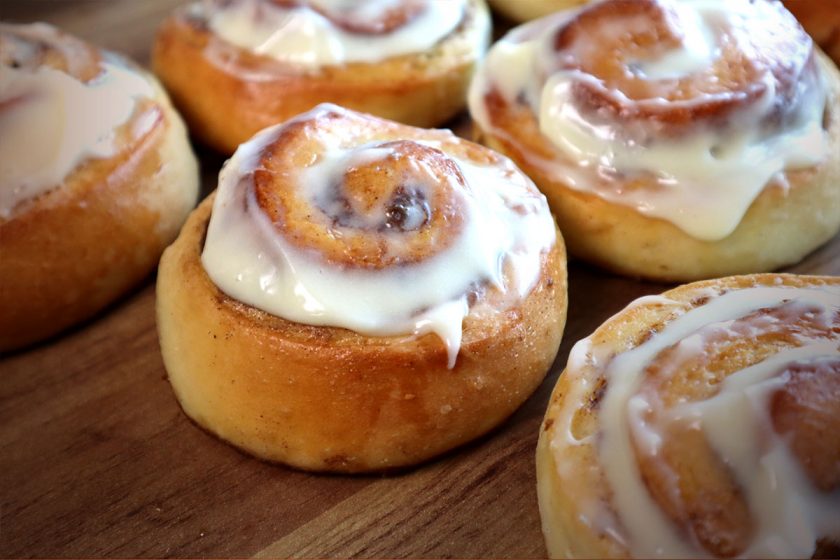
 349 views
Cinnamon Roll
amopaocaseiro.com.br
Your folders
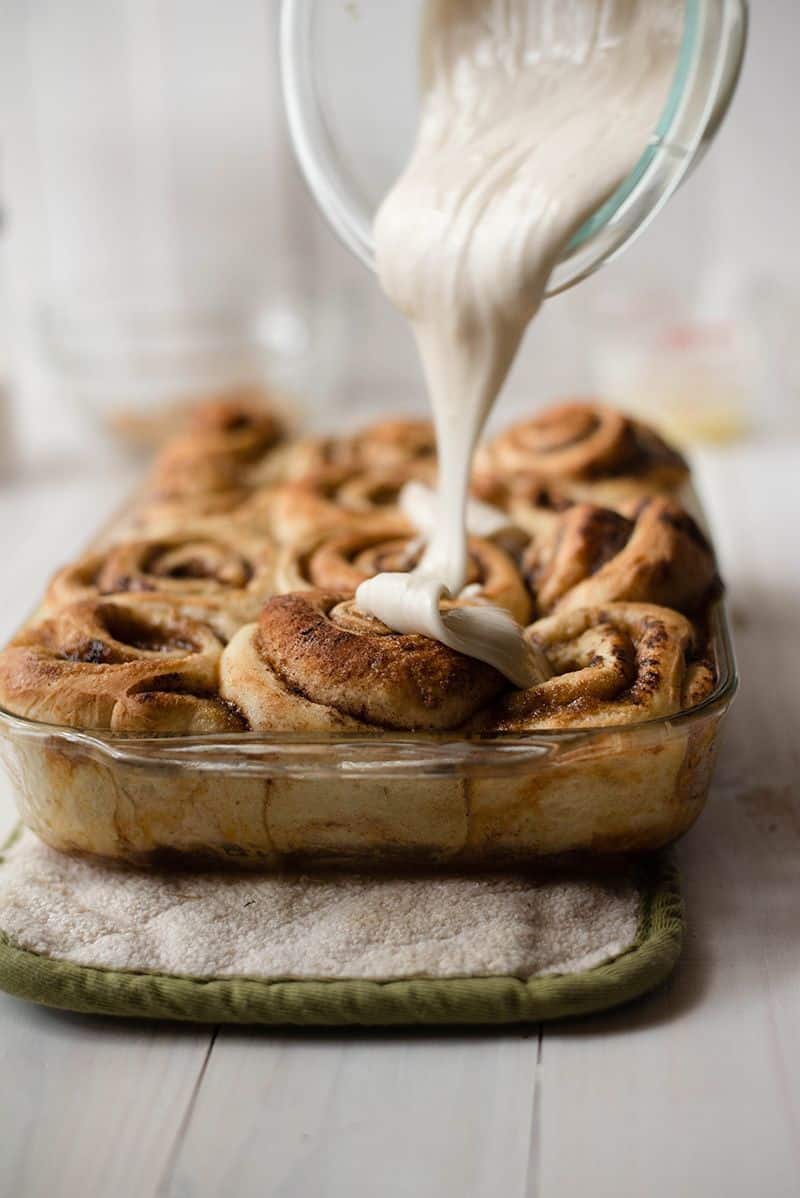
 313 views
Easy Cinnamon Roll Recipe
asweetpeachef.com
4.7
(7)
20 minutes
Your folders
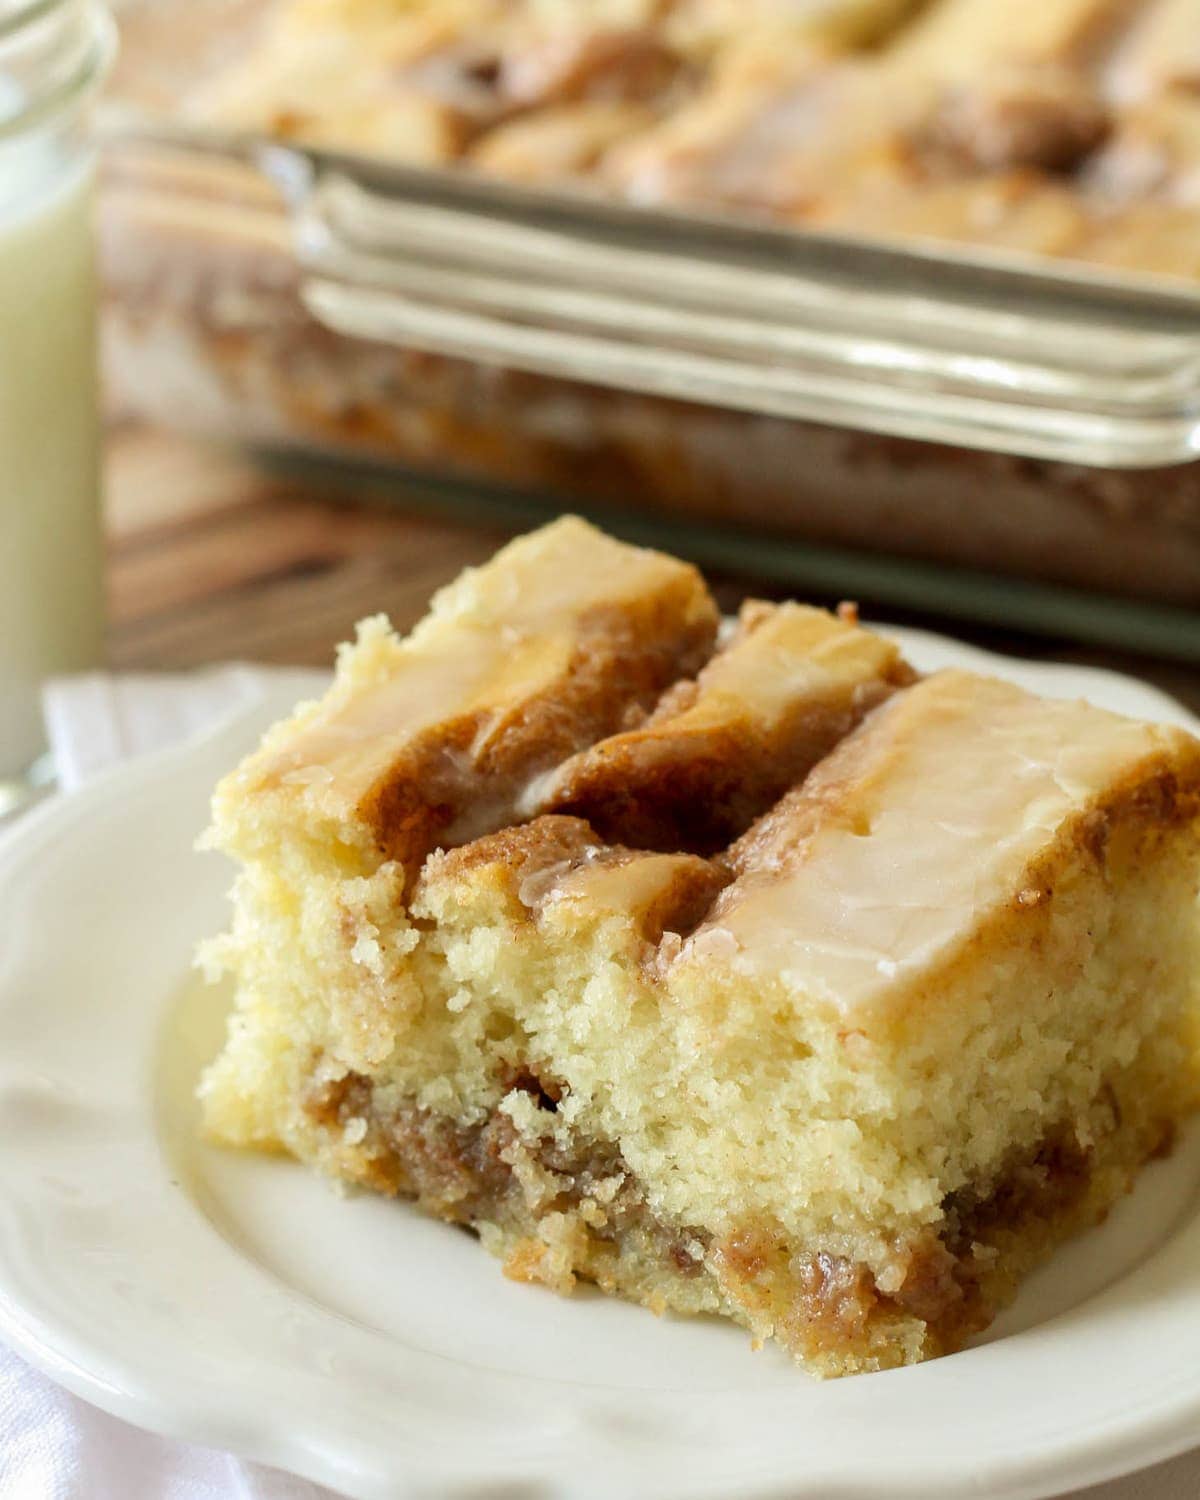
 167 views
Cinnamon Roll Cake Recipe
lilluna.com
5.0
(163)
30 minutes
Your folders
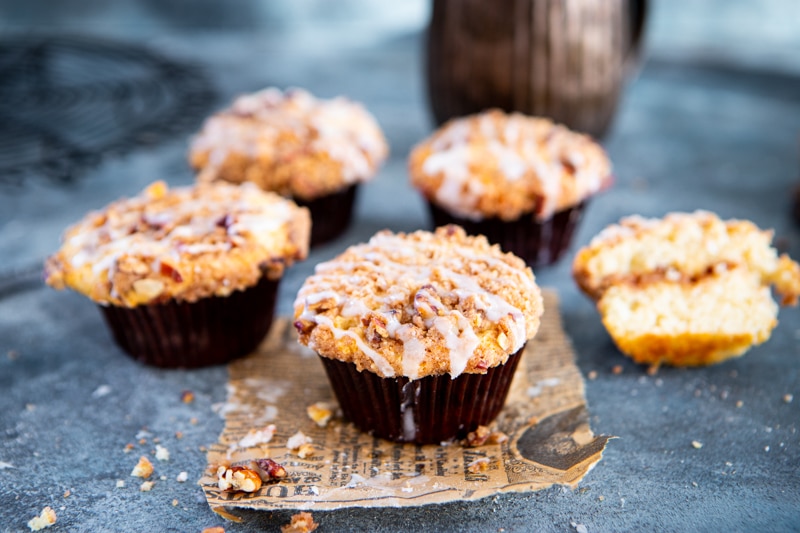
 395 views
Cinnamon Roll Muffins Recipe
biggerbolderbaking.com
5.0
(1)
20 minutes
Your folders

 212 views
Cinnamon Roll Cheesecake Recipe
easydessertrecipes.com
5.0
(1)
165 minutes
Your folders
 219 views
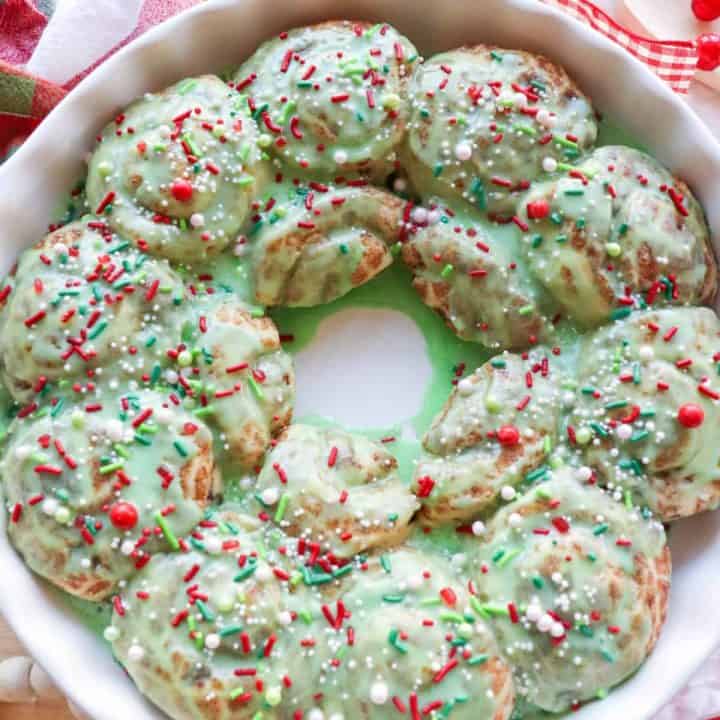
Cinnamon Roll Wreath Recipe
homemadeheather.com
25 minutes
Your folders

 231 views
Cinnabon Cinnamon Roll Recipe
topcopycatrecipes.com
5.0
(1)
20 minutes
Your folders
 78 views
Cinnamon Roll Muffins Recipe
biggerbolderbaking.com
Your folders
 112 views
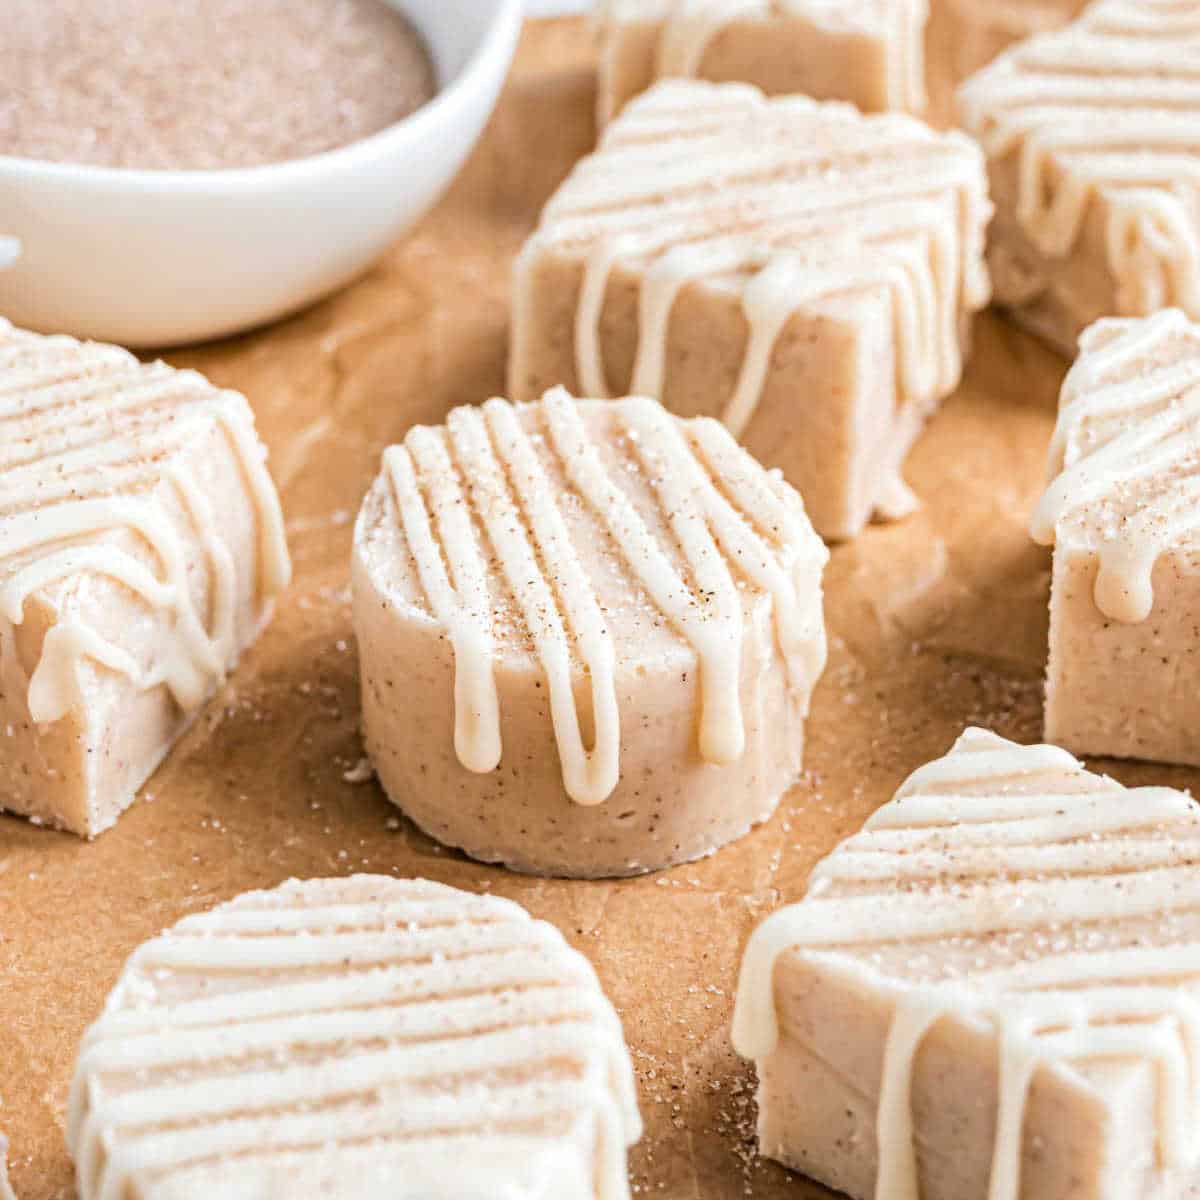
Cinnamon Roll Fudge Recipe
shugarysweets.com
10 minutes
Your folders
 241 views
Cinnamon Roll Casserole Recipe | Ci...
foodtalkdaily.com
35 minutes
Your folders
 216 views
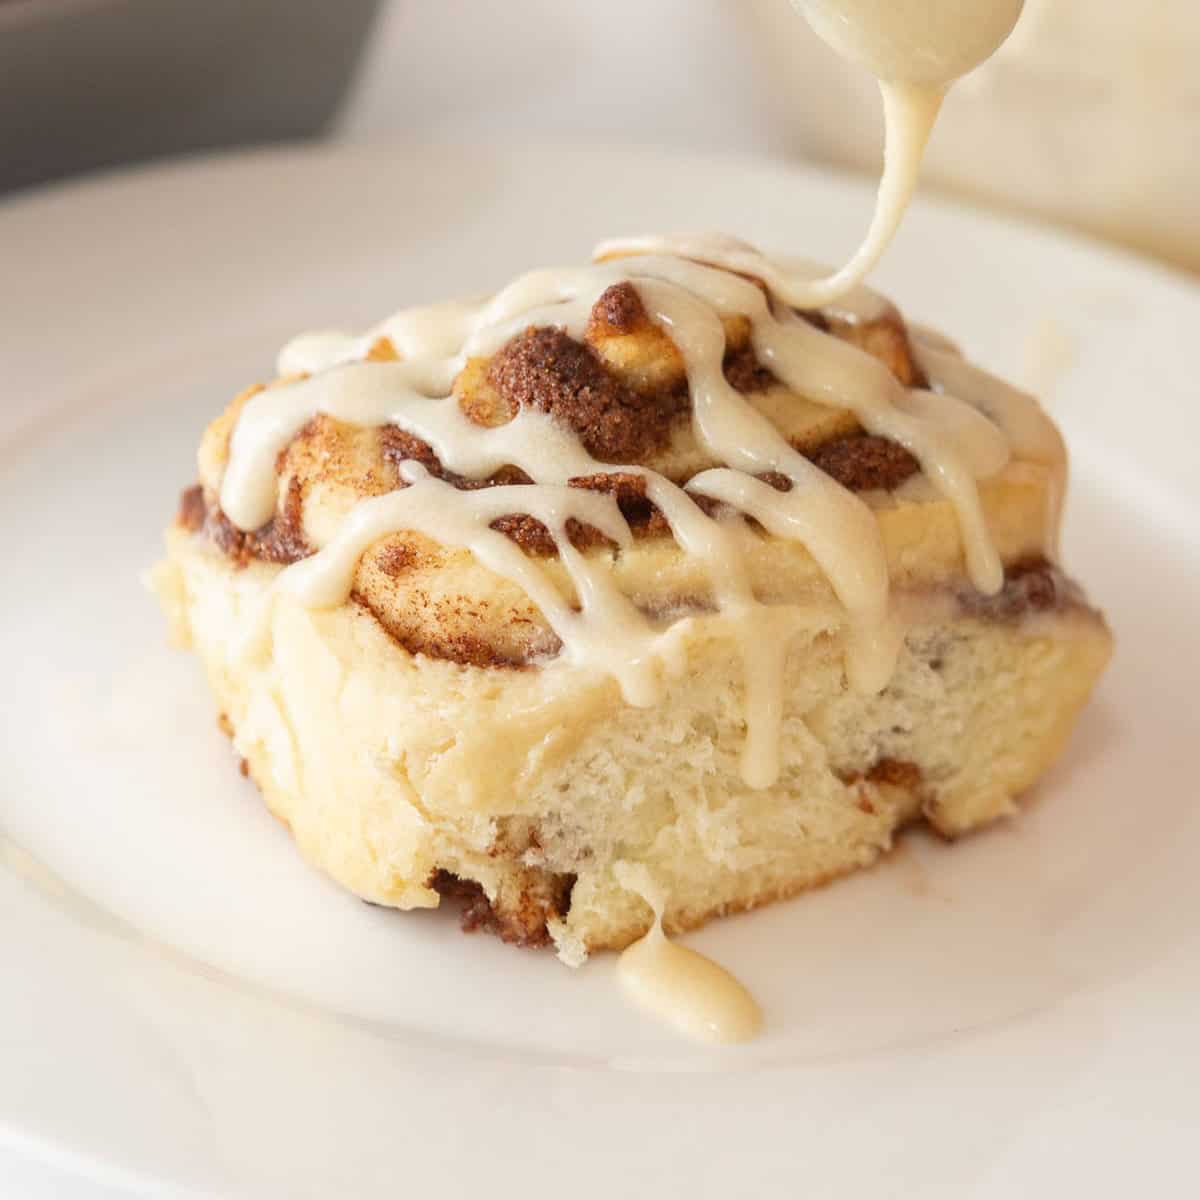
Cinnamon Roll Icing Without Powdere...
thekitchencommunity.org
4.9
(10)
5 minutes
Your folders
 211 views
Cinnamon Roll Icing (without cream ...
designeatrepeat.com
4.9
(48)
Your folders
 291 views
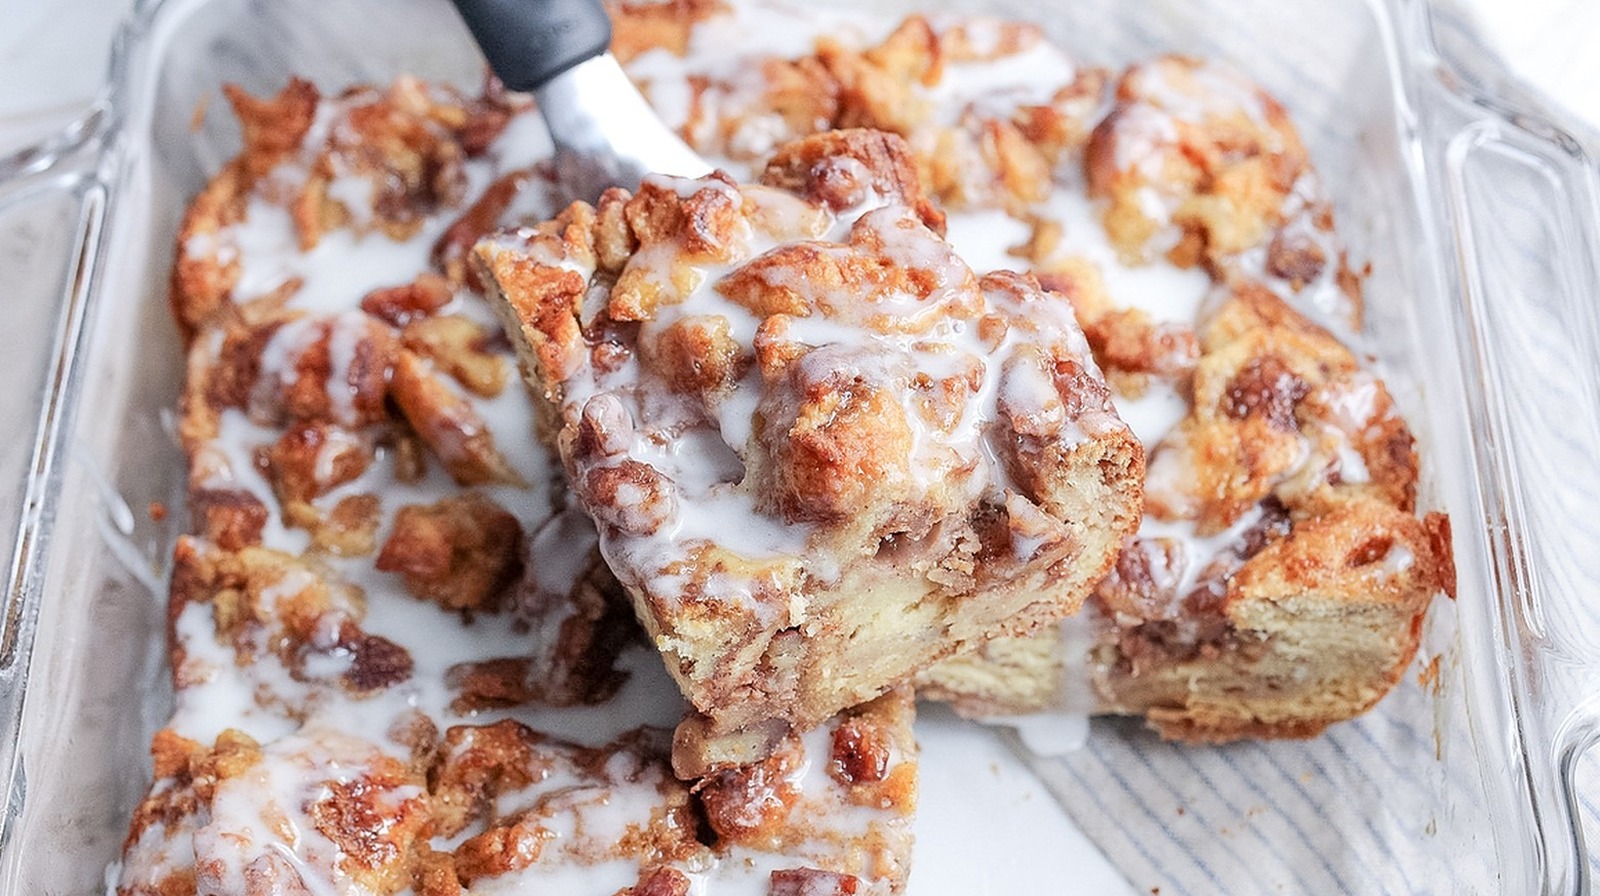
Cinnamon Roll Bread Pudding Recipe
tastingtable.com
5.0
(49)
1 hours
Your folders
 388 views
Cinnamon Roll Monkey Bread Recipe
biggerbolderbaking.com
4.8
(12)
55 minutes