Brain Cake
5.0
(18)
Your folders
Your folders
Prep Time: 20 minutes
Cook Time: 27 minutes
Total: 1 hours, 17 minutes
Servings: 20
Author : Chelsey White
Ingredients
Export 21 ingredients for grocery delivery
Instructions
Step 1
Preheat oven to 350 F / 175 C. Grease three 8-inch or 3 7-inch cake pans with homemade cake release or non-stick baking spray and parchment paper. Set aside.
Step 2
In a medium bowl, sift together 2 1/2 cups cake flour, 2 Tbsp cocoa powder, 1 tsp baking soda, and 1/2 tsp salt. Set aside.
Step 3
In a large bowl or the bowl of a stand mixer, use either a hand mixer or a stand mixer fit with a whisk attachment to cream together 1/2 cup of butter and 1 3/4 cups granulated sugar. Mix on a medium-high speed for 1-2 minutes until the mixture becomes lighter in color. Scrape the sides and bottom of the bowl as needed with a rubber spatula.
Step 4
Mix in 2 large eggs on a medium speed until fully combined.
Step 5
Add in 1 1/4 cups buttermilk, 1/2 cup of oil, 2 tsp vanilla extract, 1 tsp white vinegar, and 2 squirts of red food coloring. Mix on a low speed until combined. The mixture might look broken at this stage but I promise it will come together once we add in the dry ingredients.
Step 6
Slowly mix the dry ingredients into the wet ingredients at a low speed in two additions. Mix until just combined and you can no longer see any visible streaks of cake flour.
Step 7
Divide the batter evenly between the prepared pans (about 415g per pan). Bake for 24-28 minutes, or until a toothpick inserted in the center of the cake comes out with a few moist crumbs.
Step 8
Remove the pans from the oven and let them cool for 10 minutes then run a small offset spatula around the perimeter. Carefully flip the layers out of their pans and place them on a wire rack to finish cooling. I chose not to level the layers because they bake up pretty flat.
Step 9
Stack the cake layers on top of each other and cut 2 sides of the cake to create an oval/brain shape (about 1 inch off of each side). Use a small, sharp knife to make the top of the cake a bit more rounded. If your cake layers seem to be tearing or you're having a hard time cutting them, pop the cake layers in the freezer for about 20 minutes. It will help them keep their shape better and make them a lot easier to cut. If you're making these in advance, wrap and freeze them at this point.
Step 10
Beat 1 1/2 cups of butter and 1 cup of cream cheese on medium speed for 30 seconds with a paddle attachment until smooth. If you don't like cream cheese frosting use additional butter in place of the cream cheese in this frosting recipe.
Step 11
Add in 1 Tbsp vanilla and 1 tsp salt, and beat on low until the ingredients are fully incorporated.
Step 12
Slowly mix in 7 cups of powdered sugar and 3 Tbsp of heavy cream on a low speed. Place a kitchen towel over your mixer to prevent powdered sugar clouds from coating your kitchen. Scrape the sides and bottom of the bowl as needed with a rubber spatula.
Step 13
If the frosting seems too thick, add in additional cream (1 Tbsp at a time). If the frosting is too thin, add in more powdered sugar (1/4 cup at a time). Once the frosting reaches the desired consistency, add a small squirt of red food coloring and mix until the frosting is a light shade of pink and evenly colored.
Step 14
Cover the frosting with a piece of plastic wrap to prevent a crust from forming. Set aside.
Step 15
Place the seedless raspberry jam, 3 tablespoons of water, and 1/4 tsp of red gel food coloring in a small bowl. Whisk together until the jam has a thin, smooth consistency and is bright red. Cover and set aside.
Step 16
Stack and frost the cake layers on a greaseproof cake board, using a dab of frosting to help stick the first cake layer to the board. Spread an even layer of frosting between each cake layer.
Step 17
Once the layers are frosted and stacked, trim the cake as needed with a small, sharp knife to give it a rounded, brain-like shape.
Step 18
Add a thin coat of frosting around the cake that fully covers the cake layers. Smooth using an offset spatula or small acetate sheet, then chill the cake in the fridge (20 minutes) or freezer (5 minutes) until the frosting is firm to the touch.
Step 19
Place the frosting in a large piping bag fit with a large round tip like an Ateco 805.
Step 20
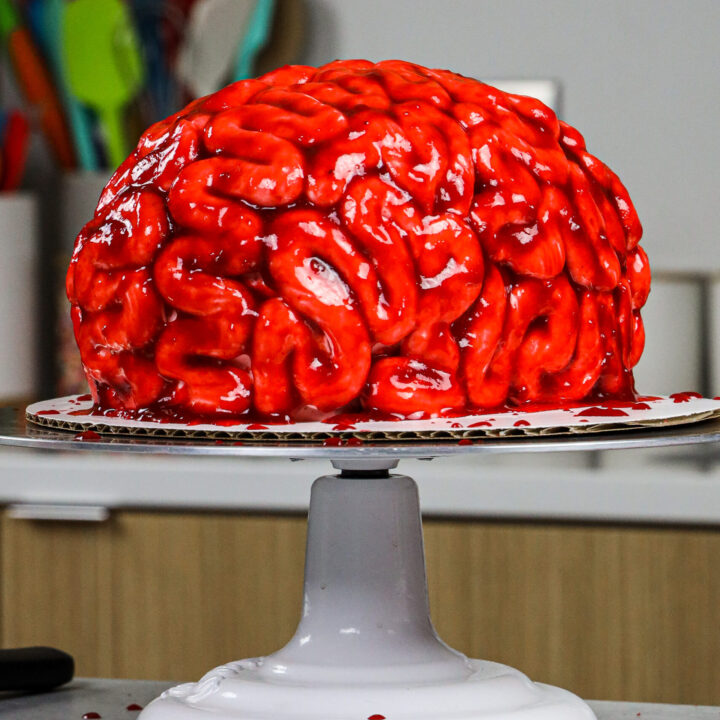
Remove the cake from the fridge or freezer and use an offset spatula or butter knife to create a line down the center of the cake to create the right and left hemispheres of the brain. Pipe squiggly lines on each side of the cake to look like a brain. Don't stress if your lines aren't perfect or if there are some small gaps, the frosting is going to get completely coated in jam and no one will notice!!
Step 21
Once the cake is fully covered, chill the cake in the fridge (30 minutes) or freezer (10 minutes) again until the frosting is completely firm to the touch.
Step 22
Remove the cake from the fridge or freezer and use a pastry brush to spread a thick layer of the jam mixture over the pink frosting. Make sure you get the blood into all the nooks and crannies between the frosting squiggles! Then add a bit around the base to make this cake look even scarier and enjoy!
Top similar recipes
Curated for youYour folders

 265 views
Brain Dip
homemadehooplah.com
4.8
(8)
Your folders

 442 views
RedHot Brain Fondue
franksredhot.com
45 minutes
Your folders
 155 views
Zombie Brain Cupcakes
splenda.com
Your folders

 351 views
Brain Food Smoothie
simplegreensmoothies.com
4.9
(18)
Your folders

 237 views
Brain Works Granola
brainhealthkitchen.com
3.5
(11)
40 minutes
Your folders

 769 views
Zombie Brain Shot
homemadehooplah.com
4.6
(34)
Your folders
 310 views
Zombie Brain Shots
myrecipes.com
Your folders
 74 views
Seaweed Tofu Brain
simplechinesefood.com
4.9
(1)
Your folders
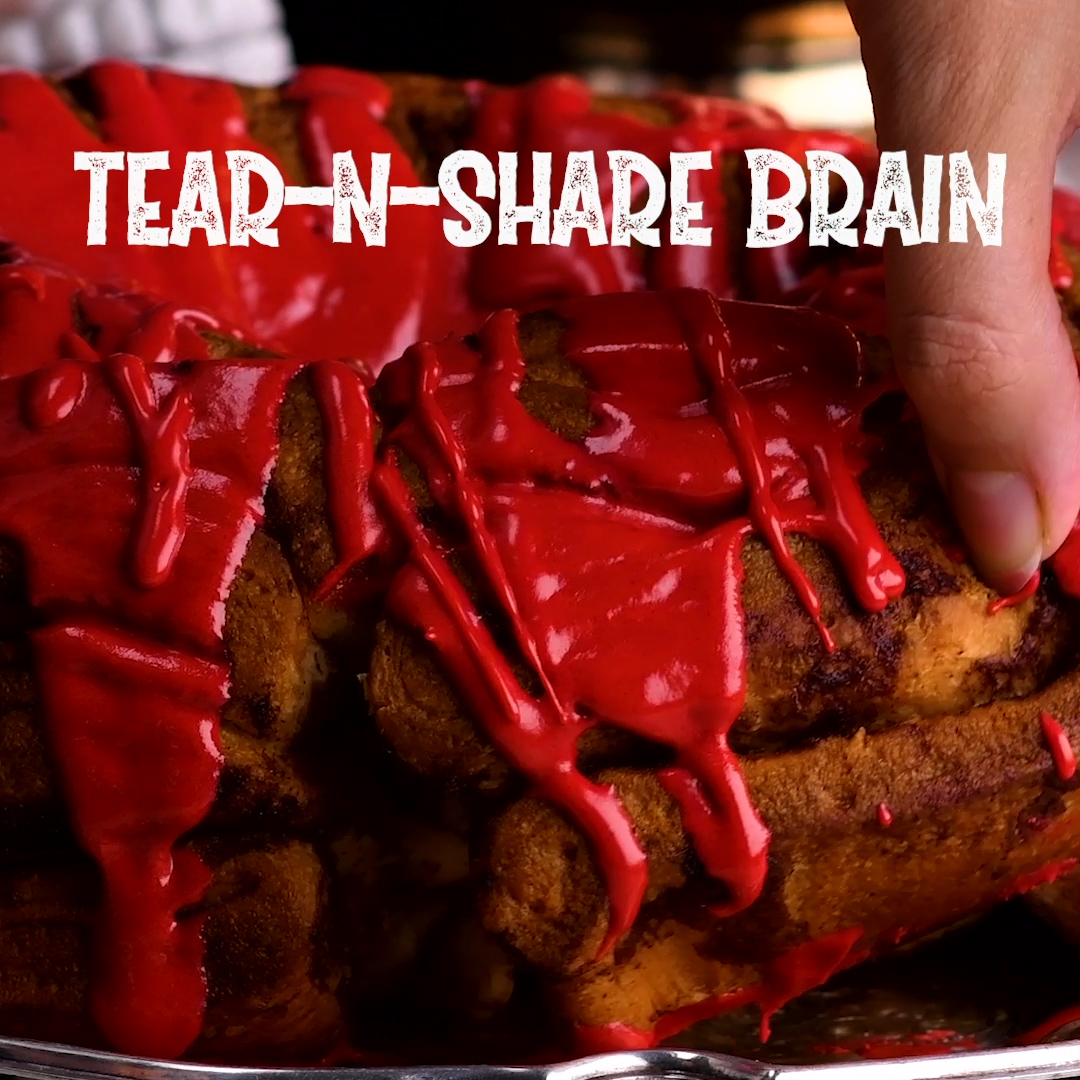
 368 views
Tear-N-Share Brain
soyummy.com
Your folders
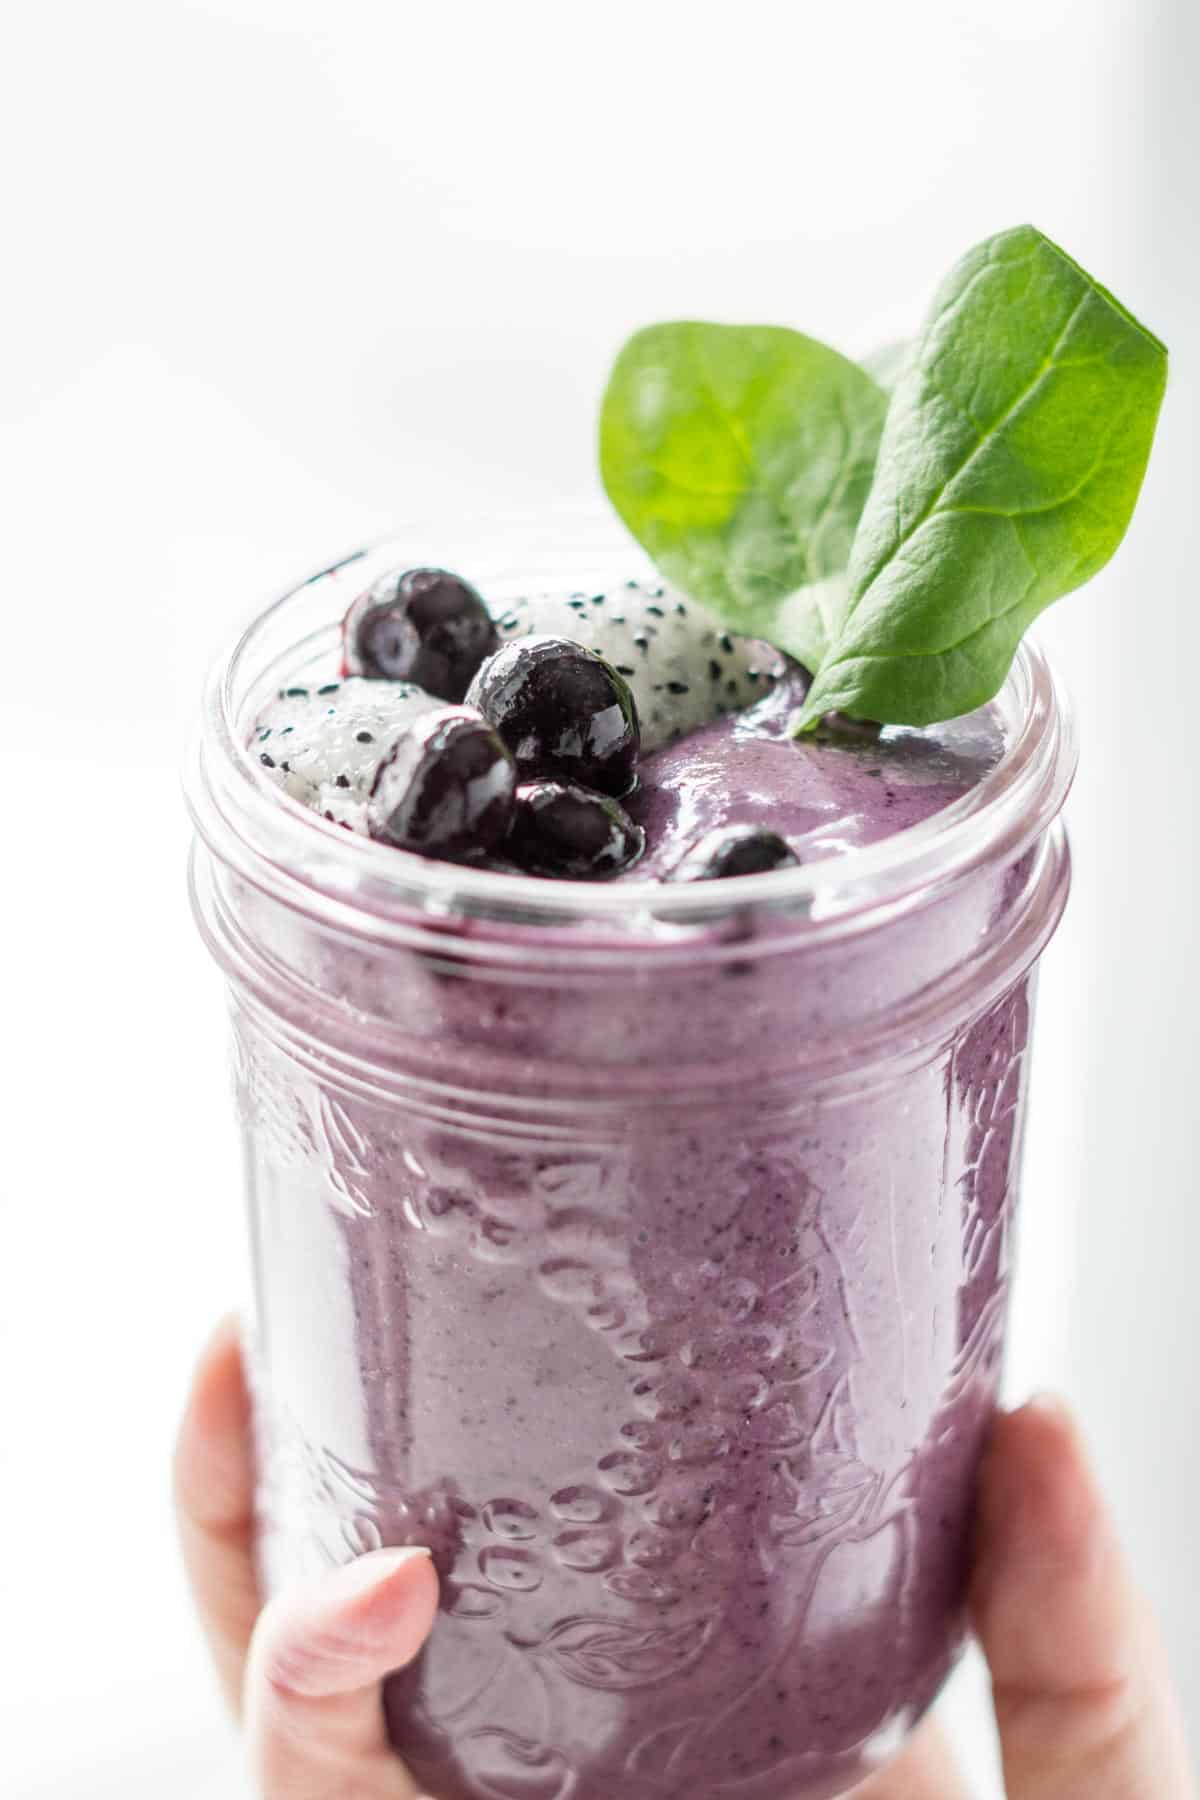
 248 views
blueberry brain food smoothie
smartnutrition.ca
Your folders

 458 views
Brain Booster Pancake Recipe
superhealthykids.com
4.2
(55)
3 minutes
Your folders

 392 views
Nutty Cacao Brain Bars
brainhealthkitchen.com
Your folders

 336 views
Brain-Smart Start Smoothie
tanaamen.com
4.5
(8)
Your folders

 327 views
Caramel Zombie Brain Shot
elletalk.com
3 minutes
Your folders
 204 views
Brain-Boosting Beet Bites
organixx.com
Your folders
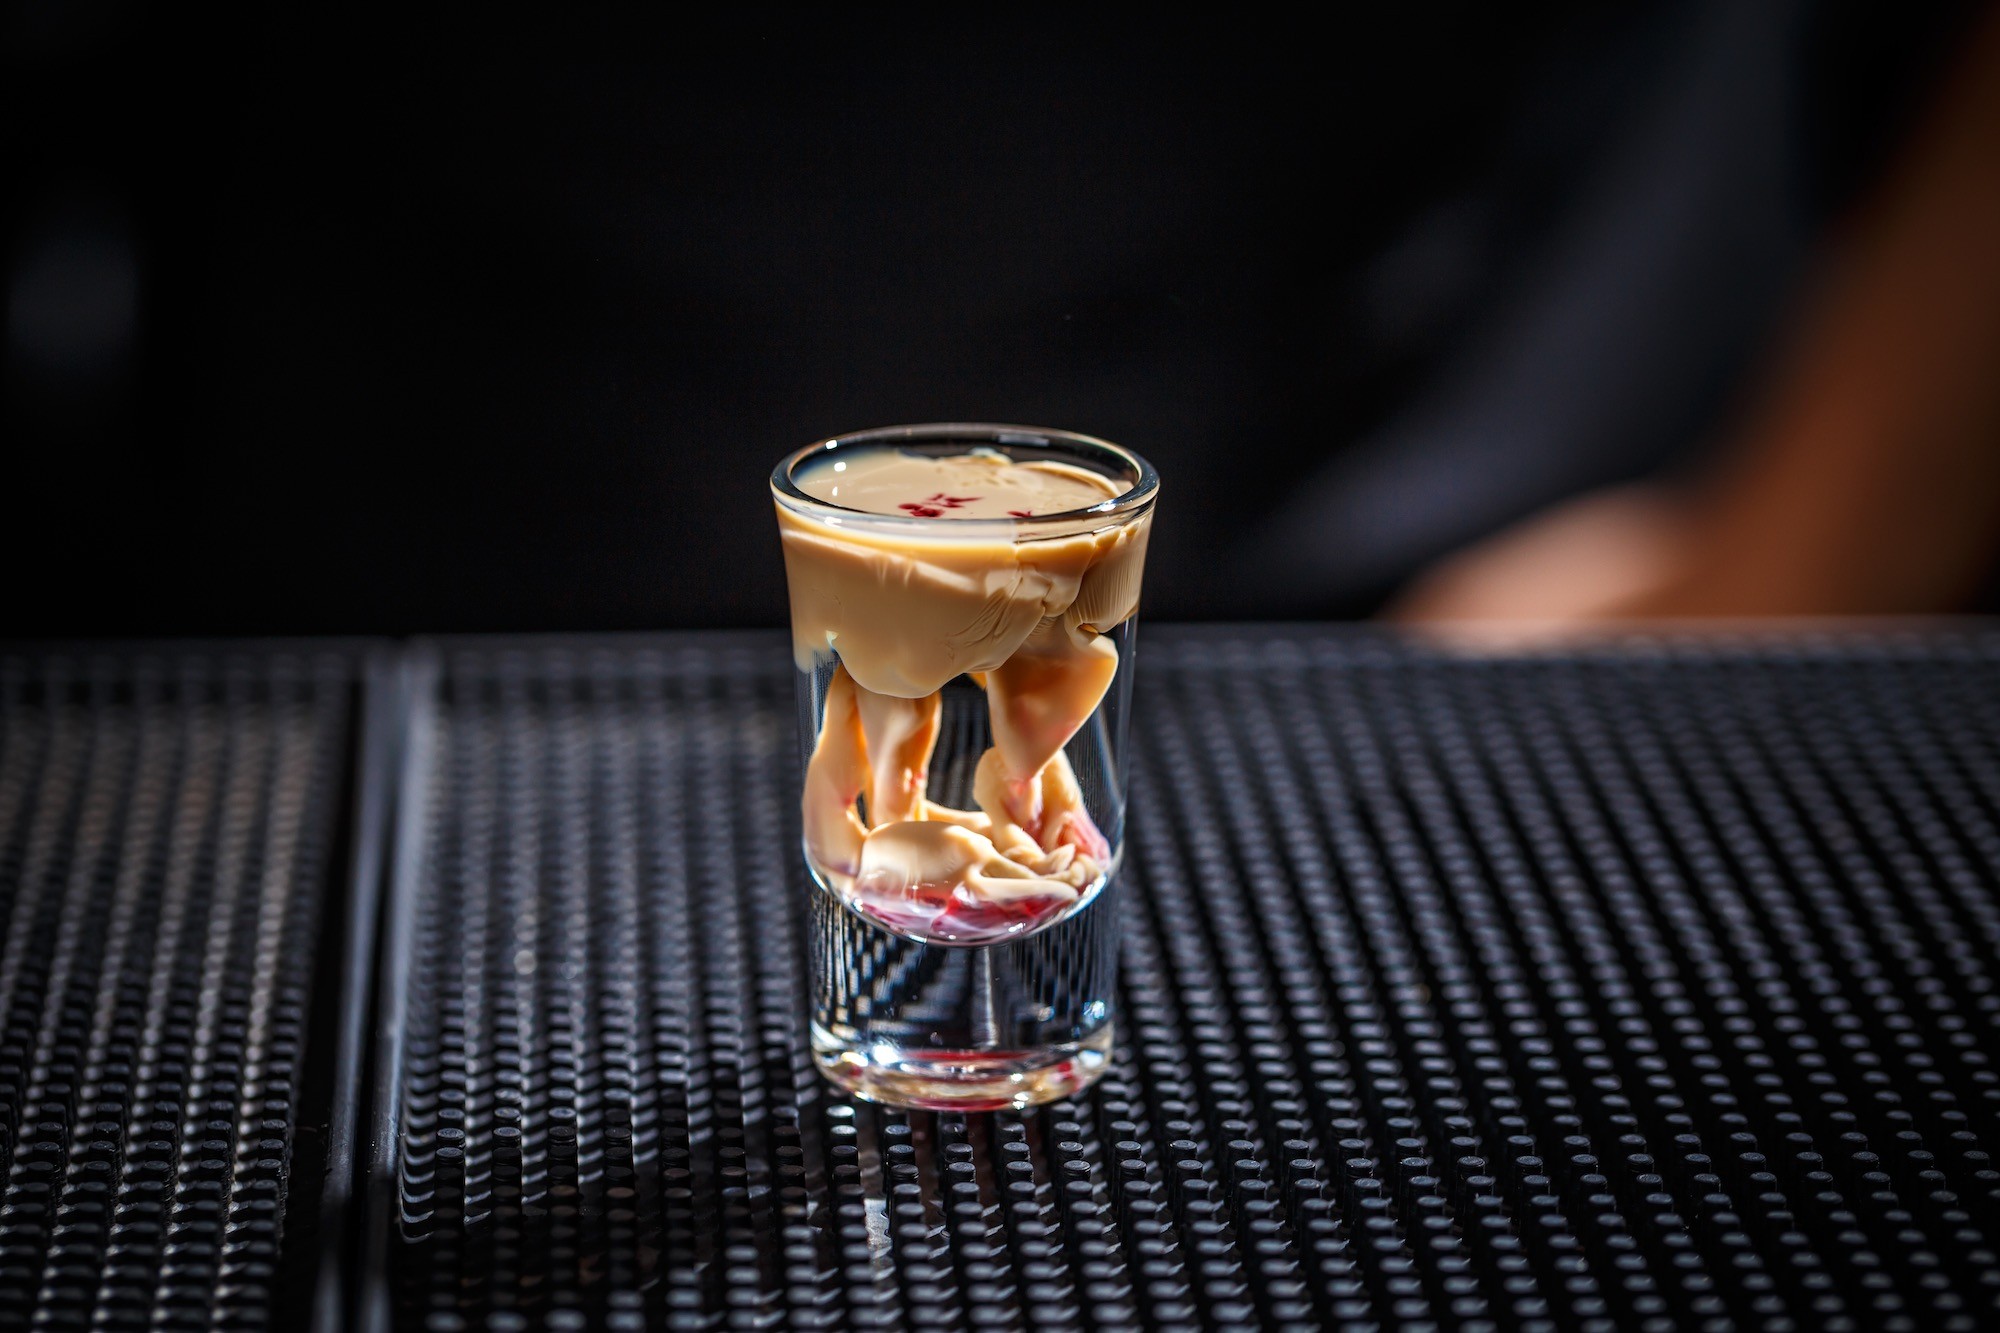
 136 views
Brain Haemorrhage cocktail recipe
makemeacocktail.com
3.7
(4)
2 minutes
Your folders
 101 views
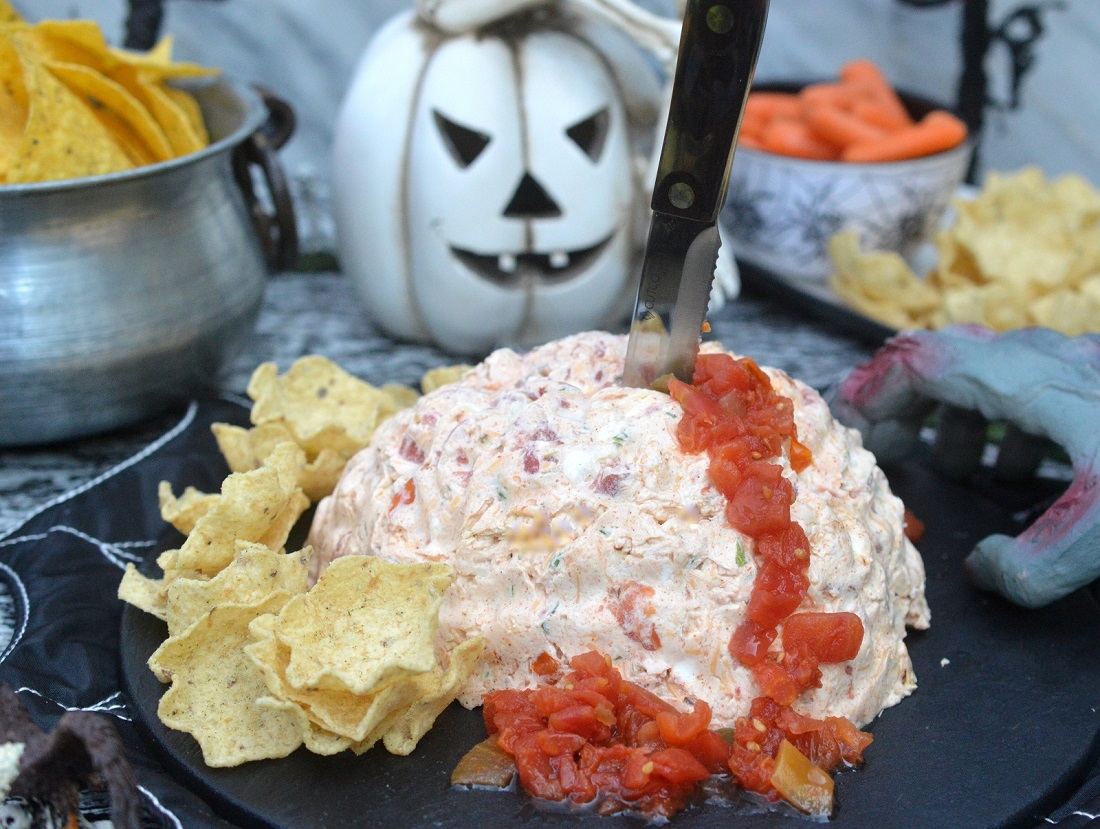
Halloween Brain Mexican Dip
soufflebombay.com
Your folders

 151 views
Brain Curry (Maghaz Masala) Recipe
titlisbusykitchen.com
Your folders
 45 views
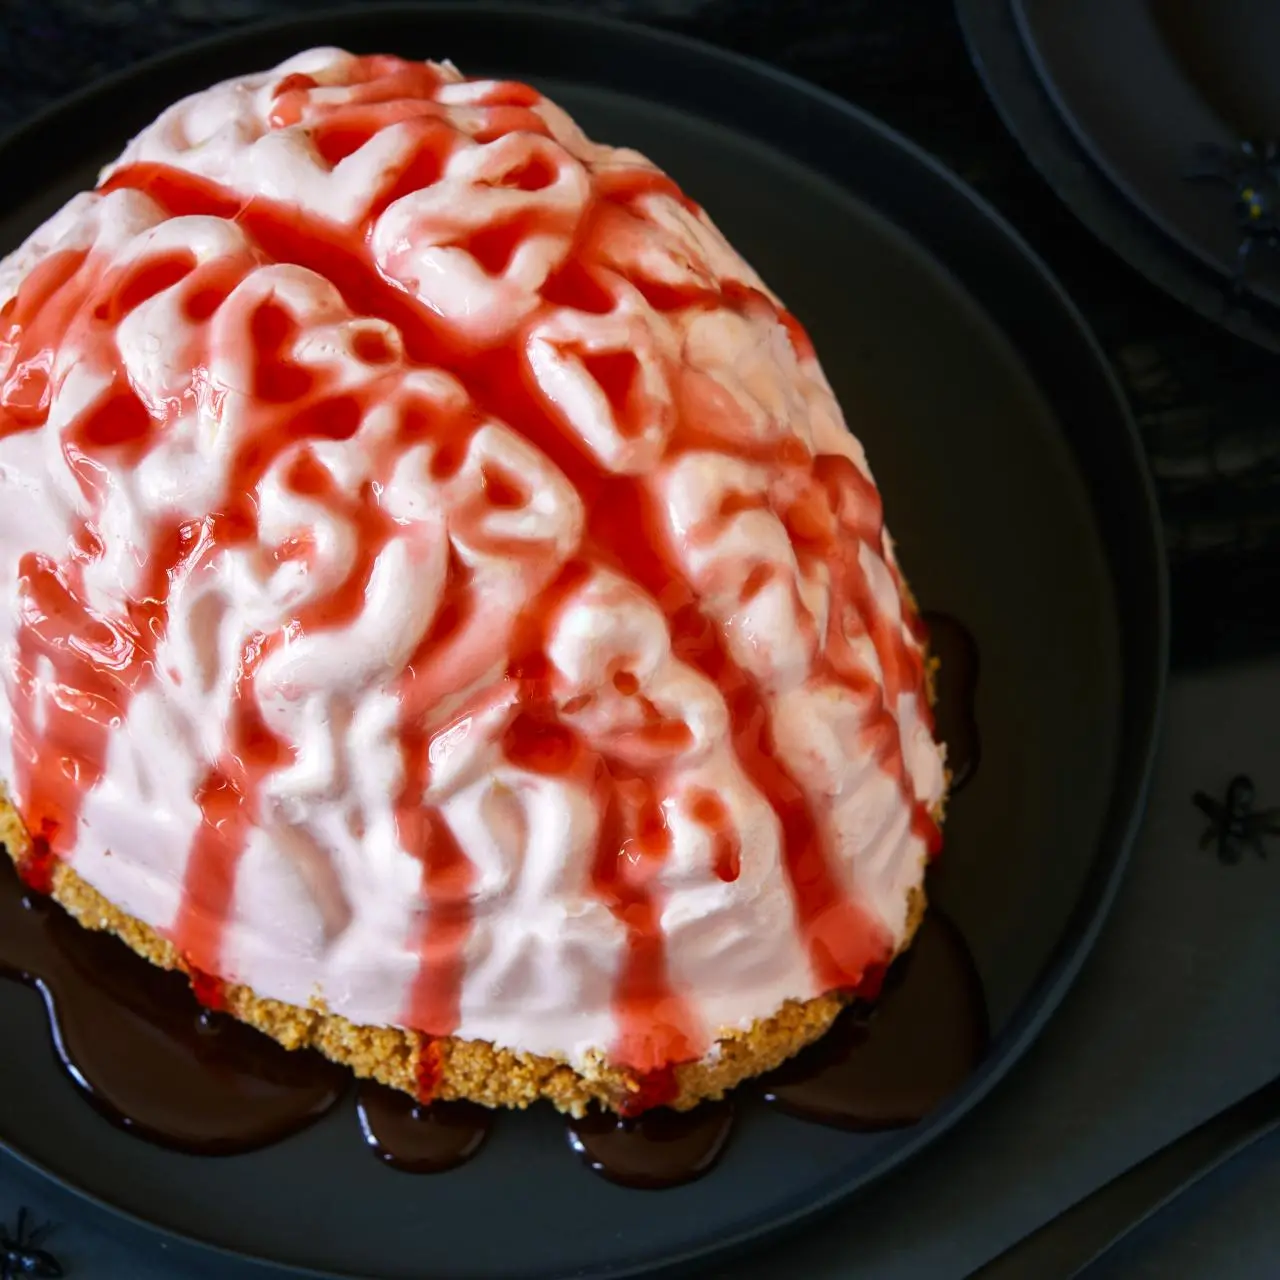
No-Bake Strawberry Cheesecake Brain
foodnetwork.com
3.0
(4)
40 minutes