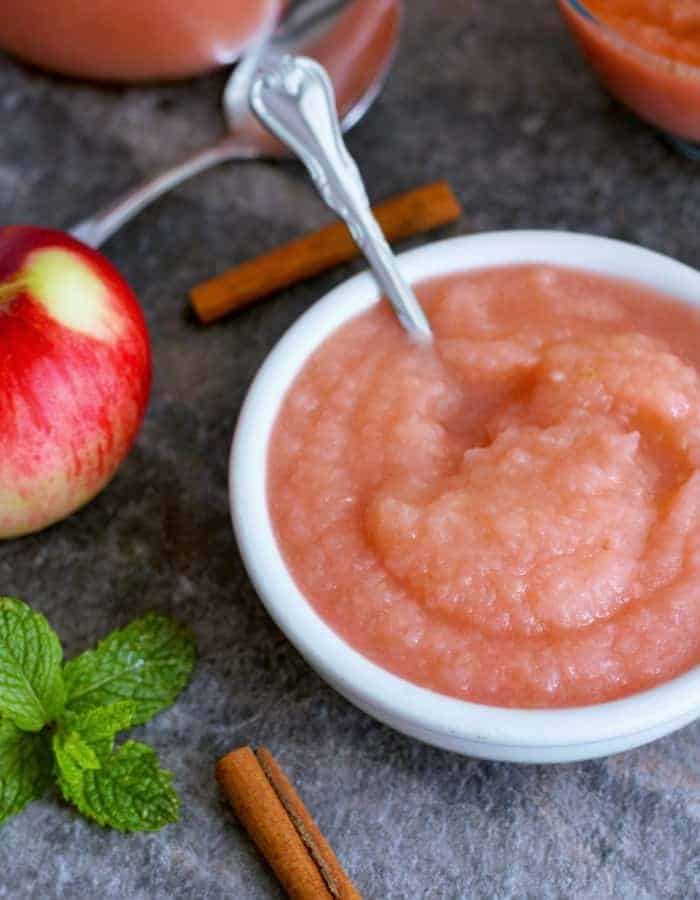
Canning Applesauce {Preserving Apples}
5.0
(14)
Your folders
Your folders
Prep Time: 60 minutes
Cook Time: 20 minutes
Total: 80 minutes
Servings: 28
Cost: $0.21 /serving
Author : Sarah Cook - Sustainable Cooks
Ingredients
Export 1 ingredients for grocery delivery
Instructions
Step 1
Prepare your water bath canner by filling it with water. You just need to have enough water to cover the jars by 2 inches once the water is boiling.
Step 2
Set the canner on the stove. Turn the burner to high. Once it reaches a boil, reduce it to simmer. You want to keep the water hot so that everything is ready when the applesauce is.
Step 3
Wash and sanitize your jars. You’ll want to keep them warm to avoid having them crack when placed in the canner. You can fill them with hot water, or place them on a tray in the oven at 200 degrees F.
Step 4
Wash your lids and set aside in clean place. You no longer need to simmer lids in water to keep them sterile.
Step 5
Set a medium/large pot of water to medium high on your stove.
Step 6
Wash your apples and cut into eighths, or more if you have particularly large apples. Add apples to the hot water and cook until they have softened (1-5 minutes depending on your type of apple).
Step 7
Remove using a slotted spoon and place in a strainer set into a large bowl.
Step 8
Run the apples through a food mill to remove the seeds and skins. Keep warm until ready to can (I use my slow cooker set to warm).
Step 9
Ladle in the warm applesauce into jars, leaving 1/2 inch of headspace. Remove the bubbles from the jar (I use a chopstick).
Step 10
Use a wet clean rag and wipe the rim of the jars to make sure it is free of any food.
Step 11
Place a clean lid on the jar. Add a ring, and tighten to fingertip tight.
Step 12
Lower your jars into the canner using canning tongs/jar lifter. Secure the lid and set the timer for 15 minutes for pints or 20 minutes for quarts. For canning at different altitudes, check out the guide in the post for adjusted processing times.
Step 13
When the time is up, turn off the stove and let the jars sit for 5 minutes in the canner and then lift them out with canning tongs. Place on a towel where they can sit undisturbed for 12 hours.
Step 14
Pretty soon you’ll start hearing some “pops and pings” which are the sounds of the jars sealing. Yay!! You did it!
Step 15
After a few hours, to check for sealing, gently press down in the middle of the lid. If the lid has no give, it’s sealed. If you can press the lid in and it pops a bit, your jars are not sealed. You can reprocess them or store them in the fridge or freezer (only freeze jars that are wide mouth).
Top similar recipes
Curated for youYour folders
 22 views
Crunchy Pickled Okra (Canning & Pre...
alphafoodie.com
Your folders
 10 views
Crunchy Pickled Okra (Canning and P...
alphafoodie.com
5.0
(12)
5 minutes
Your folders
 710 views
Homemade Applesauce for Canning
growagoodlife.com
5.0
(2)
30 minutes
Your folders
 402 views
Easy Apricot Jam for a Canning & Pr...
sweetcayenne.com
5.0
(1)
60 minutes
Your folders
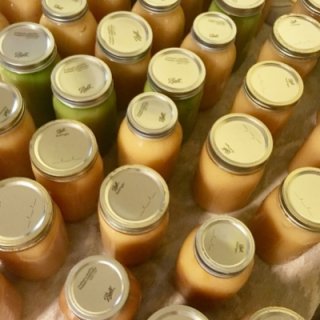
 101 views
Homemade Applesauce Recipe- with Ca...
thefreerangelife.com
4.6
(8)
1 hours
Your folders

 62 views
Applesauce No Sugar Added Recipe fo...
farmhouseharvest.net
5.0
(12)
30 minutes
Your folders

 218 views
Canning Apples for Pie, Crisp or Co...
sumptuousspoonfuls.com
Your folders

 504 views
Applesauce
simplyrecipes.com
4.7
(254)
40 minutes
Your folders
 422 views
Applesauce
foodnetwork.com
4.9
(40)
20 minutes
Your folders
 292 views
Applesauce
food.com
5.0
(156)
25 minutes
Your folders

 266 views
Applesauce
zoebakes.com
5.0
(1)
Your folders

 246 views
Applesauce
allrecipes.com
4.7
(280)
15 minutes
Your folders

 238 views
Canning Apples | Ideal to Use for B...
afarmgirlinthemaking.com
4.0
(15)
Your folders
 746 views
Preserving Green Beans Italian Styl...
anitalianinmykitchen.com
10 minutes
Your folders
 138 views
PRESERVING VEGGIES IN OLIVE OIL
feastingathome.com
4.7
(6)
30 minutes
Your folders

 198 views
Canning Potatoes
practicalselfreliance.com
4.4
(51)
40 minutes
Your folders

 230 views
Canning Beets
practicalselfreliance.com
5.0
(1)
30 minutes
Your folders

 270 views
Canning Potatoes
amodernhomestead.com
4.6
(10)
Your folders
 215 views
Canning Butter
justapinch.com
5.0
(1)
1 hours, 20 minutes