Dante the Dragon
Your folders
Your folders
Author : Jess Huff

Ingredients
Export 16 ingredients for grocery delivery
Instructions
Step 1
To view a video tutorial, click the "Dragon Flames" image thumbnail on the pattern web page.Create a slip knot on your hook with orange yarn, leaving an 8-inch yarn tail:01. ch 8, sc in the 2nd ch from hook, sc in the next 5 ch. In the last chain, we’ll make 3 flame tendrils:Tendril 1: sc in the last chain of the original chain base, ch 4, slst in 2nd ch from hook, sc in last 2 ch.Tendril 2: sc in the last chain of the original chain base, ch 6, slst in 2nd ch from hook, slst in next ch, sc in last 3 ch.Tendril 3: sc in the last chain of the original chain base, ch 5, slst in 2nd ch from hook, slst in next ch, sc in last 2 ch, sc in the last chain of the original chain base to secure.On the other side of the original chain base, sc in the next 6 ch.Fasten off, leaving a 6-inch yarn tail. Create an invisible finish, then hide the starting and ending yarn tails inside the work.
Step 2
To view a video tutorial, click the "Dragon Flames" image thumbnail on the pattern web page.Create a slip knot on your hook with red yarn, leaving an 8-inch yarn tail:01. ch 9, dc in the 3rd ch from hook, dc in the next 6 ch. In the last chain, we’ll make 3 flame tendrils:Tendril 1: hdc in the last chain of the original chain base, ch 6, slst in 2nd ch from hook, slst in the next ch, sc in the next 2 ch, hdc in the last ch.Tendril 2: sc in the last chain of the original chain base, ch 8, slst in 2nd ch from hook, slst in next 2 ch, sc in the next 2 ch, hdc in the last 2 ch.Tendril 3: sc in the last chain of the original chain base, ch 7, slst in 2nd ch from hook, slst in next 2 ch, sc in the remaining 3 ch. hdc a final time in the original chain base.On the other side of the original chain base, dc in the final 7 ch.Without fastening off, we will crochet the orange and red layers together, across the top-flat edges:02. ch 1, do not turn, through the red layer only: sc, through the orange + red layers: sc 2, through the red layer only: sc.Fasten off, leaving a 6-inch yarn tail. Create an invisible finish, then hide the starting and ending yarn tails inside the work.While/after creating the head, you have two options for attaching the flames in the mouth:Option 1: Attach the flames while crocheting the bottom lip onto the head. Using this method, the flames are permanently installed and cannot be removed.Option 2: Use velcro to attach the flames. This will allow you to add and remove the flames from the mouth as desired.
Step 3
With green yarn:01. start 6 sc into a magic ring [6]02. inc in each st around [12]03. *sc, inc* 6 times [18]04. *sc 8, inc* 2 times [20]05 – 06. sc in each st around [20]Fasten off, leaving a 12-inch yarn tail. Fold the circle in half and slip stitched closed. Hide the remaining yarn tail inside the work.To view a video tutorial, click the "Attaching Bottom Lip" image thumbnail on the pattern web page. The first part of the video covers how to fasten off and slip stitch closed.The bottom lip is now ready to attach as you crochet the head at a later step.
Step 4
With green yarn:01. start 6 sc into a magic ring [6]02. *sc, inc* 3 times [9]03. sc, inc, *sc 2, inc* 2 times, sc [12]04. *sc 3, inc* 3 times [15]05. sc in each st around [15]06. *sc 3, dec* 3 times [12]07 – 09. sc in each st around [12]Fasten off, leaving an 18-inch yarn tail for sewing the ear to the head at a later step.Pinch the final round together and slip stitch closed.Prep the ear for attaching to the head by creating a round base (to view a video tutorial, watch the beginning of "How to Attach Ears" linked on the pattern web page):Thread the remaining yarn tail through a yarn needle. Pass it through the first slip stitch to create a round base for the ear. Fasten off with a knot, keeping the remaining yarn tail intact.Your ear is now ready to attach to the head at a later step.
Step 5
With green yarn:01. Chain 5 start: ch5, inc in 2nd ch from hook, sc 2, 5sc in the last ch. Continue on the other side of the chain base, sc 2, 3sc in the last ch [14]02. inc, sc 4, *inc* 3 times, sc 4, *inc* 2 times [20]03. inc, sc 6, *inc* 2 times, sc, inc, sc 6, *inc* 2 times, sc [26]04. inc, sc 8, *inc, sc* 2 times, inc, sc 8, *inc, sc* 2 times [32]05. *inc, sc 10, inc, sc 2, inc, sc* 2 times [38]06. inc, sc 12, *inc, sc 2* 2 times, inc, sc 12, *inc, sc 2* 2 times [44]07. *sc 10, inc* 4 times [48]08. sc 3, dec, *sc 6, dec* 5 times, sc 3 [42]09. *sc 5, dec* 6 times [36]10. sc 2, dec, *sc 4, dec* 5 times, sc 2 [30]Attaching the bottom lip and flames: The instructions for round 11 will depend on whether or not you want to include a bottom lip and flames.To view a video tutorial, click the "Attaching Bottom Lip" image thumbnail on the pattern web page.No bottom lip or flames: 11. sc in each st around [30]Bottom lip without crocheted-in flames: 11. sc 17, Attach the bottom lip: (sc 10), sc 3 [30]Bottom lip with crocheted-in flames: 11. sc 17, Start attaching the bottom lip: (sc 3), Attach the flames + bottom lip: (sc 4), Finish attaching the bottom lip: (sc 3), sc 3 [30]At the end of round 11, the bottom lip (with or without flames) should appear centered on the chain 5 start. If the bottom lip is off-center, redo the round and adjust the placement as necessary.12. sc in each st around [30]13. sc 2, inc, *sc 4, inc* 5 times, sc 2 [36]14. *sc 5, inc* 6 times [42]15. sc 3, inc, *sc 6, inc* 5 times, sc 3 [48]16. *sc 7, inc* 6 times [54]Marking stitches for the eyes: Insert two markers 18 stitches apart between rounds 15 & 16, centered above the snout. These markers will show you where to place your safety eyes at a later step.To view a photo of this step, see Figure 1 in the Notes section of the pattern. 17. sc 4, inc, *sc 8, inc* 5 times, sc 4 [60]18 – 23. sc in each st around [60]Marking stitches for the ears: Insert two markers 24 stitches apart between rounds 22 & 23, centered above the snout & eye markers. These markers will show you where to attach the ears at a later step.To view a photo of this step, see Figure 2 in the Notes section of the pattern. 24 – 27. sc in each st around [60]28. sc 4, dec, *sc 8, dec* 5 times, sc 4 [54]29. *sc 7, dec* 6 times [48]30. sc 3, dec, *sc 6, dec* 5 times, sc 3 [42]31. *sc 5, dec* 6 times [36]32. sc 2, dec, *sc 4, dec* 5 times, sc 2 [30]Stuff the head ¾ full and create indents for the eyes. Insert your safety eyes and secure the backings. To view a video tutorial, see "How to Indent Amigurumi Eyes" on the pattern web page.33. *sc 3, dec* 6 times [24]34. sc, dec, *sc 2, dec* 5 times, sc [18]35. *sc, dec* 6 times [12]Finish stuffing.36. *dec* 6 times [6]Close with an ultimate finish.Attaching the ears: Attach the ears where marked. To view a video tutorial, see "How to Attach Ears" on the pattern web page.
Step 6
Using a disappearing ink marker, trace out two "U" shapes on the snout. To view a photo of the recommended placement, see Figure 3 in the Notes section of the pattern.Before you start crocheting, turn the head upside down, so the top of the head is facing you.Create a slip knot on your hook with green yarn, leaving a 6-inch yarn tail:01. slst into one end of the "U" shape, 2hdc into the next 3 st, slst into the other end of the "U" shape [8]Fasten off. Hide the beginning and ending yarn tails inside the work, then repeat for the other nostril. To view a video tutorial, see "How to Add Nostrils to Amigurumi" on the pattern web page.
Step 7
With green yarn:01. start 6 sc into a magic ring [6]02. inc in each st around [12]03. *sc, inc* 6 times [18]04. sc, inc, *sc 2, inc* 5 times, sc [24]05. *sc 3, inc* 6 times [30]Adding the claws: In the next round, we'll be adding claws. To view a video tutorial, see "How to Add Claws to Amigurumi" on the pattern web page. 06. sc 11, *switch to white yarn: bobble, switch back to green yarn: sc 3* 3 times, sc 7 [30]07. sc 5, dec, sc 6, dec, sc 5, dec, sc 6, dec [26]08. sc 2, dec, sc 5, dec, sc 4, dec, sc 5, dec, sc 2 [22]09. *sc 9, dec* 2 times [20]10. sc 5, dec, sc 13 [19]11. sc 10, dec, sc 7 [18]12. sc 16, dec [17]Stuff the base.13. sc 5, dec, sc 10 [16]14. sc in each st around [16]15. sc 3, dec, sc 6, dec, sc 3 [14]16. *sc 5, dec* 2 times [12]17. sc in each st around [12]Fasten off, leaving a 12-inch tail. Finish stuffing the arm. Pinch the final round together and slip stitch closed. Hide the remaining yarn tail inside the work.Your arm is now ready to attach while crocheting the body at a later step.
Step 8
With green yarn:01. ch 3, inc in 2nd ch from hook, 5sc in the last ch. Continue on the other side of the chain base, 3sc in the last ch [10]02. inc, sc 2, *inc* 3 times, sc 2, *inc* 2 times [16]03. inc, sc 4, *inc* 2 times, sc, inc, sc 4, *inc* 2 times, sc [22]04. inc, sc 6, *inc, sc* 2 times, inc, sc 6, *inc, sc* 2 times [28]05. inc, sc 8, inc, sc 2, inc, sc, inc, sc 8, inc, sc 2, inc, sc [34]Adding the claws: In the next round, we'll be adding claws. To view a video tutorial, see "How to Add Claws to Amigurumi" on the pattern web page. 06. sc 9, *switch to white yarn: bobble, switch back to green yarn: sc 3* 3 times, sc 13 [34]07. sc in each st around [34]08. sc 12, *dec* 3 times, sc 16 [31]09. sc 7, *dec* 6 times, sc 12 [25]10. sc 4, *dec* 6 times, sc 9 [19]11. sc 4, *dec* 3 times, sc 9 [16]12 – 14. sc in each st around [16]Stuff the foot.15. sc 5, inc, sc 2, inc, sc 7 [18]16. sc 4, *sc, inc, sc* 3 times, sc 5 [21]17. *sc 6, inc* 3 times [24]18. *sc 3, inc* 6 times [30]19 – 20. sc in each st around [30]21. *sc 3, dec* 6 times [24]22. sc, dec, *sc 2, dec* 5 times, sc [18]23. *sc, dec* 6 times [12]Fasten off, leaving a 12-inch tail. Finish stuffing the leg. Pinch the final round together and slip stitch closed. Hide the remaining yarn tail inside the work.Your leg is now ready to attach while crocheting the body at a later step.
Step 9
With green yarn:01. start 6 sc into a magic ring [6]02. inc in each st around [12]03. *sc, inc* 6 times [18]04. sc, inc, *sc 2, inc* 5 times, sc [24]05. *sc 3, inc* 6 times [30]06. sc 2, inc, *sc 4, inc* 5 times, sc 2 [36]07. *sc 5, inc* 6 times [42]08. sc 3, inc, *sc 6, inc* 5 times, sc 3 [48]09. *sc 7, inc* 6 times [54]10. sc 4, inc, *sc 8, inc* 5 times, sc 4 [60]11 – 17. sc in each st around [60]18. sc 4, dec, *sc 8, dec* 5 times, sc 4 [54]Attaching the legs: Attach the legs where instructed while crocheting the next round. To view a video tutorial, see "How to Attach Legs | No-Sew Method" on the pattern web page.Right-handed crocheters: 19. Attach the first leg (toes pointed to your left): (sc 6), sc 24, Attach the second leg (toes pointed to your right): (sc 6), sc 18 [54]Left-handed crocheters: 19. Attach the first leg (toes pointed to your right): (sc 6), sc 24, Attach the second leg (toes pointed to your left): (sc 6), sc 18 [54]20. *sc 7, dec* 6 times [48]21. sc in each st around [48]22. sc 3, dec, *sc 6, dec* 5 times, sc 3 [42]23 – 24. sc in each st around [42]25. *sc 5, dec* 6 times [36]26 – 27. sc in each st around [36]28. sc 2, dec, *sc 4, dec* 5 times, sc 2 [30]29. sc in each st around [30]Attaching the arms: Attach the arms where instructed while crocheting the next round. To view a video tutorial, see "How to Attach Arms | No-Sew Method" on the pattern web page.30. sc, Attach the first arm: (sc 6), sc 11, Attach the second arm: (sc 6), sc 6 [30]At the end of round 30, each arm should be centered above the top of each leg. If the arms appear off-center, redo the round and adjust the placement of the arms as necessary.Stuff the body. 31. *sc 3, dec* 6 times [24]Fasten off and leave a tail the length of your arm span (5+ feet).Sew the head to the body: To view a video tutorial, see "How to Sew Head to Body" on the pattern web page.Tack down the legs: To view a video tutorial, click the "Tack Down Legs" image thumbnail on the pattern web page.
Step 10
With green yarn:01. start 6 sc into a magic ring [6]02. *sc, inc* 3 times [9]03. sc, inc, *sc 2, inc* 2 times, sc [12]04. *sc 3, inc* 3 times [15]05. sc in each st around [15]06. sc 2, inc, *sc 4, inc* 2 times, sc 2 [18]07. *sc 2, inc* 3 times, *sc, dec* 3 times [18]08. *sc 5, inc* 3 times [21]09. sc in each st around [21]10. sc 3, inc, *sc 6, inc* 2 times, sc 3 [24]11. sc, dec, *sc 2, inc* 4 times, *sc, dec* 3 times [24]12. *sc 7, inc* 3 times [27]13. sc in each st around [27]14. sc 4, inc, *sc 8, inc* 2 times, sc 4 [30]15. *sc, dec* 2 times, *sc 2, inc* 5 times, *sc, dec* 3 times [30]16. *sc 9, inc* 3 times [33]17. sc in each st around [33]18. sc 5, inc, *sc 10, inc* 2 times, sc 5 [36]19. sc in each st around [36]Attach the tail to the body: Fasten off, leaving a 3-foot yarn tail. Stuff the tail ¾ full, then sew it to the body. The top of the tail should be level with the top of the legs.When you've attached the tail ¾ of the way around, finish stuffing. Complete the remainder of the sewing, then hide the yarn tail inside the work.To view a video tutorial, click the "Attach Tail" image thumbnail on the pattern web page.
Step 11
With yellow yarn:01. Chain 5 start: ch5, inc in 2nd ch from hook, sc 2, 5sc in the last ch. Continue on the other side of the chain base, sc 2, 3sc in the last ch [14]02. inc, sc 4, *inc* 3 times, sc 4, *inc* 2 times [20]03. inc, sc 6, *inc* 2 times, sc, inc, sc 6, *inc* 2 times, sc [26]04. inc, sc 8, *inc, sc* 2 times, inc, sc 8, *inc, sc* 2 times [32]05. inc, sc 10, inc, sc 2, inc, sc, inc, sc 10, inc, sc 2, inc, sc [38]06. inc, sc 12, *inc, sc 2* 2 times, inc, sc 12, *inc, sc 2* 2 times [44]07. inc, sc 14, inc, sc 3, inc, sc 2, inc, sc 14, inc, sc 3, inc, sc 2 [50]Sew the belly to the body: Fasten off, leaving a 3-foot tail. Create an invisible finish. Use the remainder of the yarn tail to sew the belly to the body.To view a video tutorial, see "How to Sew the Belly to the Body" on the pattern web page.
Step 12
With blue yarn:01. start 6 sc into a magic ring [6]02. *sc, inc* 3 times [9]03. sc, inc, *sc 2, inc* 2 times, sc [12]04. sc in each st around [12]Fasten off, leaving a 6-inch yarn tail. Create an invisible finish, then hide the remaining yarn tail inside the work.Now we will crochet the spikes together into two groups of five.Create a slip knot on your hook with blue yarn, leaving a 6-inch yarn tail:01. sc 6 across the flat edge of 5 spikes [30]Fasten off, leaving a 3-foot tail for sewing. Hide the initial 6-inch yarn tail inside the work. Repeat this process for the remaining 5 spikes.Sew the spikes to the body: One group of 5 should go from the tip of the tail to the base of the neck. The other group of 5 should go from the base of the neck to the forehead.To view a video tutorial, click the "Dinosaur & Dragon Spikes" image thumbnail on the pattern web page.
Step 13
With blue yarn:01. start 6 sc into a magic ring [6]02. *inc, sc, inc* 2 times [10]03. *sc, inc, sc, inc, sc* 2 times [14]04. *sc 2, inc, sc 3, inc* 2 times [18]05. sc 2, inc, sc 3, inc, sc 4, inc, sc 3, inc, sc 2 [22]06. *sc 4, inc, sc 5, inc* 2 times [26]07. sc 3, inc, sc 5, inc, sc 6, inc, sc 5, inc, sc 3 [30]08. *sc 6, inc, sc 7, inc* 2 times [34]09. sc 4, inc, sc 7, inc, sc 8, inc, sc 7, inc, sc 4 [38]10. *sc 18, inc* 2 times [40]Do not fasten off. The next "round" will be worked as a row. Pinch the final round together and work through both layers to create a scalloped edge.11. ch 1, *hdc, dc, dc, hdc, slst* 4 times [20]Sew the wings to the body: Fasten off, leaving a 24-inch tail. Once you've completed both wings, use the yarn tails to sew the wings to the back of the dragon's body.To view a video tutorial, click on the "Dragon Wings" image thumbnail on the pattern web page.
Step 14
With white yarn:01. start 6 sc into a magic ring [6]02. sc in each st around [6]03. sc 2, *inc* 2 times, sc 2 [8]04. sc in each st around [8]05. sc 3, *inc* 2 times, sc 3 [10]06. sc in each st around [10]07. sc 5, *inc* 2 times, sc 3 [12]08. sc in each st around [12]Fasten off, leaving an 18-inch yarn tail for sewing the horn to the head at a later step.I filled my horns with hot glue so they would keep their shape. If you don't want to use hot glue, you can stuff them with fiber fill.Sew the horns to the head: To view a photo of the recommended placement, see Figure 4 in the Notes section of the pattern.
Top similar recipes
Curated for youYour folders

 551 views
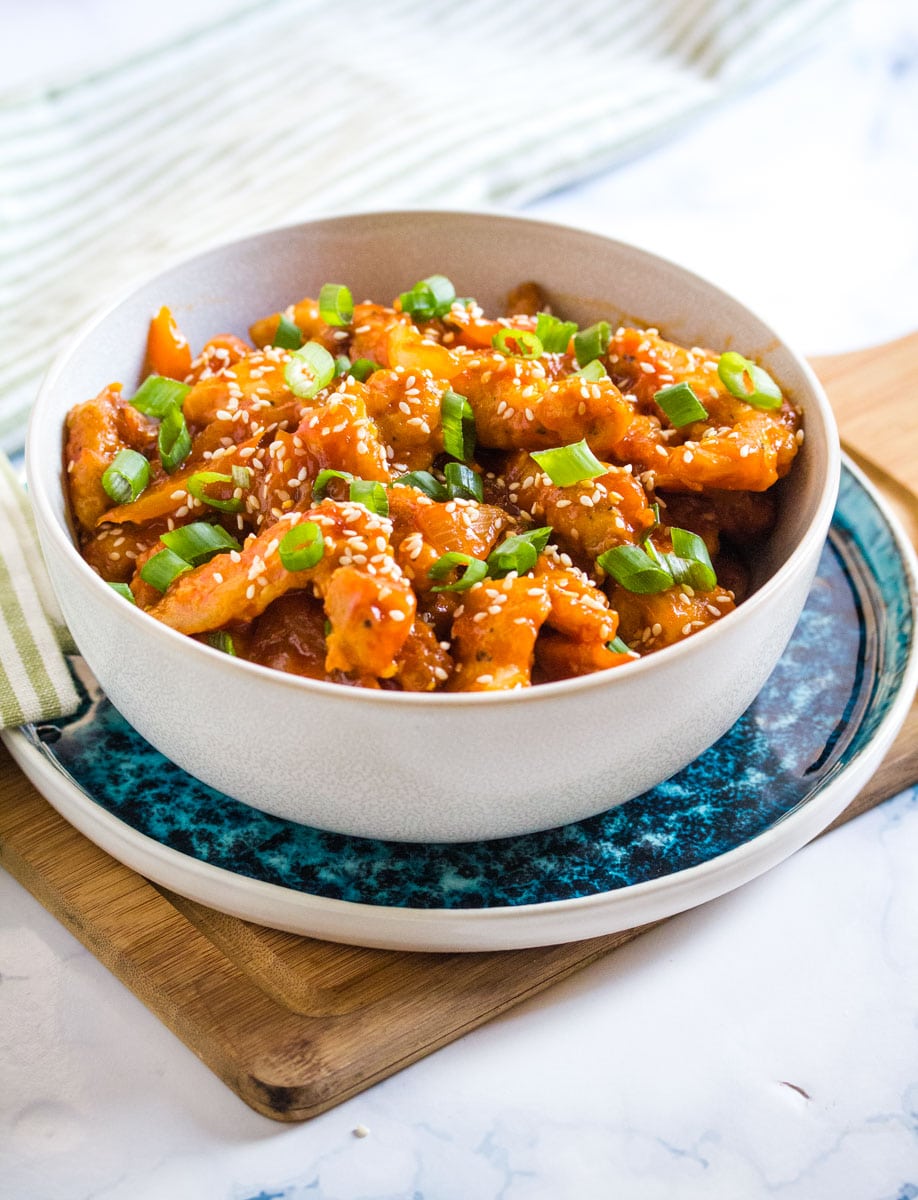
Dragon Chicken
errenskitchen.com
5.0
(1)
5 minutes
Your folders
 848 views
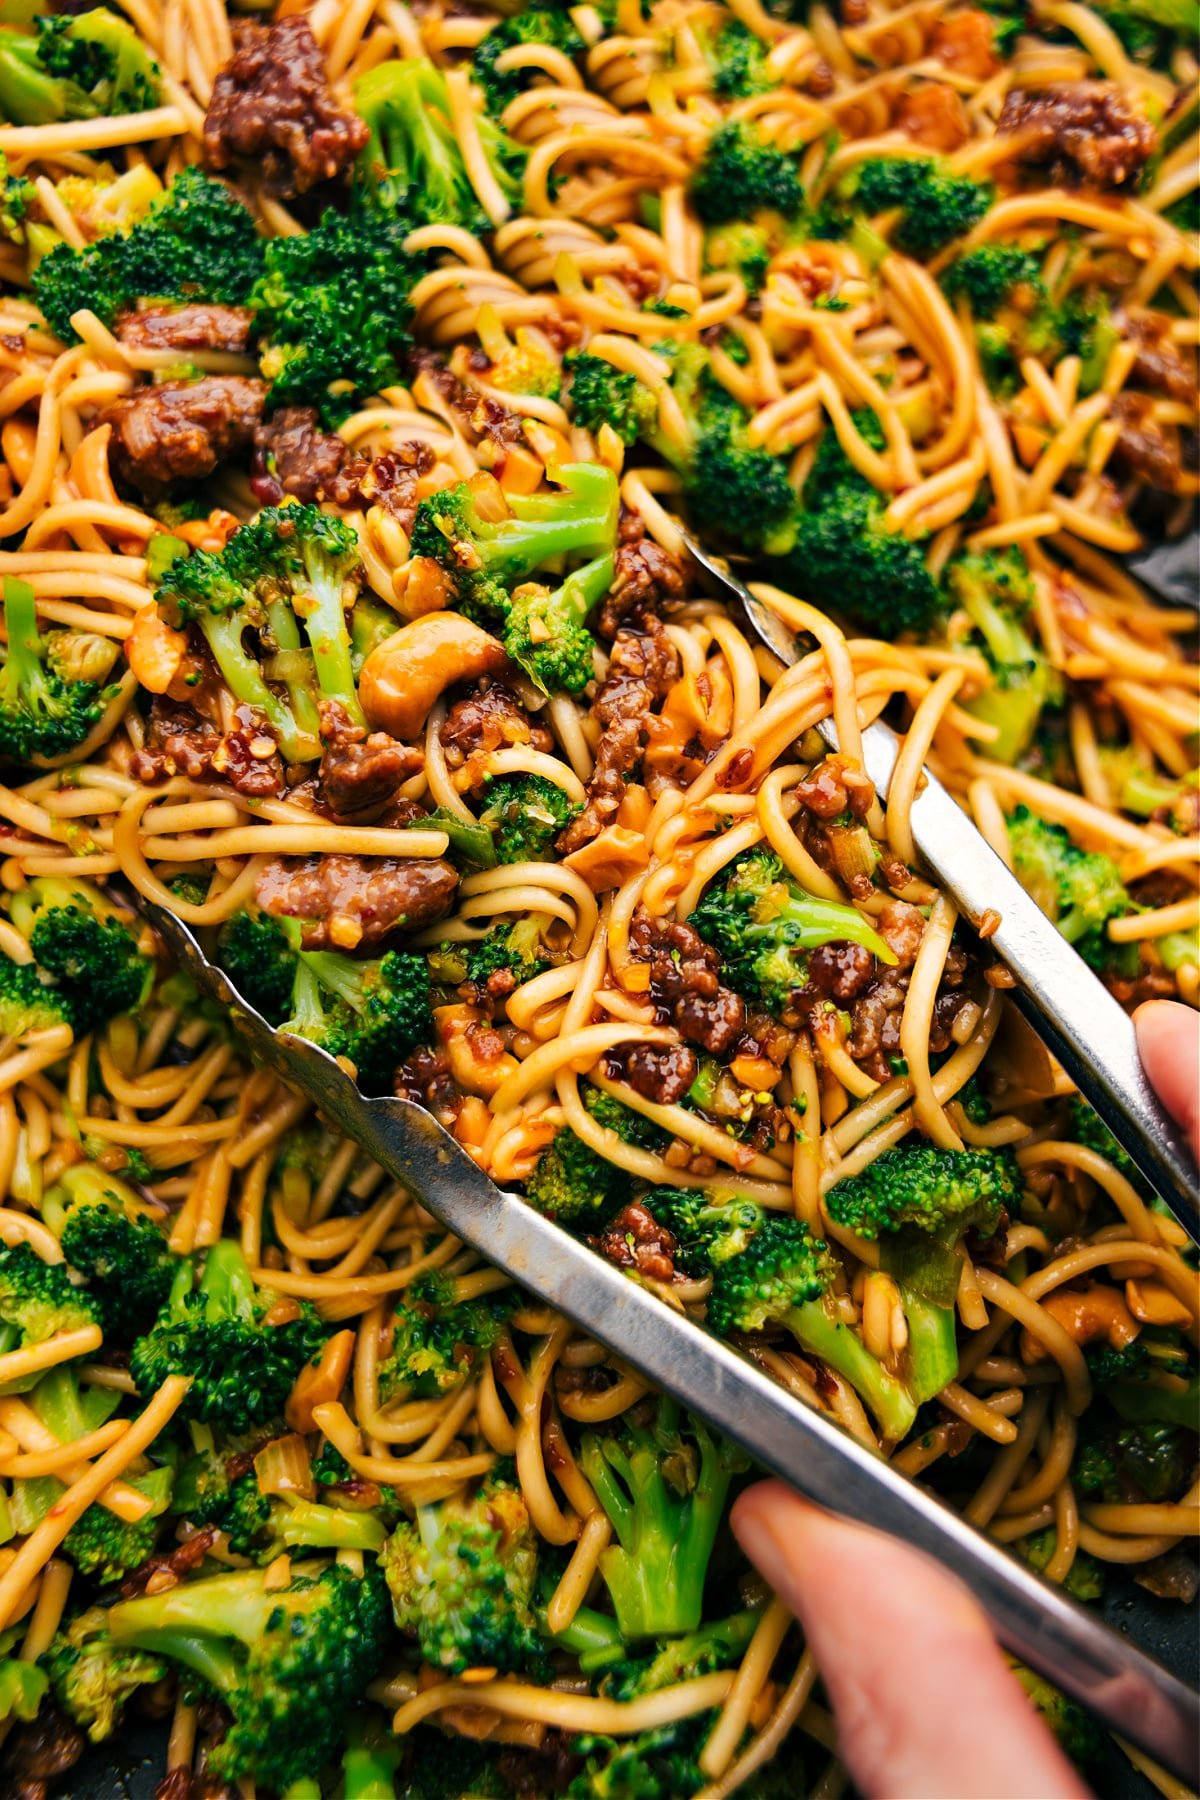
Dragon Noodles
budgetbytes.com
4.9
(276)
10 minutes
Your folders
 1552 views
Dragon Roll
justonecookbook.com
4.7
(26)
Your folders
 276 views
Dragon Chicken
ikneadtoeat.com
5.0
(6)
20 minutes
Your folders
 244 views
Dragon Noodles
chelseasmessyapron.com
5.0
(12)
10 minutes
Your folders
 350 views
Sauce dragon
ricardocuisine.com
5.0
(3)
Your folders
 316 views
Dragon Noodles
hurrythefoodup.com
4.7
(9)
10 minutes
Your folders
 348 views
Dragon Noodles
cookingprofessionally.com
5.0
(1)
25 minutes
Your folders
 189 views
Green Dragon
bargpt.app
5.0
(19)
Your folders
698 viewsDragon Piss #2
cocktailbuilder.com
3.0
(10)
2 minutes
Your folders
 384 views
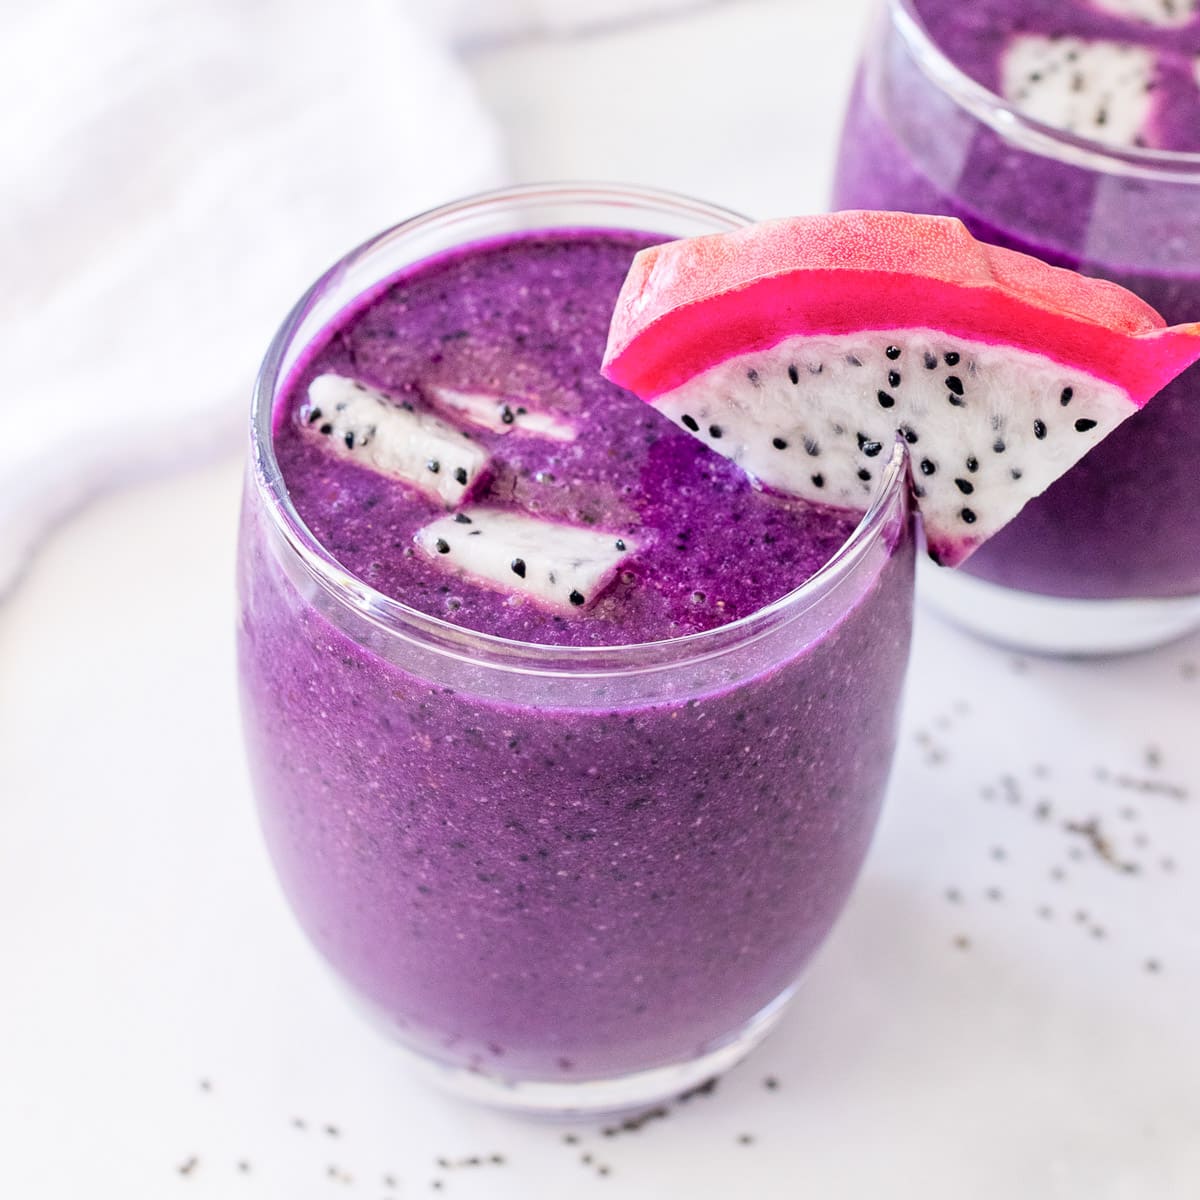
Pink Dragon Smoothie
realsimple.com
Your folders
 240 views
Dragon Fire Sauce
lordbyronskitchen.com
4.8
(5)
5 minutes
Your folders
 176 views
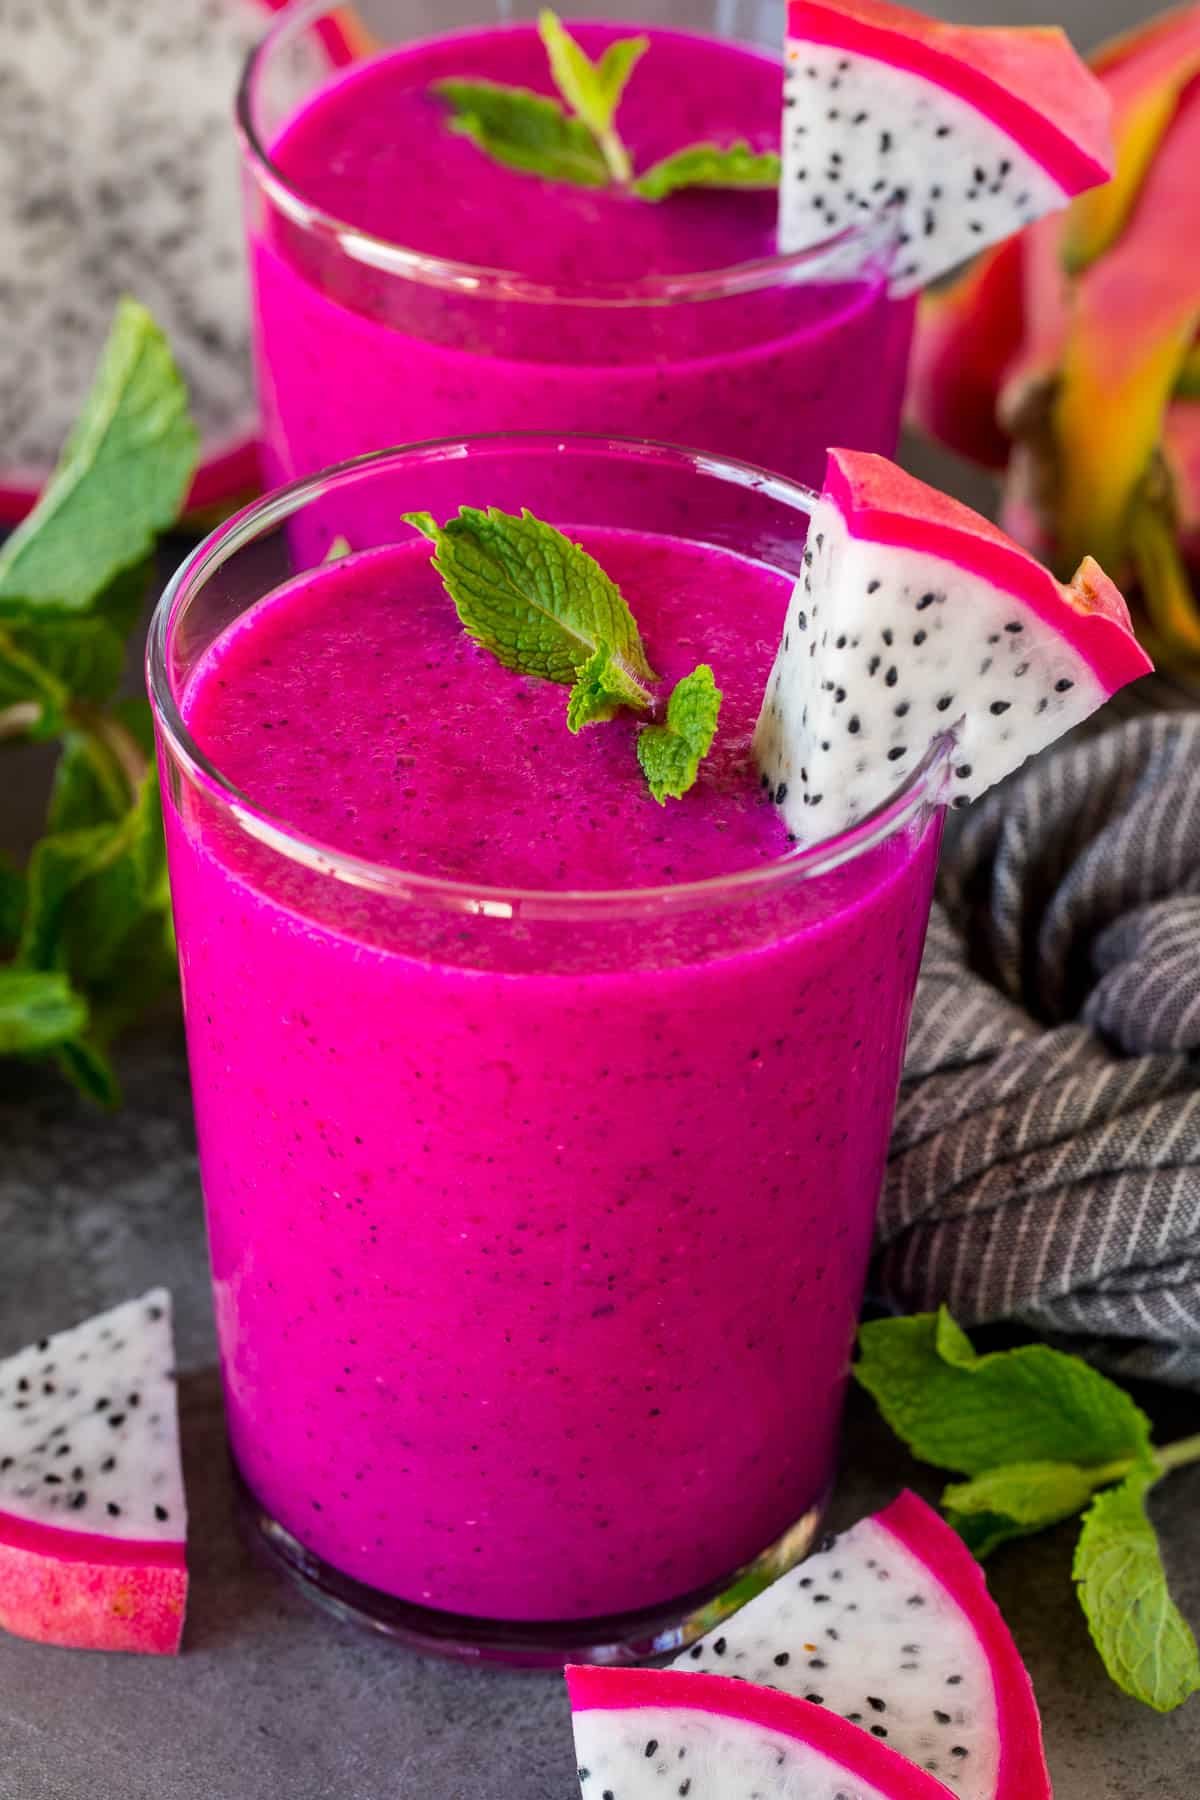
Dragon Fruit Smoothie
dinneratthezoo.com
5.0
(10)
1 minutes
Your folders
 445 views
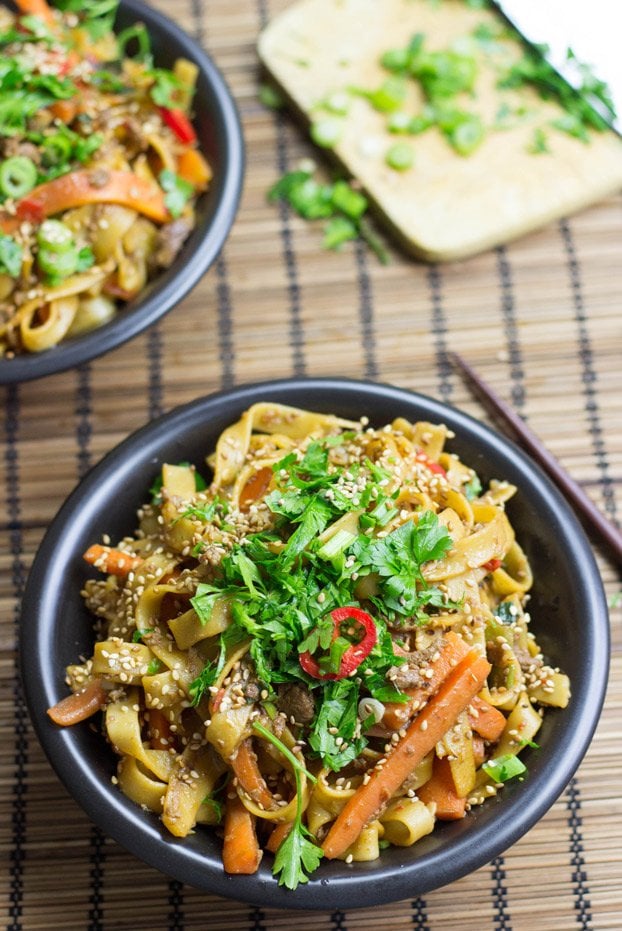
'Dragon prawn' noodles
bbc.co.uk
5.0
(1)
30 minutes
Your folders
 667 views
Dragon Fruit Smoothie
sunkissedkitchen.com
5.0
(9)
Your folders
 411 views
Dragon Fruit Smoothie
simplegreensmoothies.com
4.3
(6)
Your folders
 465 views
Dragon Fruit Smoothie
sulaandspice.com
5.0
(24)
Your folders
 436 views
Dragon Chicken Recipe
chilipeppermadness.com
5.0
(2)
25 minutes
Your folders
 373 views
Dragon Fruit Smoothie
vegkitchen.com
5.0
(3)