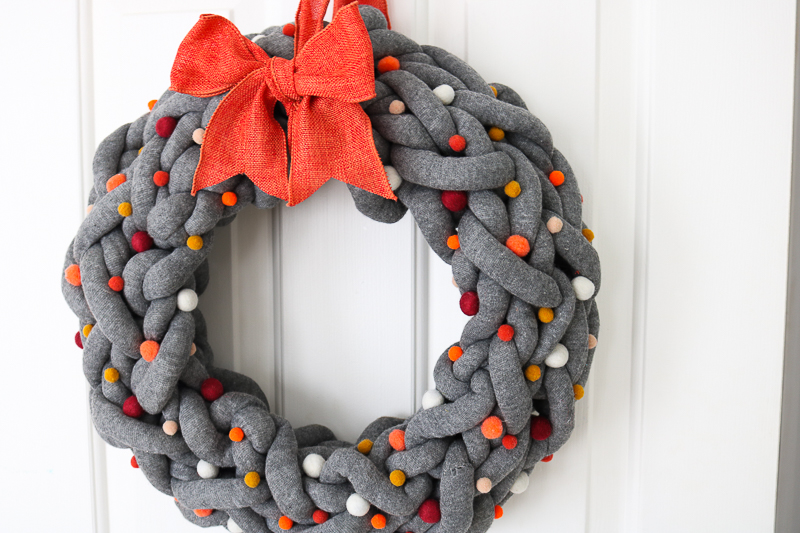
DIY Fall Wreath with Yarn
Your folders
Your folders
Total: 35
Ingredients
Export 4 ingredients for grocery delivery
Instructions
Step 1
First, we will begin our first row of arm knitting with a knot. Pull out about a 3-foot piece from your yarn. Drape this over your hand. There should be three feet on one side and the yarn should be attached to your skein on the other.
Step 2
Pinch the yarn with your other hand as shown below.
Step 3
Twist and grab the yarn that is attached to your skein.
Step 4
Pull through and now you have a slip knot.
Step 5
Now that your first knot is complete, thread it onto your arm. You can tighten this if needed.
Step 6
Now we will begin to add the stitches that will become our first row. You will need to hold the yarn properly for each stitch. Hold the yarn attached to your skein with your index and middle finger as shown below. Then grab the end with your other two fingers.
Step 7
Put the 3-foot tail of yarn around your thumb as shown below. The pinky and ring finger will be holding both of the pieces.
Step 8
Take your index finger on the opposite hand. Go under the first strand, over the second, and grab the third. Pull it through to create another stitch.
Step 9
Add this to your arm as well. Repeat as many times as you would like. I did 5 stitches across for my wreath. You could do more or fewer to make the wreath itself wider or narrower.
Step 10
You will not need the tail end of the yarn any longer. From now on, work only with the piece connected to the skein of yarn. Grab that piece with the hand that has the loops.
Step 11
Pull it through the first loop, turn it towards yourself, and slip it on the opposite hand. Tighten the stitches as you go. You should get them as tight as possible. Guess what? You are now arm knitting!
Step 12
Repeat the same process above and move the stitches over to your other arm. Work until they are all moved. Now you have completed your first row. Congrats! But, we have a few more to go to complete this DIY fall wreath.
Step 13
Repeat these same steps moving the stitches to alternating arms as you go along.
Step 14
Repeat as many times as it takes to get your piece long enough to go all the way around your wreath form.
Step 15
The form should not be super tight when you wrap it but not too loose either. Once you think you have enough, it is time to tie off your project.
Step 16
Complete two stitches on the row just like the instructions above.
Step 17
Pull the first stitch over the second and then tighten. Do not over tighten here as your end can get super small.
Step 18
You will want to continue in this same manner for all of your stitches.
Step 19
Now you are left with one stitch left on your arm. Cut the strand attached to your skein about a foot and a half away from your project.
Step 20
Pull that end through the last stitch.
Step 21
Then pull it until it is tight.
Step 22
Now we have one long piece but we need a circle to go around the wreath form. Next, we will secure the two ends together.
Step 23
Put the two ends together. Then use that piece that you cut a foot and half long to bind the two together.
Step 24
Put it through both pieces weaving it in and out until you get to the other side of the knitted piece.
Step 25
Once you get to the other side, make a loop with the yarn and pull the end through to make a knot. You can double this knot if you would like.
Step 26
Then, all that is left is to hide both ends. You can cut some off to make them shorter. Then weave them throughout your piece to hide.
Step 27
Turn your knitted piece so that it is a formed circle. I found that mine naturally made this shape. Then I just put the wreath form inside the piece. Maneuver the piece until the wreath form is hidden.
Step 28
First, tie a bow to hang your wreath from out of the burlap ribbon.
Step 29
Then use hot glue to secure pom poms or wool balls in various colors all over your wreath.
Top similar recipes
Curated for youYour folders

 213 views
DIY Yarn Wreath
abeautifulmess.com
Your folders
 65 views
DIY Wooden Yarn Card Organizers
dreamalittlebigger.com
Your folders
 218 views
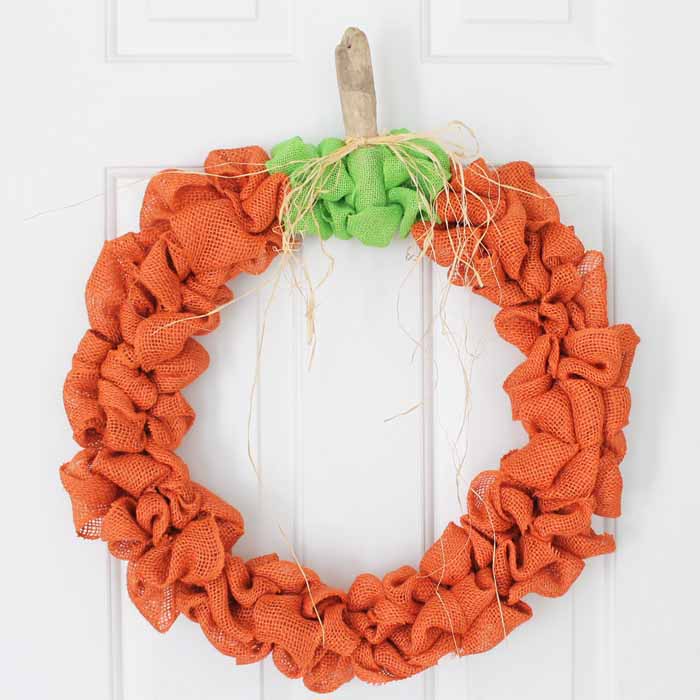
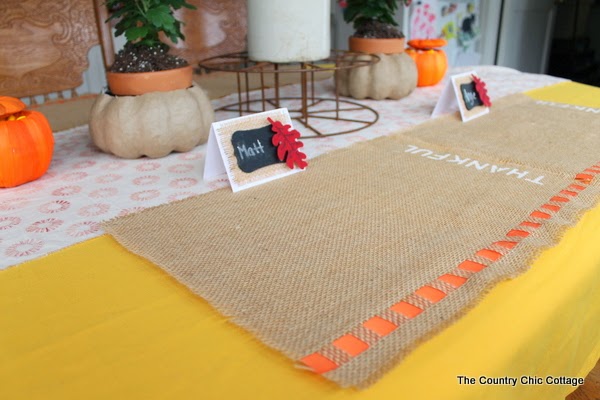
Fall Burlap Pumpkin Wreath
thecountrychiccottage.net
Your folders
 192 views
Simple Fall Wreath with Farmhouse S...
thecountrychiccottage.net
Your folders
 245 views
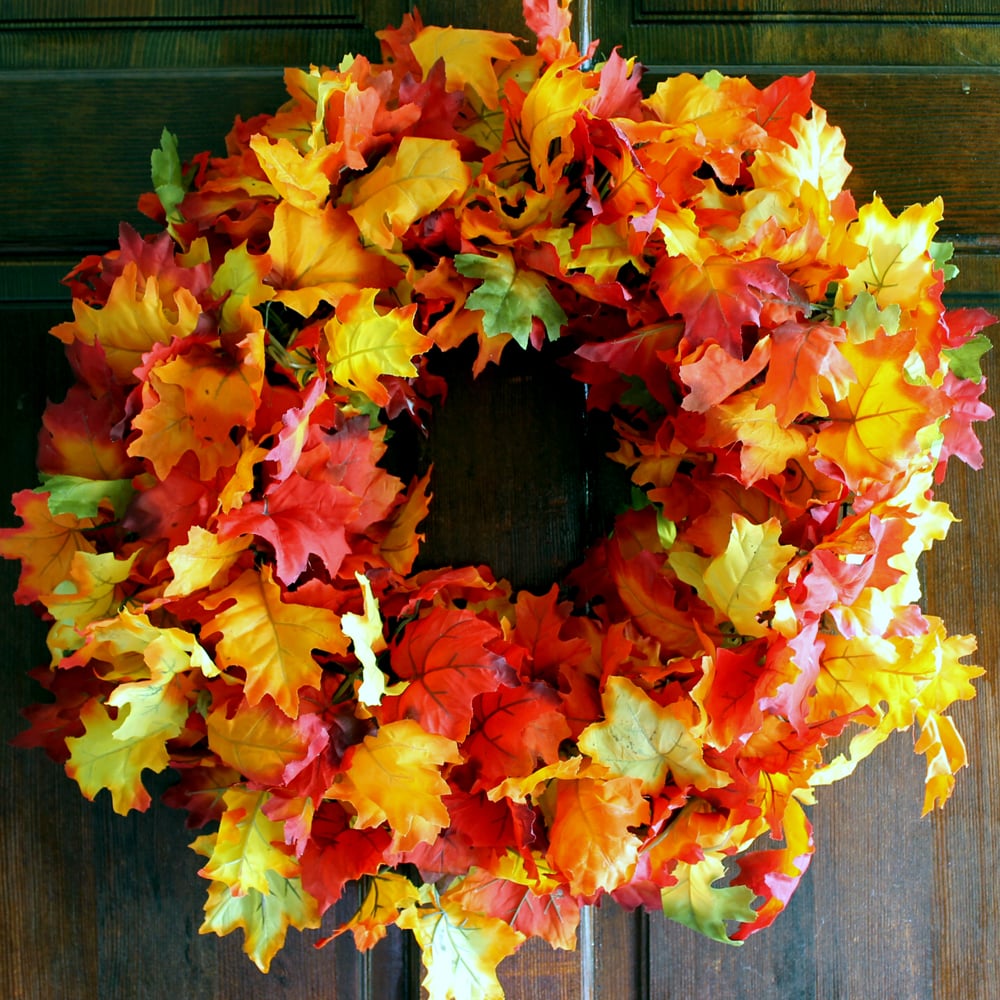
Make a Fall Leaves Wreath
thecountrychiccottage.net
Your folders
 283 views
DIY Placemats for Fall
thecountrychiccottage.net
Your folders
 299 views
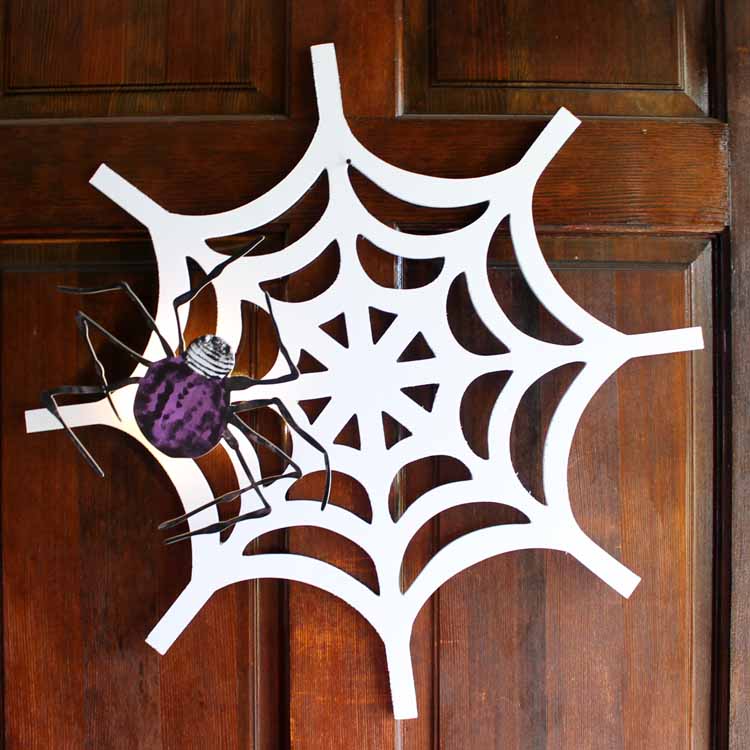
Spider Web DIY Halloween Wreath
thecountrychiccottage.net
Your folders
 148 views
DIY 4th of July Ribbon Wreath
polkadotchair.com
Your folders
 263 views
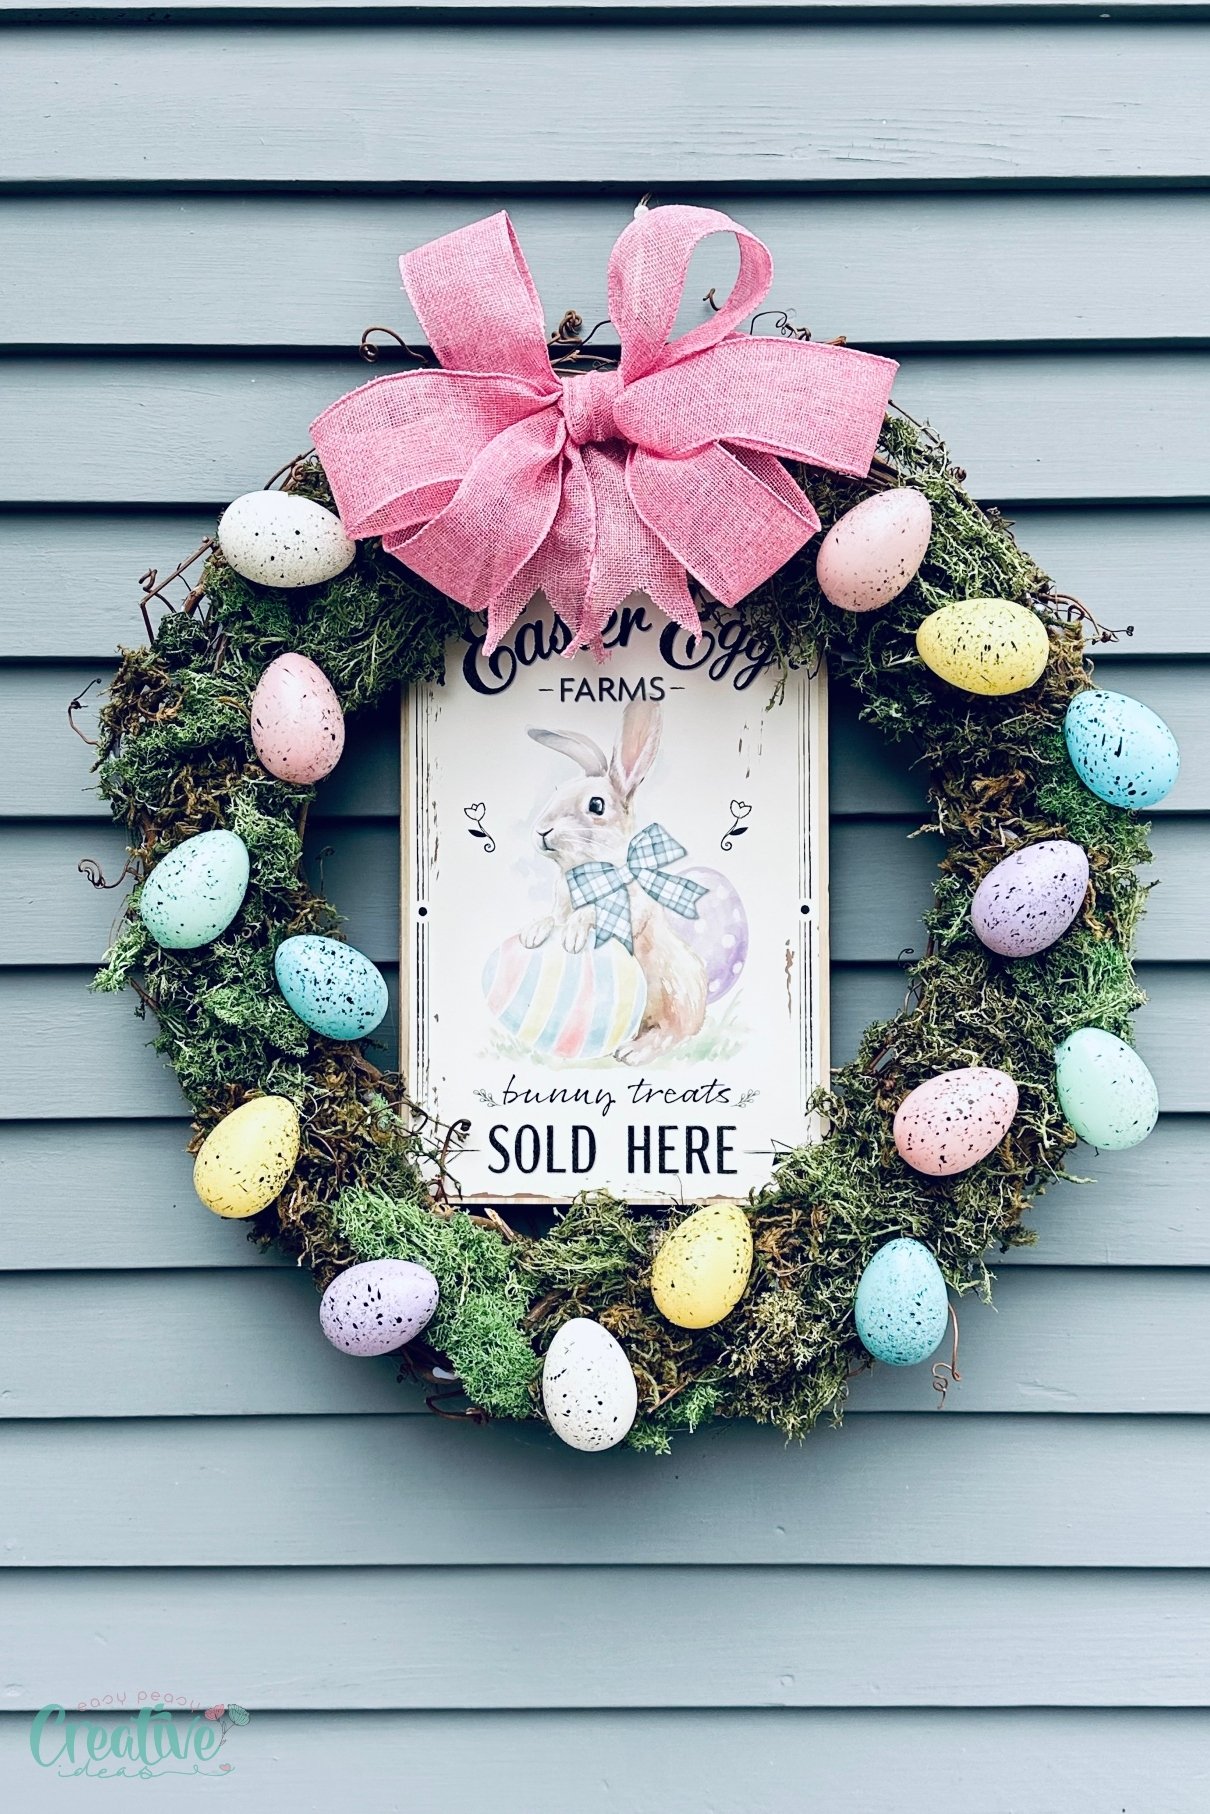
DIY Easter egg wreathDIY Easter egg...
theseamanmom.com
Your folders
 11 views
DIY Gorgeous Felt Leaf Wreath for C...
thecraftingnook.com
Your folders
 65 views
Upcycled Yarn and Cloth
schachtspindle.com
Your folders
 276 views
Party Wreath
cooking.nytimes.com
4.0
(108)
Your folders
 641 views
Antipasto Wreath
delish.com
Your folders
203 viewsAppetizer Wreath
kroger.com
Your folders
248 viewsAppetizer Wreath
kroger.com
Your folders
 157 views
Crescent Wreath
recipesaver.com
5.0
(1)
45 minutes
Your folders
 368 views
Wheat Wreath
thecountrychiccottage.net
Your folders
 272 views
Charcuterie Wreath
wonkywonderful.com
4.4
(57)
Your folders
 284 views
Burlap Wreath
thecountrychiccottage.net