Fermented Beans
Your folders
Your folders
Servings: 1
Ingredients
Export 4 ingredients for grocery delivery
Instructions
Step 1
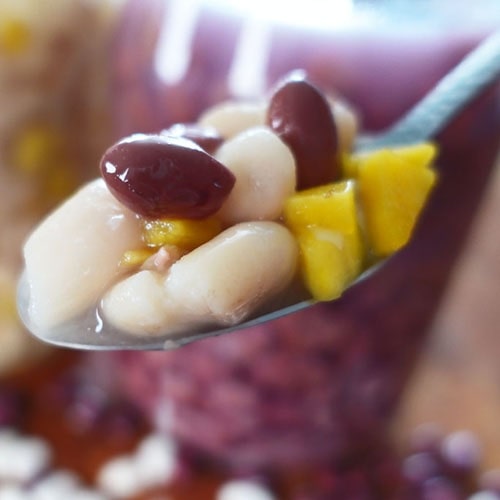
Cook the beans of your choice until the the skins have split. They should be quite tender, but not mush.
Step 2
If the beans didn't split during cooking, you can gently break the beans open with your hands or a fork. Be careful not to mash them. FYI: If the skins aren’t split open, the probiotics will not be able to feed on the inner starch of the bean and the fermentation process will fail.
Step 3
If you are adding vegetables: Chop up the vegetables and add to a large bowl.
Step 4
Add the beans to the veggies in the bowl and mix everything together without mashing the beans. If you want to ferment beans only, then skip this step.
Step 5
Wash the jar and fermenting weight in hot soapy water. Sterilization is not required, hot & soapy water is sufficient.
Step 6
Fill the jar with the bean mixture. NOTE: Make sure the beans have cooled to room temperature first.Then while holding the jar with one hand, bump its bottom end with your other hand to settle the beans until there is about a 3 inch (5-6cm) headspace.
Step 7
Add a glass fermenting weight atop everything in the jar.Set the jar down and next prepare the liquid starter culture that will also double as the brine.
Step 8
Pour your choice of liquid starter culture into a pourable glass measure cup.
Step 9
Add the salt to the starter culture. Stir the salt until dissolved.
Step 10
Add the water to the liquid starter culture. Optionally, you can replace the water with more vegetable brine or kombucha if you have plenty.
Step 11
Pour the liquid starter culture into to the jar until all the contents and the fermenting weight are covered.
Step 12
Leave the beans on the counter at room temperature for 4 to 5 days. So long as the lid is loose, the fermentation gasses will be able to escape and you will not need to burp the jar.
Step 13
Exposure to regular room light is fine, but it is best to keep the ferment out of direct sunlight.
Step 14
After the fermentation period of 4 to 5 days, it is time to end the fermentation.If kahm yeast developed on the surface of the beans, do not worry, it is harmless.
Step 15
You can remove the kahm yeast by first reaching into the jar and pulling out the fermenting weight. The removal of the weight will take with it most of the kahm yeast.Follow up with a paper towel to dab off the remaining kahm yeast flakes floating on the surface. Also wipe the inside of the jar with the paper towel A little leftover kahm yeast is harmless so don't worry if there are remnants. In my Fermented Beans video, I provide a demonstration of how to remove the kahm yeast.
Step 16
Do not return the fermenting weight to the jar. Place a tight lid on the jar of fermented beans and transfer to the refrigerator for storage. If the beans fermented properly, they should last about 2 months in the fridge.Enjoy!