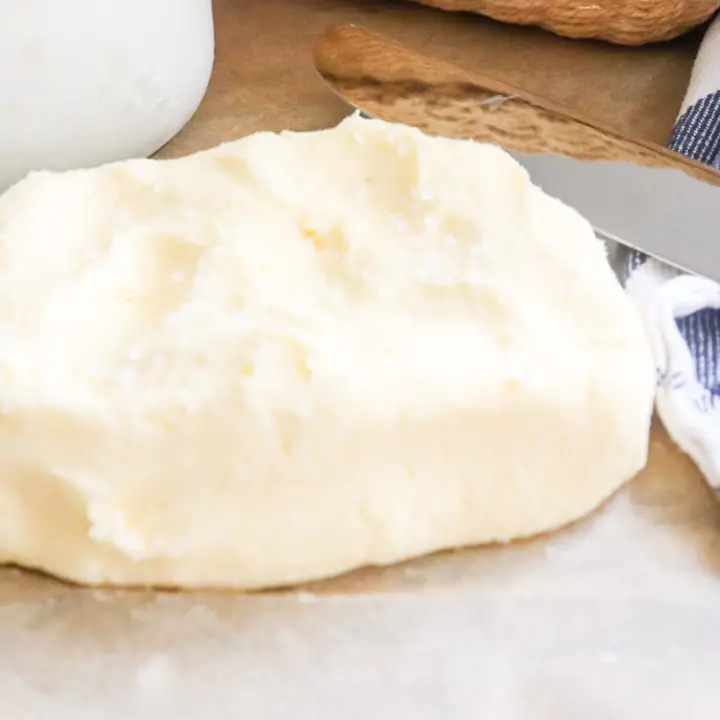
Homemade Butter
4.4
(67)
Your folders
Your folders
Prep Time: 5 minutes
Total: 20 minutes
Author : Alexa Gibbons

Ingredients
Export 1 ingredients for grocery delivery
Instructions
Step 2
Let the cream sit out just long enough to reach room temperature. Using cold cream will just take longer for the fat to separate.
Step 5
Pour the cream into the mixing bowl of a stand-up mixer with the whisk attachment. Turn the mixer on medium, about a level 4 or 5 on my mixer. This next step takes a while. You just have to let the mixer keep going and watch the beauty unfold. I suggest putting a dish towel over the top of the mixture to prevent splattering.
Step 8
Just keep mixing. Your cream will go from cream to whipped cream to butter. This is the fun part. Eventually you will hear a sloshy sound as the fat is separating from the buttermilk and it will start splattering all of your kitchen (hence the dish towel). The sloshy stage indicates it is almost time for butter.
Step 11
Once you finally see butter, turn your blender off. The butter will be clearly separated from the buttermilk (save the buttermilk for pancakes by the way!) and you should be able to pick it up with your hands.
Step 14
Next you need to wash the butter. Run the butter under cold water in the sink while squeezing it occasionally. The goal is to get all the buttermilk completely out of the butter. This helps the butter last longer. When you squeeze the butter, the liquid will go from cloudy to clear, then you know you're done.
Step 17
Form the butter whatever shape you like. This is also the time to add salt or herbs for a fun variation on traditional butter. Next find a container and store the butter in the fridge. Our butter only lasts a few days before everyone devours it, so we just put it in a glass bowl with plastic wrap on top. You could also use a wide mouth mason jar. Whatever you use just make sure it has a wide top so you can easily scoop the butter out when you want to use it!