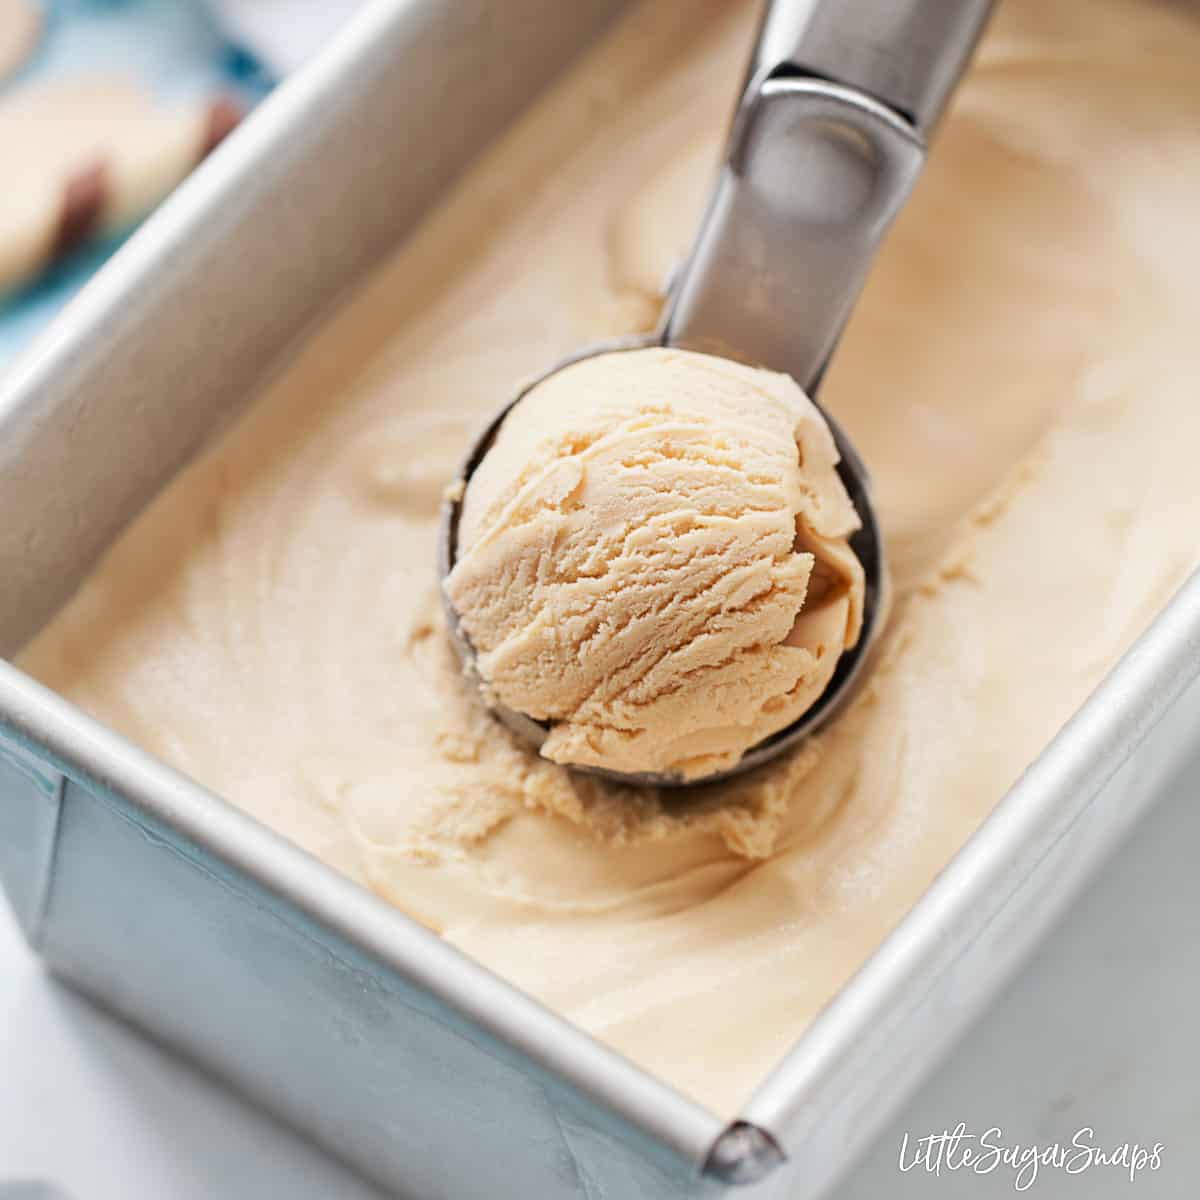
Homemade Salted Caramel Ice Cream
5.0
(1)
Your folders
Your folders
Prep Time: 45 minutes
Total: 45 minutes
Servings: 6
Cost: $3.74 /serving
Author : Jane Saunders
Ingredients
Export 4 ingredients for grocery delivery
Instructions
Step 1
Put the water into a heavy based saucepan. Spread the sugar on top in an even layer
Step 2
Set the pan over a medium heat and allow the sugar to gradually melt. As it melts you can gently swirl the pan a couple of times to ensure the caramel cooks evenly, but do not stir it
Step 3
Meanwhile put the sea salt into a pestle & mortar & crush lightly
Step 4
Once the sugar has melted, the caramel will begin to darken. Continue to let it cook until it reaches a lovely mid amber colour - but keep a close eye on the caramel as it can burn easily. Let it go darker for a more intense, almost burnt flavour
Step 5
Add 1/4 of the cream and the salt, taking care as it can bubble up and is extremely hot. Mix with a small handheld whisk until fully incorporated. Add another 1/4 cream, stir well then add the remaining cream, whisking until thoroughly blended
Step 6
Remove from the heat and set aside
Step 7
Put the milk into a medium saucepan and heat to just below boiling
Step 8
Meanwhile beat the sugar, vanilla and egg yolks with an electric beater until pale and thick (about 3 minutes)
Step 9
Gradually pour the hot milk onto the egg mixture, beating constantly
Step 10
Pour the custard into the saucepan, along with the caramel and stir well. Cook on a low heat, stirring constantly until thickened. It is vital to heat slowly and stir constantly to avoid the custard splitting
Step 11
Once the mixture coats the back of a spoon, take off the heat, cover with a layer of clingfilm (to stop a skin forming), let cool, then chill for 4 hours (or overnight)
Step 12
Pour the custard into your ice cream maker and churn according to the manufacturer's instructions
Step 13
Serve immediately or transfer the ice cream into a freezer-proof container, cover the surface directly with greaseproof paper or foil and store in the freezer. (Remove from the freezer 10 minutes before serving).
Step 14
Pour the ice cream into a suitable freezer-proof bowl, cover and put it in the freezer for 1-1 1/2 hours. The sides should be beginning to freeze, but the centre will be soft and slushy
Step 15
Remove from the freezer and, working quickly, use electric beaters to beat the ice cream until the ice crystals are uniform. Cover and place back in the freezer
Step 16
Repeat this process 4-8 more times at 1 hour intervals - the better the texture will be the more the process is repeated
Step 17
Cover the ice cream with greaseproof paper or foil and freeze for a further 3 hours or overnight
Step 18
Remove from the freezer 10 minutes before serving