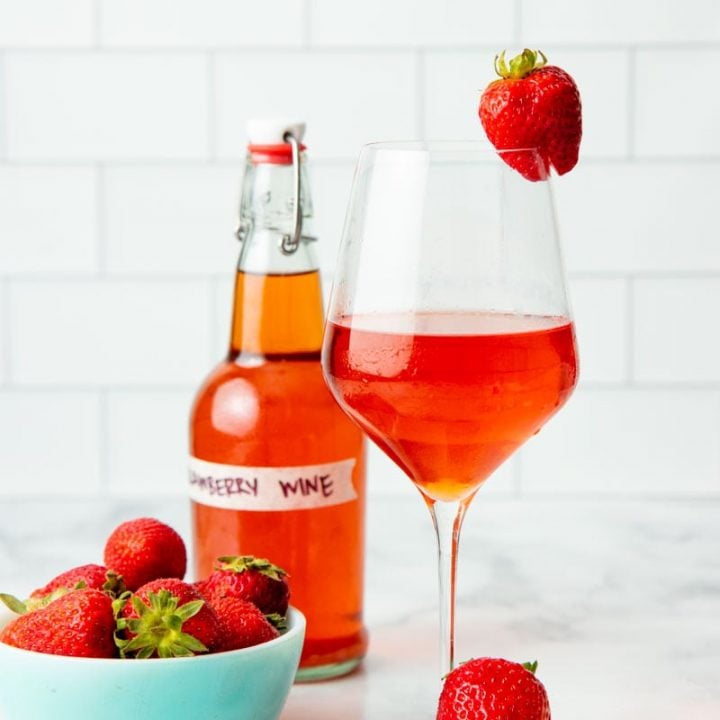
Homemade Strawberry Wine Recipe
4.7
(3)
Your folders
Your folders
Prep Time: 30 minutes
Total: 30 minutes
Servings: 1
Cost: $34.45 /serving
Author : Cassie Johnston

Ingredients
Export 4 ingredients for grocery delivery
Instructions
Step 1
Wash all your tools and sterilize to your desired level of cleanliness. Maintain this level of cleanliness throughout the process.
Step 2
In a big bucket, a large jar, or specifically designed fermenter, add the frozen fruit, cane sugar, and pectic enzyme (if using). Cover and let sit out until the berries are defrosted and the entire mixture is quite juicy—at least four hours, up to 24 hours.
Step 3
Using a potato masher or clean hands, mash the berries to crush them. No need for it to be a smooth puree.
Step 4
In a small bowl, combine about a cup of water with the yeast, set aside to wake up for 10 minutes.
Step 5
Add the wine tannin or black tea and acid blend or lemon juice to the strawberry mixture. Add in enough water to bring the total volume of the mixture to about 1 1/3 gallons—no need to be perfectly accurate.
Step 6
Pitch the yeast water into the mixture, and stir well to agitate. Close the lid on the fermenter and fit with an airlock.
Step 7
Place the fermenter in a spot out of direct light, but where you can keep an eye on it. Agitate the mixture well at least once per day by stirring or swirling.
Step 8
The fermentation should start within 1-3 days. Continue to stir or swirl thoroughly throughout the entire primary fermentation stage.
Step 9
When the bubbles slow down considerably in the airlock (usually around the 10 day mark for us with this wine, but it’ll vary based on the heat of your house), your primary fermentation is done.
Step 10
Fit a funnel with a mesh sieve into the neck of a sterilized carboy. You can also use a special brewing funnel with a strainer if you choose.
Step 11
Using a large ladle, scoop out the whole and mashed strawberries and pour them through the sieve and funnel.
Step 12
Press the berry puree into the sieve to get as much of the early wine out as possible.
Step 13
When the sieve fills up, dump the spent must into the compost, and replace. Keep repeating until the majority of the fruit is out of the wine.
Step 14
Pour the remainder of the wine through the sieve and funnel.
Step 15
You want the wine to come to the bottom of the neck of the carboy. If you have too much, you can pour yourself a glass of not-yet-finished-but-still-delicious wine. If you have too little, you can top it off with more non-chlorinated water.
Step 16
Fit the carboy with an airlock. All this agitation will restart any sluggish fermentation quite actively, so I recommend placing the carboy in a place where you can keep an eye on it easily (but still out of direct sunlight).
Step 17
Once you know it’s not going to geyser wine everywhere, you can then move the carboy to a dark, out-of-the-way spot to do the longer secondary fermentation.
Step 18
Secondary fermentation is complete when the wine is “still,” meaning there is no carbonation in the wine, no bubbling in the airlock, and the wine has cleared. This can take anywhere from a couple of weeks to months, depending on a number of factors. Do not bottle until the wine is still.
Step 19
Using a siphon, transfer the finished strawberry wine—leaving behind the sediment—from the carboy to the bottling bucket (or the primary fermenter if it has a spigot).
Step 20
Fit the bottling container spigot with a bottle filler, if using.
Step 21
Fill clean, sanitized bottles using the bottle filler or just the spigot.
Step 22
Cap, cork, or close the top of the bottles. Label the bottles.
Step 23
Store in a cool dark spot (if using corks, turn the bottles on their sides to keep the corks wet) and age for at least 30 days, but preferably 6-12 months for the best flavor.