Hot Chocolate Bombs
Your folders
Your folders

Ingredients
Export 7 ingredients for grocery delivery
Instructions
Step 1
To make the hot chocolate bombs: Prepare the fondues according to the packaging instructions.
Step 2
Remove the cans from the boiling water and pat dry. Carefully open the can and use a spoon to stir the contents until smooth.
Step 3
Pour 1 spoonful of melted chocolate in each of the mold’s cavity. Use the back of a small spoon to cover the inside of each cavity with chocolate. Flip the mold over a parchment paper-lined baking sheet to let the excess chocolate drip out. (Use a spatula to scrape up this chocolate and put it back into the fondue can.)
Step 4
Flip the mold back up and run a pastry spatula over the flat top of the mold to remove spilled over chocolate and create clean edges for the shells.
Step 5
Place the silicone mold in the freezer for 10 minutes. Remove from the freezer, then spread a second layer of melted chocolate inside each shell, paying close attention to the edges to make them thicker and sturdier. (At this step, the chocolate will harden quickly upon contact with the cold shell.) Return to the freezer for 10 more minutes.
Step 6
Very gently unmold each shell and transfer to a plastic container. Keep the shells in the freezer or refrigerator until ready to assemble. Repeat the steps above to use up the melted chocolate and create all the shells.
Step 7
To assemble the hot chocolate bombs: Assemble all the ingredients required to assemble the hot chocolate bombs: the cold shells, the finely chopped chocolate drops, and the garnishes.
Step 8
Warm up a plate by microwaving it for 20 seconds.
Step 9
Gently rub the flat side of a shell on the warm plate for 2 to 3 seconds, just to melt it slightly. Flip over the shell and fill with 1 tbsp chopped chocolate drops and garnishes of your choice. Cover with a second shell and gently press to seal. If required, add a bit of melted chocolate over the seam to solidify the bomb.
Step 10
Repeat these steps to create all the hot chocolate bombs, rewarming the plate as needed. Return the assembled bombs to the refrigerator for 10 minutes to solidify them.
Step 11
To decorate: In a double-boiler or in the microwave at the lowest heat setting, melt the chocolate drops. Transfer the melted chocolate to a pastry bag fitted with a pastry tip with a very small round opening. If you don’t have a pastry bag, you can simply drizzle the melted chocolate over the bombs using a spoon. Decorate the hot chocolate bombs with the melted chocolate and additional sprinkles, if desired.
Step 12
To serve: Heat some milk until it comes to just under the boiling point. Gently drop the hot chocolate bombs into mugs, then pour the very hot milk over the bombs. Let the bombs open and melt into the hot milk for 1 minute, then stir with a spoon to combine. Enjoy!
Step 13
Our tips to make the best hot chocolate bombs:
Step 14
Wear disposable latex or vinyl gloves when manipulating the chocolate shells. The gloves act as an insulating layer between warm hands and the delicate chocolate shells, which prevents them from melting while you assemble them. It also prevents you from leaving fingerprints all over the hot chocolate bombs!
Step 15
Assemble the hot chocolate bombs in the coolest corner of your kitchen. If your hands are very warm, the shells can melt even if you’re wearing gloves. If this happens, keep an ice pack close by so you can cool off your fingers from time to time during the assembly process.
Step 16
Keep the assembled hot chocolate bombs refrigerated in an airtight container until you’re ready to serve them.
Step 17
Suggested flavor pairings:
Step 18
Shell: Dulce de Leche Fondue, Filling: Original Dark Chocolate Drops
Step 19
Shell: S’Mores Fondue, Filling: Original Milk Chocolate Drops
Step 20
Shell: Original Dark Fondue, Filling: Dulce de Leche Chocolate Drops
Step 21
Makes about 12 hot chocolate bombs
Top similar recipes
Curated for youYour folders
 303 views
Hot Chocolate Bombs
bigbearswife.com
4.2
(5)
5 minutes
Your folders
 405 views
Hot Chocolate Bombs
createkidsclub.com
4.1
(14)
2 minutes
Your folders

 362 views
Hot Chocolate Bombs
tastesofhomemade.com
4.8
(78)
Your folders
 577 views
Hot Chocolate Bombs
iamafoodblog.com
4.7
(27)
Your folders

 261 views
Hot Chocolate Bombs
sugargeekshow.com
5.0
(75)
5 minutes
Your folders

 262 views
Hot Chocolate Bombs
allrecipes.com
5 minutes
Your folders

 628 views
Hot Chocolate Bombs
sugarspunrun.com
5.0
(2)
Your folders
 701 views
Hot Chocolate Bombs
iambaker.net
5.0
(3)
Your folders
 129 views
Hot Chocolate Bombs
sugargeekshow.com
Your folders

 353 views
Hot chocolate bombs
bbcgoodfood.com
4 minutes
Your folders

 23 views
Hot Chocolate Bombs
gygi.com
4.5
(2)
Your folders

 430 views
Homemade Hot Chocolate Bombs
onegoodthingbyjillee.com
4.2
(16)
Your folders
 325 views
Diy Hot Chocolate Bombs
eatingglutenanddairyfree.com
Your folders
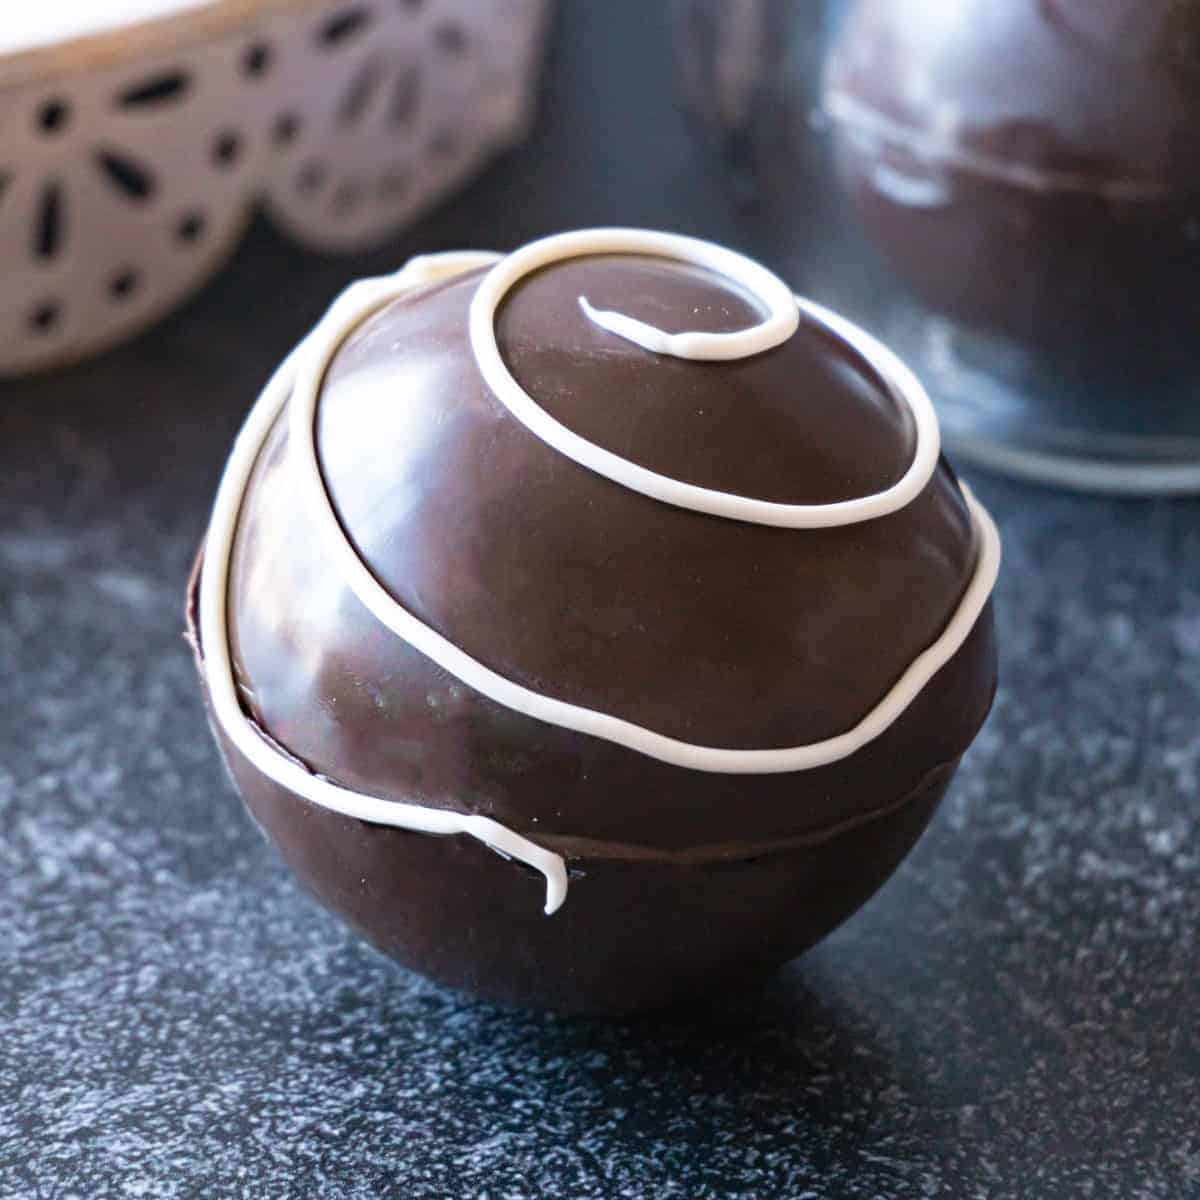
 537 views
Hot Chocolate Bombs Recipe
atablefullofjoy.com
5.0
(5)
Your folders
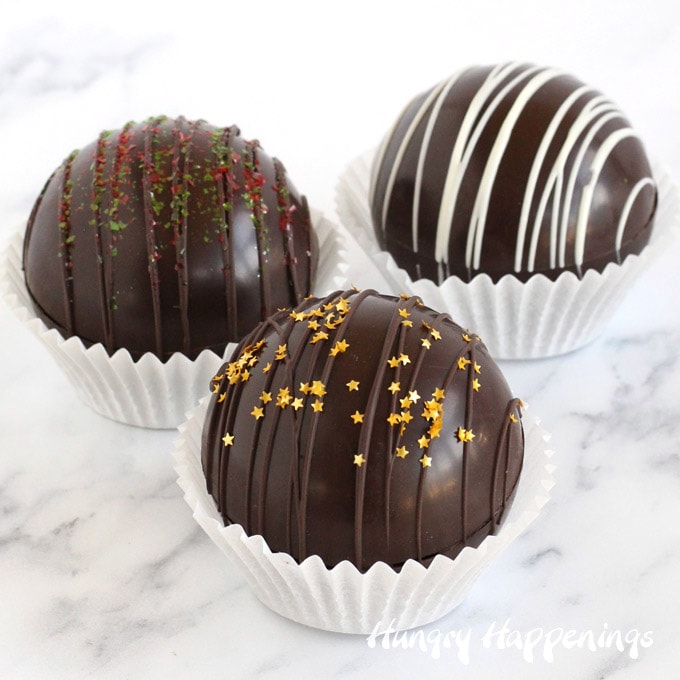
 931 views
Hot Chocolate Bombs Recipe
hungryhappenings.com
5.0
(1)
Your folders
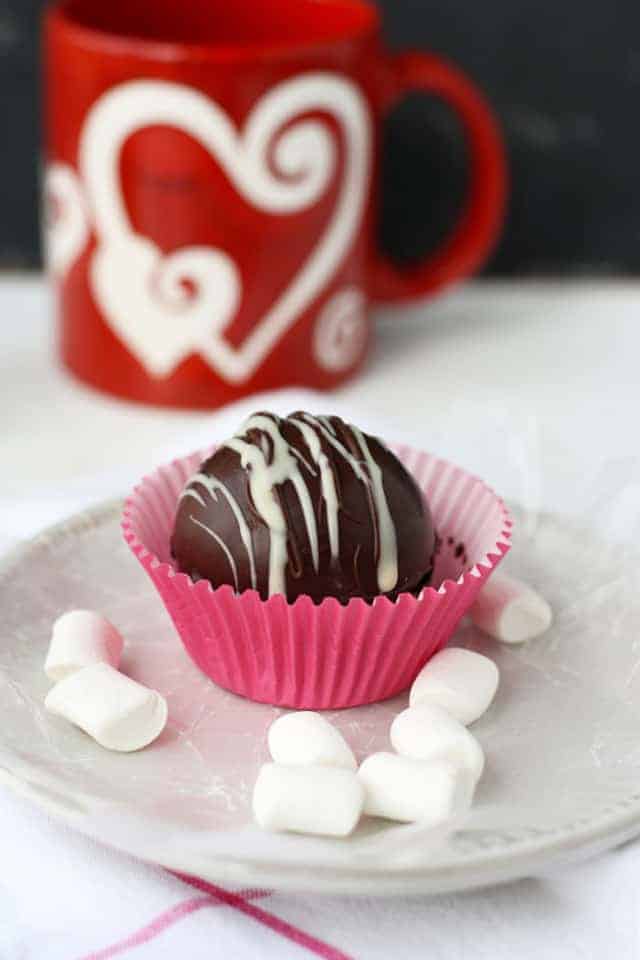
 333 views
Vegan Hot Chocolate Bombs.
theprettybee.com
5.0
(2)
15 minutes
Your folders
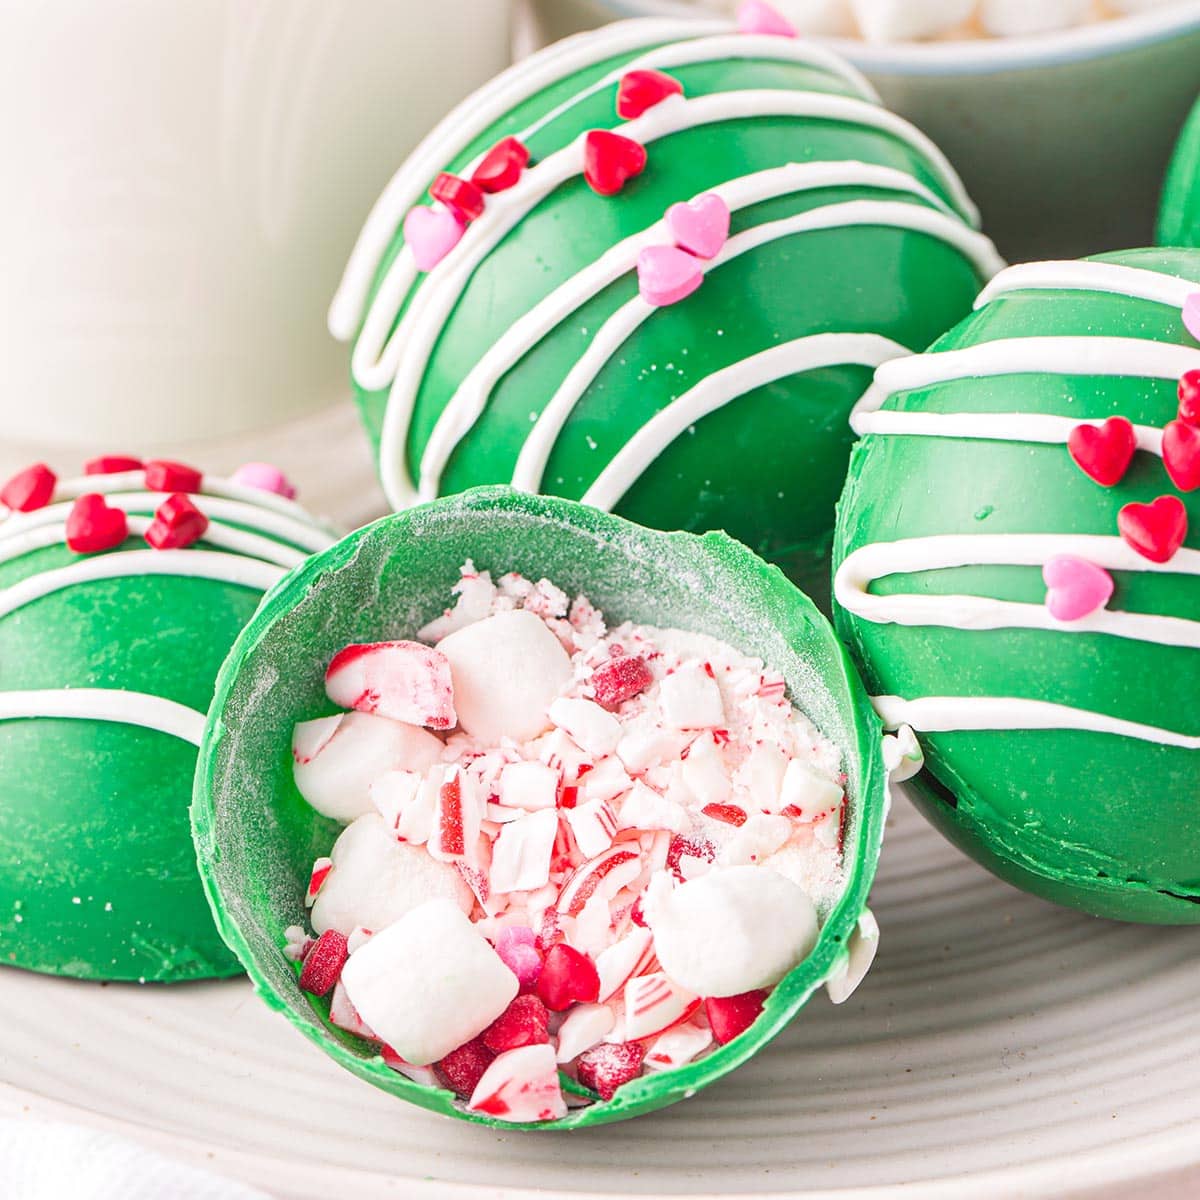
 244 views
Grinch Hot Chocolate Bombs
princesspinkygirl.com
5.0
(3)
20 minutes
Your folders
 329 views
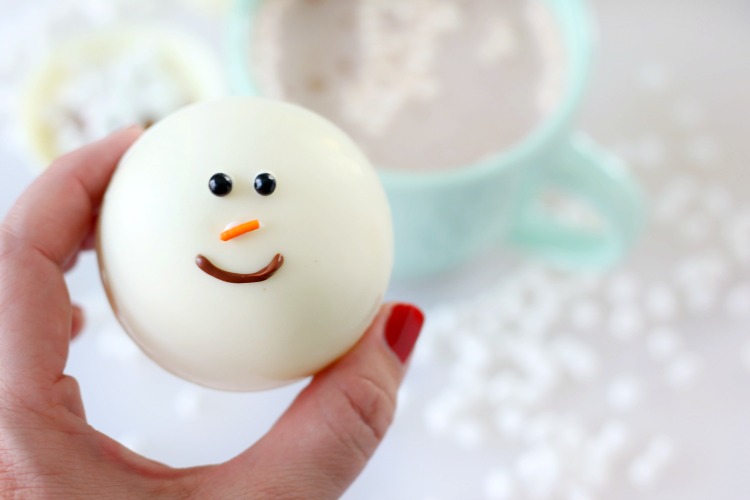
Snowman Hot Chocolate Bombs Recipe
gluesticksblog.com
4.3
(20)
5 minutes
Your folders
 373 views
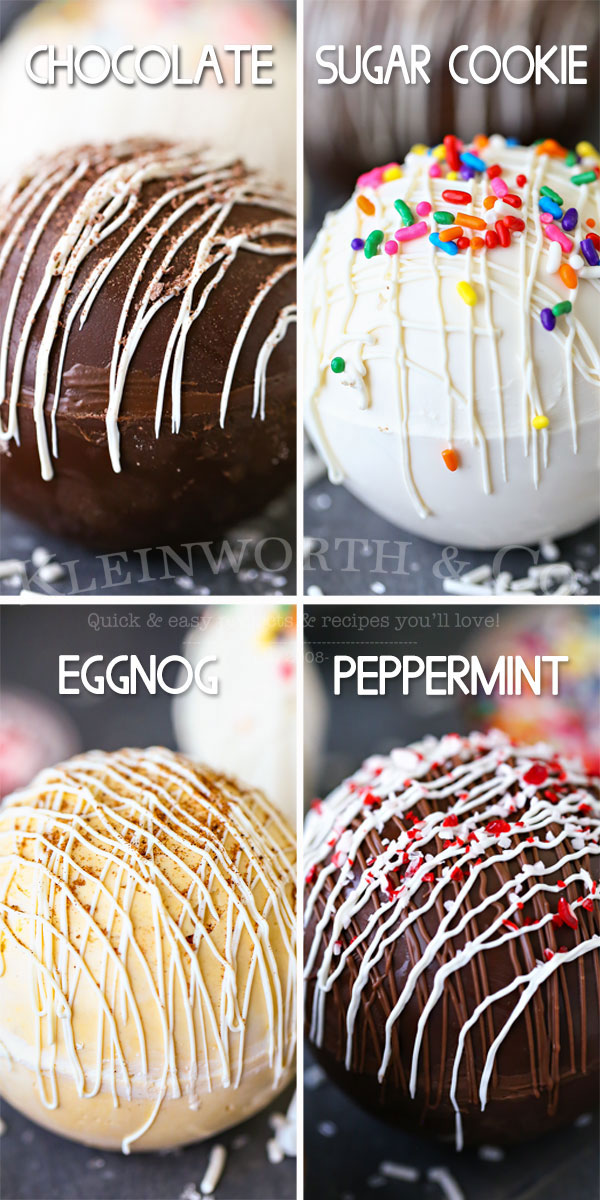
Hot Chocolate Bombs - Numerous Flav...
kleinworthco.com
5.0
(3)