How to Make Chickpea Miso
Your folders
Your folders
Prep Time: 30 minutes
Servings: 2
Author : Thomas
Ingredients
Export 2 ingredients for grocery delivery
Instructions
Step 1
Drain the dried chickpeas and add to an Instant Pot (or pressure cooker). Cover with about 8 cups (2L) of water and pressure cook for 5 minutes. Let the pressure release naturally for 20 minutes before opening the Instant Pot and draining the chickpeas. Set aside and let it cool at room temperature.Note: you can also cook the chickpeas in a large pot of water over the stovetop but it will take much longer.
Step 2
Add one cup of water to a small saucepan. Heat over medium heat for 2-3 minutes, do not bring to a boil. Remove from heat and let it cool until it reaches about 122°F (50°C).
Step 3
Add the koji rice to a medium mixing bowl and pour in the warm water. Stir and let it sit for one hour.
Step 4
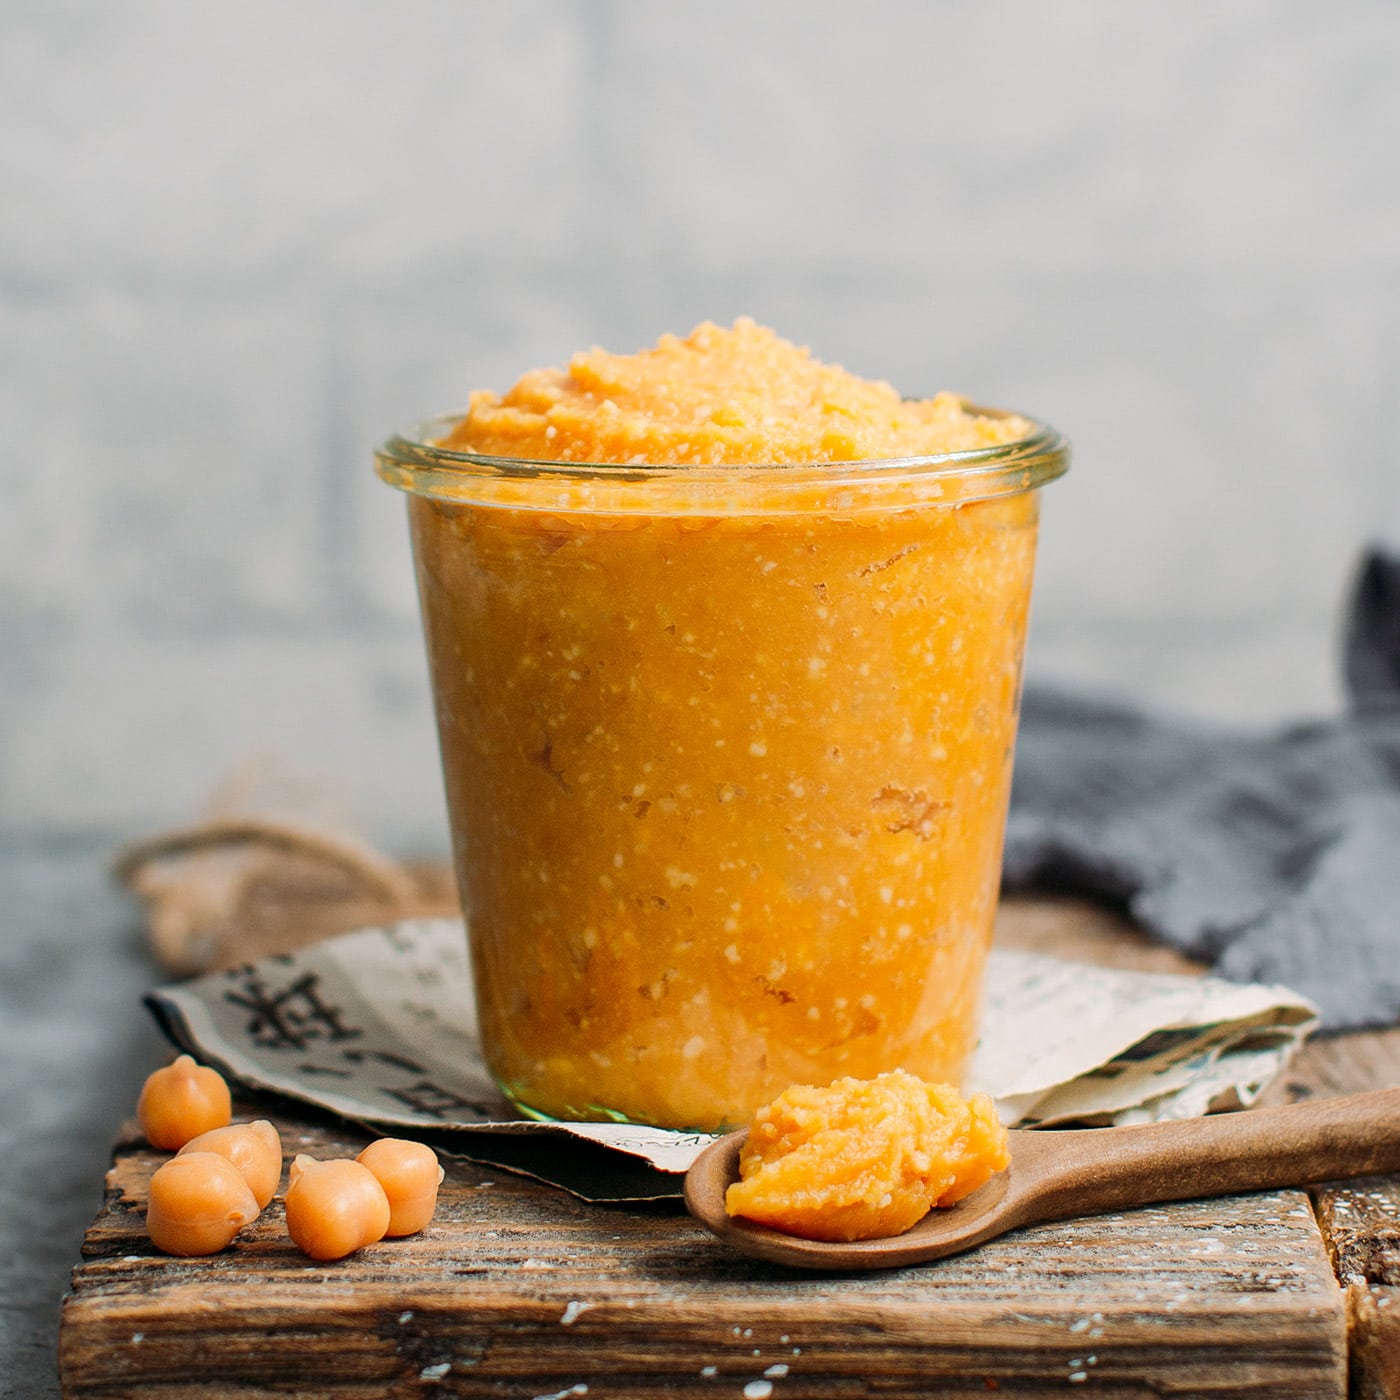
Next, transfer the cooked chickpeas, koji (and the water), and salt to a food processor. Process for 1-2 minutes, or until it forms a paste. It should be almost smooth and all the chickpeas should be puréed. If you have a small food processor, work in batches.
Step 5
Prepare two 1-quart (1L) glass jars: make sure your jars are perfectly clean. I recommend baking your empty jars at 300°F (150°C) for 20 minutes to kill possible bacterias and then let it cool completely.
Step 6
Using gloves or really clean hands, shape balls of the mixture and pack them very tightly into each jar, working one layer at a time to make sure there is no air holes. Repeat until your jars are 3/4 full.
Step 7
Flatten the top of the mixture and sprinkle with about 1/2 tablespoon of fine salt. Cover with plastic film to touch. Now, you want to place something very heavy inside the jar, on top of the miso. I didn't have anything heavy that fitted inside so I filled a plastic bag with coarse salt and placed it inside the jar, on top of the miso. It must be heavy enough to prevent the miso from creating air bubbles due to the fermentation.
Step 8
Close your jars with the lid and store in a dark place at room temperature. Your miso will be ready in 6 months, you don't have to do anything else but wait! Do not open the jar in the meantime or mold could grow.
Step 9
After 6 months, transfer the miso to smaller jars and store in the refrigerator. Miso will keep for months! Use in soups, marinades, sauces, dressings, etc!