How to Make Date Syrup
5.0
(5)
Your folders
Your folders
Prep Time: 15 minutes
Cook Time: 105 minutes
Total: 180 minutes
Servings: 16
Cost: $0.25 /serving
Author : Samira
Ingredients
Export 1 ingredients for grocery delivery
Instructions
Step 1
If the dates aren't already pitted, you'll first need to pit the dates and then chop them into several pieces. It can be easiest to do this with a lightly oiled knife (as they're super sticky!).You can keep the pits, clean and dry them, and then use them for several purposes (read the FAQs).
Step 2
Soak the dates to allow them to soften up. This is especially important if you're using drier dates. I do this by placing all the dates in a large bowl and topping them with boiling (or at least extremely hot) water, and soaking for 20-30 minutes.Then drain and rinse the dates.You may not need to do this step if the dates are soft enough – and you can lose a little of the sugars/flavor in the soaking liquid- so feel free to skip it and simmer the dates for slightly longer if preferred.
Step 3
Add the dates to a large saucepan and add enough water to cover the dates completely. Then bring to a soft boil. Once boiling, reduce the heat to a gentle simmer. Allow them to simmer for around one hour, stirring occasionally. You can simmer them even longer. During this time, the water will turn a darker brown color as the sugars leech out of the dates.
Step 4
Allow the mixture to cool for a further 20-30 minutes before carrying on with the following step.
Step 5
Pour the entire mixture through a sieve lined with cheesecloth or a nut milk bag to collect the water. Then squeeze the dates too to remove as much of the excess juice as possible.Alternatively, you could blend the entire mixture into more of a puree and then sieve this instead. I prefer to do it the other way around by first removing the excess water, then I blend/process the remaining date pulp into a date paste that can be stored and used
Step 6
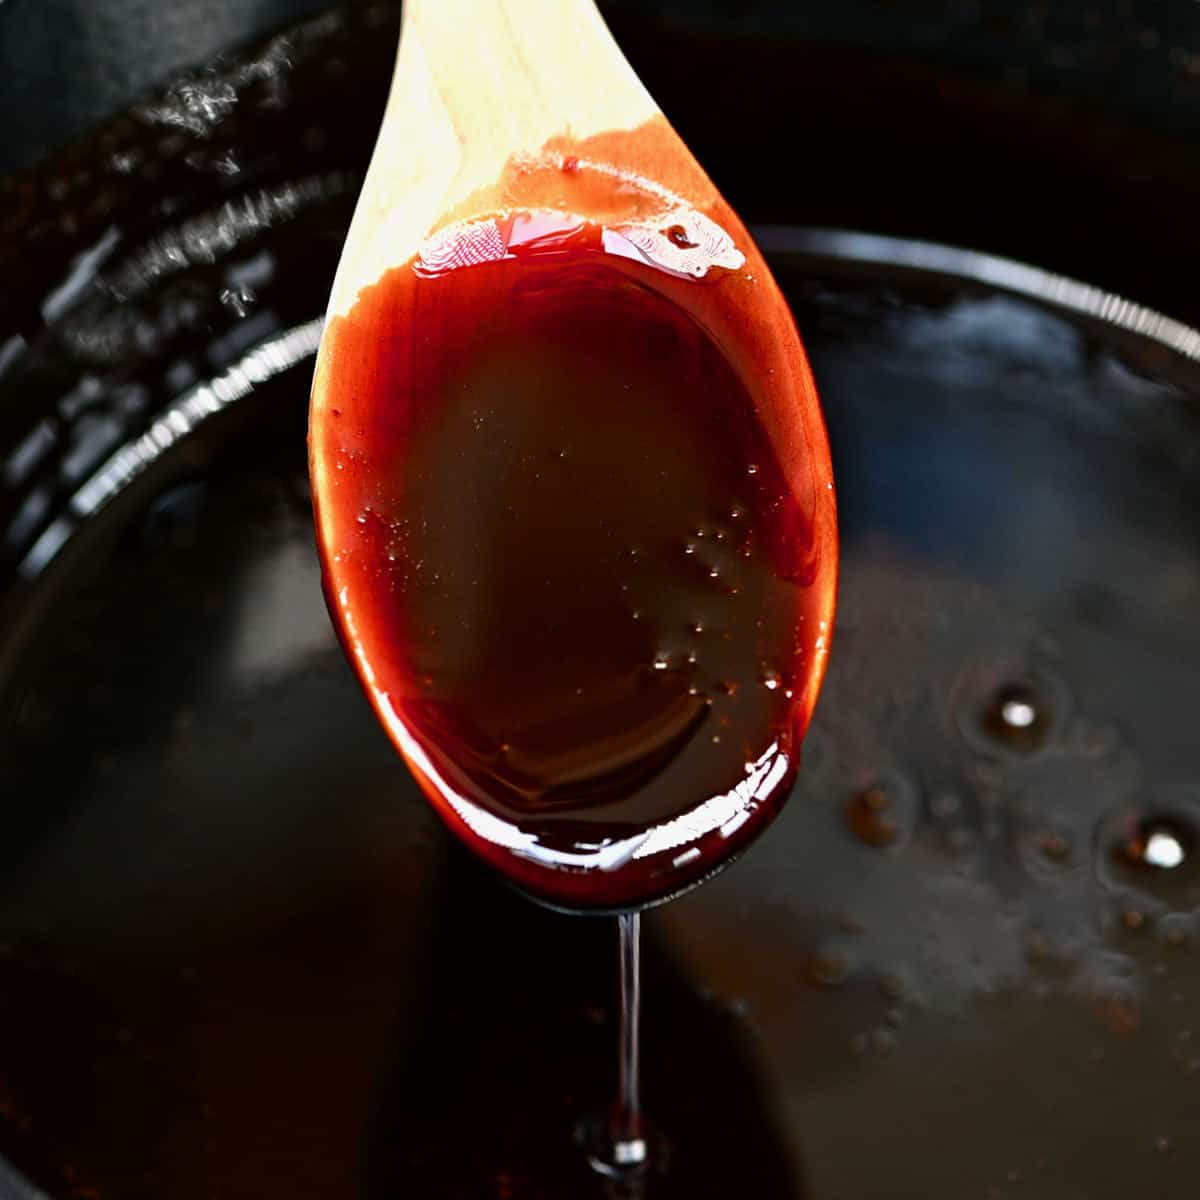
While technically, the liquid is a 'date syrup' already, I like to further reduce the liquid for a thicker, more concentrated (Sweeter) consistency and flavor.
Step 7
To do this, add the liquid back to the pot and simmer over medium-low heat until it is reduced to your preferred consistency and flavor (be careful not to burn it, though!). This can take 45-60 minutes. I like mine to be rich and sticky. To test this, place a tiny amount on a plate and run your finger through it. If it's too runny, then the syrup will fill the space back in; when it's thicker, it will stay separated for longer. For me, the latter is my perfect consistency!
Step 8
Once ready, allow the syrup to cool before transferring it to a sterilized airtight jar/bottle.