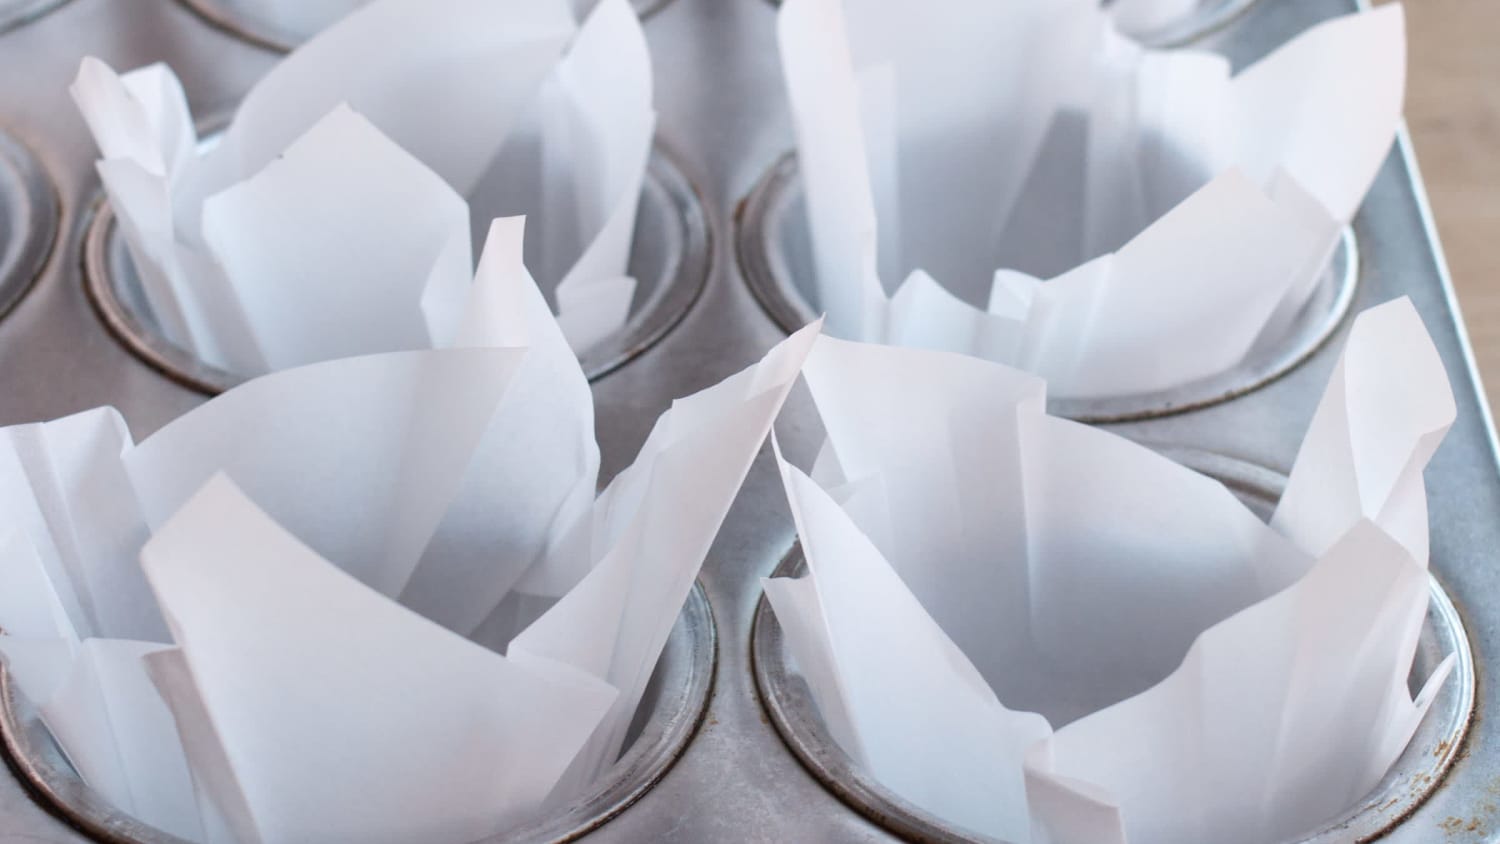
How To Make Muffin Liners out of Parchment Paper
3.2
(12)
Your folders
Your folders
Author : Emma Christensen

Ingredients
Export 6 ingredients for grocery delivery
Instructions
Step 1
Find a small can or jar that fits inside the muffin well. This will be the mold for your muffin liners, so find a can or jar that fits snugly in the bottom of the muffin cup. It's fine if the can is slightly larger or smaller.
Step 2
Measure strips of parchment. Using your ruler, measure 5 inches of parchment for regular muffin cups, or 6 inches for extra-large muffin cups. Move your ruler down the length of the parchment, ticking off the 5-inch mark with your pencil at a few intervals — this makes it easier to cut in a straight line.
Step 3
Cut off the strip of parchment. Use the pencil marks as a guide when cutting. Don't worry if it's not perfect.
Step 4
Measure squares of parchment. Use your ruler to measure the strip of parchment into 5-inch (or 6-inch) squares. Again, making a few pencil marks will make it easier to cut in a straight line.
Step 5
Cut the strip of parchment into squares. From a typical 15-inch roll of parchment, you will get three 5-inch squares of parchment.
Step 6
Continue cutting parchment squares. Continue to measure and cut squares until you have enough to fill all your muffin cups. If you like, erase the pencil marks before forming the muffin cups.
Step 7
Press the squares around the mold to form cups. Position a square of parchment over the can or jar you're using as a mold. Make sure it's centered, then firmly press the parchment down around the sides of the mold with your hand, creasing the paper. When you lift the parchment away, you'll have formed a cup. (If you want to make perfectly symmetrical pleats, pinch the paper against the mold between the four corners with one hand, then fold and press each corner individually with your other hand.)
Step 8
Repeat with each square of parchment. Once pressed, position the cups in the muffin tin.
Step 9
Spray the muffin liners (optional). If your muffin or cupcake batter is particularly moist or rich, or if it contains a lot of fruit, spraying the cups with nonstick spray helps them release cleanly.
Step 10
Fill the muffin liners with batter. It's easiest to fill these liners if you use a cookie scoop with a spring or a piping bag — hold the liners open with one hand while dropping (or piping) the batter with the other. If you are using spoons to divide the batter, it helps to have someone who can hold the liners open for you. Don't worry too much about drips on the edges of the liner; we can clean those up later.
Step 11
Bake the cupcakes or muffins as usual.
Step 12
Clean up the edges. If you got smudges or drips on the edges of your muffin cups when you divided the batter, these will bake to a crisp in the oven. You can get rid of them by pinching or brushing them off with your fingers.
Step 13
Let the muffins or cupcakes cool Gently lift the muffins or cupcakes out of the muffin tin using the corners of the muffin liners. Cool completely or according to recipe instructions.